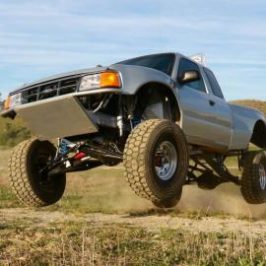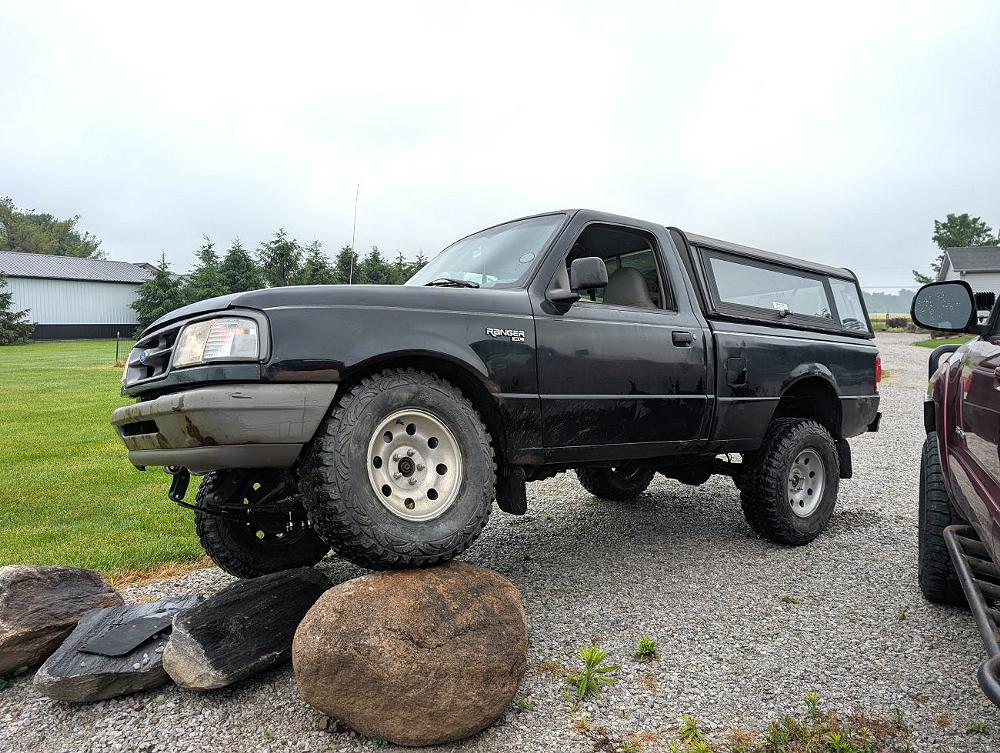
PlumCrazy’s Beater SAS 4×4 1997 Ranger
Google defines ‘Plum Crazy’ as “someone or something that is completely out of their mind or completely extreme. It can also mean being intensely passionate or enthusiastic about something.” Forum member ‘PlumCrazy’ may very well live up to his username.
PlumCrazy is known for his creative Ranger builds. What some people may see as complicated, he can make look simple. While some people shell out big money for new or custom parts, PlumCrazy looks to see what he can find in his parts pile or builds it from scratch. He’s resourceful. If there’s a part from a vehicle that he wants to use on a Ranger, he’ll find a way to make it work.
I saw all of the creative ingenuity that went into PlumCrazy’s OG Build. So, when he posted his ‘PlumCrazy’s Beater DD 4×4 SAS Build’, I knew it would be interesting. It didn’t disappoint.
Life After 2WD
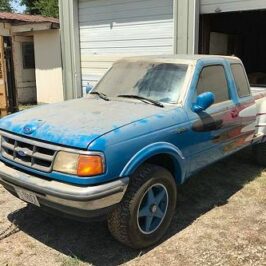
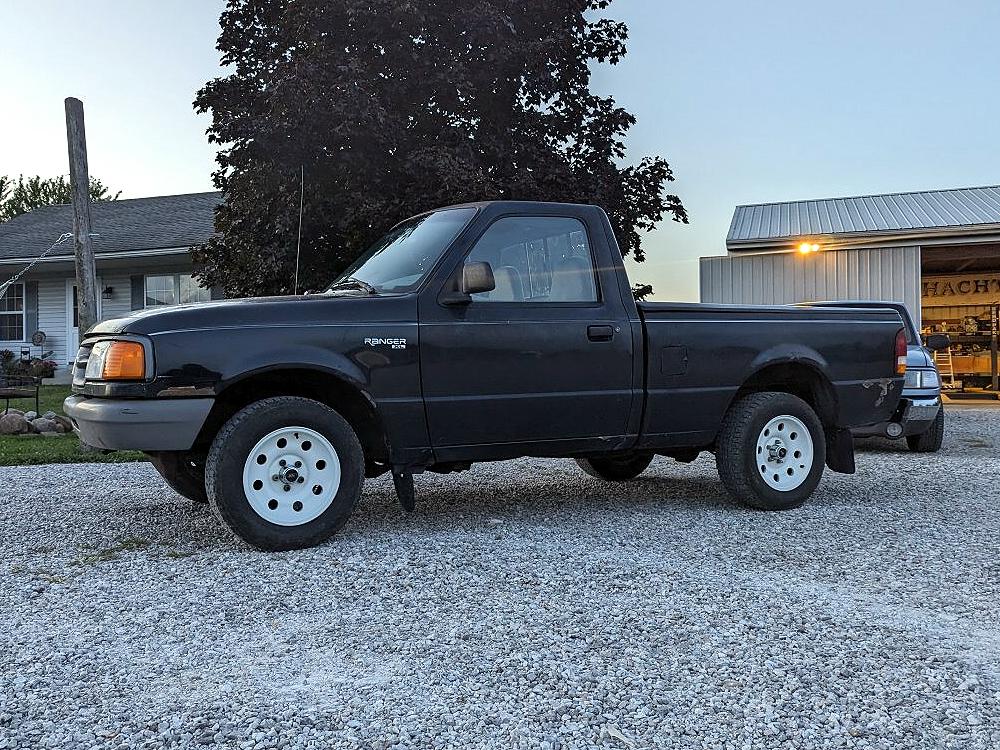
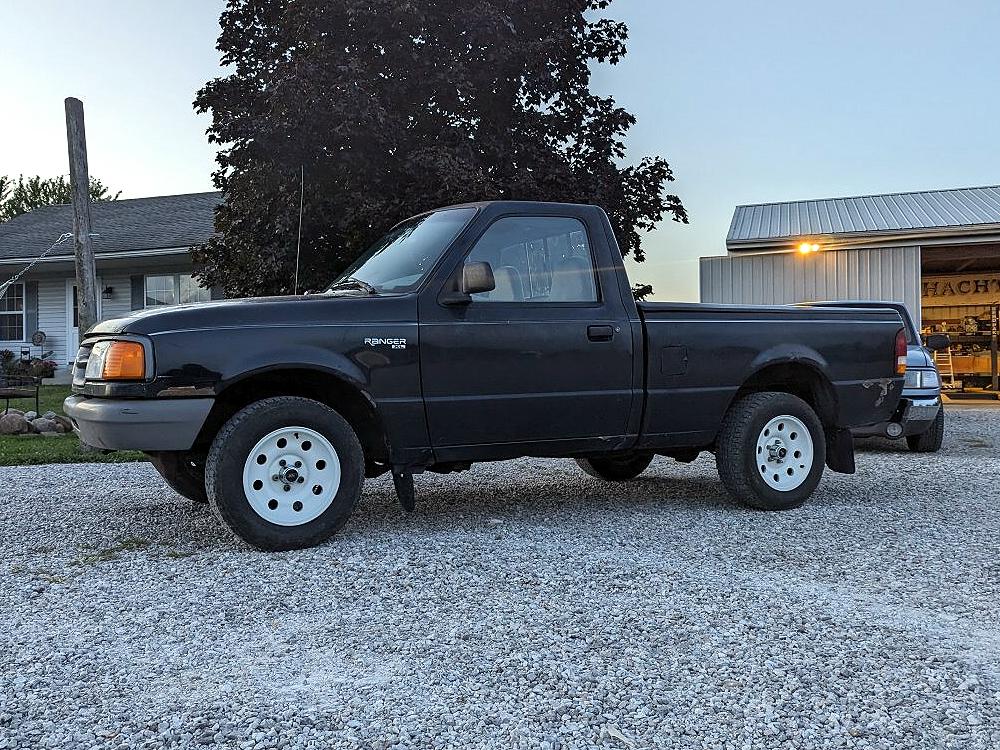
This 1997 Ford Ranger XL had already spent more than 300,000 miles of its life as a 2WD truck with a 2.3L 4-cylinder engine. At this point, most trucks would be nearing the end of their life cycle. One tire in the driveway, and the other in the salvage yard, if you will. Sorry, little truck. It’s not your time. PlumCrazy has a vision.
According to PlumCrazy, he had been using the Ranger as his winter beater and decided that he wanted to do a low-buck 4×4 conversion with parts out of his stash, including a Dana 30 SAS swap with leaf springs. The normal person just read “low-buck 4×4 conversion” and “Dana 30 SAS” and thought to themselves, “How do you convert a 2WD truck to 4WD, swap in a solid front axle, and do it low-buck?”
But I assure you that when PlumCrazy thought to himself, “I’m going to convert this to 4WD and use a Dana 30 axle,” it didn’t seem any more complicated than you deciding, “I’m going to the drive-thru and getting a burger.”
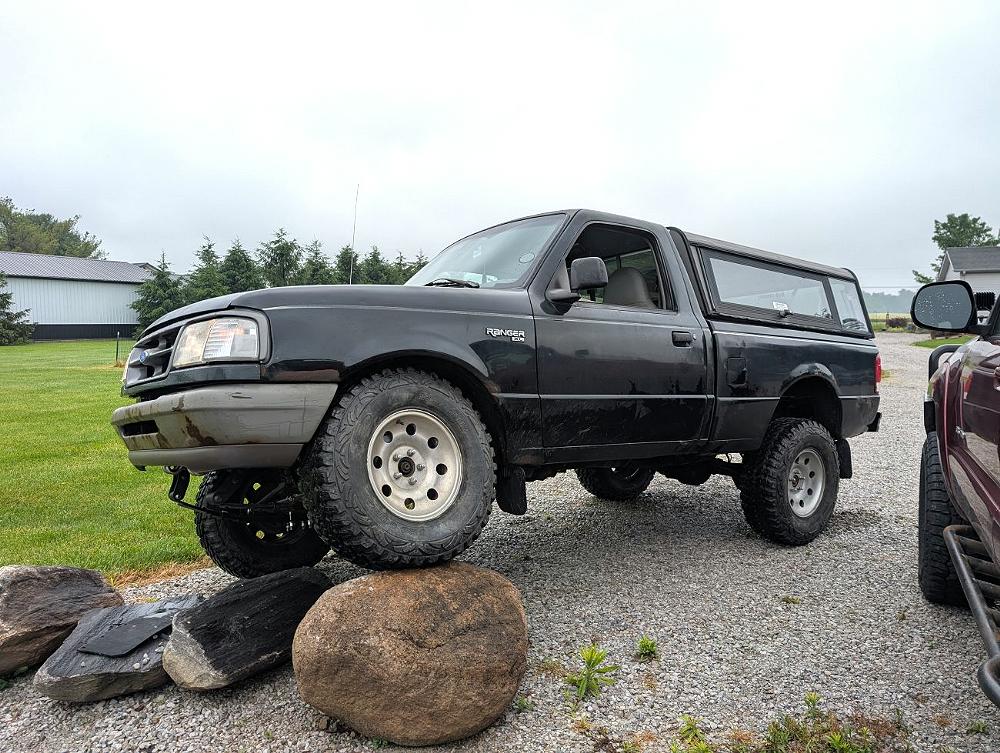
The other part of his plan was to keep it as low as possible on 31s for DD (daily driving) activities and the occasional adventure into the woods, while sticking with open differentials and the 2.3L to keep carnage to a minimum.
Building a 4×4 From the Parts Pile
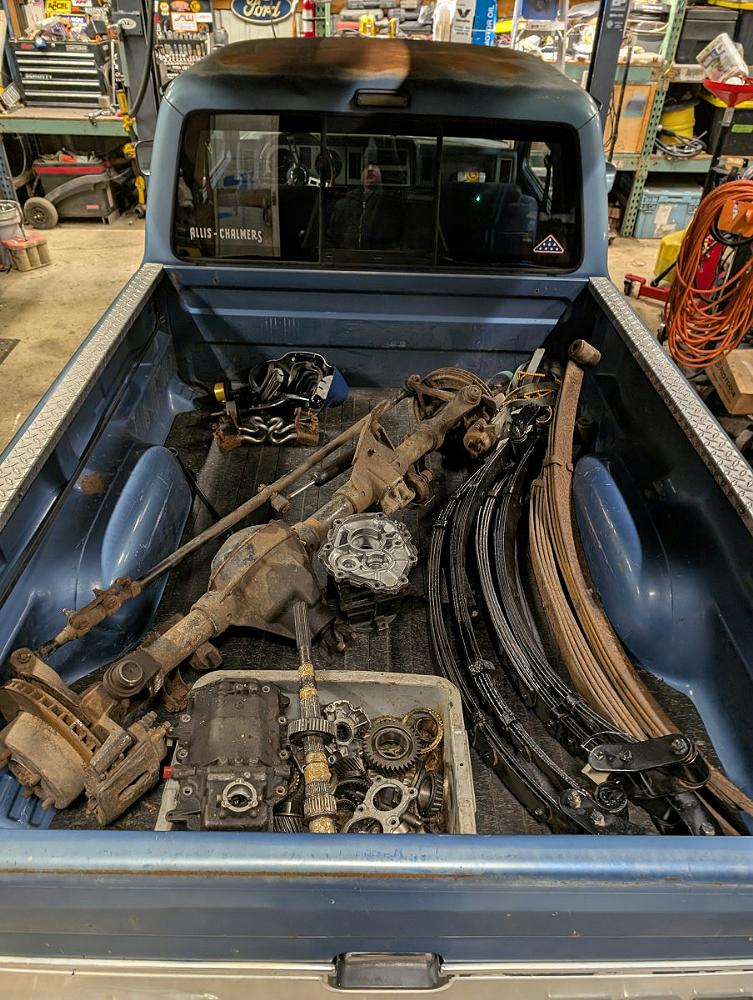
His parts scavenging started out with a Jeep YJ Dana 30, 4-inch YJ lift springs, and a pair of Ford Explorer 4-inch lift springs.
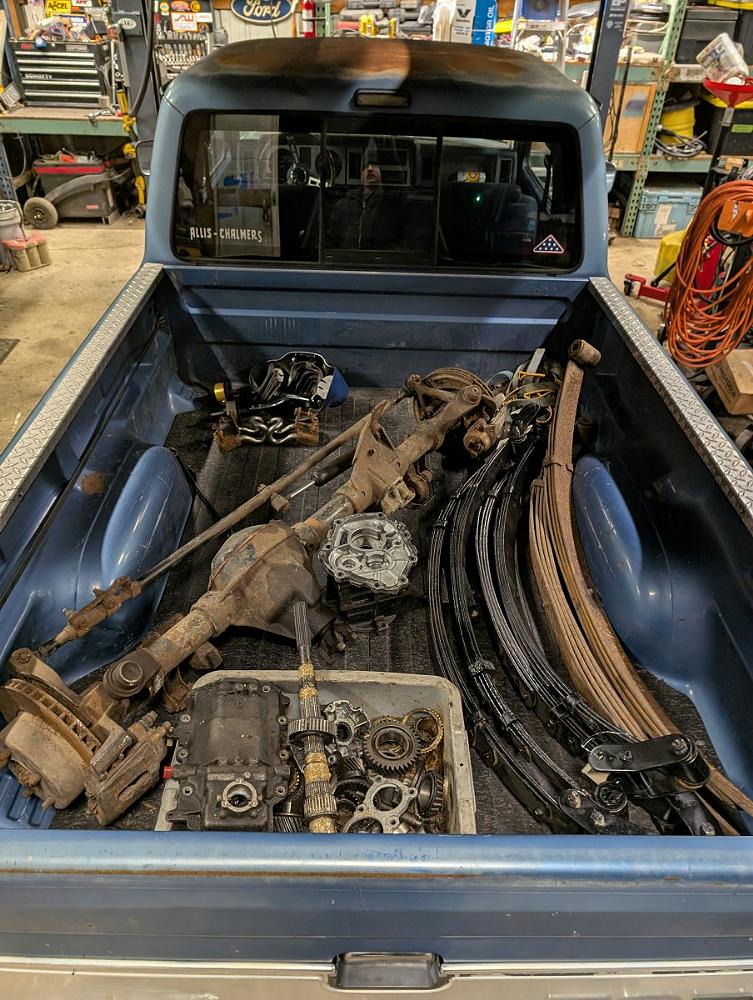
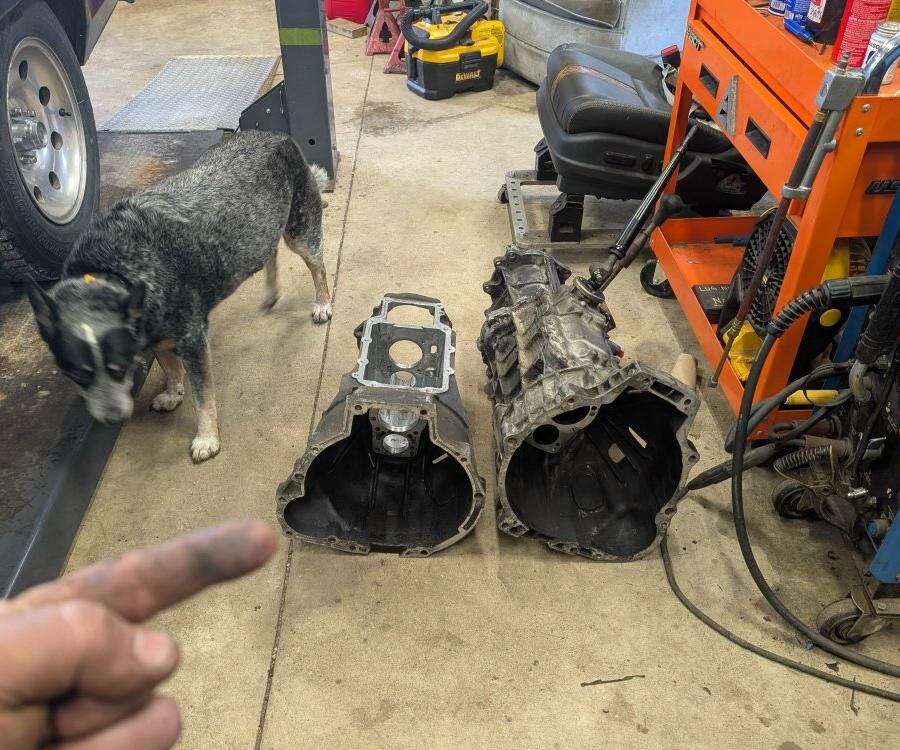
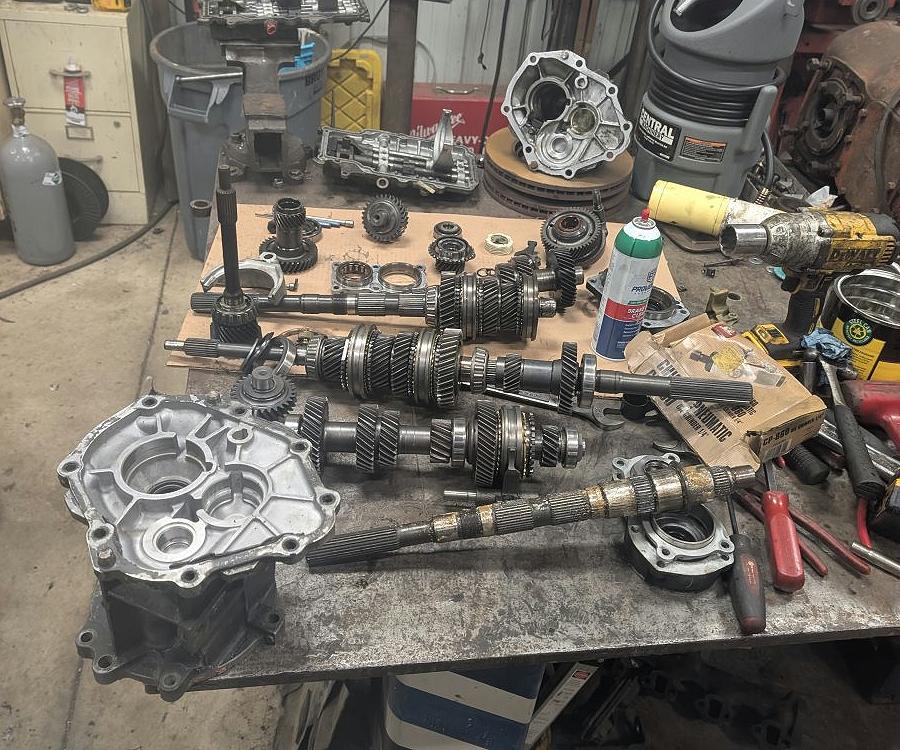
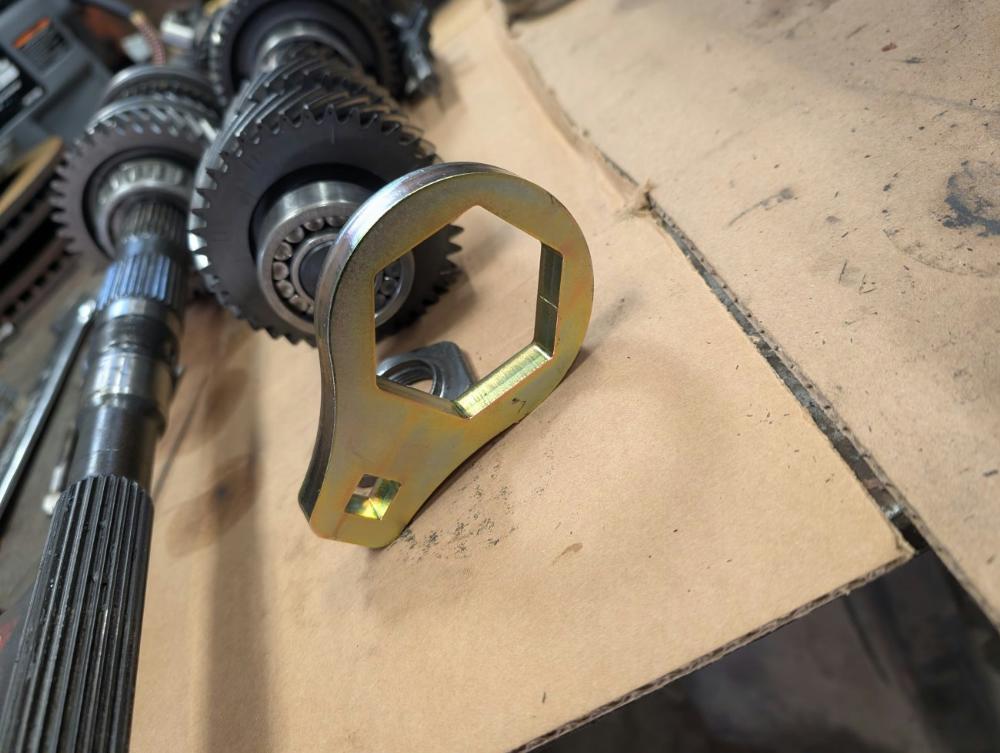
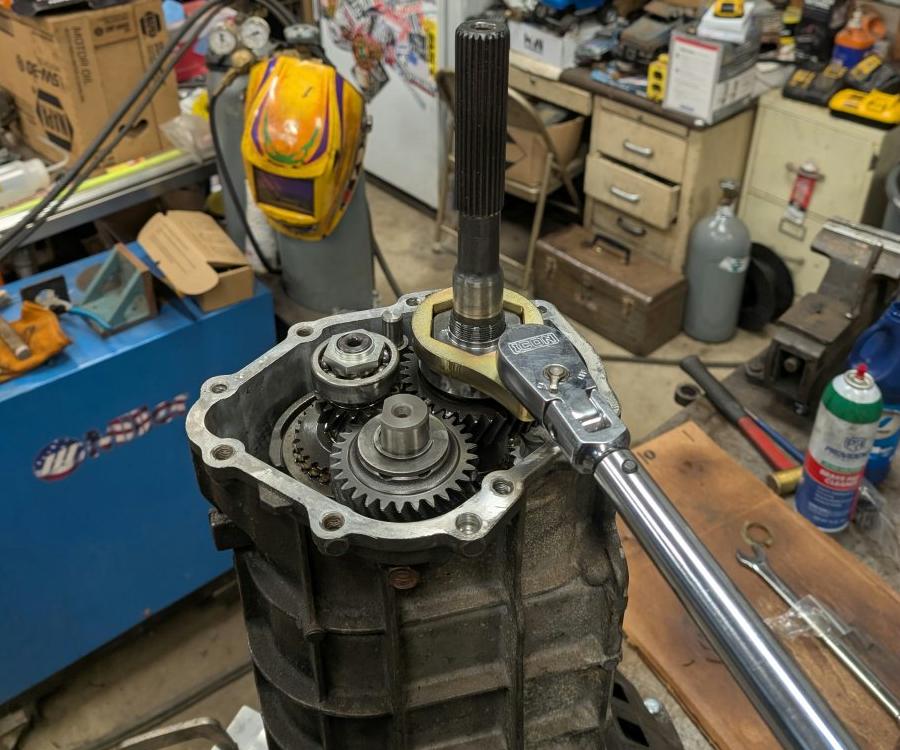
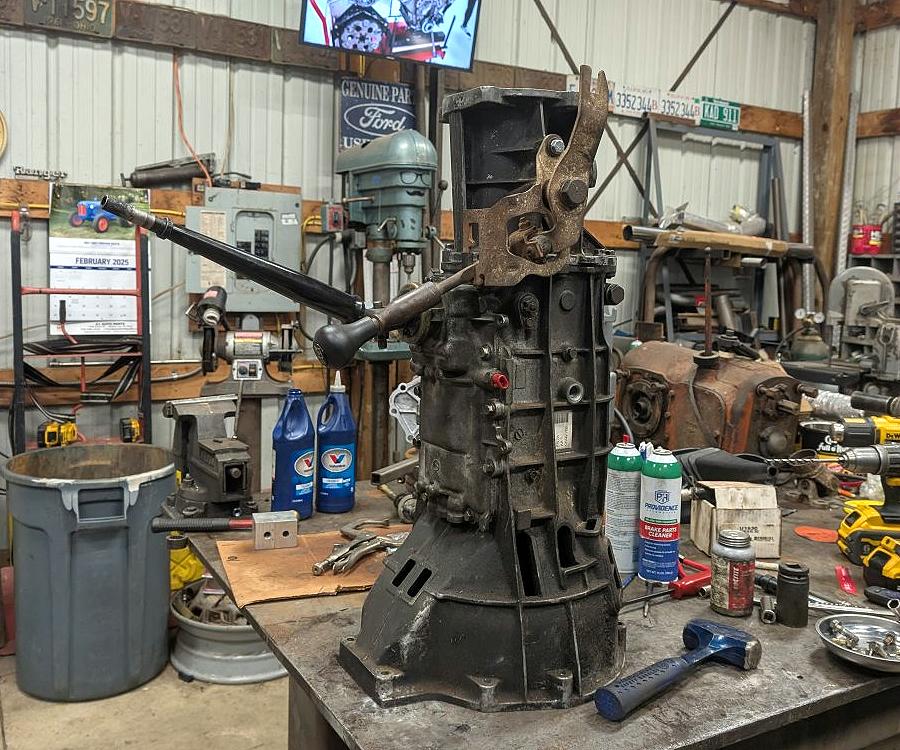
Rather than buying a 4×4 transmission, PlumCrazy started putting one together from a 2WD M5OD-R1 and spare parts. The first transmission turned out to be badly damaged, with worn shift forks, a synchro welded to the input shaft and a pocket bearing that had nearly destroyed the transmission. He pulled a known-good gear set from his stash and rebuilt the transmission with new bearings and seals. He even made a tool for the M5OD mainshaft nut.
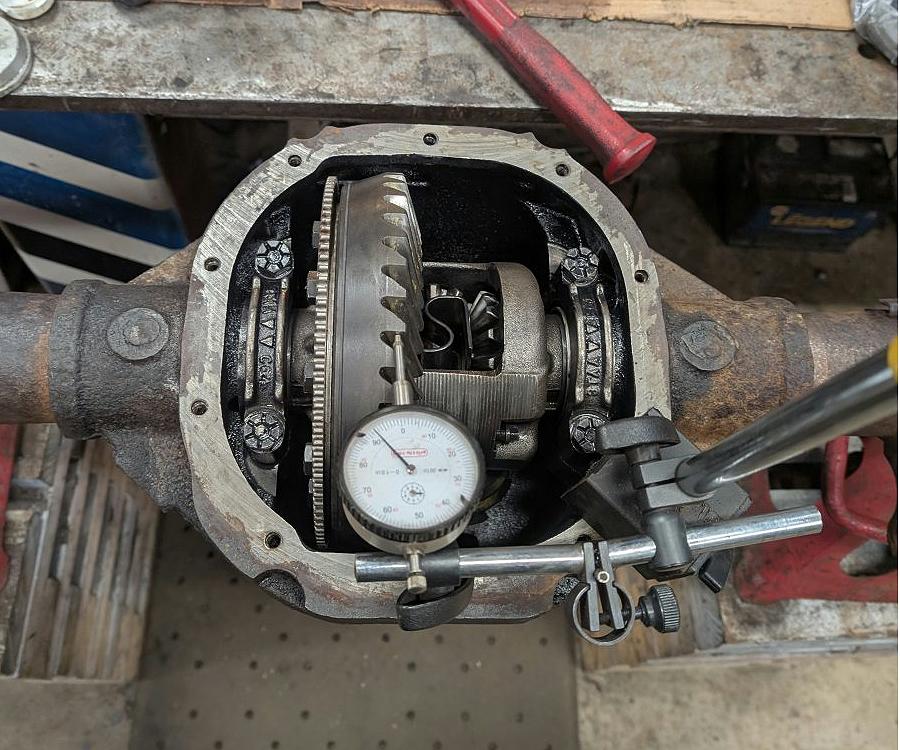
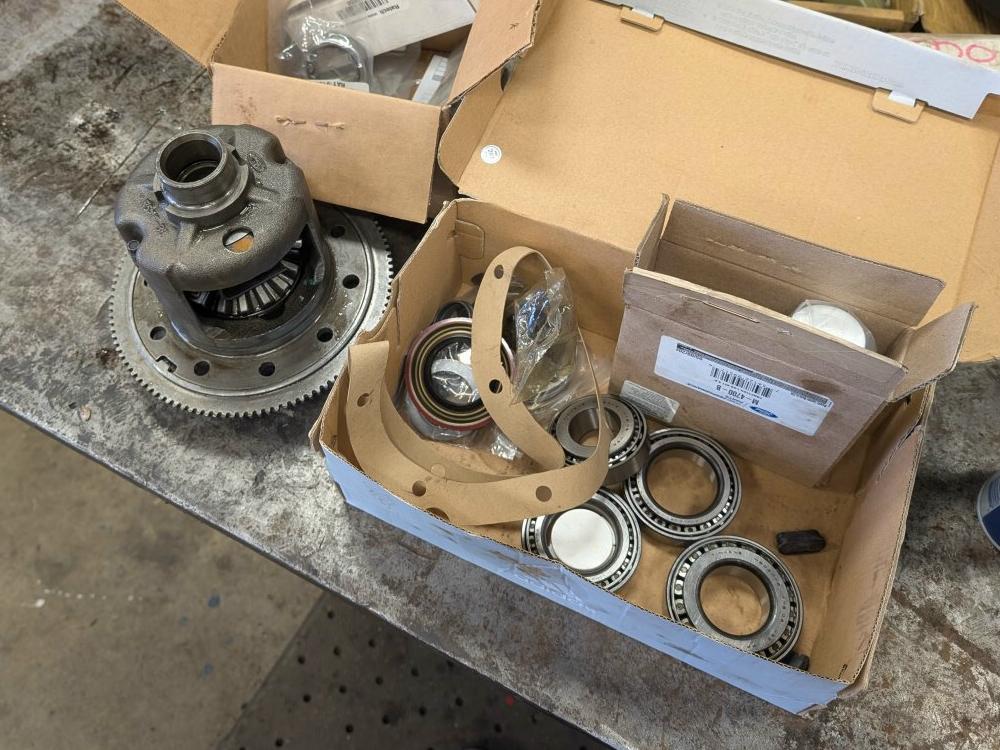
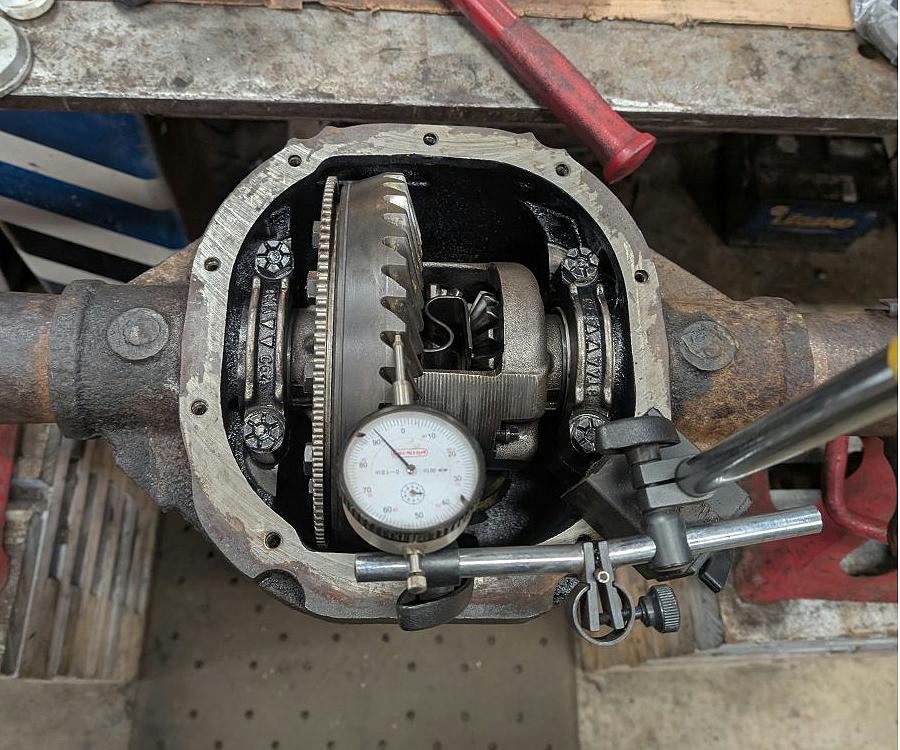
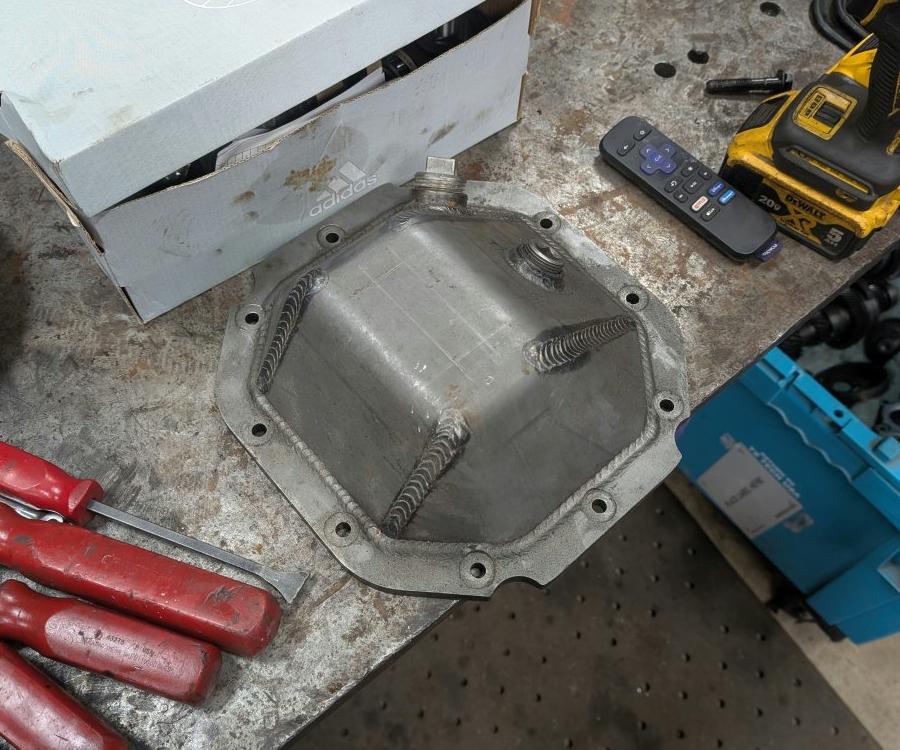
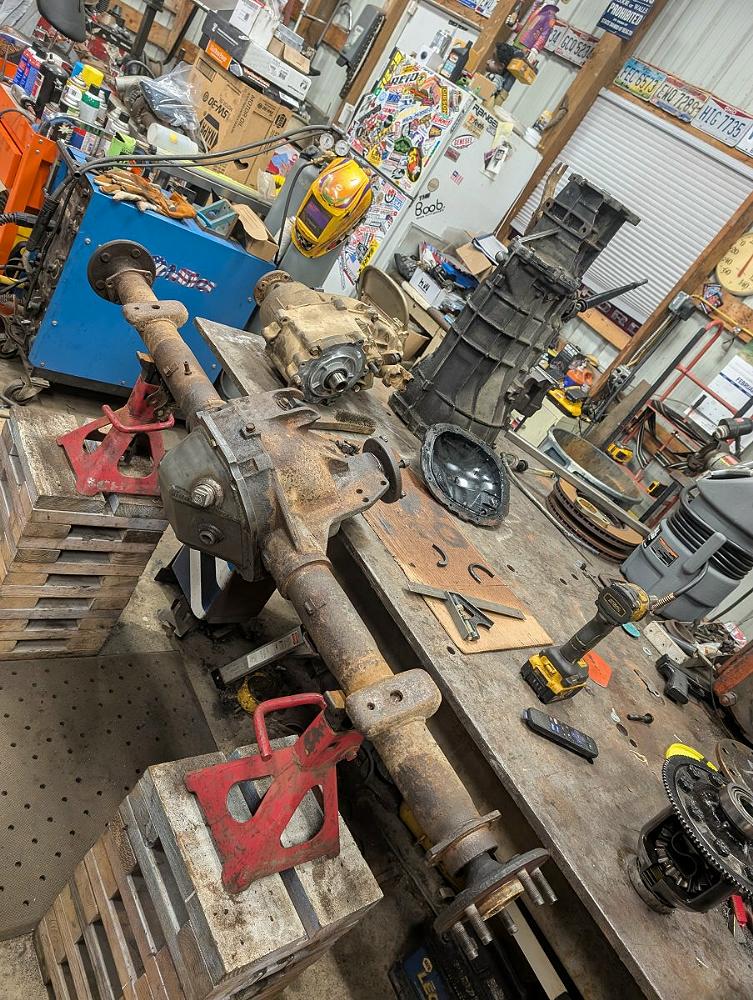
He picked up a Ford 8.8-inch rear axle that was supposed to have 4.10 gears to match the Dana 30 but ended up having 3.27’s. A buddy dropped off a set of 4.10 gears that PlumCrazy believes he had previously given to his friend for another build. Plum had a 28-spline Trac-Lok from another axle along with some bearings, shims, and seals stored away in a shoe box. The rear end was assembled and then sealed with a Ruff Stuff heavy duty differential cover that he got from his buddy as well. Sticking with the low-buck theme the rear end got a set of lightly used bake shoes and drums.
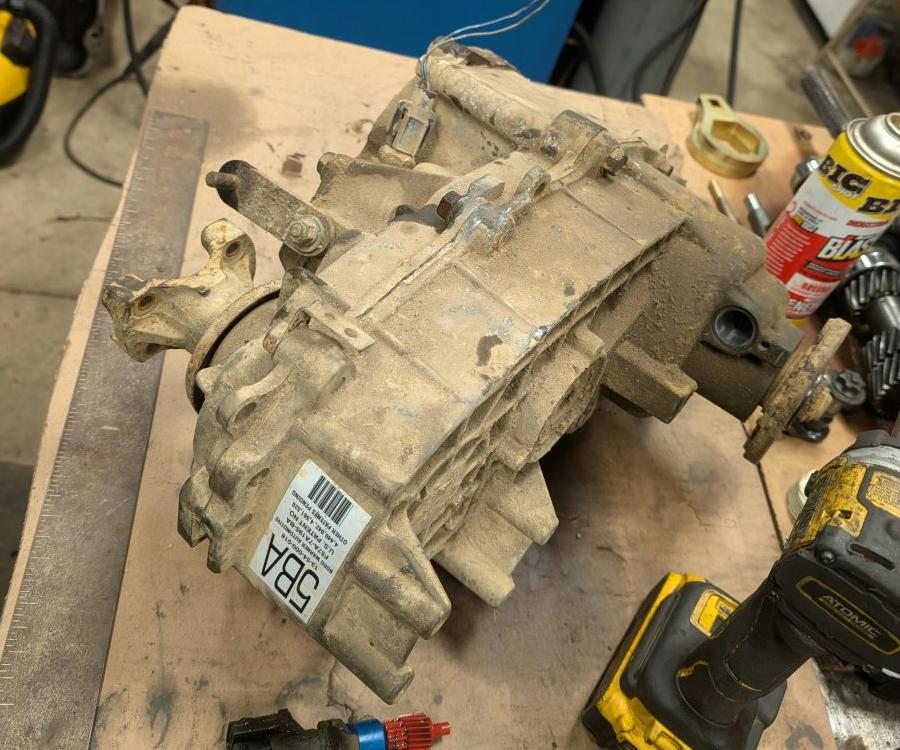
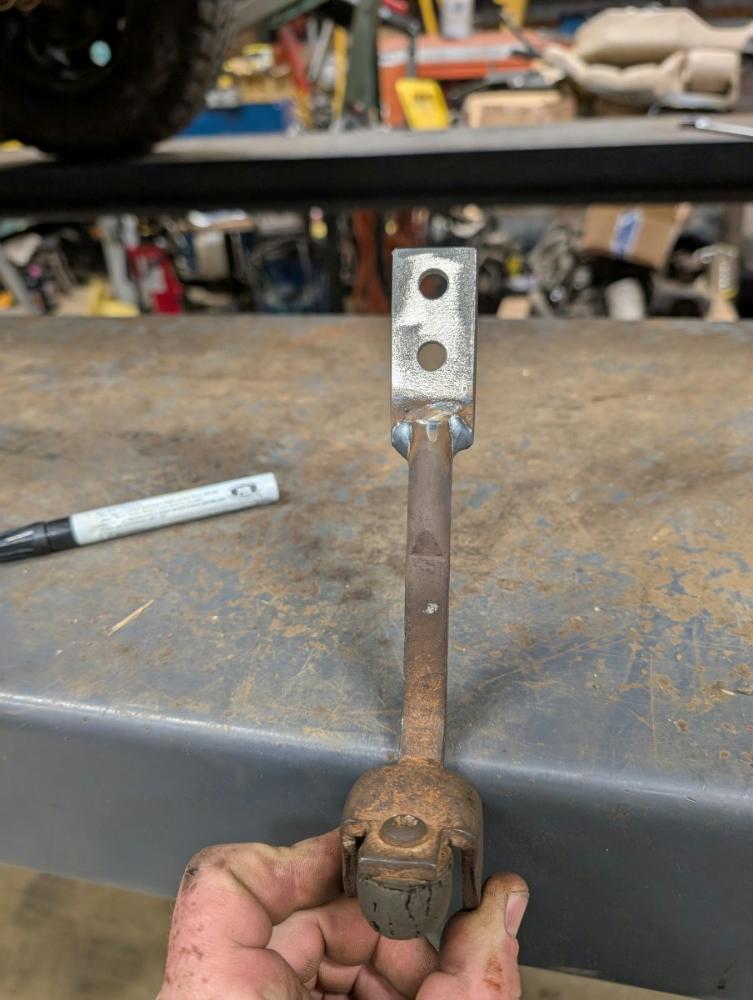
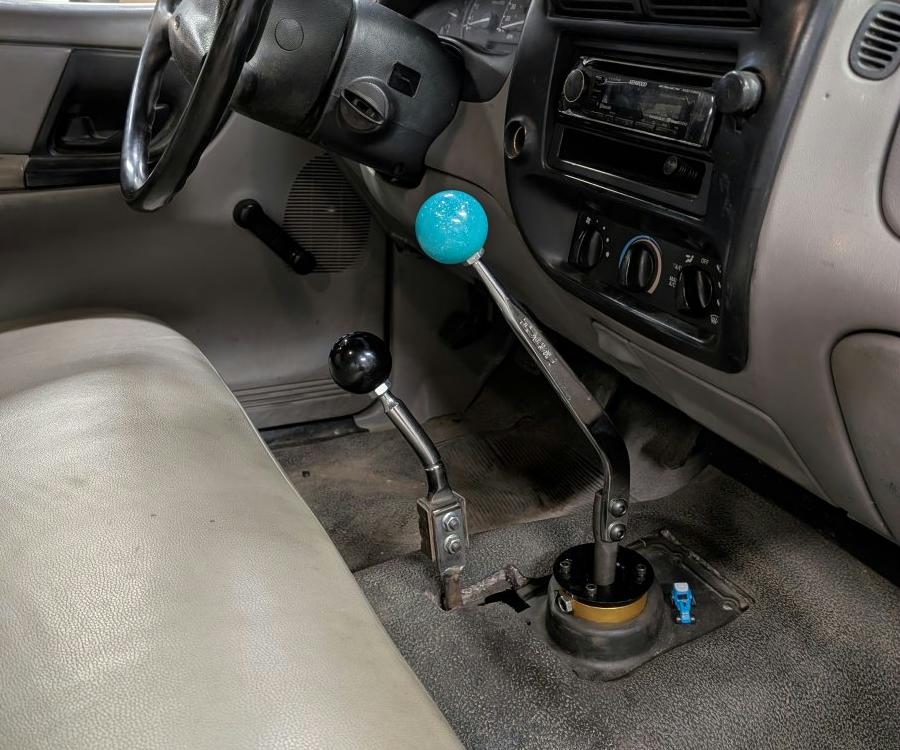
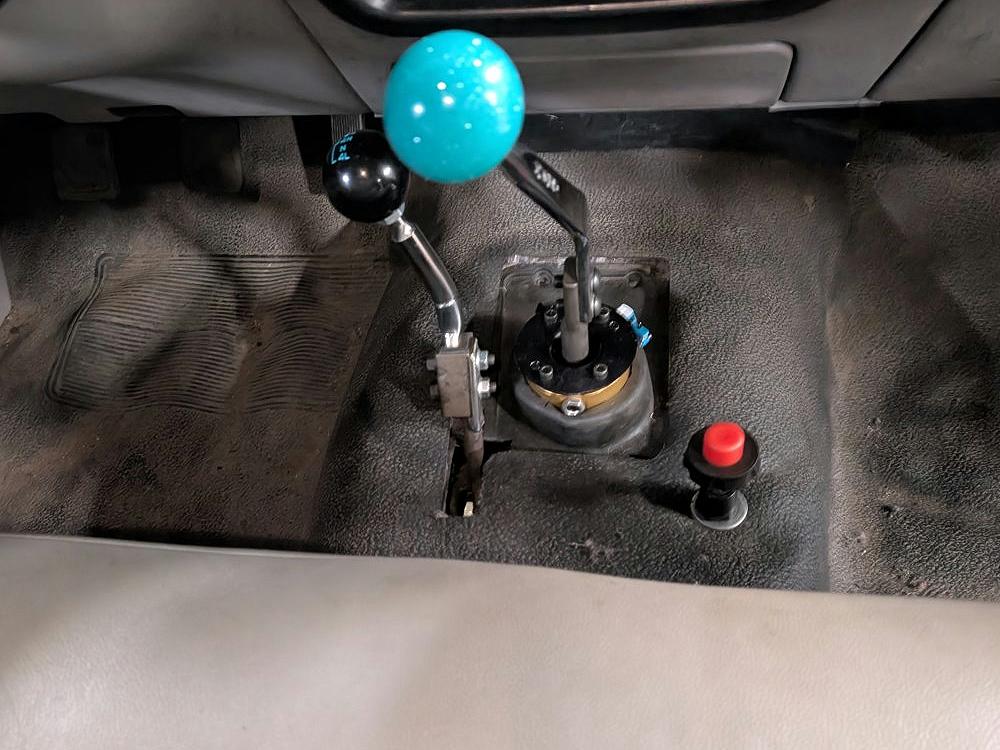
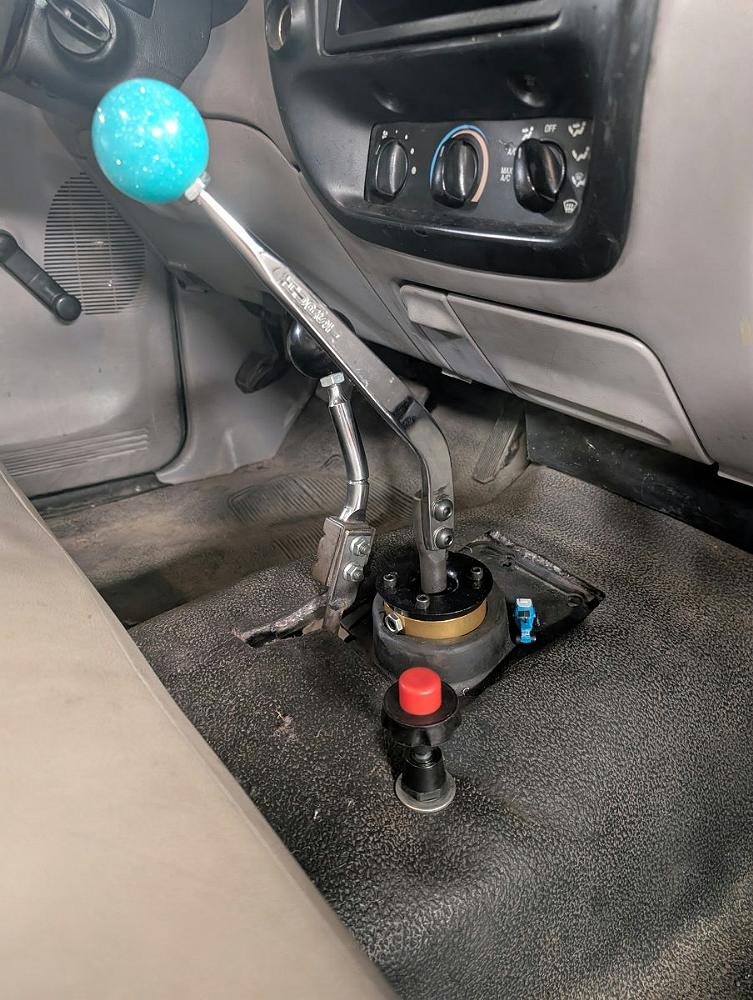
PlumCrazy grabbed a spare BW1354 manual transfer case off of his shelf but the four transfer case levers he had weren’t compatible with the shifter assembly he had, but he was able to resolve the issue by pressing the pin out of the lever, putting it back in on the opposite side, used the press to take some of the offset out of the shifter arm, and then put them together with a new bushing that he 3D printed. Plum welded a tab onto the shift arm and then bolted an FX4 shifter to it.
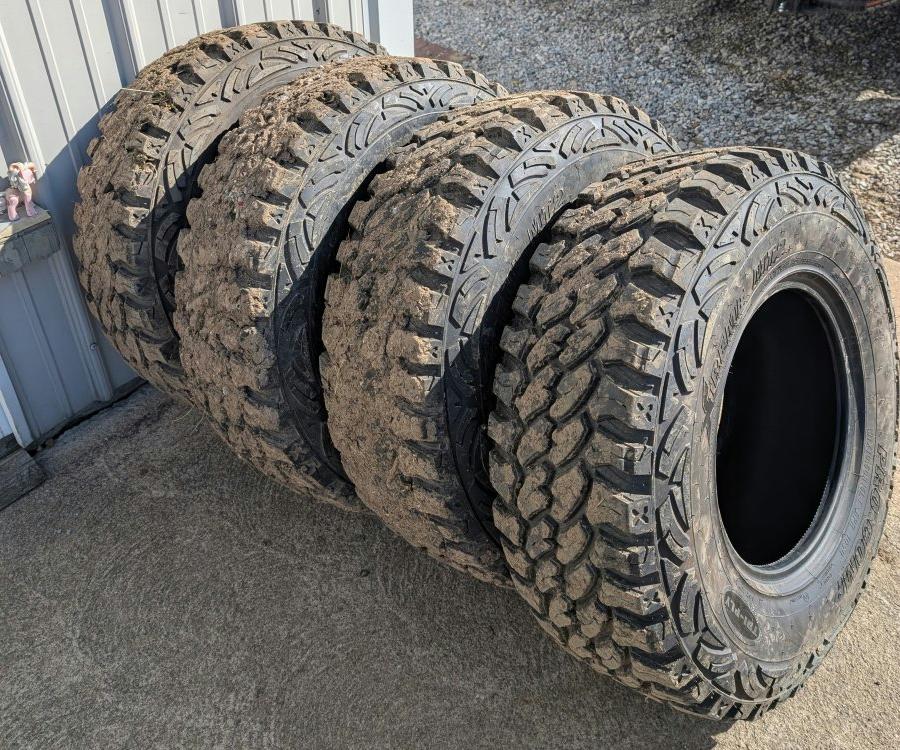
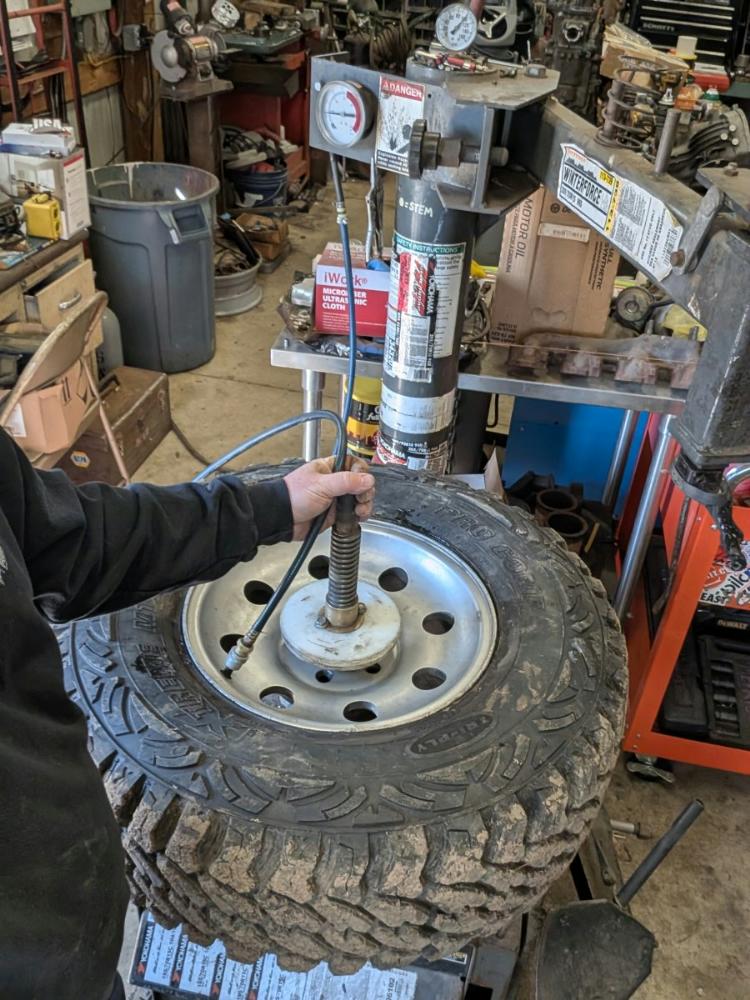
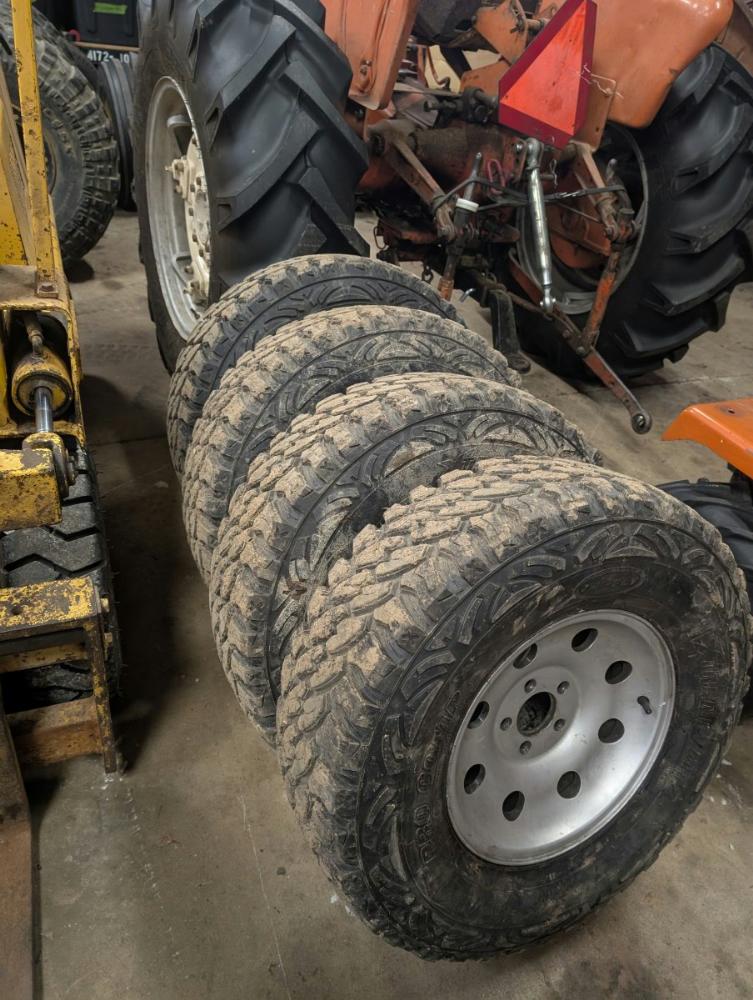
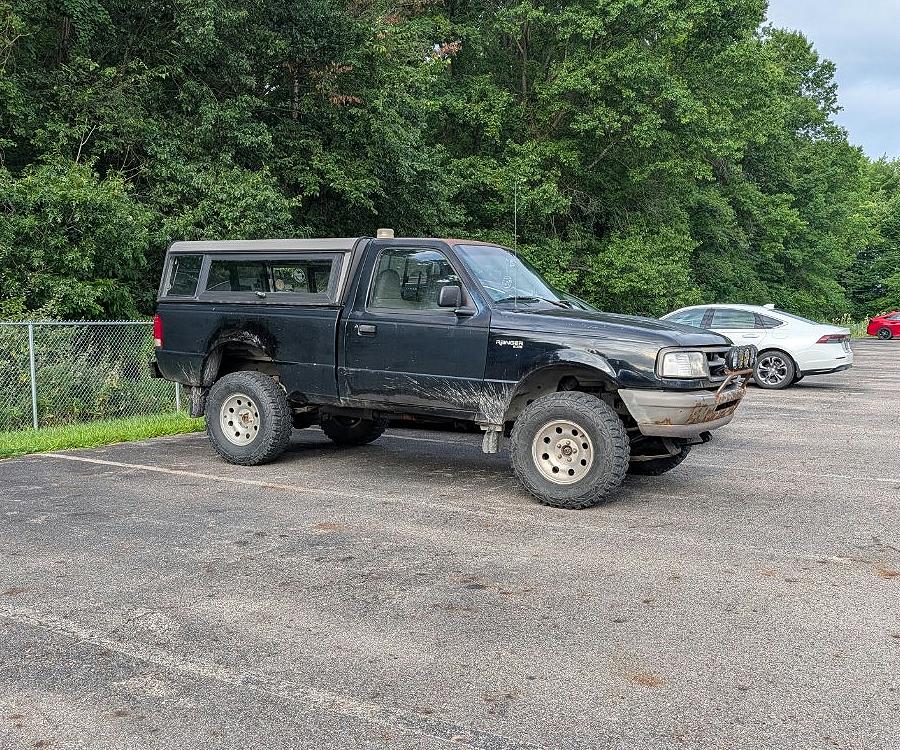
Plum stumbled across a deal on a set of 31-inch Pro Comp mud terrains and mounted them on a set of Alcoa wheels he had. He even mounted them up himself in his shop. I’ve never known anyone that has as many sets of Alcoa wheels lying around as PlumCrazy.
The Simplest Possible Solid Axle Swap
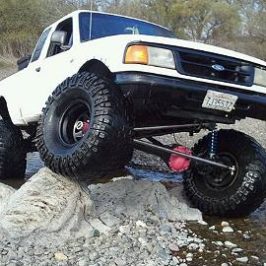
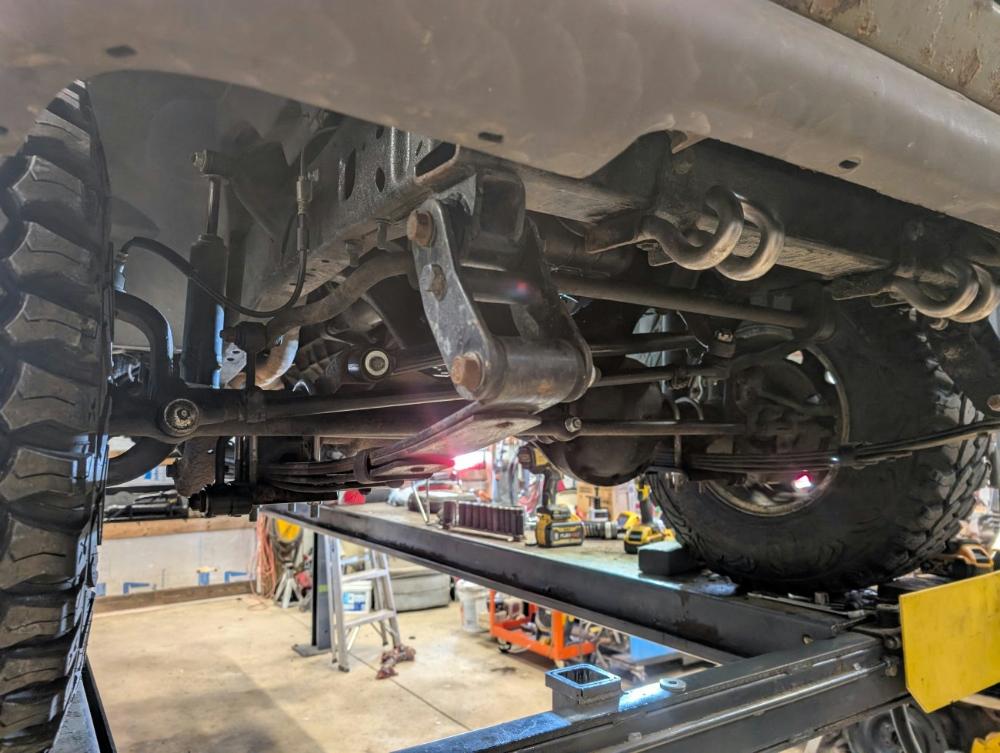
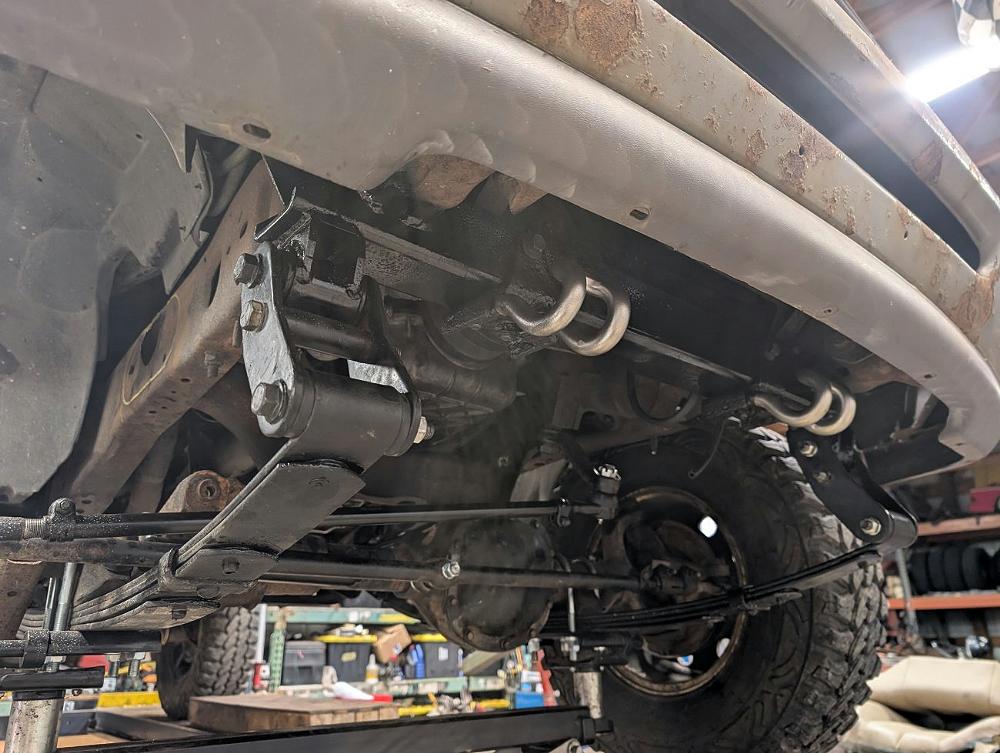
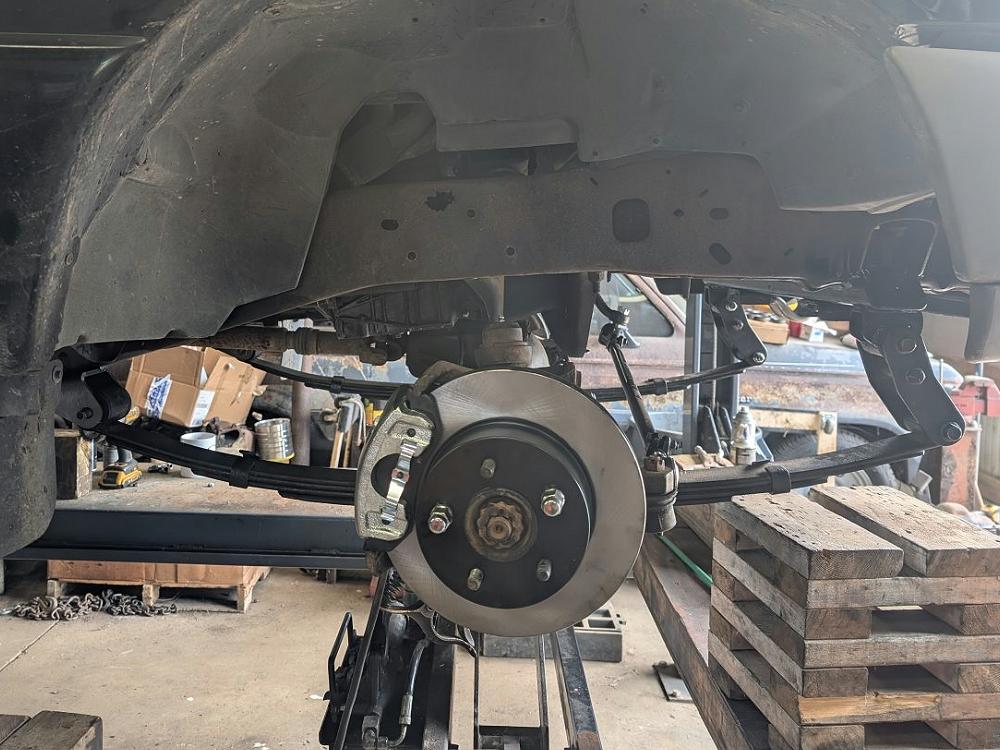
I’ve seen a lot of people install a solid front axle under a Ranger, and many of those swaps involve some type of link suspension. PlumCrazy took an easier approach. He would mount the Dana 30 using a pair of Jeep YJ 4-inch lift leaf springs.
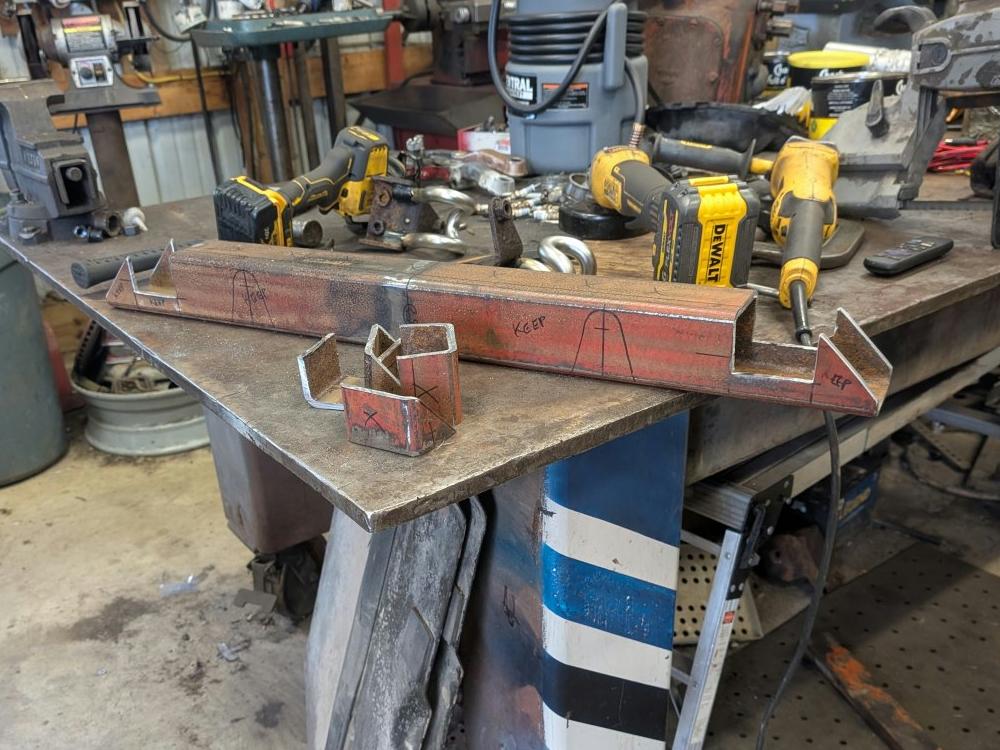
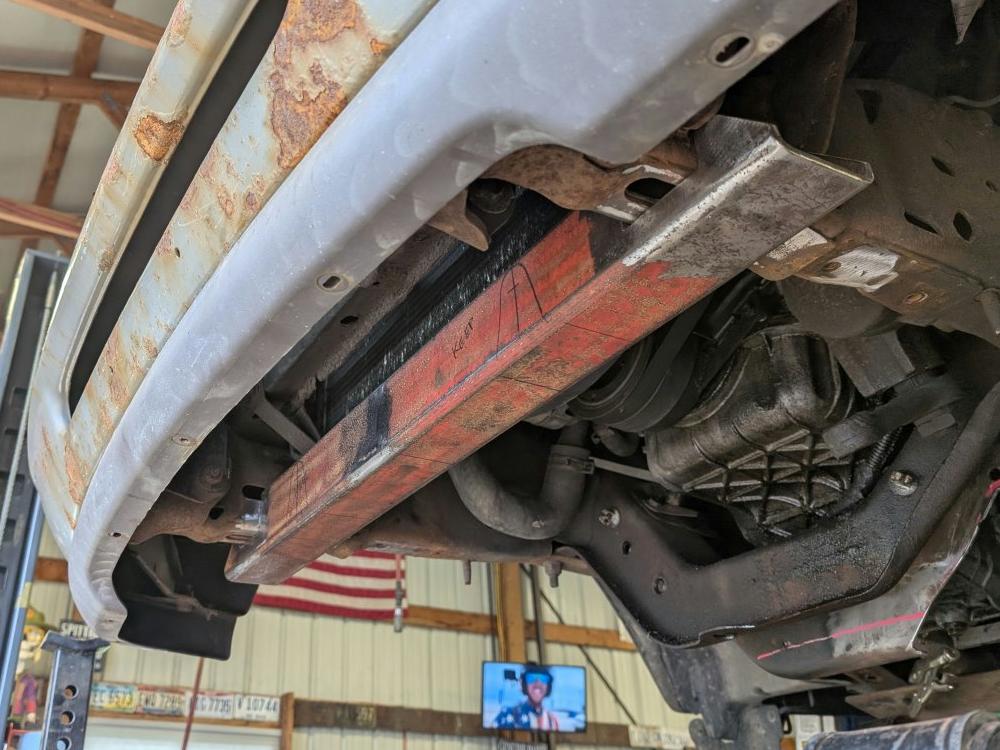
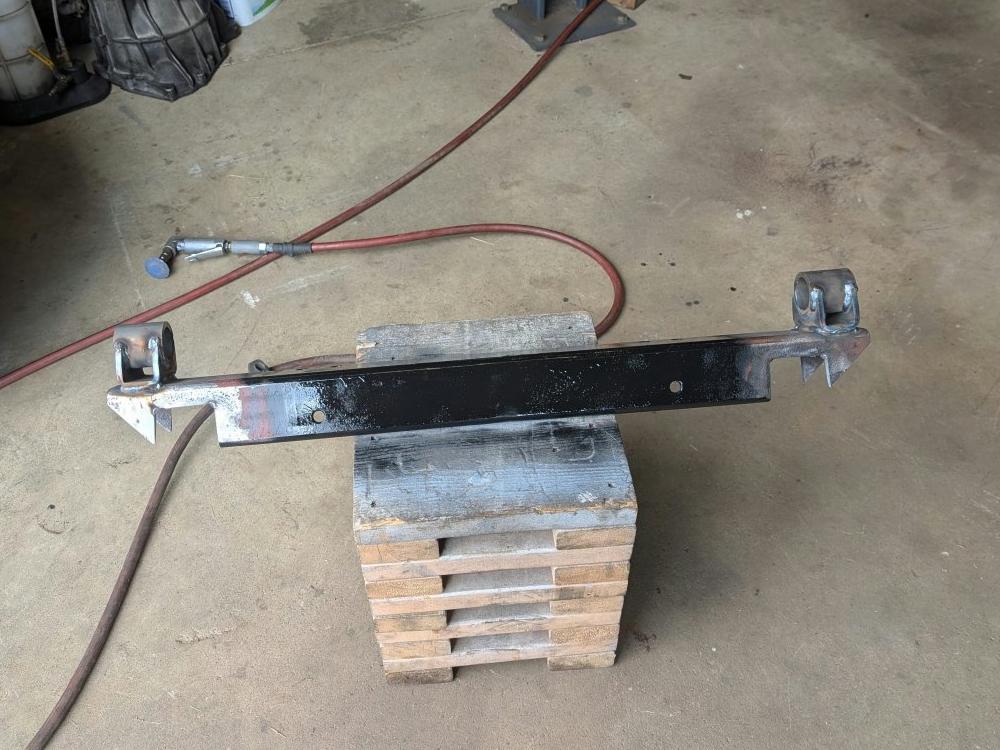
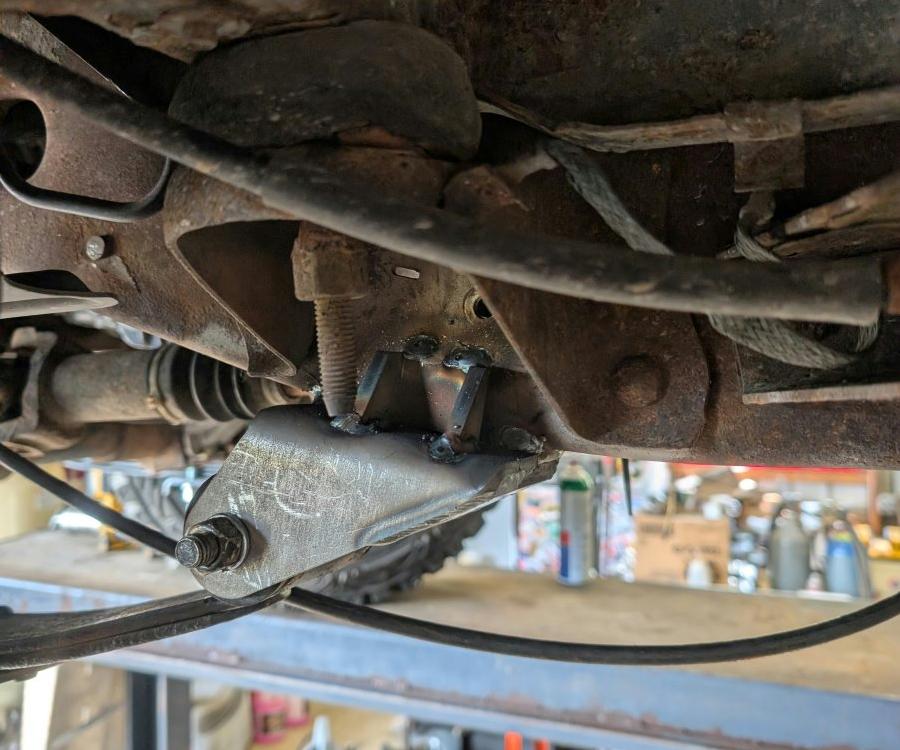
He started out by grabbing a chunk of 3×3 box tubing and then cut the tube so that it fit around the frame. This provided a mounting location for the front spring hangers. It also provided a spot to mount a pair of Ford Ranger FX4 tow hooks.
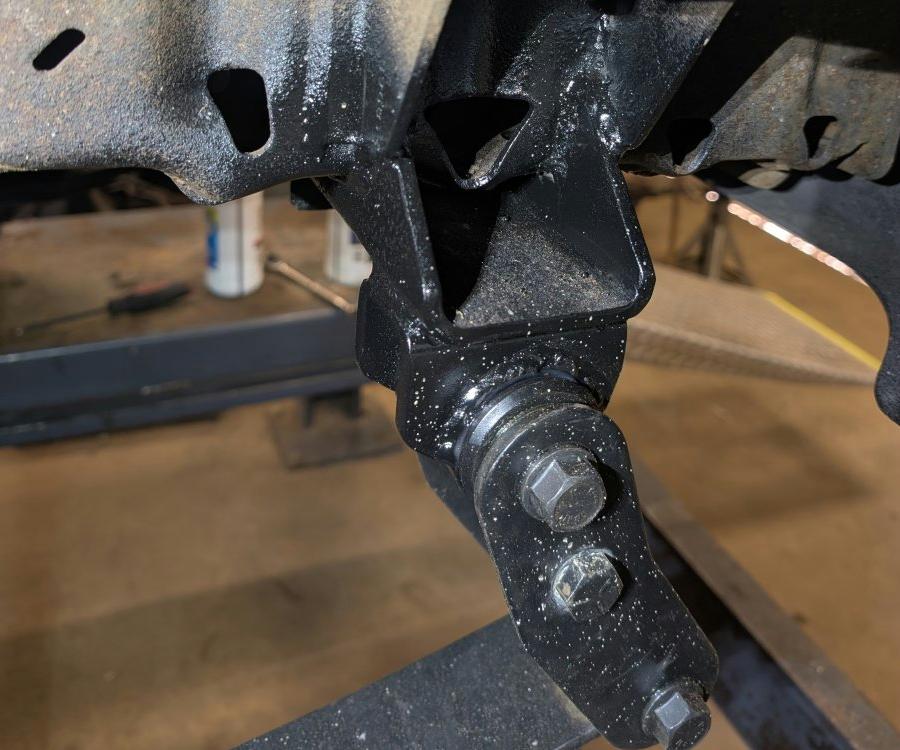
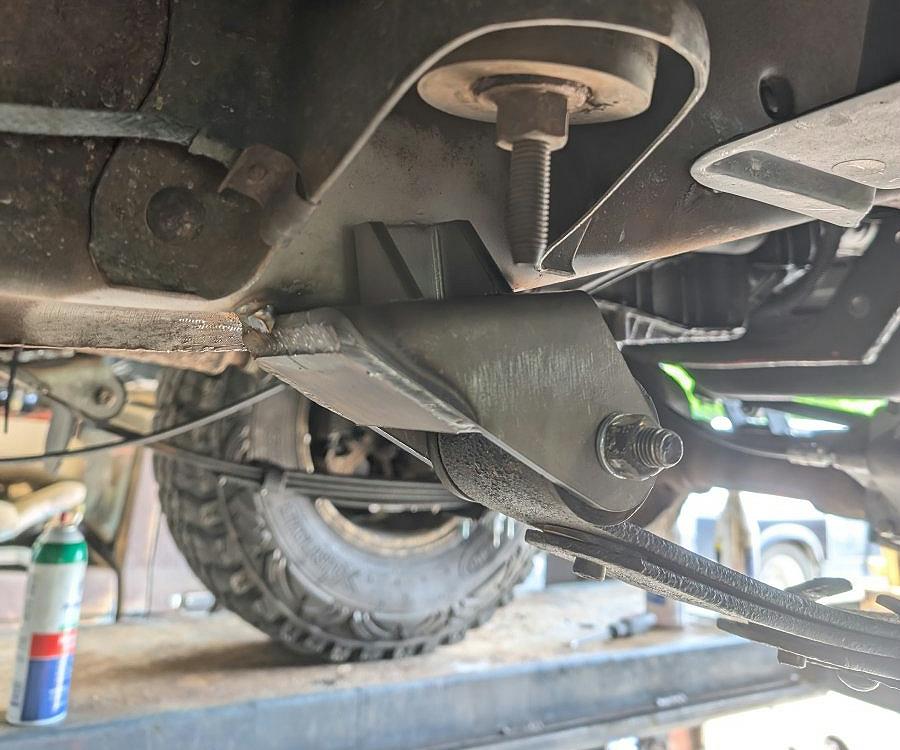
The rear spring hangers were welded to the underside of the frame rail and gussets were added to strengthen them.
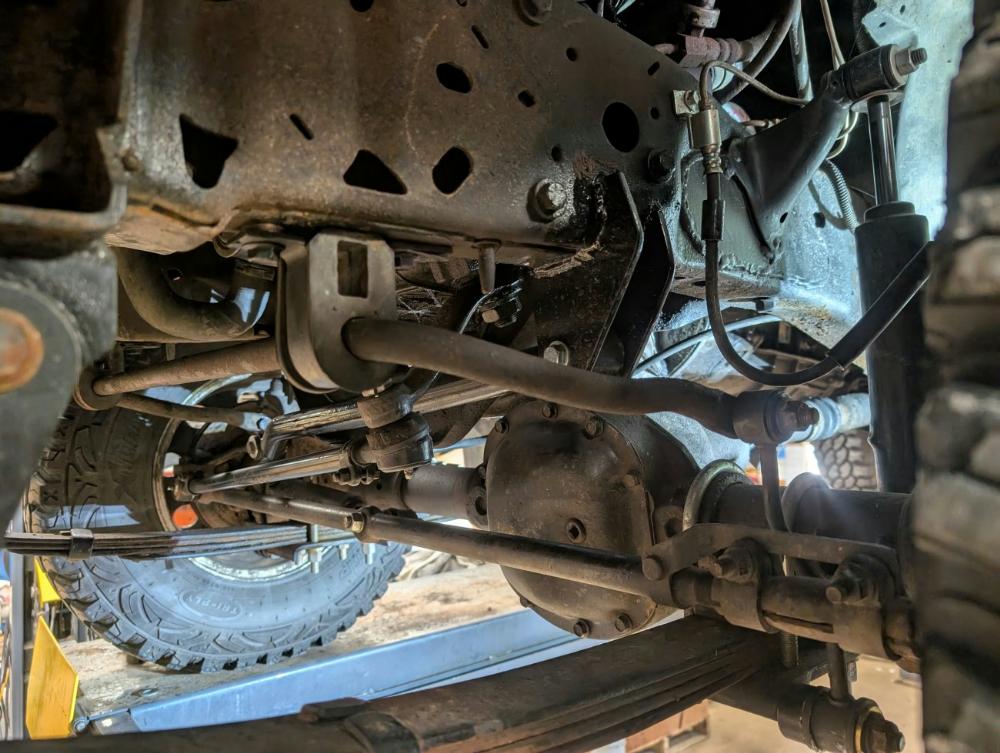
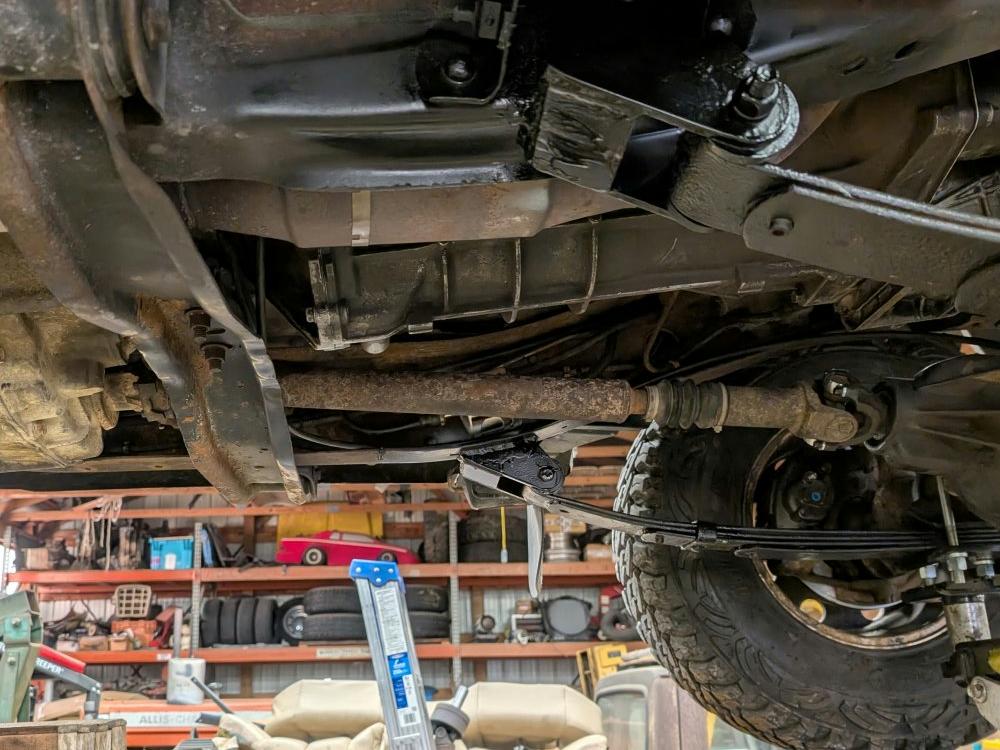
The axle was mounted in a ‘spring under’ configuration where the leaf springs are actually mounted under the axle tube instead of on top of it. A section of the engine crossmember had to be cut out to make room for the differential. It was the area where the pivot bracket for the passenger side axle mounts.
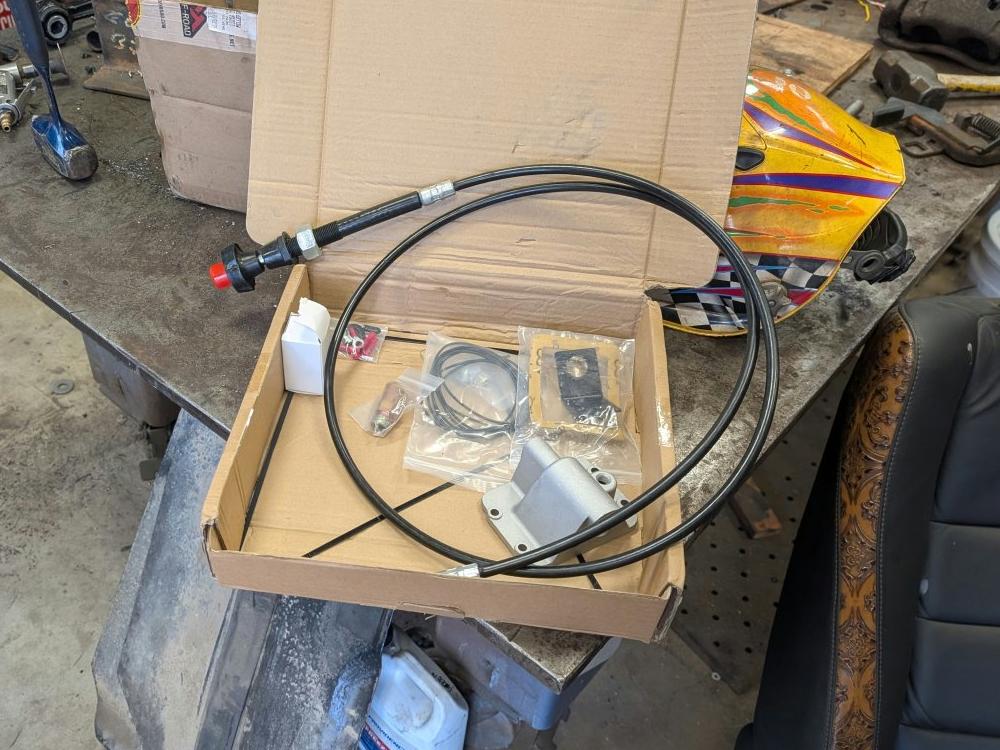
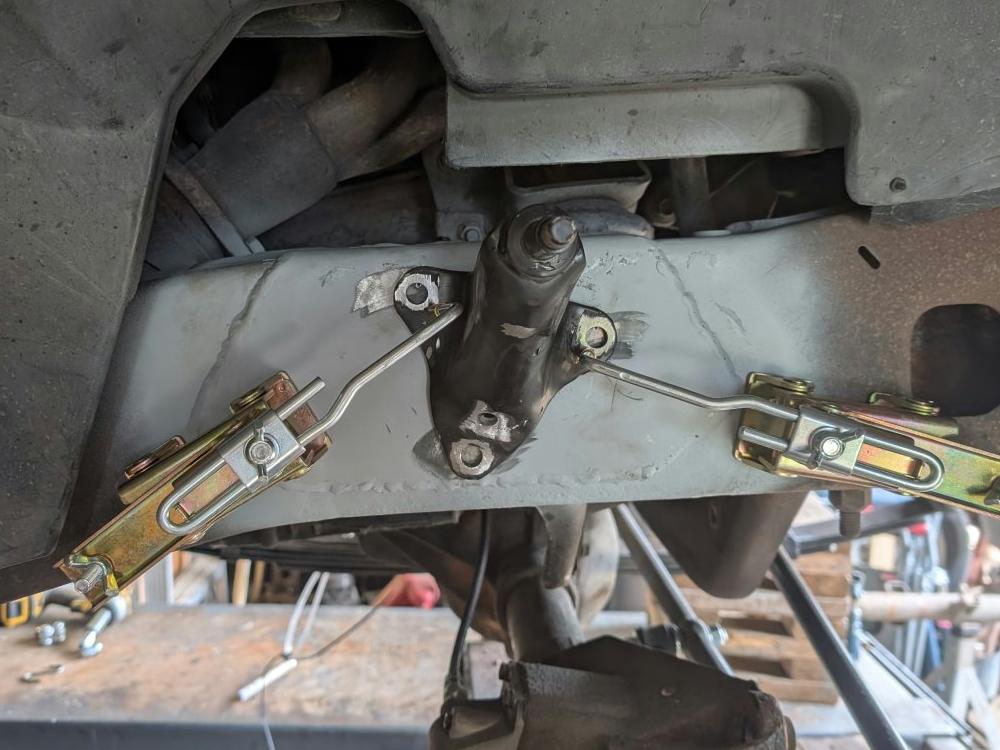
The Jeep Dana 30 uses a Central Axle Disconnect (CAD) which is a vacuum‑operated mechanism that allows the front axle to be disconnected in 2WD and re‑engaged in 4WD. PlumCrazy swapped out the vacuum CAD for a Posi Lok cable setup. A side benefit is that the setup allows him to use 2WD LOW for yard work. The cable provided in the “stock height” Jeep kit is pretty long which made finding a place to mount the knob that was convenient and kept the cable routed smoothly and tucked out of harm’s way a challenge.
PlumCrazy chopped a YJ trackbar about 8-inches from the frame end and flipping it 180°. He put a 45° chamfer on the ends and welded it back together. He then installed the bar backwards from how it would be used on a Jeep. This pushes the bar forward enough to clear the crossmember and angles back enough to shoot behind the pitman arm (which is backwards from a Jeep application). Plum made a template for the trackbar frame mount, cut the shape out with a bandsaw, and then welded it to the frame.
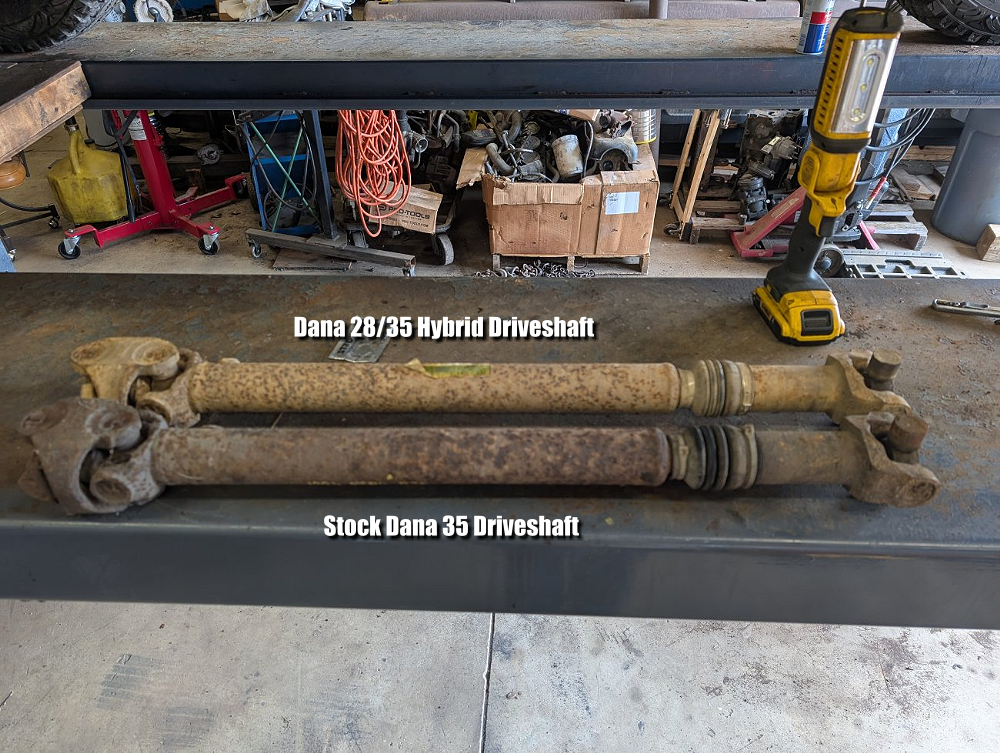
A stock Dana 35 front driveshaft bolted in between the transfer case and the Dana 30. Plum felt that the driveshaft was a little stretched out and is considering using the driveshaft he has from a Dana 28/35 hybrid axle which is an inch longer.
Steering & Handling
Steering is handled by a Jeep YJ drag link and an 80’s MOPAR tie rod connected to a dropped pitman arm on the Ranger steering box.
Once the truck was on the road, he continued refining it. The leaf-sprung front end initially drove better than might be expected, but after putting substantial daily-driver miles on the truck, PlumCrazy wasn’t completely satisfied with its behavior on crowned and bumpy roads. The truck didn’t have bump steer, but it required more steering correction than he wanted. His solution was appropriately simple. He put a factory Ranger front sway bar back on the truck and adapted the mounts and links to work with the YJ suspension. The change made a noticeable difference.
Rust Repair & Shock Mounts
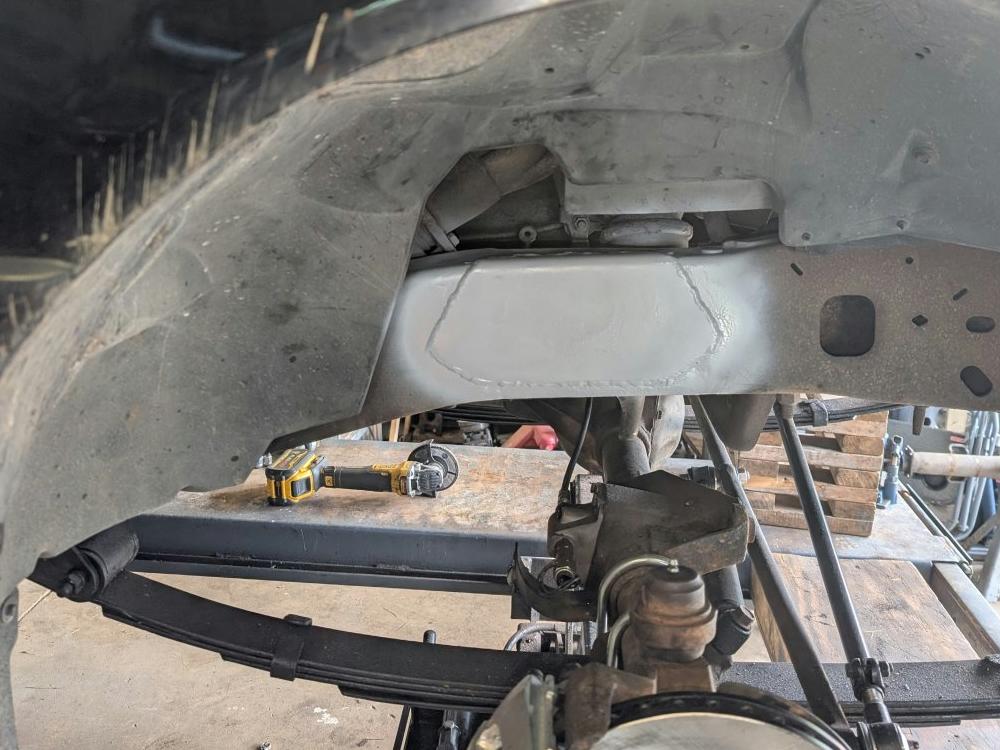
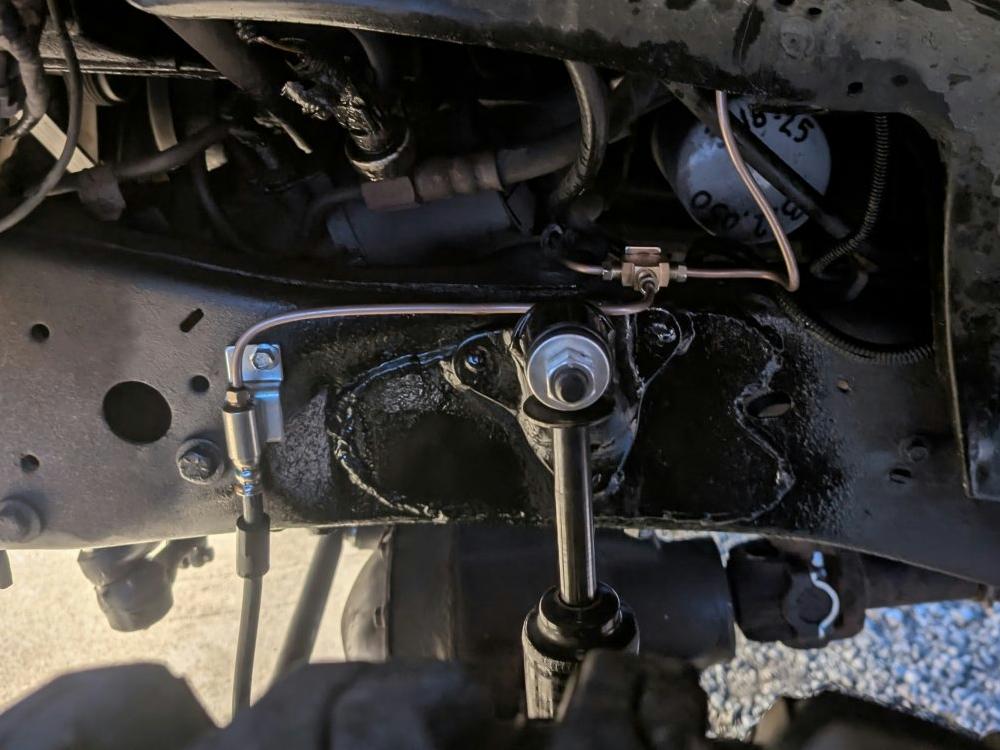
It shouldn’t come as a surprise that a 1997 Ford Ranger that racked up more than 300,000 miles in a rustbelt state would have some frame rot. PlumCrazy needed to replace a couple of crossmembers, then cut out rusted areas of the frame and weld in new metal and patch plates.
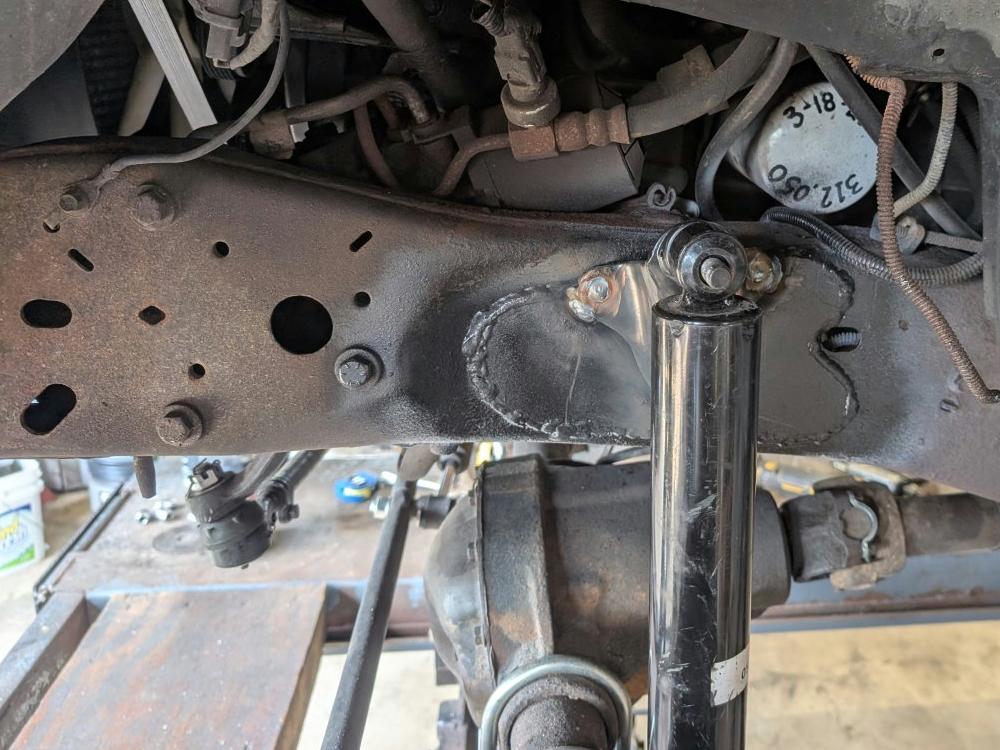
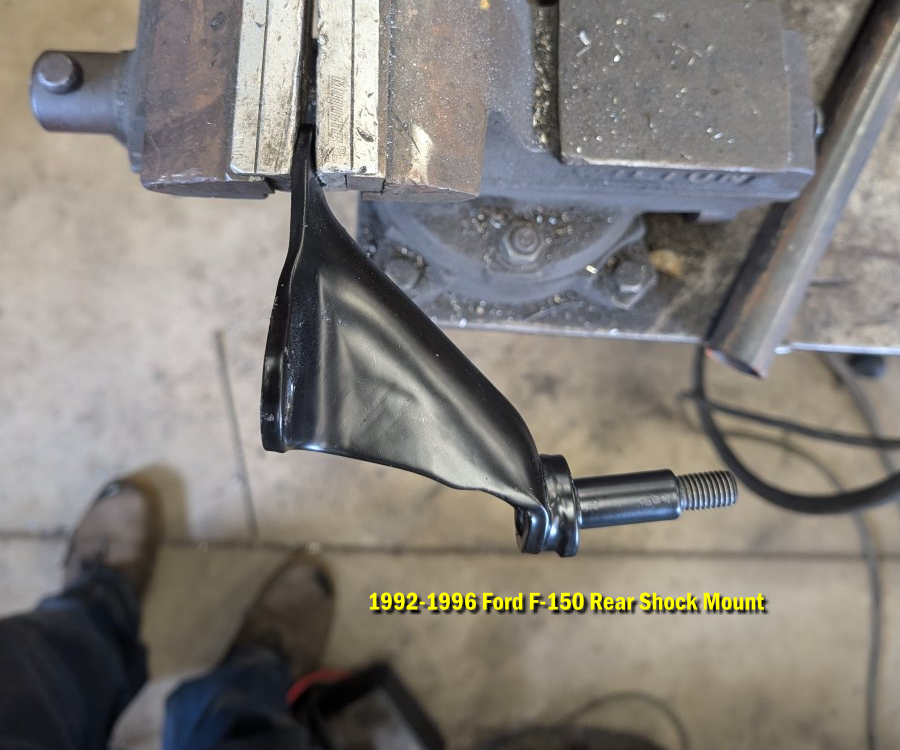
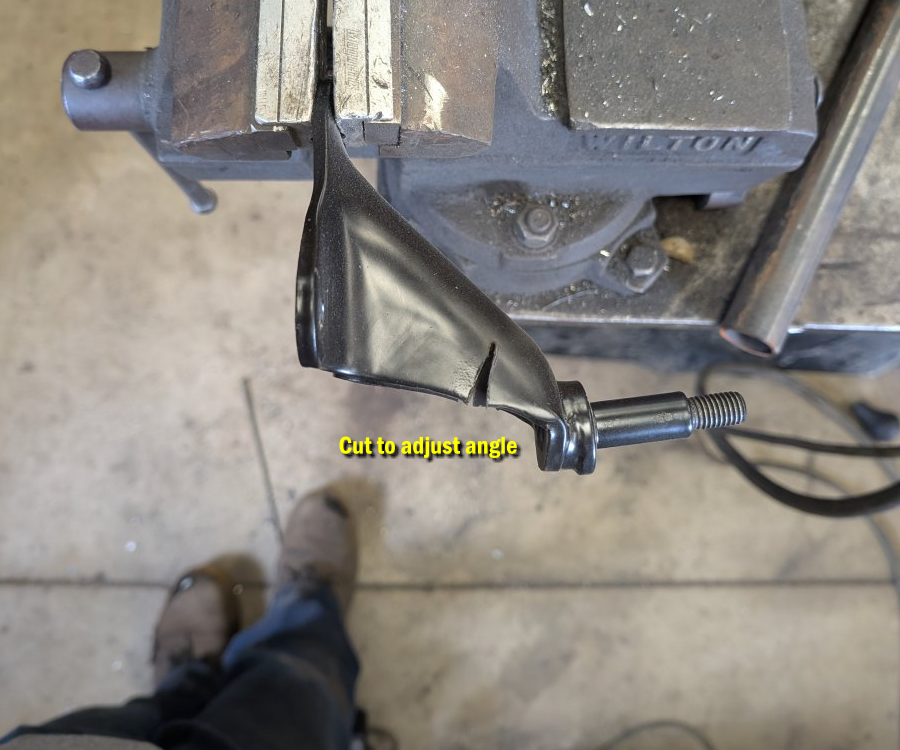
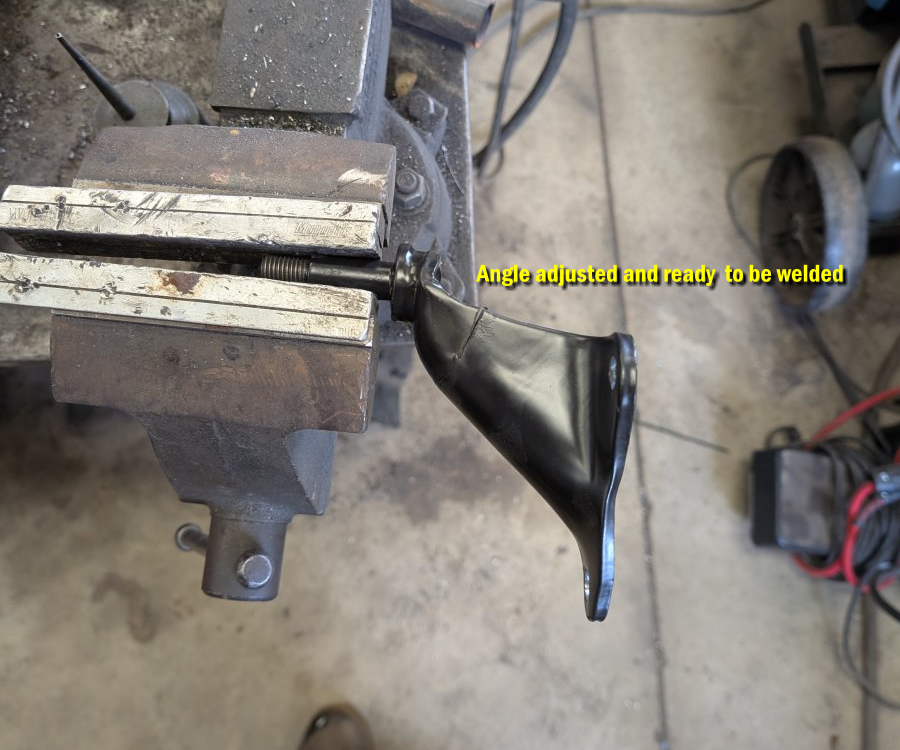
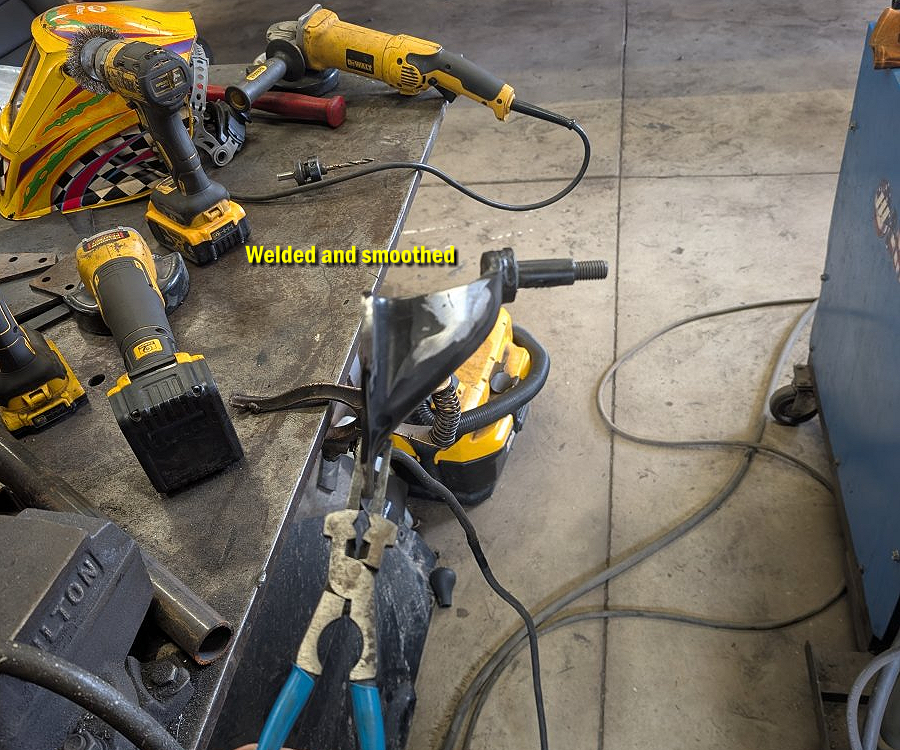
The front shock mounts and coil spring buckets had been removed when PlumCrazy removed the old front suspension, so he used a pair of rear shock mounts from a 1992-1996 Ford F-150 to mount the front shocks. He cut a small wedge from the mounts to change their angle, then welded them back together before welding them to the Ranger’s frame.
Another victim of time and rust were the body mounts. The bolts were rusted and some of the bushings were missing. According to PlumCrazy “It’s bad enough that a rough bridge joint moves the cab to a new resting spot each morning. So, before snow flies and I put the thing in the ditch with an ejecto-cab I’m going to have to do something.” The problem was resolved with a combination of new and salvaged body mount bushings and hardware.
A Head Full of Problems
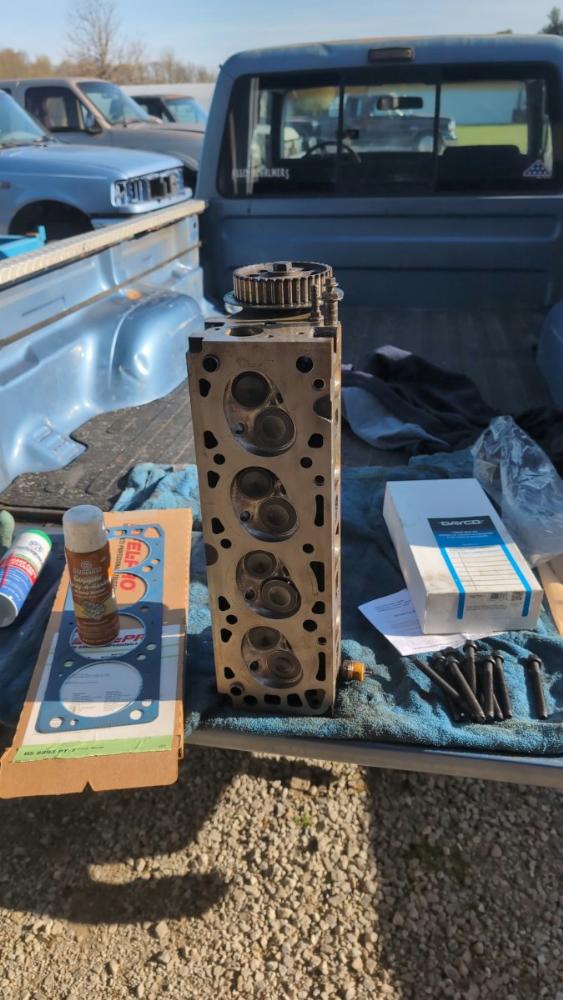
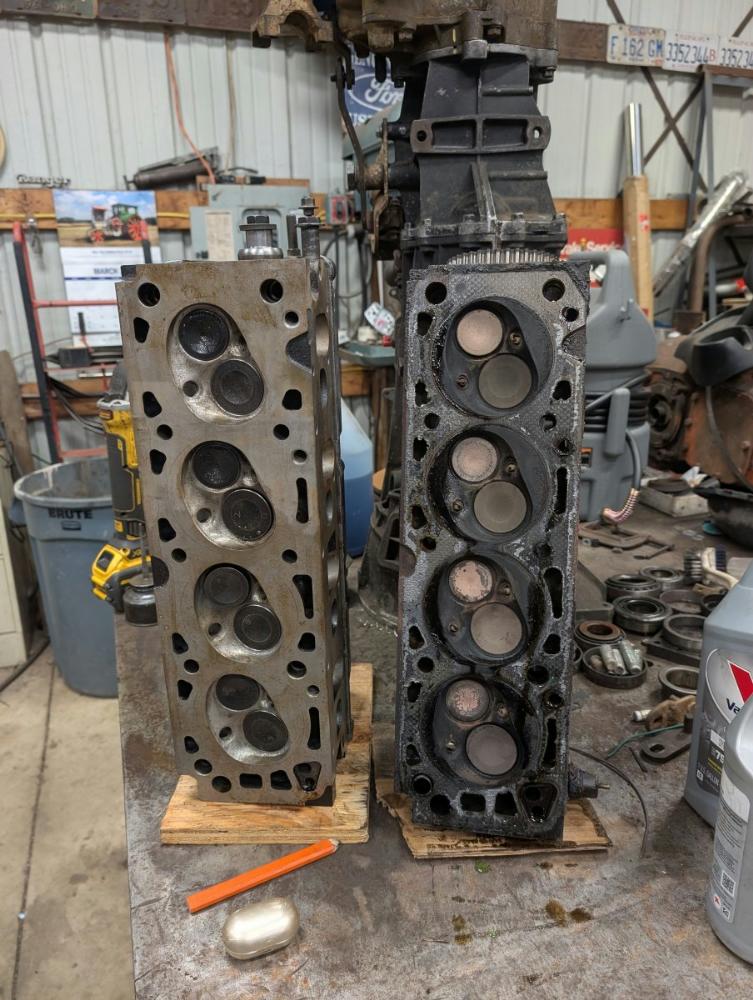
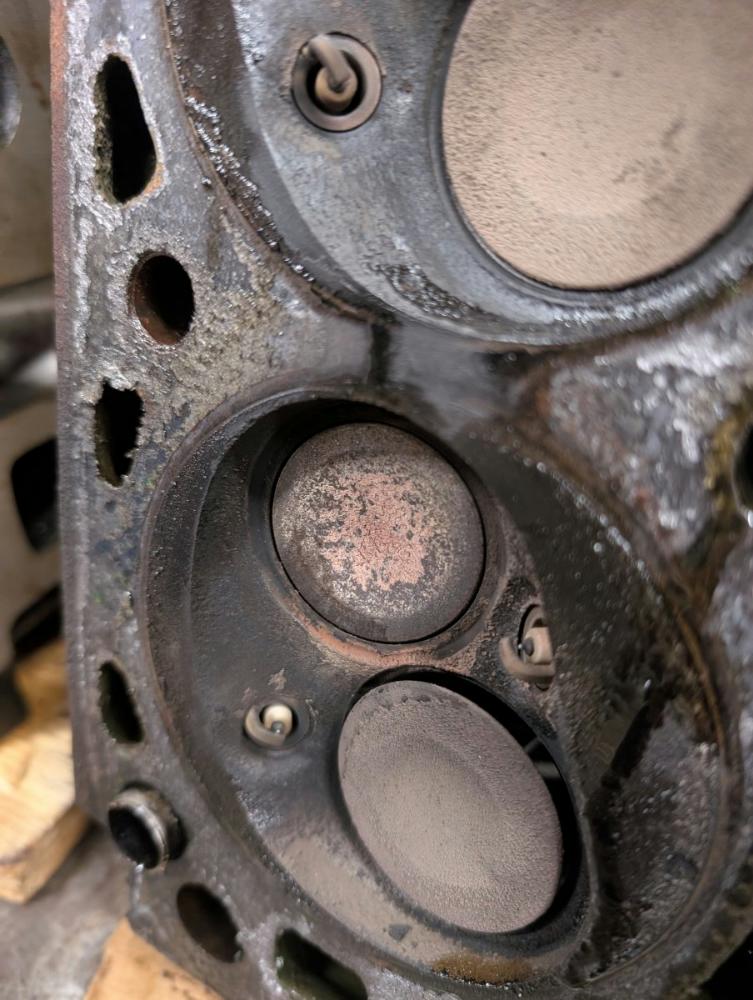
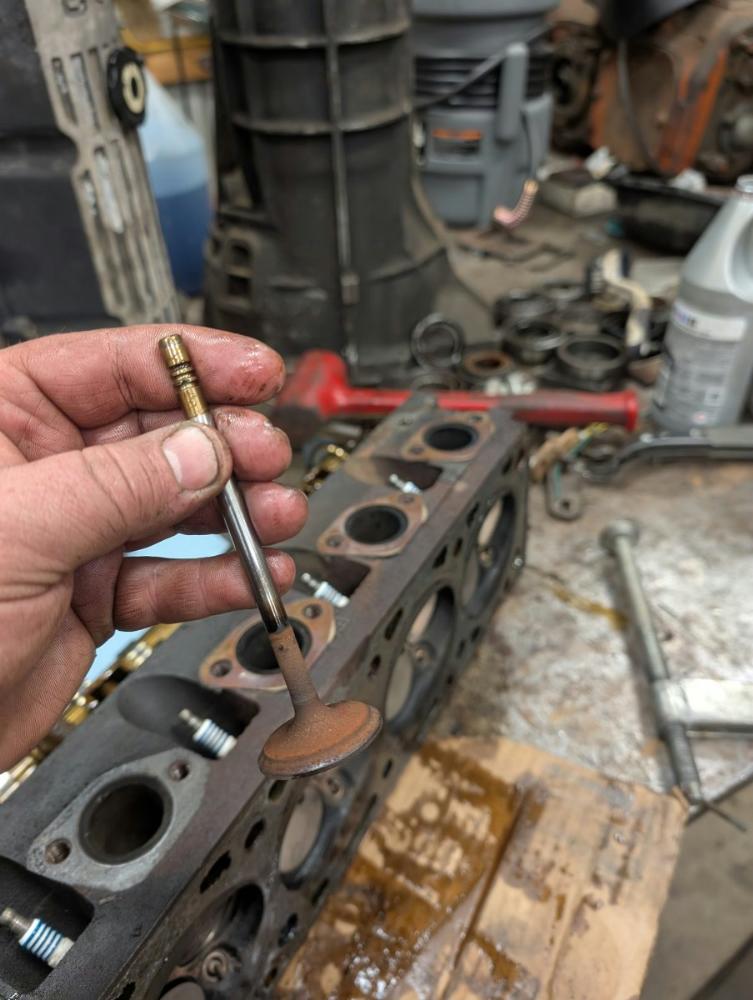
During the winter, PlumCrazy discovered that the high-mileage 2.3L suffered from a heavy miss when cold. He pulled the cylinder head and found that the exhaust valve seats had sunk into the head far enough that the lifters couldn’t collapse enough to allow the valves to seal. PlumCrazy picked up a replacement head from another TRS member, repaired the timing-belt tensioner bolt holes with helicoils, and installed it with a new timing belt.
The Smaller Details
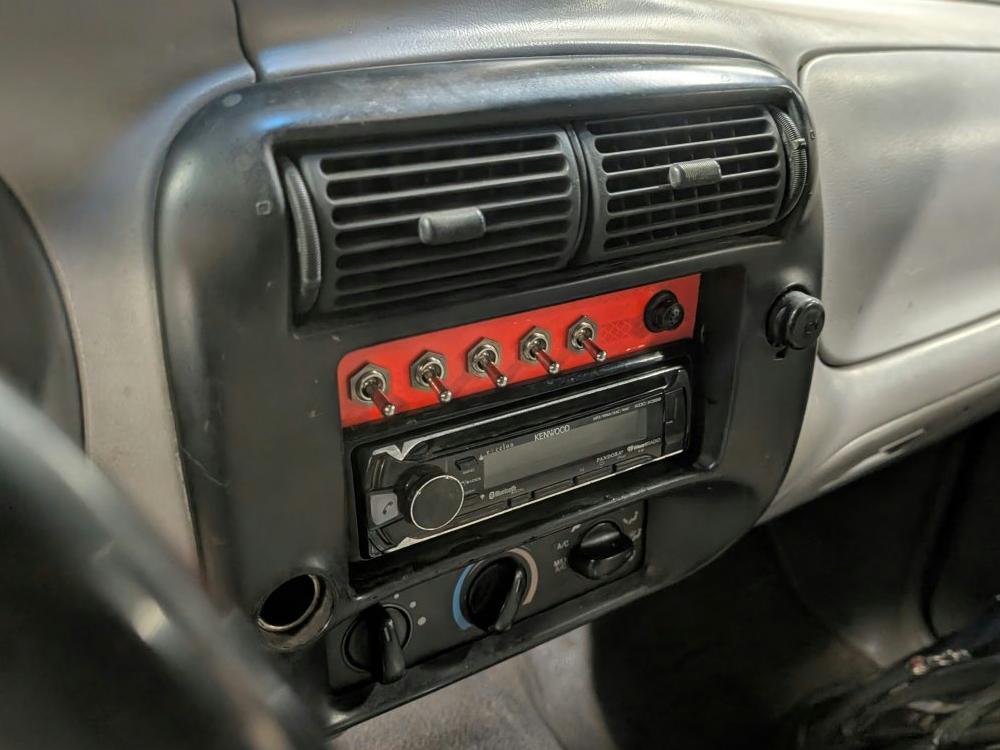
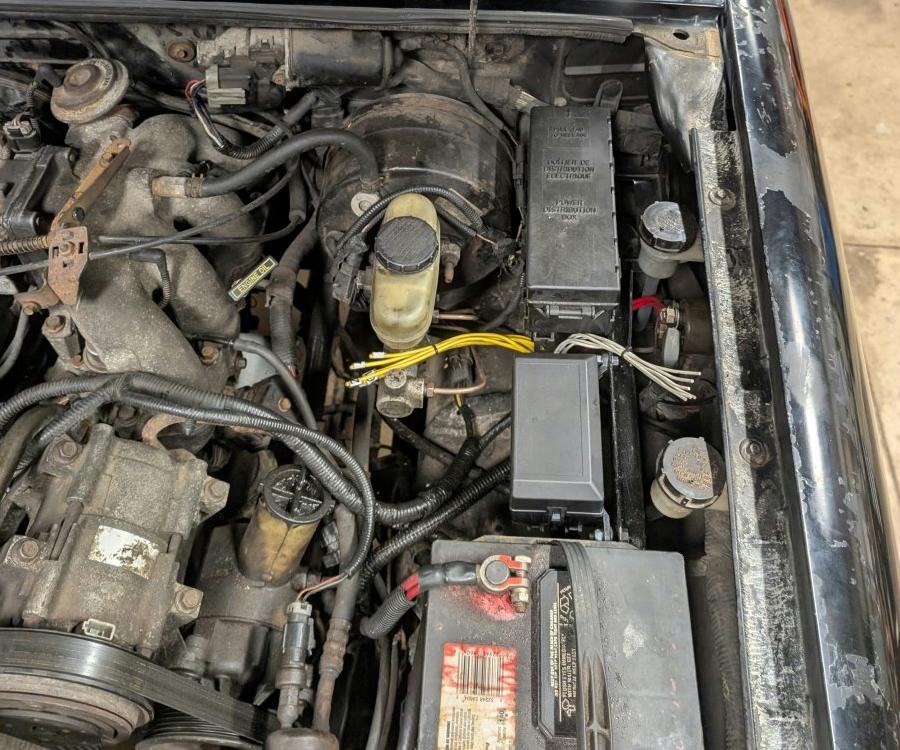
There’s a lot of smaller but equally cool details that make up this truck, such as the custom switch panel above the radio in the double-DIN opening, a donor fuse block added to power accessories, and a light bar welded to the front bumper that now holds a pair of clear and amber off-road lights.
A Beater Worth a Closer Look
PlumCrazy may call it a beater, but there’s nothing half-assed about the way he built it. He started with a 300,000-plus-mile 2WD Ranger and turned it into a simple, functional 4×4 using a combination of parts he already had, parts he found, and parts he modified to do something they weren’t originally intended to do.
There are more photos and details in his build thread than I could possibly fit into this article, and the truck continues to evolve. That’s part of what makes a PlumCrazy build interesting. You never quite know what he’s going to come up with next.
I’ve seen people ask whether an old, high-mileage Ranger is worth saving. That’s ultimately a decision for the owner, but PlumCrazy’s Beater makes a pretty good argument for giving an old truck another chance.
After all, this is PlumCrazy we’re talking about. He doesn’t seem to look at an old Ranger and see a truck that’s worn out. He sees a pile of parts, a few problems to solve, and a reason to build something.
Check out the build thread: PlumCrazy’s Beater DD 4×4 SAS Build
Specifications
Owner: PlumCrazy
Base Vehicle: 1997 Ford Ranger XL
Drivetrain: 4WD conversion
Engine: 2.3L 4-cylinder
Transmission: M5OD-R1 5-speed manual
Transfer Case: BorgWarner BW1354, manual shift
Front Axle: Jeep YJ Dana 30 solid front axle
Front Suspension: Jeep YJ 4-inch lift leaf springs, spring-under-axle configuration
Rear Axle: Ford 8.8-inch
Differential Gears: 4.10:1 front and rear
Rear Differential: 28-spline Trac-Lok limited-slip
Rear Suspension: Ford Explorer 4-inch lift leaf springs
Steering: Jeep YJ drag link, 1980s MOPAR tie rod, dropped pitman arm
Front Axle Disconnect: Posi-Lok cable conversion
Front Driveshaft: Ford Ranger Dana 35 driveshaft
Wheels: Ford Alcoa wheels
Tires: 31-inch Pro Comp mud-terrain tires
Front Sway Bar: Factory Ford Ranger sway bar, adapted to the solid axle suspension
Front Shocks: Mounted using modified 1992–1996 Ford F-150 rear shock mounts
Build Style: Low-budget solid axle swap using salvaged, repurposed and fabricated parts
Intended Use: Daily driver and occasional off-road adventures
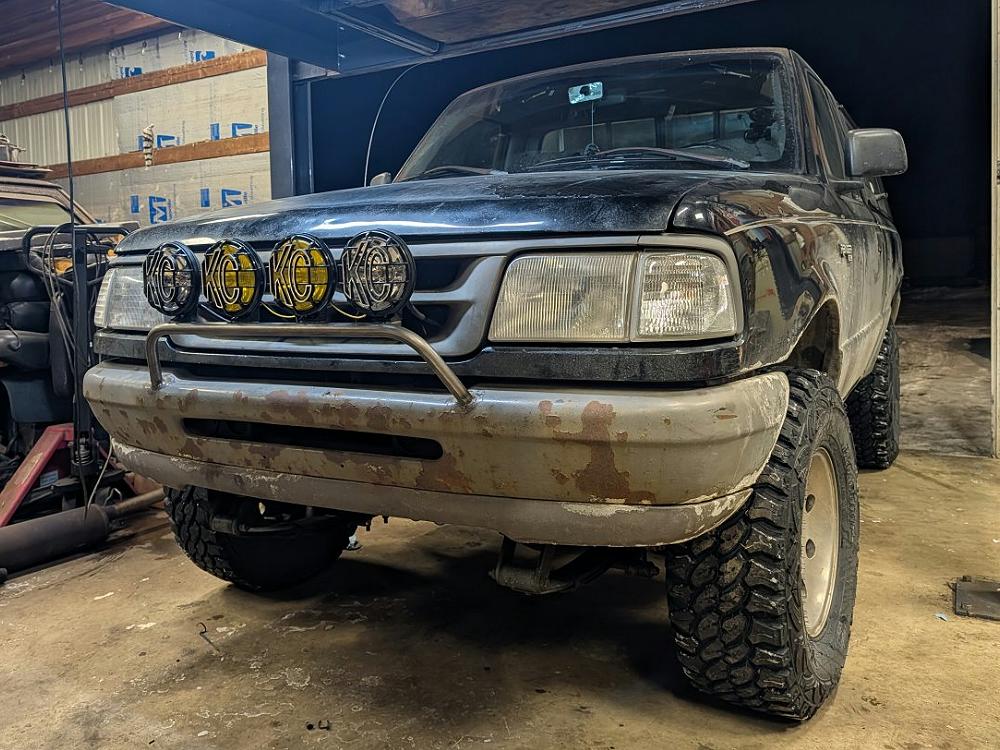
Photo Gallery
About The Author
Jim Oaks is the founder of TheRangerStation.com, the longest-running Ford Ranger resource online since 1999. With over 25 years of hands-on experience building and modifying Ford Rangers — including magazine-featured builds like Project Transformer — Jim has become one of the most trusted authorities in the Ford Ranger off-road and enthusiast space.
Since launching TheRangerStation.com, Jim has documented thousands of real-world Ranger builds, technical repairs, drivetrain swaps, suspension modifications, and off-road adventures contributed by owners worldwide. TheRangerStation.com has been referenced in print, video and online by enthusiasts, mechanics, and off-road builders looking for practical, and experience-based information.