
Introduction
This article shows you how to remove or flip the spring in the Ford Ranger center console to stop it from opening automatically.
Disclaimer: The Ranger Station.com, The Ranger Station.com Staff, nor the original poster are responsible for you doing this modification to your vehicle. By doing this modification and following this how-to you, the installer, take full responsibility if anything is damaged or messed up. If you have questions, feel free to PM the original poster or ask in the appropriate section of The Ranger Station.com forums.
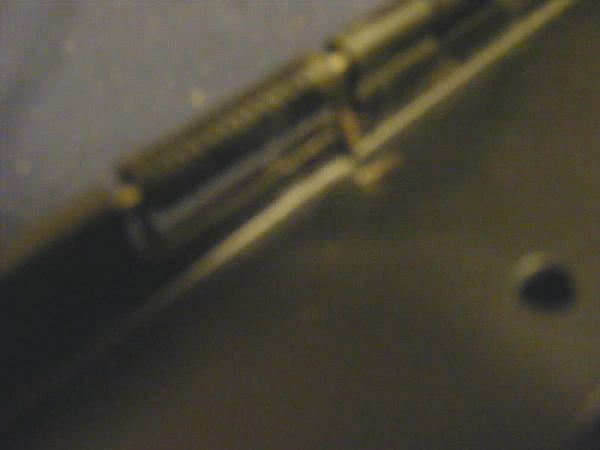
CAUTION: Pics were taken after this process was completed. The hinge by default has 3 springs in it. I recommend only placing one back in when reassembling.
Tools
- Small Hammer
- Very small punch
- Philips Screwdriver
- Different sets of needle nose pliers, angle head NN pliers will work the best
- Optional-C clamps or Vice Grips
Procedure – Steps
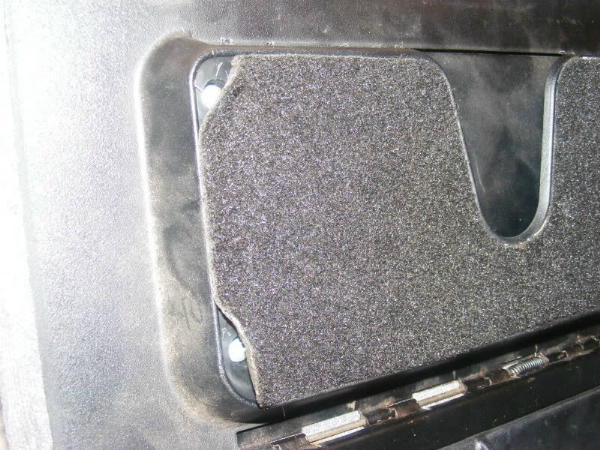
Step 1. Remove the center console from the ranger.
Step 2. Either peel the felt off the top and bottom or just the (4) corners on both felt pads.

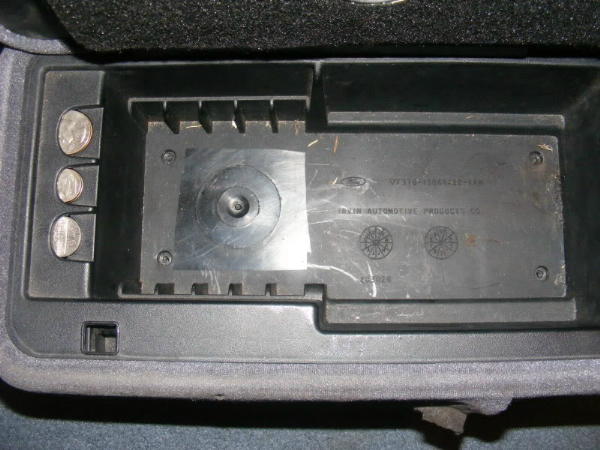
Step 3. Remove all (8) screws (4 on top and 4 on bottom).
Step 4. The top part and bottom piece should now easily come off, remove them

Step 5. Take out the (8) screws holding the hinge in place.

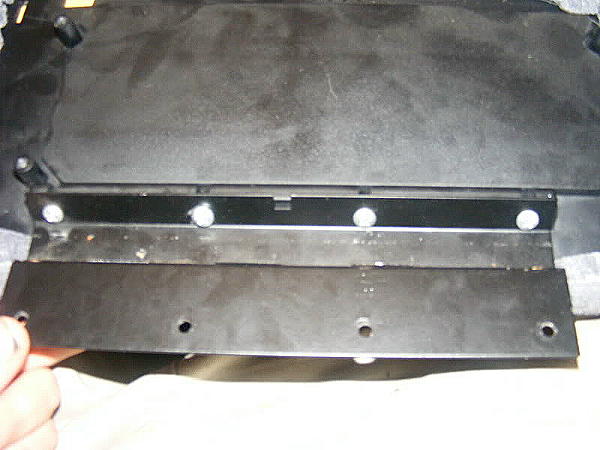
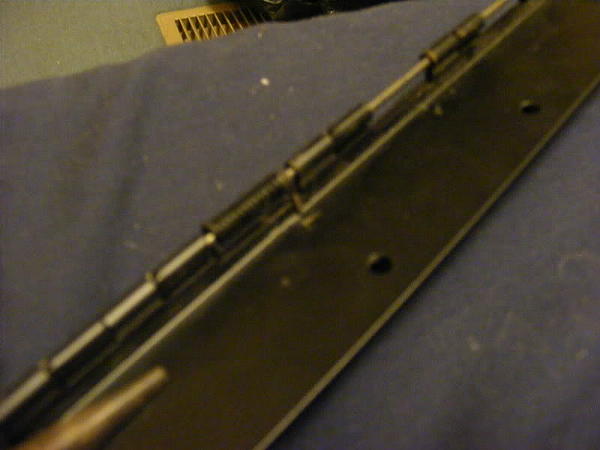
Step 6. Insert a small punch in the end of the hinge and hammer it out a little bit, the use pliers to pull the rod out of the hinge (one side of the rod is painted black and is hammered flat, use the punch in the opposite side)

Step 7. With the springs out, you can put the rod back in by itself and reassemble the whole console and it won’t force itself to open or close.
Step 8. If you want the console to have pressure holding it closed, insert the rod till it is halfway poking through the first spring slot.
Step 9. With the bracket in the CLOSED position, put the spring back in place with one tab of the spring on the TOP of the bracket towards the side you are inserting the rod.

10. Using needle nose pliers, bend the spring around so will pushing UP on the BOTTOM piece of the hinge.
11. Still holding the spring loaded, have a friend push the rod in with a hammer or pliers so it slides through the spring and into the next part of the hinge.

12. I recommend only putting one spring in, it has plenty of push to keep the lid down firmly. Push the rod through the hinge the rest of the way, and reassemble the console. C clamps or vice grips will help with reinstalling the hinge onto the cover, put the screws in the top of the console, then the bottom.
13. Press the felt back down or use glue to stop edges from curling.
Contributor
This modification was performed and documented by TRS forum member DarkMax who submitted it to the author to publish it at The Ranger Station to help other Ford Ranger owners.
Related Articles
1995-2001 Ford Explorer Center Console Removal
Explorer Overhead Console Upgrade
Explorer Center Console Upgrade
Remove / Install 2002-2005 Ford Explorer Center Console
How To Remove The Center (Short) Console
Ford Explorer Full Length Console Install
Ford Explorer Console Information Center
Last Updated:
About The Author
Jim Oaks is the founder of TheRangerStation.com, the longest-running Ford Ranger resource online since 1999. With over 25 years of hands-on experience building and modifying Ford Rangers — including magazine-featured builds like Project Transformer — Jim has become one of the most trusted authorities in the Ford Ranger off-road and enthusiast space.
Since launching TheRangerStation.com, Jim has documented thousands of real-world Ranger builds, technical repairs, drivetrain swaps, suspension modifications, and off-road adventures contributed by owners worldwide. TheRangerStation.com has been referenced in print, video and online by enthusiasts, mechanics, and off-road builders looking for practical, and experience-based information.