
Introduction
The Ford Explorer full length console is a popular feature to swap into a Ford Ranger. Here’s how to remove and install a 2002-2005 Ford Explorer Center Console.
Tools Required:
1. 7MM Socket
2. 8MM Socket
3. Ratchet
4. Large Slotted Screwdriver
5. Butter Knife of Putty Knife
Center Console Removal & Replacement Detailed Instructions:
1. Remove Center Console Upper Half
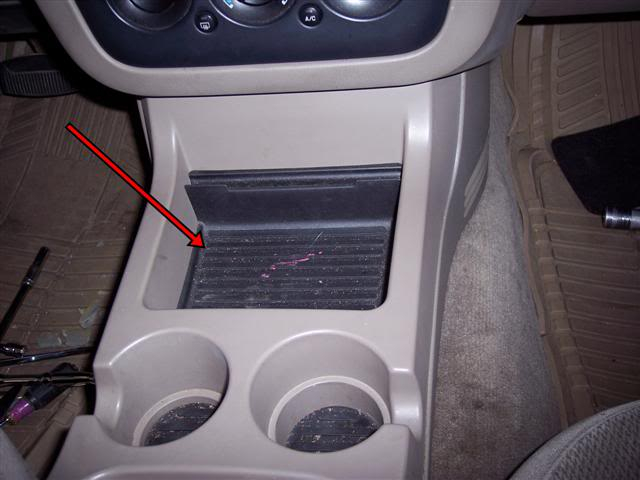
1.a. Remove rubber mat
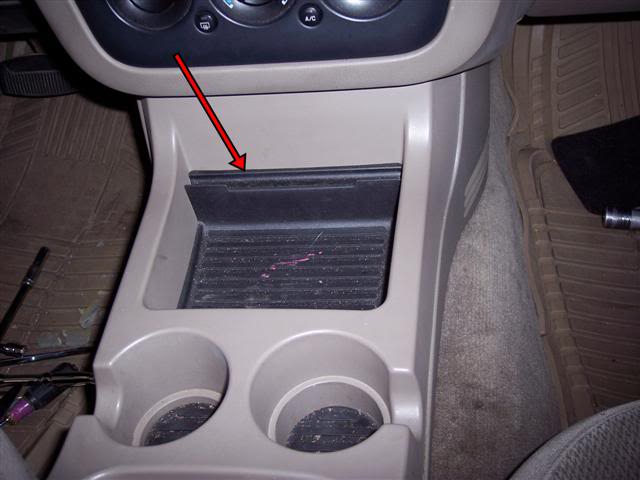
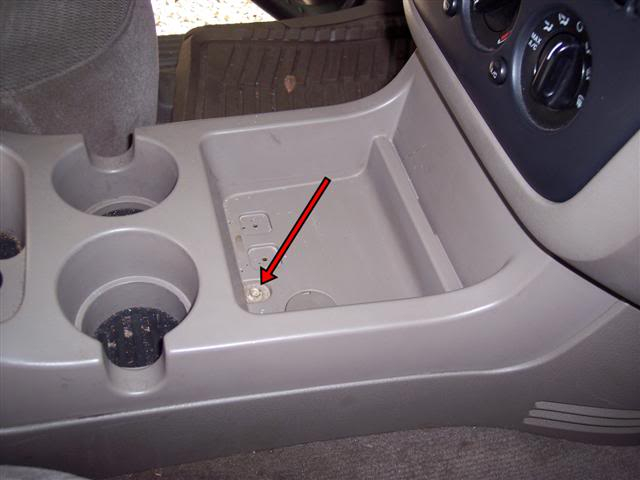
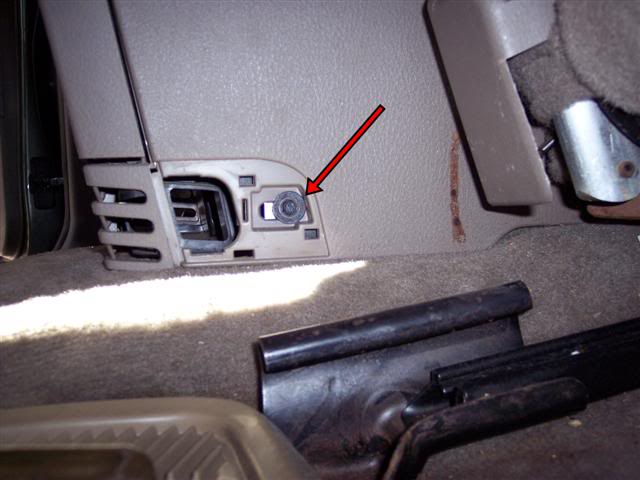
1.b. Remove screw under mat – 7MM socket required
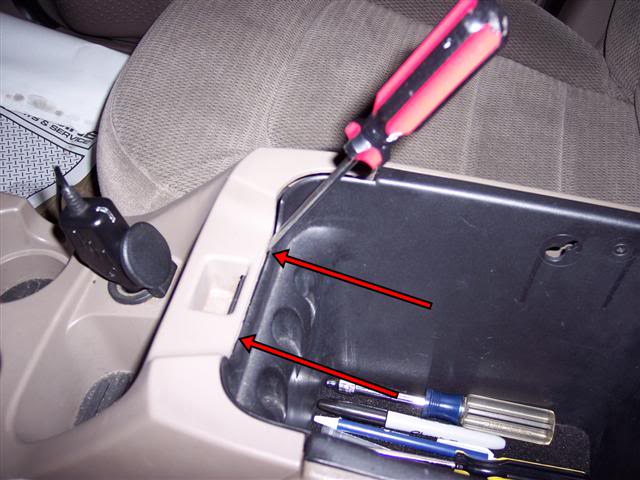
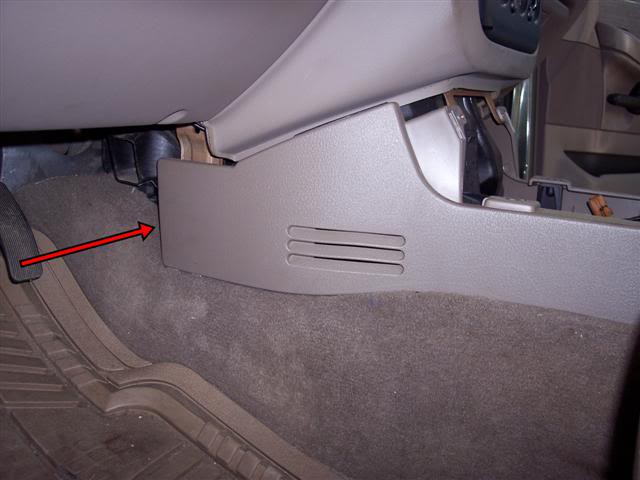
1.c. Pry from rear and pull out console upper half
1.d. Disconnect front power point connector & extra power source connector (Cigarette Lighter?)
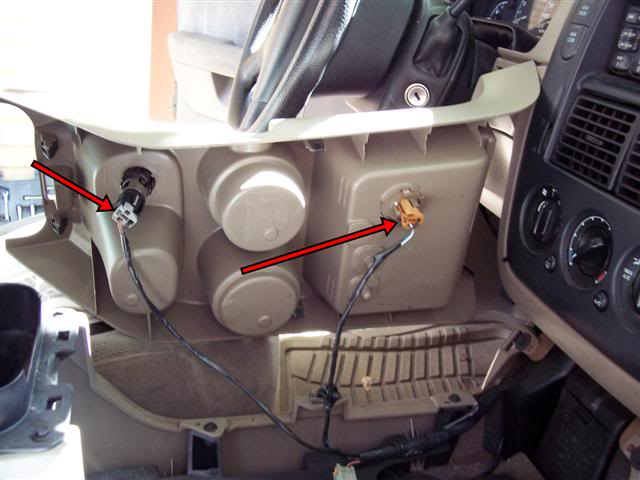
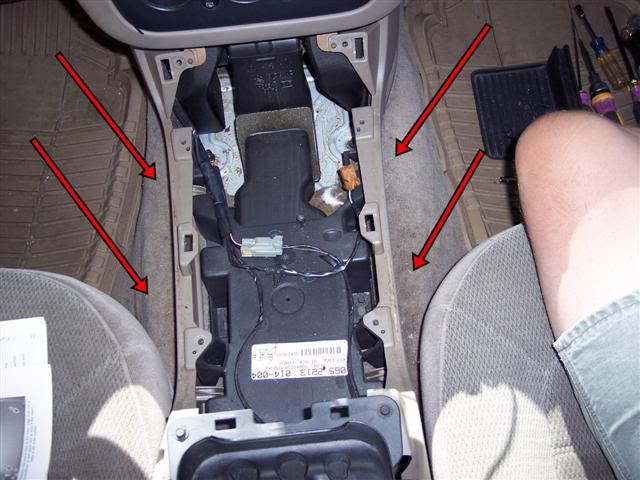
1.e. View with upper half removed
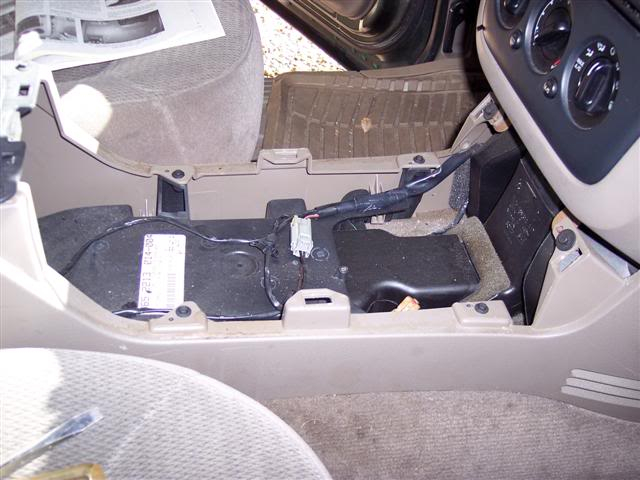
2. Remove Center Console Lower Half
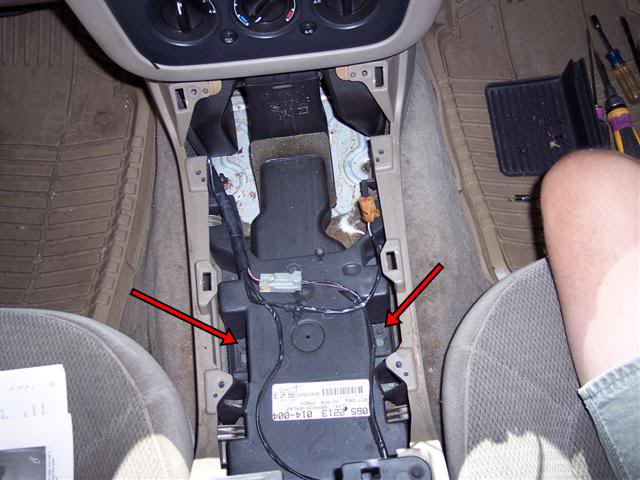
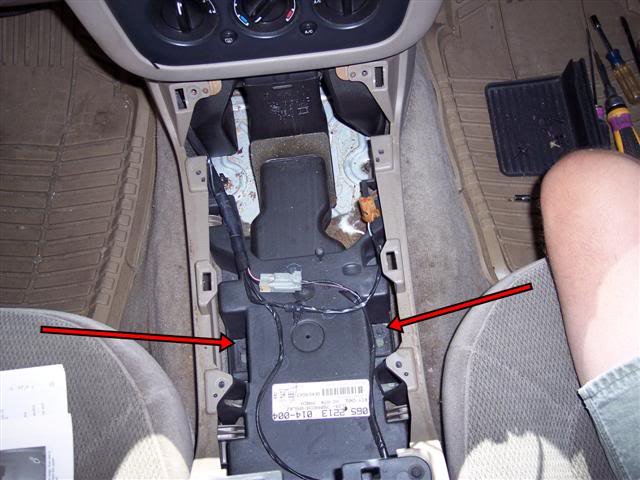
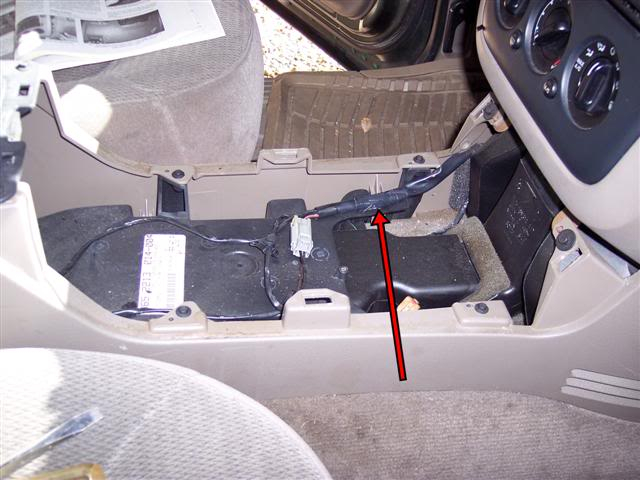
2.a. Disconnect rear power point connector
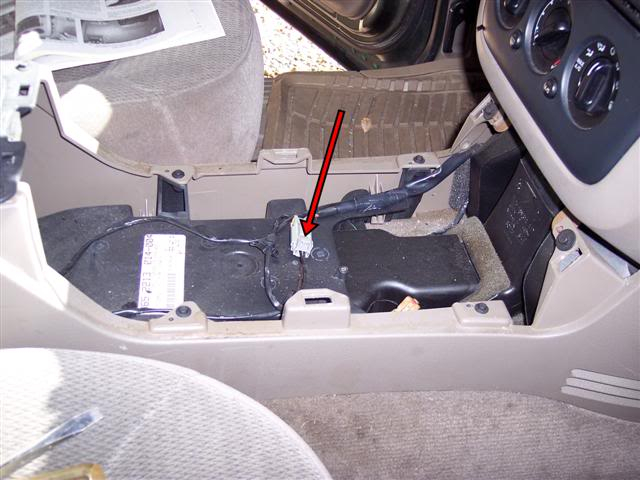
2.b. Pop off rear power point connector with screwdriver – be careful not to damage connector
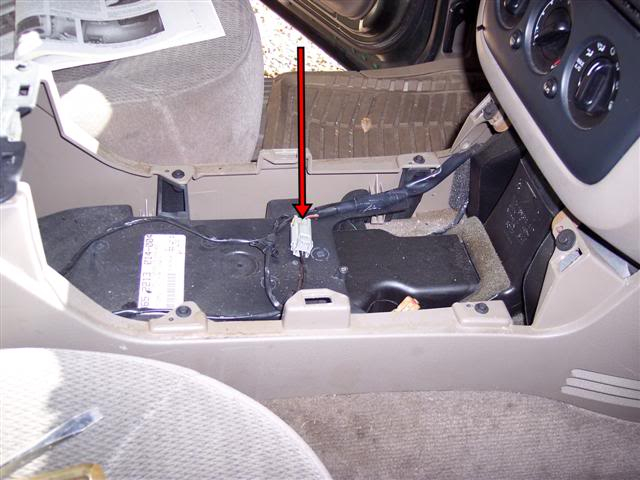
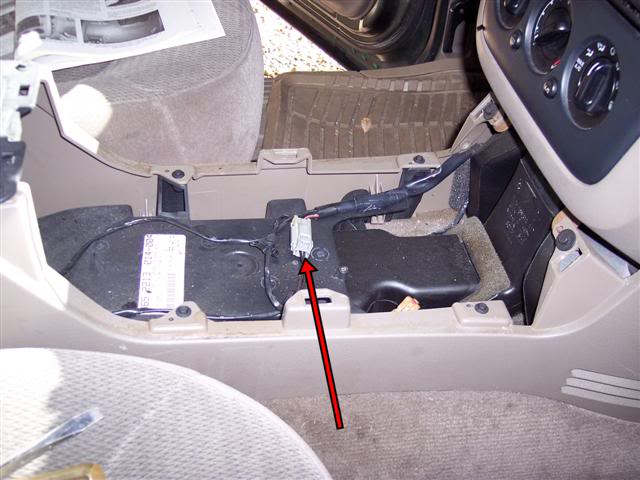
2.c. Pop off harness with screwdriver – be careful not to damage any wires
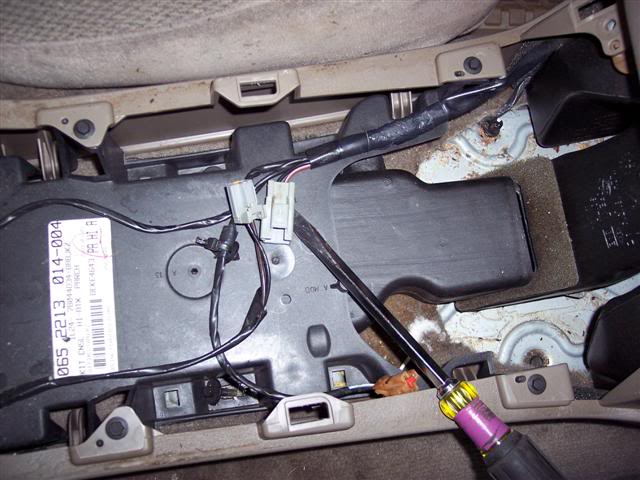
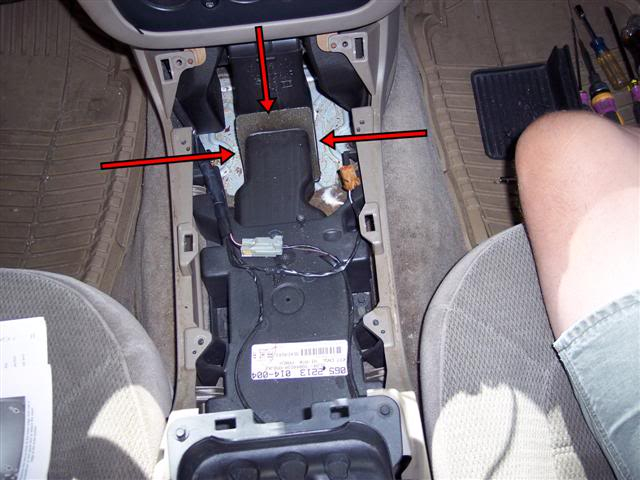
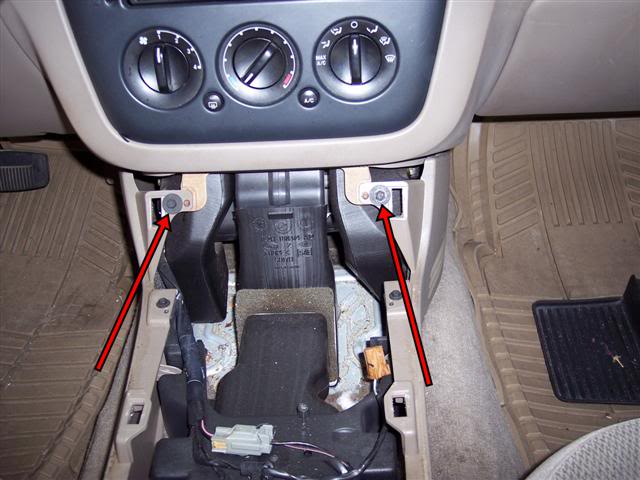
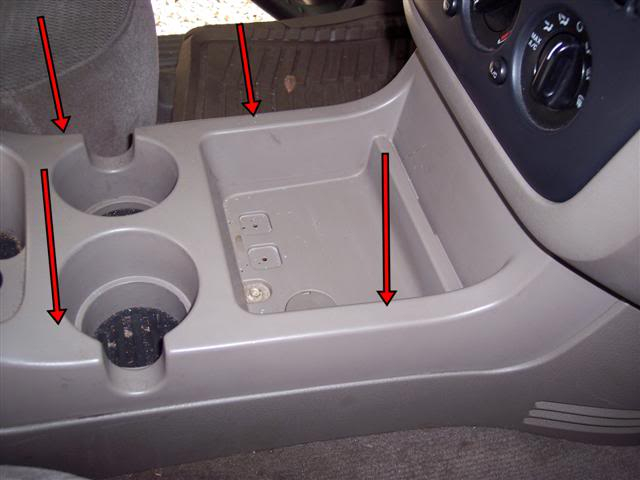
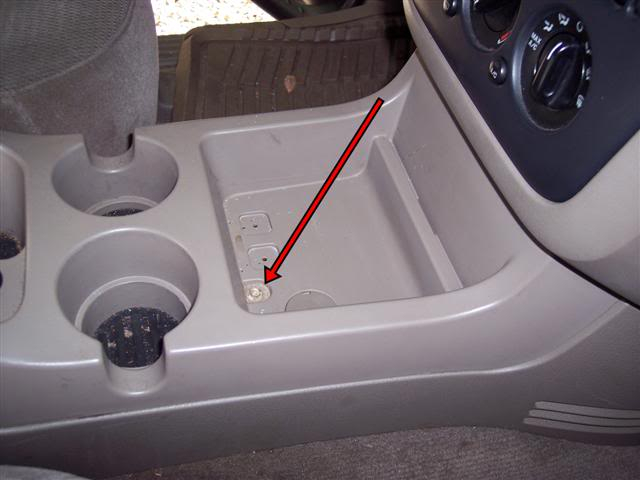
2.d. Remove 2 front screws – 8MM socket required
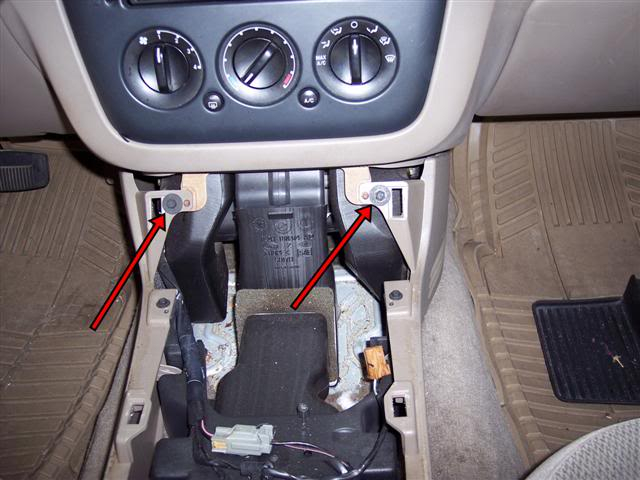
2.e. Remove 2 duct screws – 8MM socket required
2.f. 4 top screws remain in place
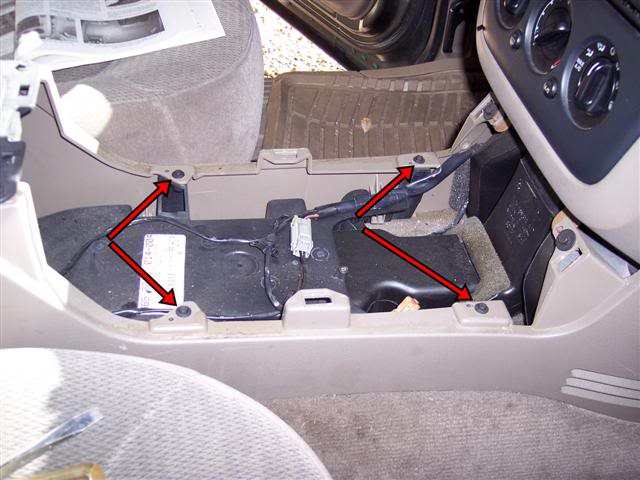
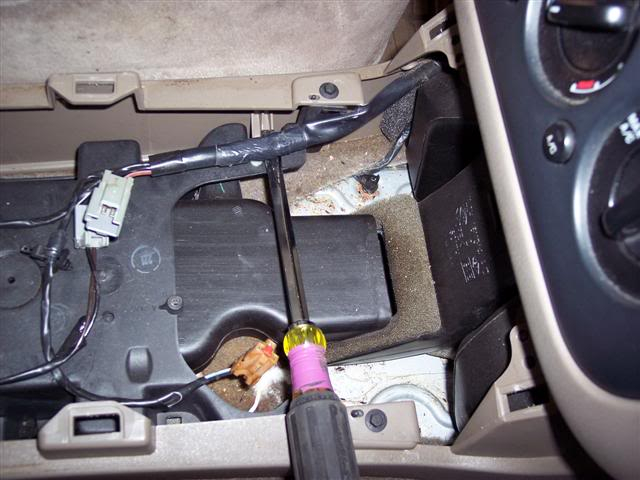
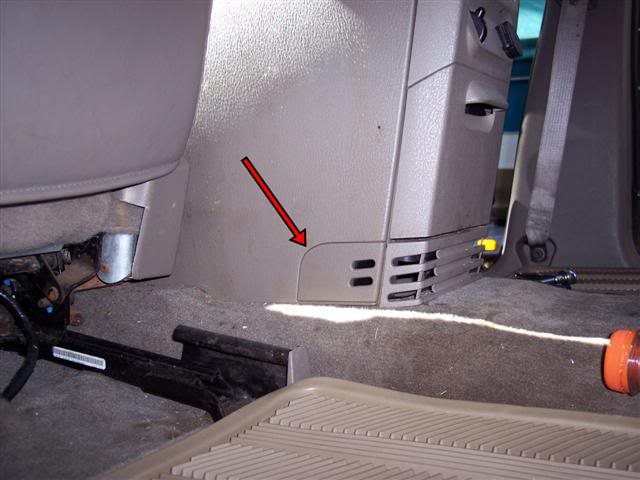
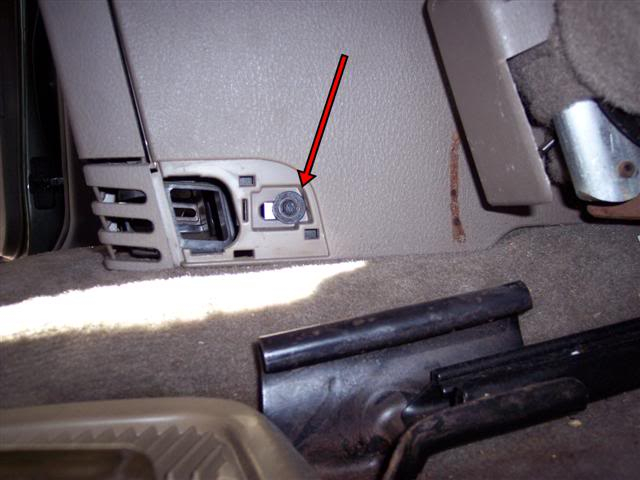
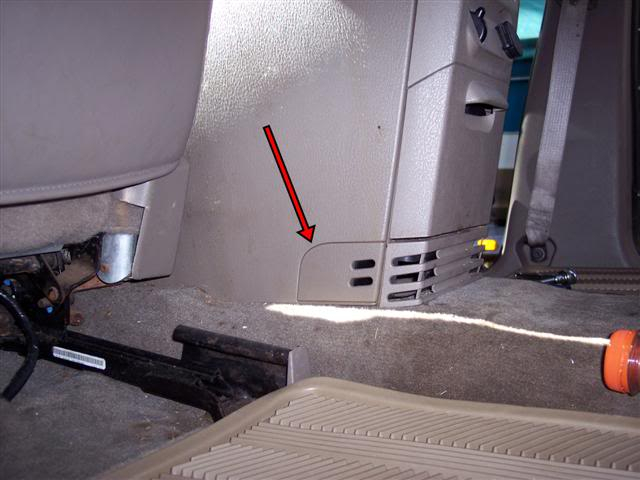
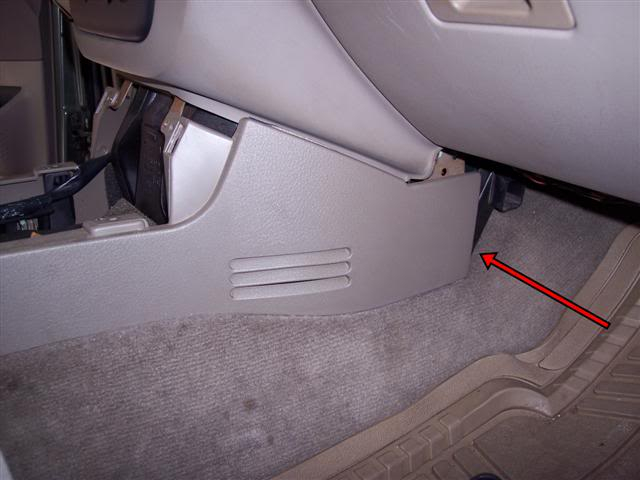
2.g. Remove passenger side rear screw cover – butter knife or putty knife required
2.h. Remove passenger side rear screw – 8MM socket required
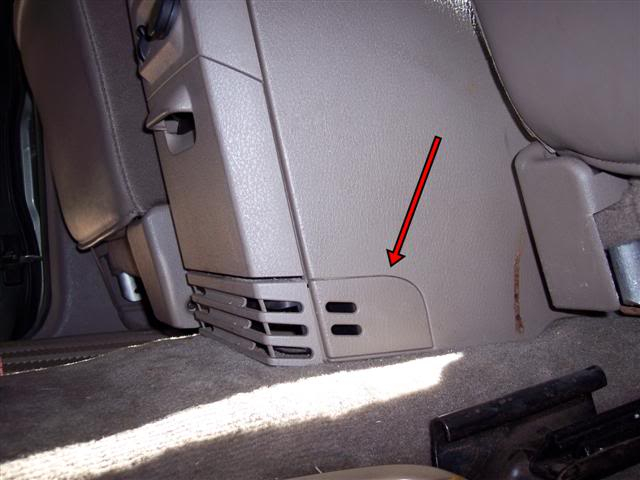
2.i. Remove driver side rear screw cover – butter knife or putty knife required
2.l. Remove driver side rear screw – 8MM socket required

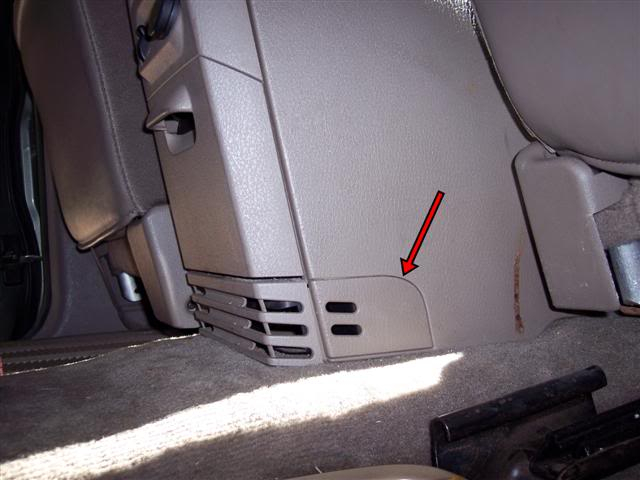
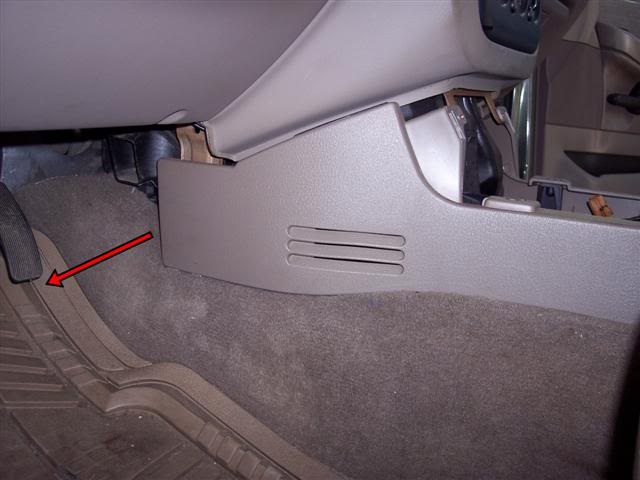
2.j. Pull passenger side front of console away from center and toward door to disengage velcro

2.k. Pull driver side front of console away from center and toward door to disengage velcro
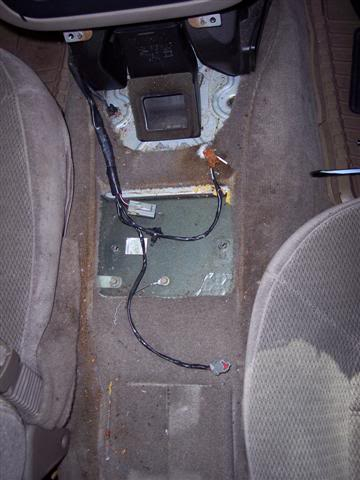
2.l. Lift console lower half up and out of vehicle
Removal of Center Console is Complete!
Replace Center Console
3. Reinstall Center Console Lower Half
3.a. Set console lower half back into place
3.b. Push console forward to close gap in lower duct
3.c. While pushing console forward, Install passenger side rear screw – 8MM socket required
3.d. Replace passenger side screw cover
3.e. While pushing console forward, Install driver side rear screw – 8MM socket required

3.f. Replace driver side rear screw cover
3.g. Install 2 duct screws – 8MM socket required
3.h. Install 2 front screws – 8MM socket required
3.i. Push passenger side front of console toward center to engage Velcro
3.j. Push driver side front of console toward center to engage Velcro
3.k. Push harness back into place
3.l. Push rear power point connector back into place
3.m. Connect rear power point
4. Reinstall Center Console Upper Half
4.a. Connect extra power source & front power point

4.b. Set console lower half back into position and push downward to snap into place
4.c. Install screw – 7MM socket required
4.d. Replace rubber matt
Center Console Removal & Replacement is Complete!
Related Articles
1995-2001 Ford Explorer Center Console Removal
Ford Explorer Full Length Console Install
Explorer Center Console Upgrade
How To Remove The Center (Short) Console
Explorer Overhead Console Upgrade
Ford Explorer Console Information Center
Last Updated:
About The Author
Jim Oaks is the founder of TheRangerStation.com, the longest-running Ford Ranger resource online since 1999. With over 25 years of hands-on experience building and modifying Ford Rangers — including magazine-featured builds like Project Transformer — Jim has become one of the most trusted authorities in the Ford Ranger off-road and enthusiast space.
Since launching TheRangerStation.com, Jim has documented thousands of real-world Ranger builds, technical repairs, drivetrain swaps, suspension modifications, and off-road adventures contributed by owners worldwide. TheRangerStation.com has been referenced in print, video and online by enthusiasts, mechanics, and off-road builders looking for practical, and experience-based information.