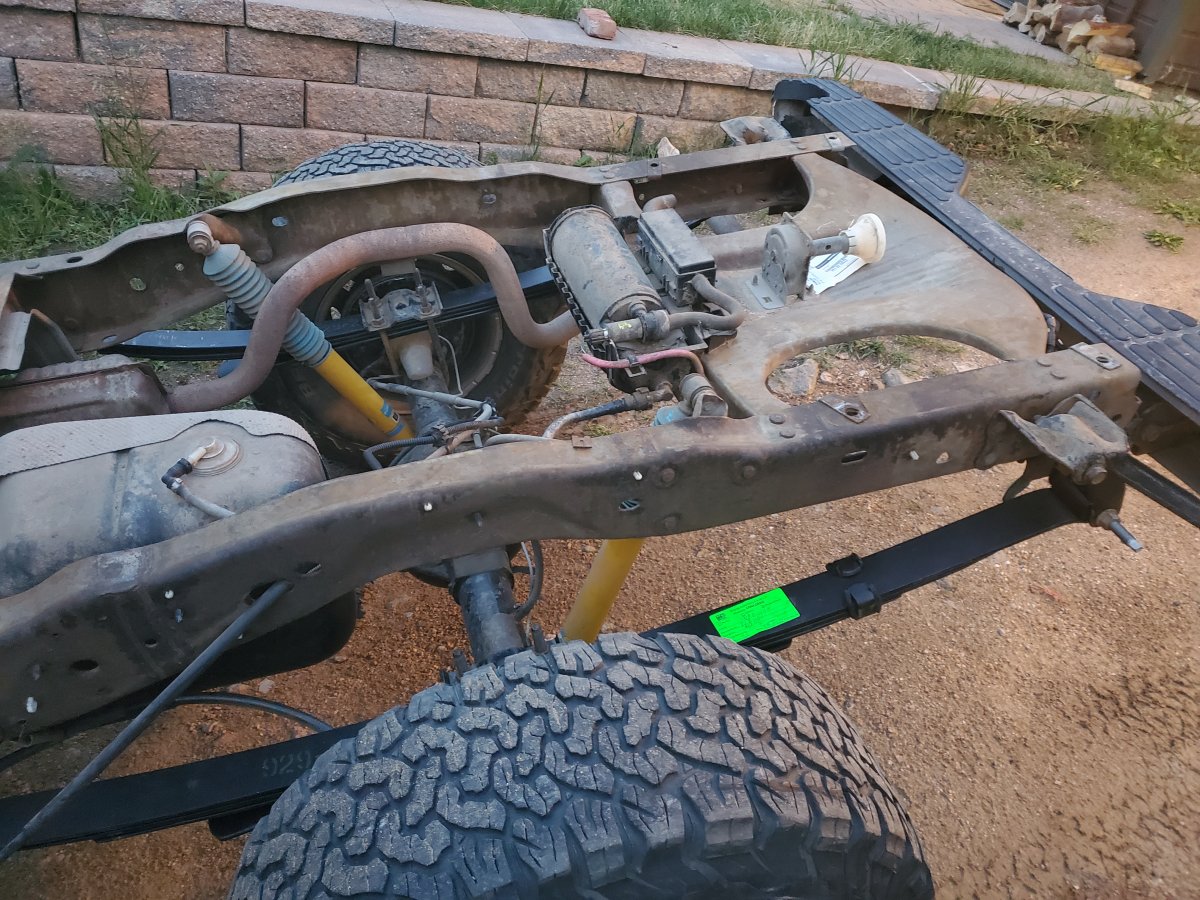
Well it's been a while, partly because I got distracted by replacing the leaf springs, which I thought would be way easier than it was... I bought the springs, but realized there was some rust on the shackles so I decided to order new ones of those too. Then when it was finally time to replace them, the bolts had rust-siezed to the bushing sleeves. Ugh. I had to grind away a part of the bushing/spring and cut the bolt head off in order to get the old springs out.
Getting back on topic, I did reassemble the front differential! I used a dremel to open up the inside diameter of the pinion head bearing so it could be used as a trial bearing (since it gets pressed on over the pinion shim). I used the original shims on both the pinion and carrier, which I had read was a good place to start. I used the old pinion nut and torqued it to preload the pinion bearings for the trial assembly... this involved using one of those gauge-type torque wrenches to check the rotating resistance on the pinion, and torquing the nut until that resistance was in spec. The kit said to omit the crush sleeve for this stage, since it's one-time use. I'm not really sure whether pinion preload matters for checking backlash and pattern, but I figured I'd do it anyway just in case and for practice!
Then I lifted the carrier into place and torqued the carrier bearing caps. When I checked the backlash it was right in the center of the tolerance range!! I was consistently seeing .008" and the range is .006"-.010".
I went ahead and checked the pattern with the gear marking compound that came with the kit, and I thought it looked pretty good too, if a little bit high. The drive side looked especially good, and the coast side was offset towards the outside diameter of the gear.
I was very happy that it looked as good as it did, just using the original shims. I guess the gearset is the same, so maybe that helps. The Torsen carrier must be machined to be pretty close to the original open carrier, too!
Anyway next I took it all back apart to swap the trial bearing out for the actual new pinion head bearing. I had to stack a bunch of old races and large sockets to male a "press tool" deep enough to seat the bearing, but that went pretty smoothly. Then I re-installed the pinion into the housing, this time with a fresh crush sleeve and nut. I must have checked the pinion assembly a dozen times to make sure the shim, bearings, crush sleeve, oil slinger, and seal were all in the correct order! Once it was installed in the housing with the new crush sleeve, reaching the correct preload was a huge pain. I bolted a flange wrench to the u-joing flange and used my biggest wrench on the nut. Rather than holding the flange wrench with a breaker bar, I clamped it to my vise to keep the pinion from rotating. Get the biggest wrench imaginable for this step, haha! Or maybe I just need to exercise more. It was a PITA though.
Once that was done I reinstalled the carrier, torqued the bearing caps again, and re-checked the backlash and pattern. Mercifully, they still looked good!


