
Original Poster: Korey89
Difficulty: 2 out of 10
Time to install: 15 minutes
Disclaimer: TheRangerStation.com, TheRangerStation.com staff, nor the original poster are responsible for you doing this modification to your vehicle. By doing this modification and following this how-to you, the installer, take full responsibility if anything is damaged or messed up. If you have questions, feel free to PM the original poster or ask in the appropriate section of TheRangerStation.com forums.
Brief Explanation:
As many of you know tailgates are pretty commonly stolen and cost a lot to replace. And the fact that our truck lacks a factory lock also means that if you have a topper or bed cover chances are you can still open the tailgate. There are other solutions on the market that consist of a manual lock, but personally I don’t want any more keys on my keychain or another lock to remember to lock. The solution is this electric tailgate lock made by Pop&Lock. Here is how it is installed.
Tools Needed:
- T30 Torx socket
- 3/8″ Ratchet
- Flat Screwdriver
- Misc. Electrical Tools
Parts Needed:
- Power Tailgate Lock
- 14AWG Wire
- Wire Connectors

Here is what you receive in the box, everything you need to get it hooked up and working in no time.

Here is the part number for future reference.
Steps:
1. Since this truck has a plastic bedliner it will need to be removed to get to the access panel. Use the T30 Torx to remove the panel screws.
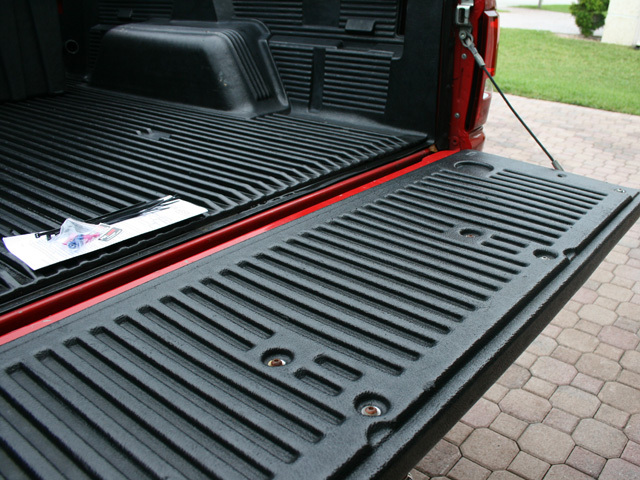


2. With the screws removed, remove and place the bedliner piece out of the way. Then remove the access cover out of the way.


3. The latch mechanism needs to be removed. First, it needs to be disconnected. A flat head screwdriver will take care of the problem of disconnecting it.


Both are now open.

4. Remove the two bolts holding the latch mechanism on the tailgate.

5. Remove the handle piece and then slide the lock into place.

6. Put the latch mechanism back in place, then put the lock in between the bolt and nut like a washer. Now tighten it back down.

7. Lock and latch mechanism are in place and secured. Now reattach the linkage rods, make sure to adjust them so that the tailgate cannot open while the lock is in the locked position.

8. Now let’s see how it works. In the first picture the bar is pulled out and in the unlocked position. The second picture it is pulled in and in the locked position. This will not allow to tailgate to open.


9. Now we need to run our wire, this drain hole will work perfect.

Wire ran through hole; the other end is dangling under the truck.

10. Wires are connected and secured out of the way of any moving parts.

Here is the wire dangling under the truck.

11. Start to route it through the frame.

12. The extension has been plugged in, and the wire is being routed. I was unable to run the wire entirely through the frame, the exhaust gets very close and it would get too hot. So, I started to run it in the rocker panel which is far from the exhaust and is where the wire needs to end up anyway.

Up the rocker panel.

13. Come up through the drain plug (make sure to cut wire loom so drain plug still has a seal. The wires for the passenger lock are right in the passenger footwell, all you need to do is connect them to your new wire via a wiretap. Please note, in the picture they are hooked up backwards. If you hook it up backwards you can unplug the bullet connectors that attach the wiring harness to the lock itself and switch them.

14. Test it and make sure everything works how it should. Then put the access panel cover, the bedliner piece, and the passenger kick plate back and you are done.
Here is how it works:


Here is a link to Pop&Lock’s website for more information and ordering.
About The Author
Jim Oaks is the founder of TheRangerStation.com, the longest-running Ford Ranger resource online since 1999. With over 25 years of hands-on experience building and modifying Ford Rangers — including magazine-featured builds like Project Transformer — Jim has become one of the most trusted authorities in the Ford Ranger off-road and enthusiast space.
Since launching TheRangerStation.com, Jim has documented thousands of real-world Ranger builds, technical repairs, drivetrain swaps, suspension modifications, and off-road adventures contributed by owners worldwide. TheRangerStation.com has been referenced in print, video and online by enthusiasts, mechanics, and off-road builders looking for practical, and experience-based information.