
Introduction
ARB (specifically Safari) snorkels are elevated air intakes designed to protect your Ford Ranger’s engine by drawing in cooler, cleaner air from roof level. They prevent water ingestion during deep crossings, reduce air filter contamination in dusty conditions, and allow for consistent airflow in harsh environments.
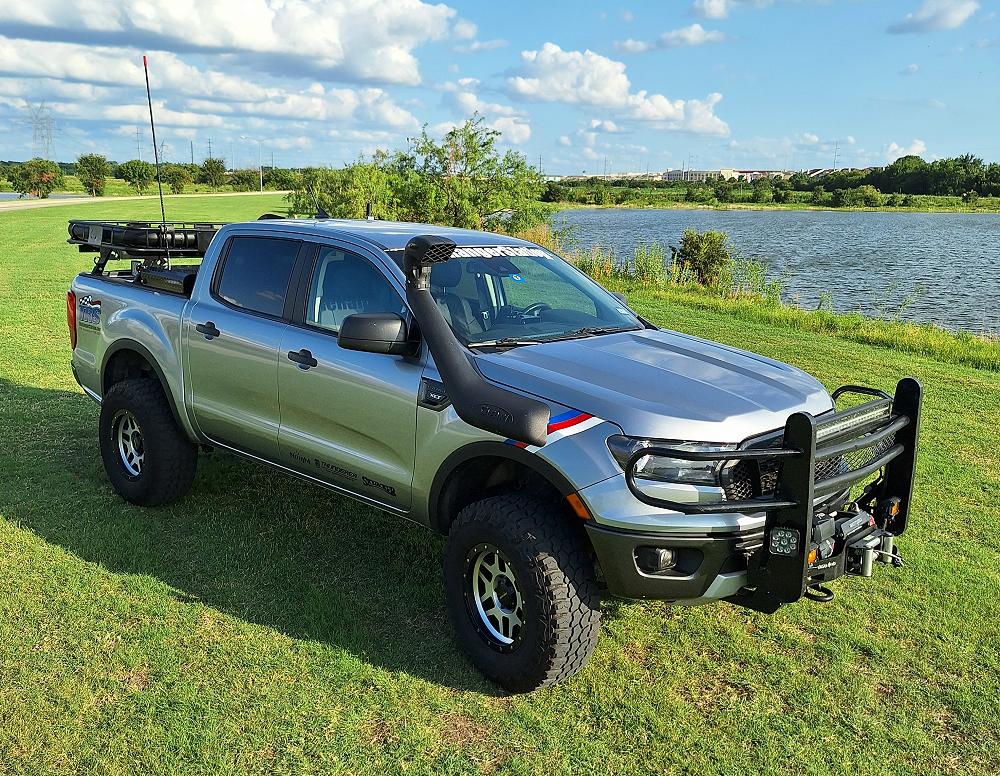
This article details the installation of an ARB snorkel on a 2021 Ford Ranger FX4. This was NOT a one-day job. It pretty much took two days for me to install it.
What Do ARB Snorkels Do?
Deep Water Protection: By moving the intake to roof height, they prevent water from entering the engine, preventing catastrophic hydraulic lock.
Cleaner Air Intake: By taking air from higher up, they avoid dust, snow, and rain that often clog air filters at the lower factory intake level.
Cooler Air: Higher, ambient air is generally cooler than the air under the hood, potentially helping with engine efficiency.
Water Separation: Safari snorkels (distributed by ARB) feature air ram intakes that separate water from the intake air.
Why You Would Want One on a Ford Ranger
Off-Road Protection: If you do serious off-roading, river crossings, or drive through muddy, deep water, a snorkel is essential for protecting the engine from ingesting water.
Dusty/Desert Driving: If you drive in convoy on dirt roads or in the Outback, a snorkel keeps the air intake above the worst of the dust cloud.
Engine Longevity: By reducing the amount of dust that reaches your air filter, you keep your engine running better and reduce maintenance on air filters.
Custom Fit: ARB/Safari offers tailored snorkels for various Ford Ranger models (including Next-Gen), ensuring a precise fit that matches the vehicle’s body styling.
Key Considerations
Not Unlimited Protection: While it protects the engine, it does not guarantee your car won’t get stuck, float, or have electrical issues if water is too deep.
Installation: Requires cutting into your fender/guard to install.
Airflow: Some users feel it might slightly restrict high-speed airflow, though they are designed to handle engine needs, especially in diesel engines.
Popular Models for Ford Ranger
ARB Safari V-Spec Snorkel (SS987HFD): Best for the 2022+ Next-Gen Ranger (2.0L and 3.0L Diesel).
ARB Safari V-Spec Snorkel (SS983HF): Designed for the 2019–2023 Ranger (2.3L EcoBoost) at Rogue Offroad.
ARB Safari ARMAX Snorkel (SS988HP): High-performance version specifically for the Ford Ranger Raptor.
Tools & Materials Required
- Electric drill
- 4.5mm drill bit
- 5mm drill bit
- 5.5mm drill bit
- 6mm drill bit
- 16mm drill bit
- Jigsaw or hole saw
- Rivet gun
- Right-angle drill attachment
- Sikaflex 227 or equivalent sealant
- Masking tape and marker
- Trim removal tools
- Touch-up paint (for exposed metal)
- Loctite 243
Installing An ARB Snorkel On A 2021 Ford Ranger FX4
Remove and discard the air intake duct.
Reinstall the Torx bolts.
Remove the air cleaner assembly.
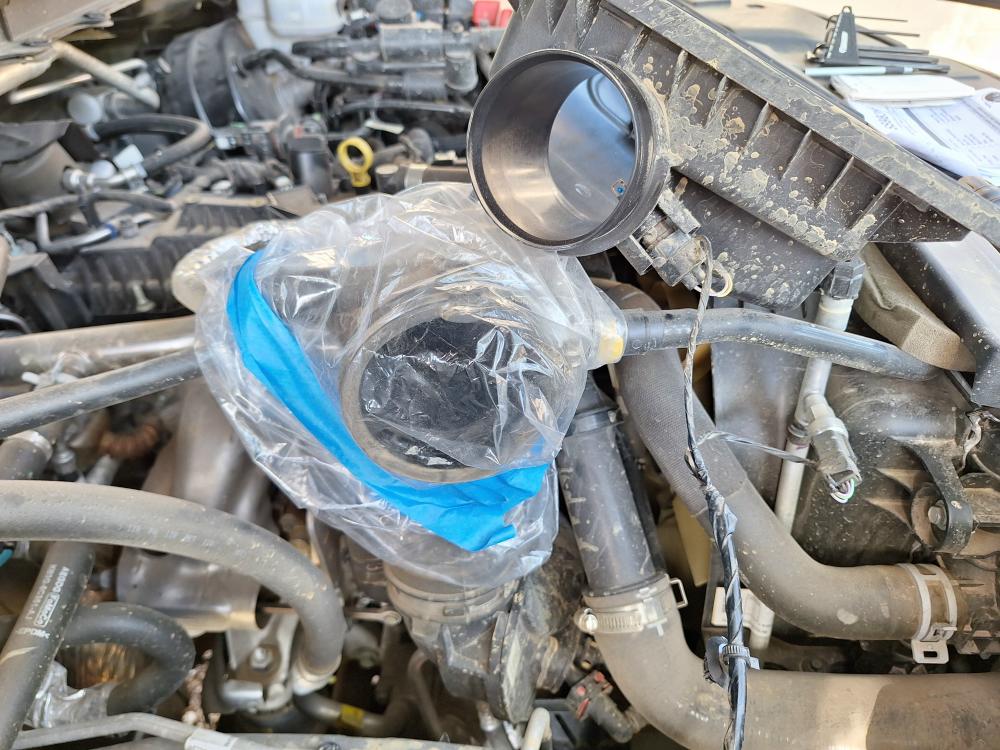
Cover the intake hose with a plastic bag to prevent anything from falling into the intake.
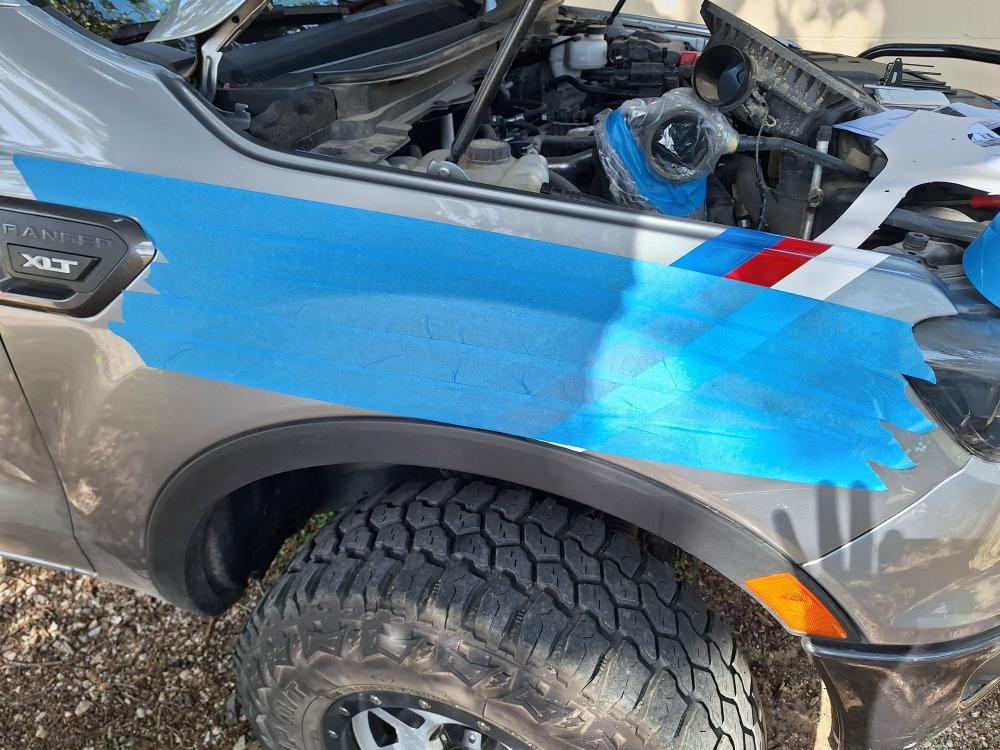
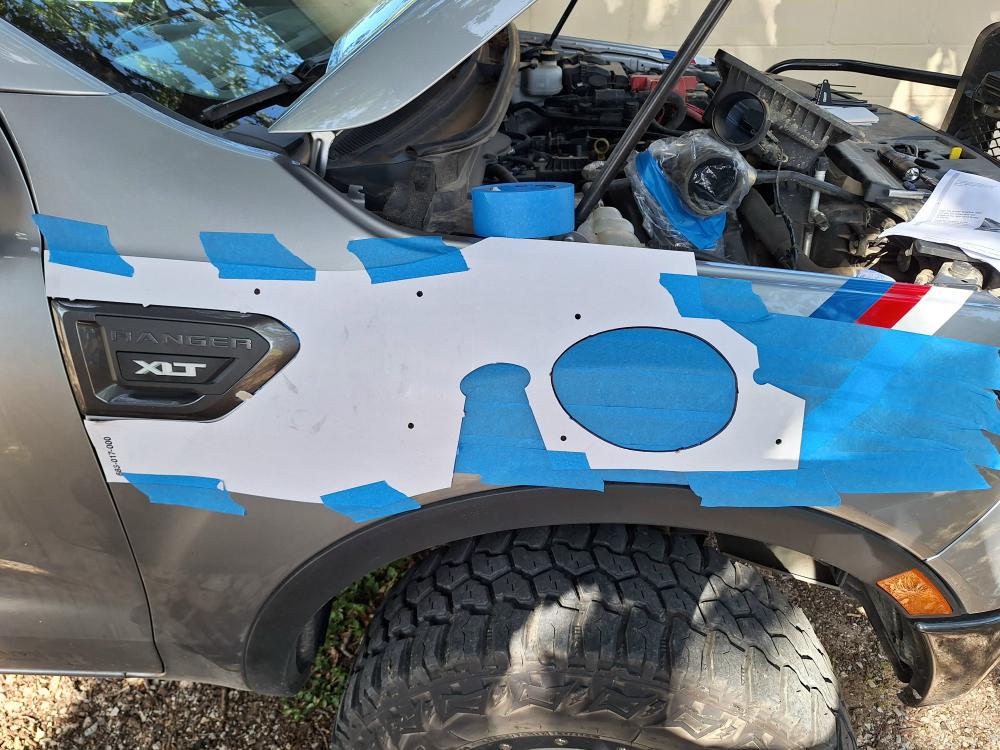
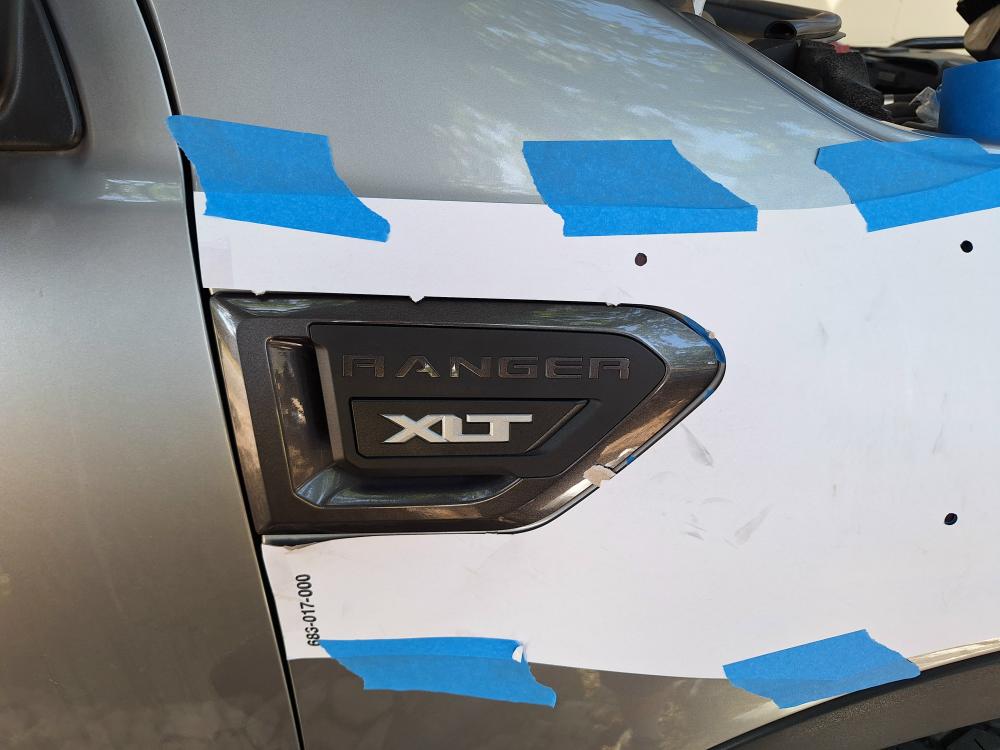
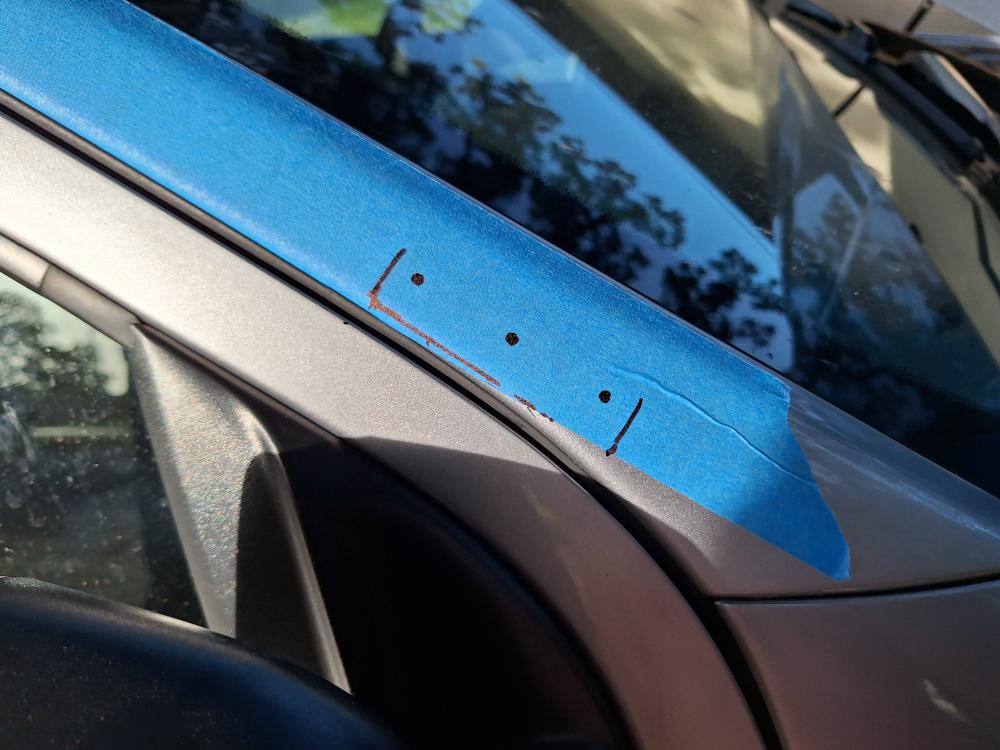
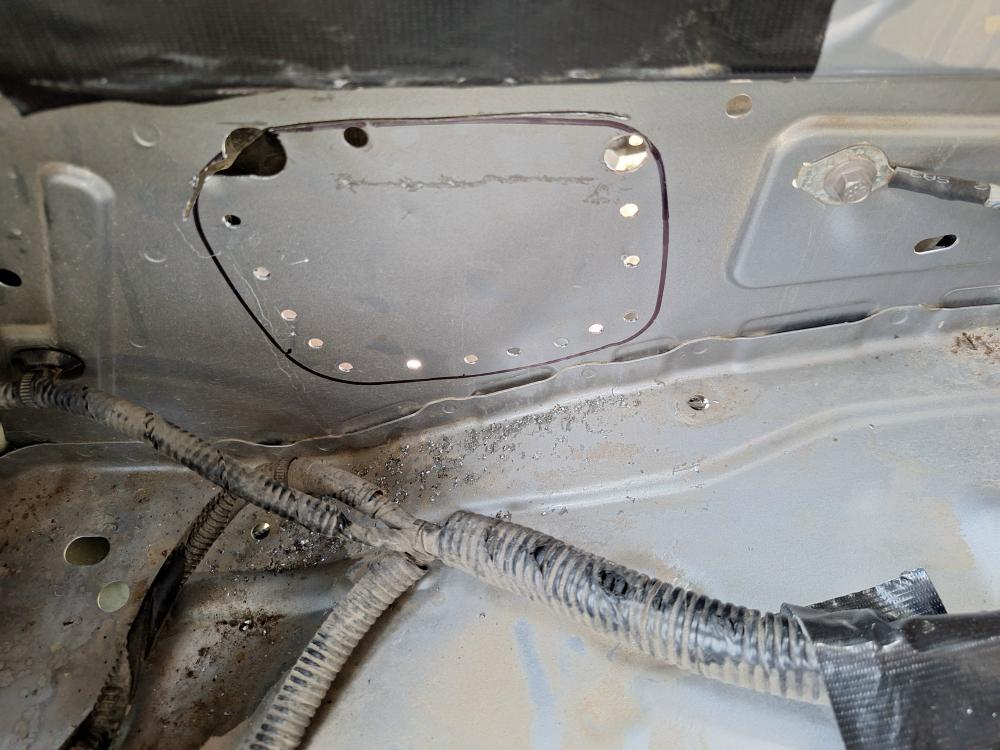
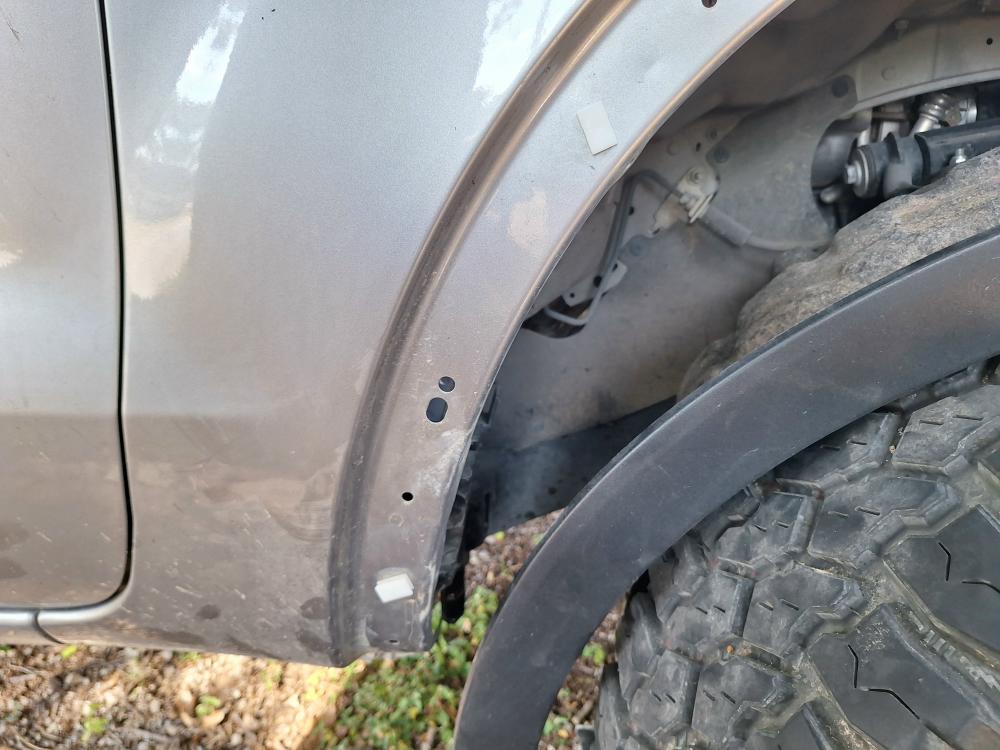
Cover the fender with masking tape.
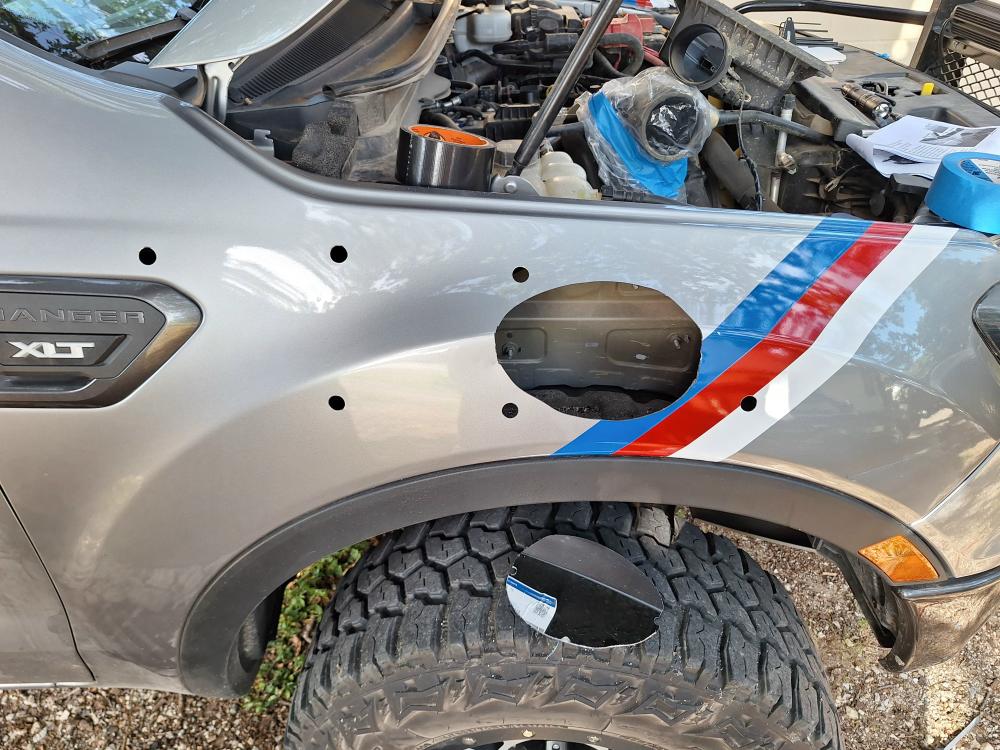
And then use the fender template to mark the mounting holes and cutout.
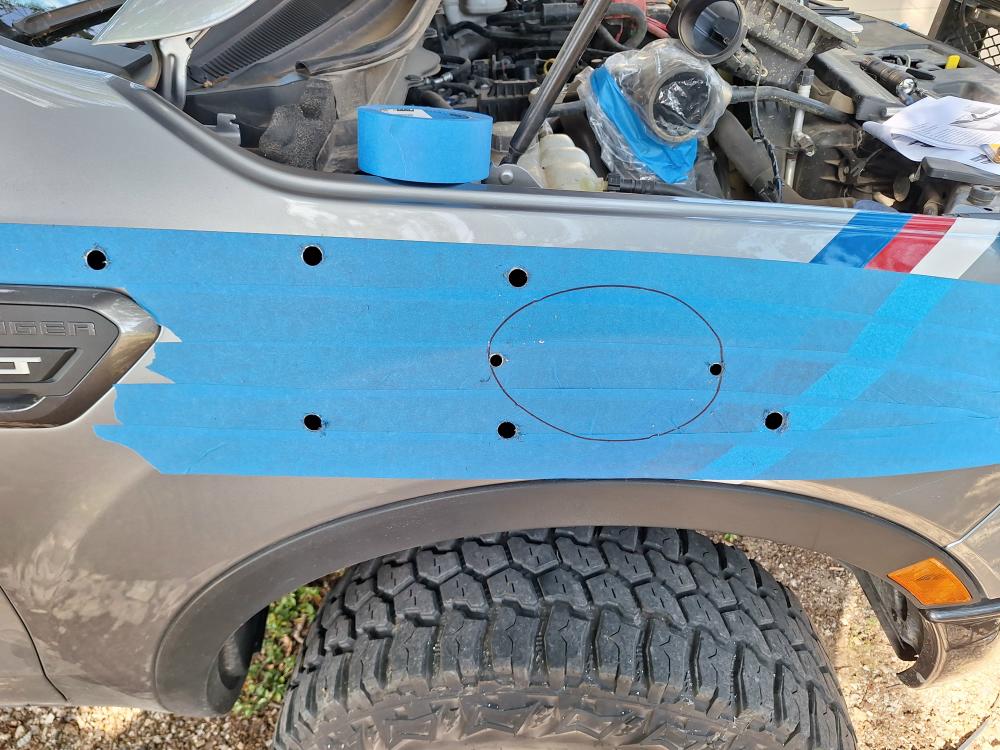
Drill out the mounting holes.

And then increase the hole sizes to 16mm (5/8″).
Drill holes inside the circle so you have a place to start the saw blade.
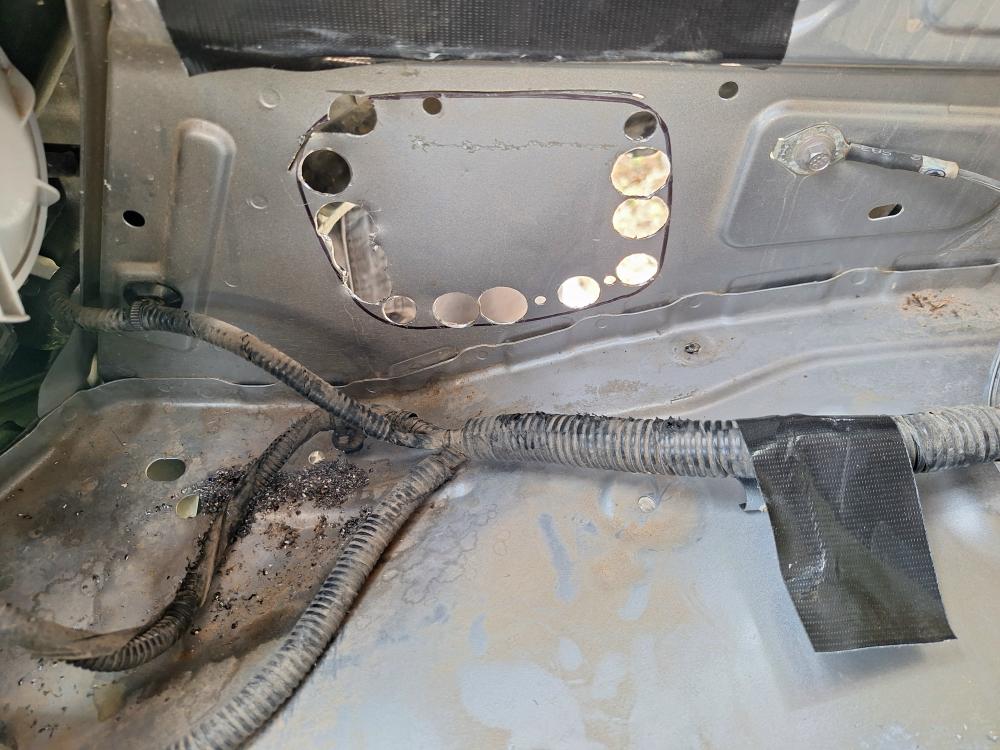
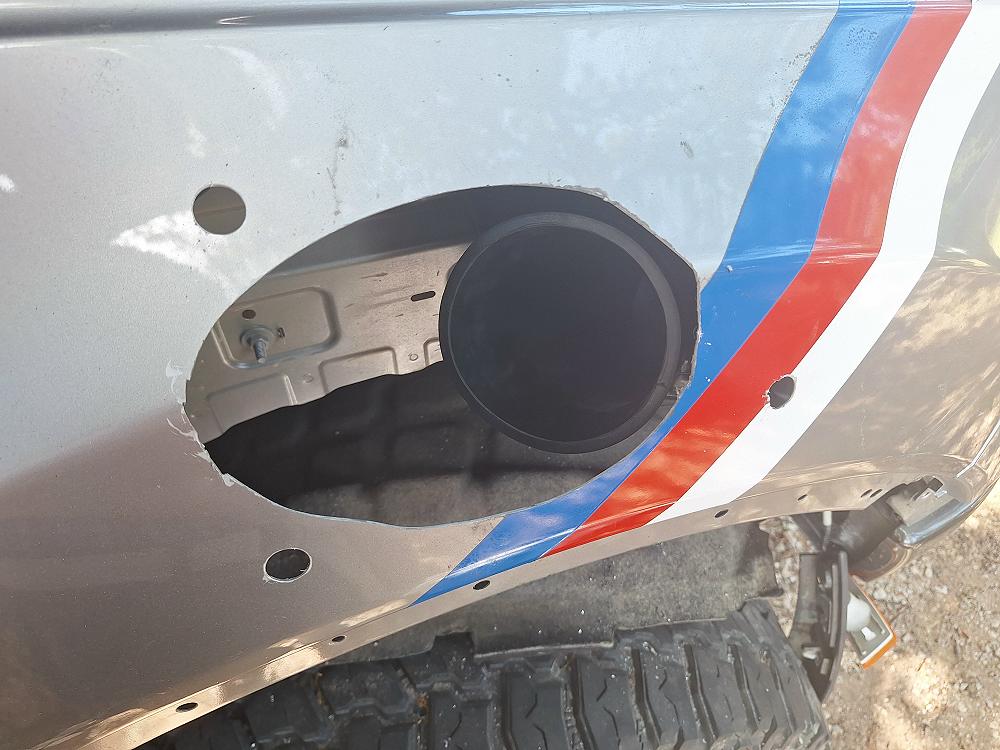
Now cut a hole in your $40K Ford Ranger.
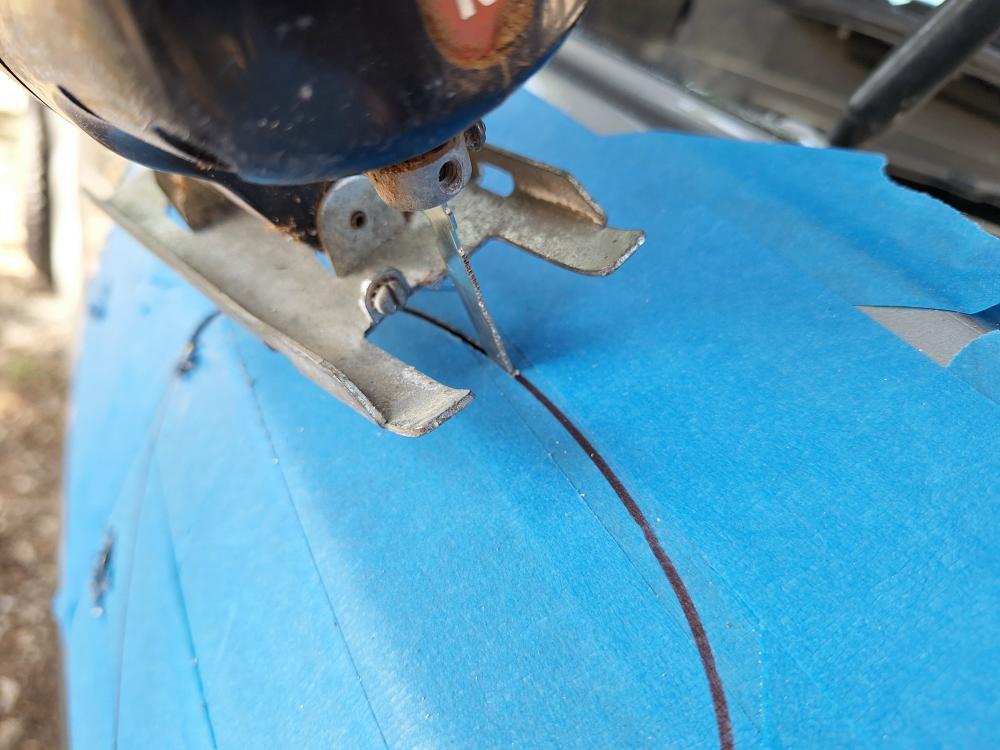
My only saw choices were a Sawzall or a jigsaw. I used the jigsaw.
The saw started to tear the tape, so I covered it in Gorilla tape.
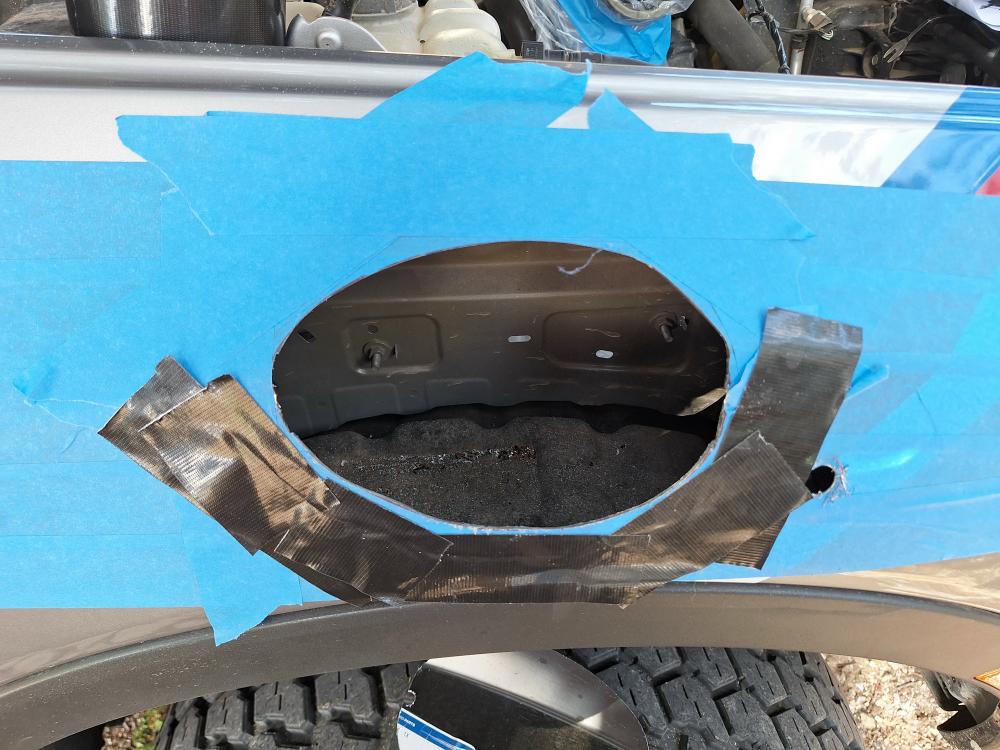
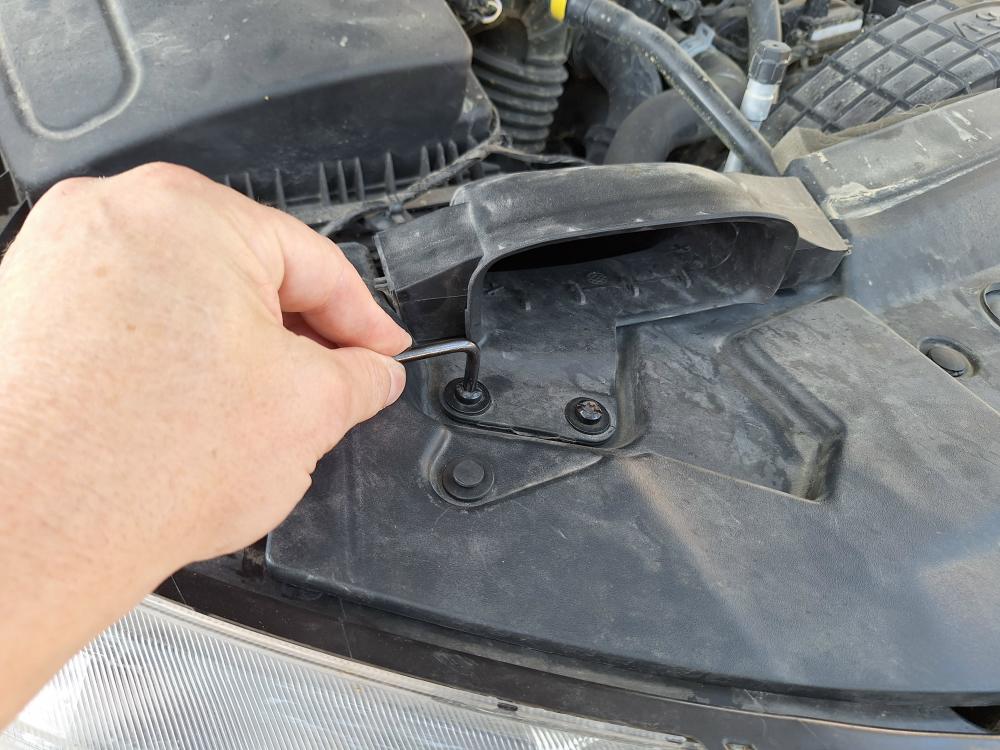
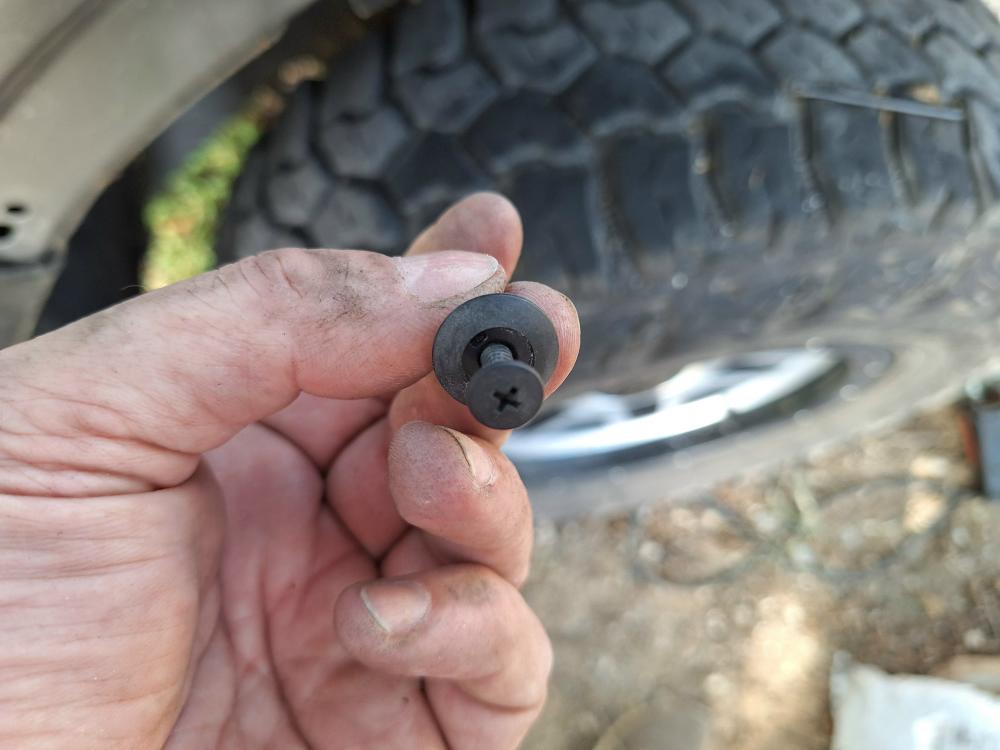
I had to remove the plastic clips that hold the fender liner in place.
I hate whoever the person is that invented these plastic clips with the stupid plastic Philips screw in the middle of them. The plastic screw in the middle almost never comes out and I end up having to remove them with a trim removal tool.

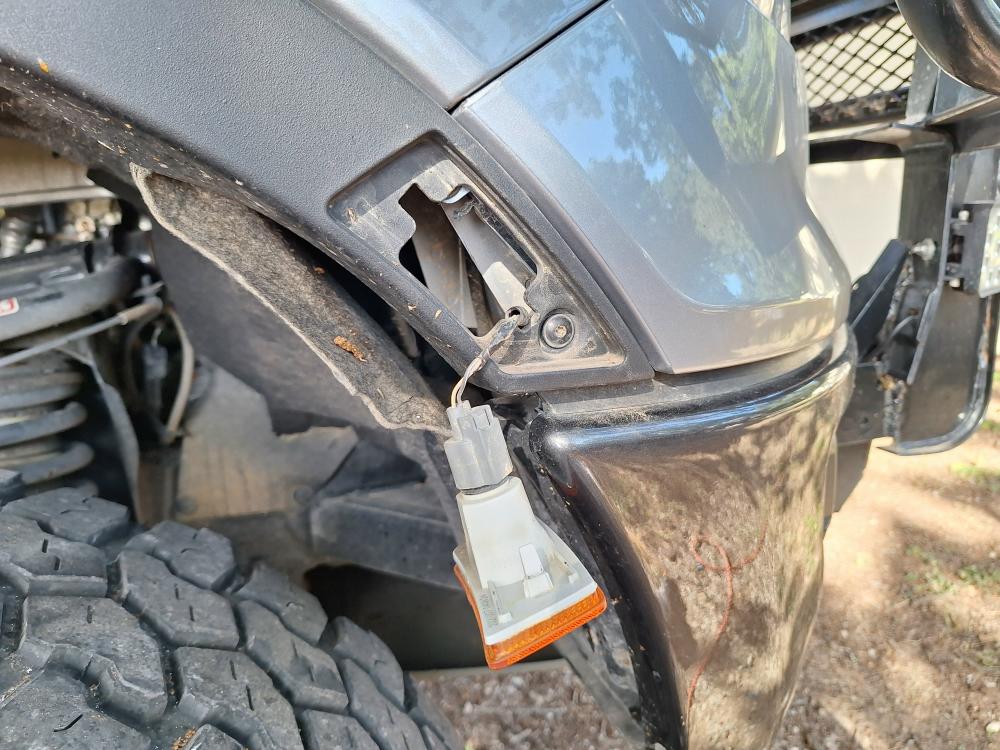
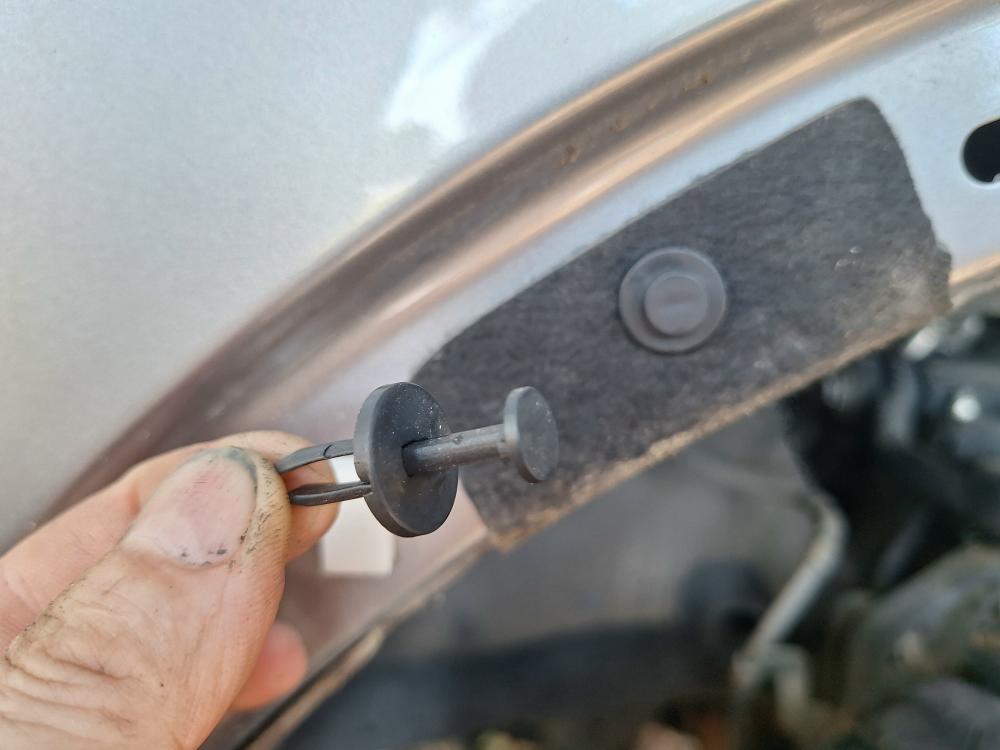
Anyway, you have to remove the marker light in the fender flare by squeezing the clip on the back of it and pushing it out and then removing the bolt behind the light.
Then remove the bolt at the bottom of fender flare at the rear of the fender opening.
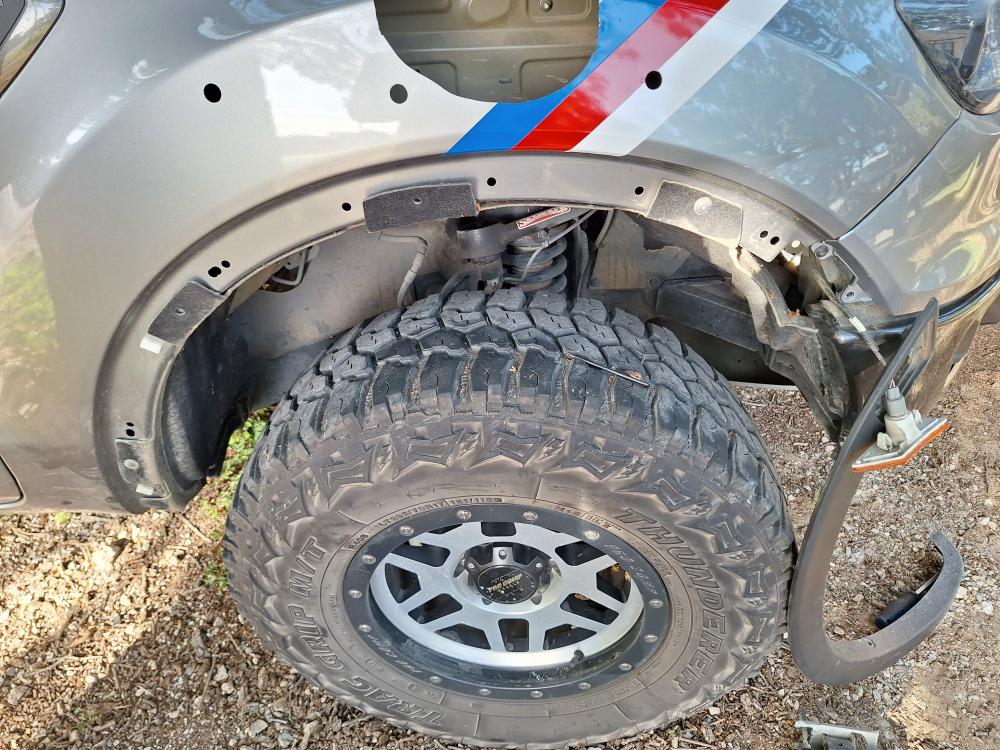
Once all of the clips are out you can drop the fender liner down, so you have access to the area behind the fender.
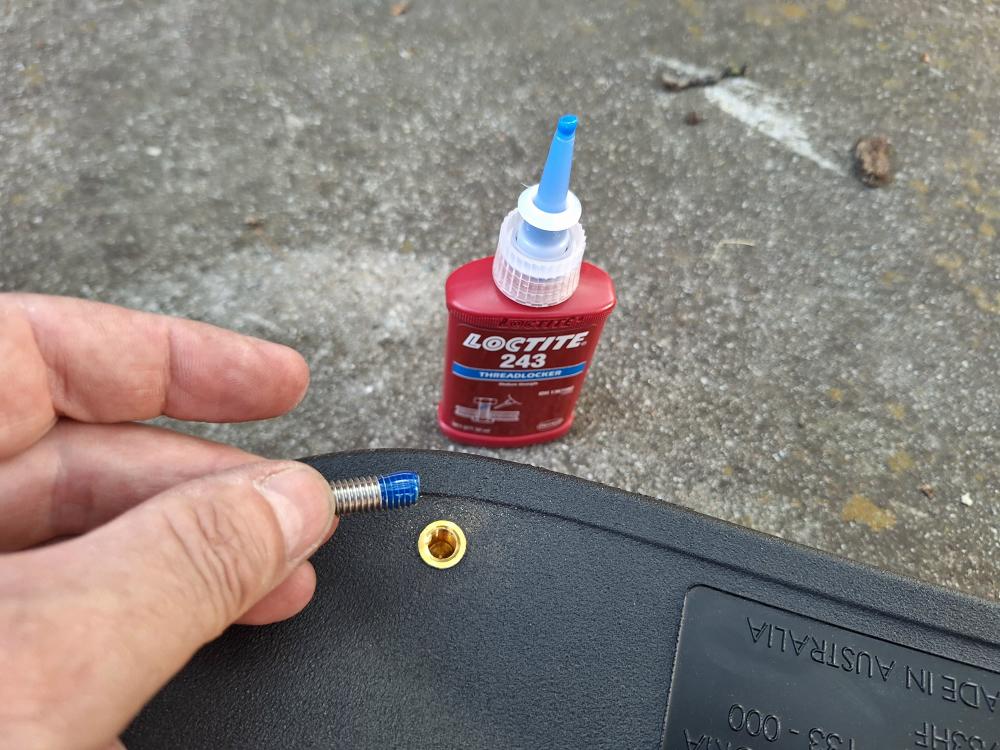
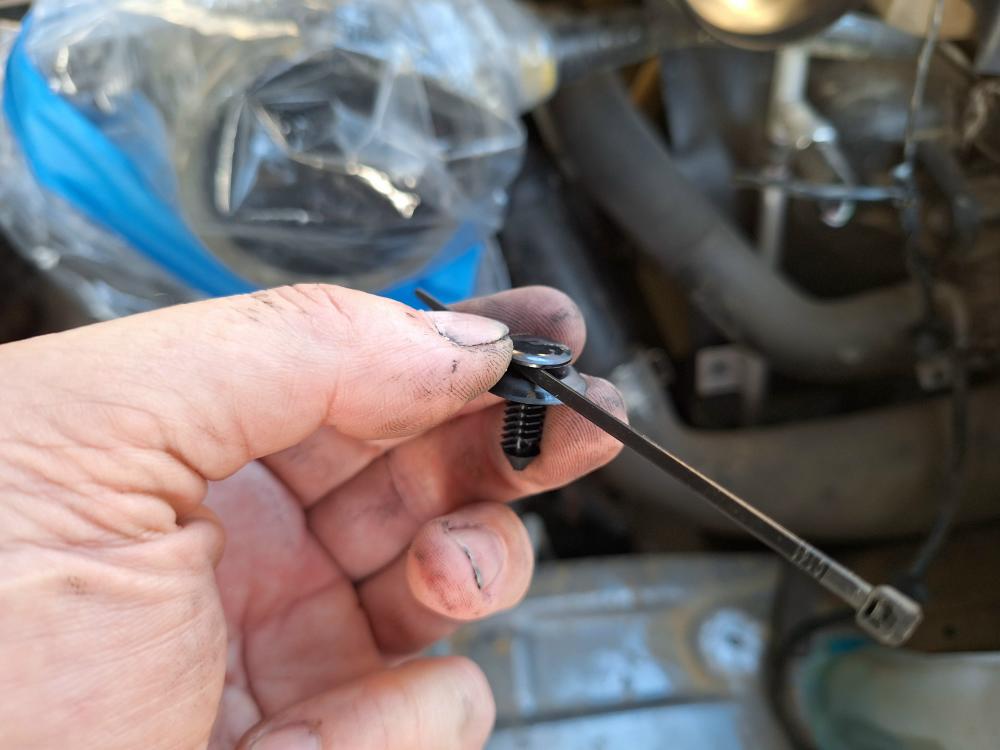
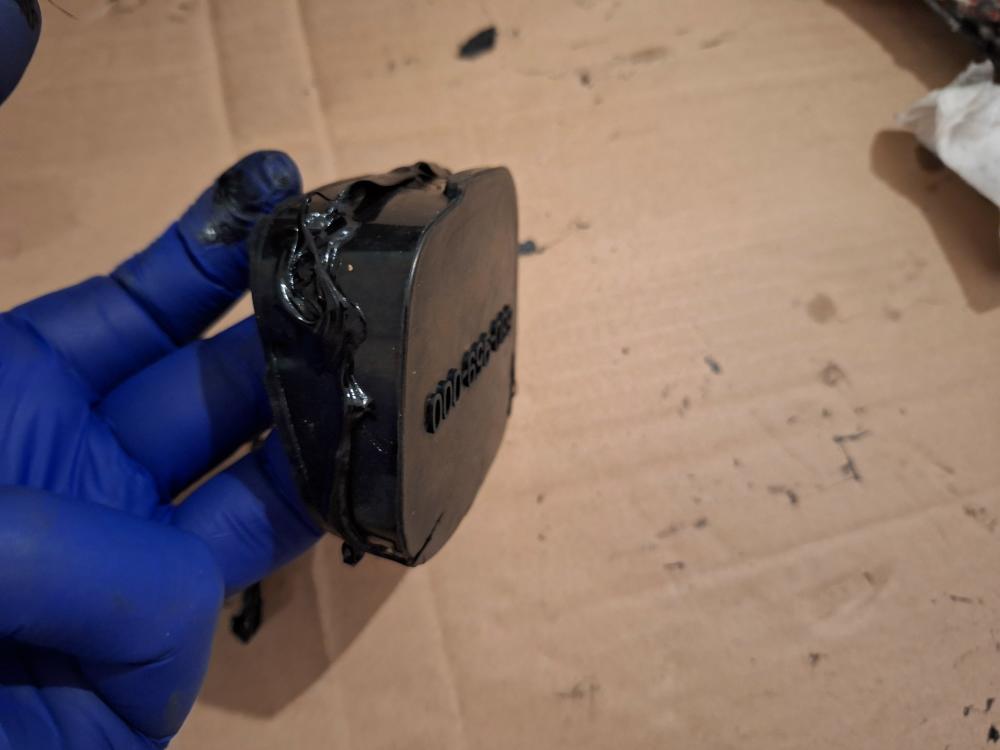
Apply Loctite 243 to each of the stainless-steel mounting studs and install them in the snorkel finger tight.

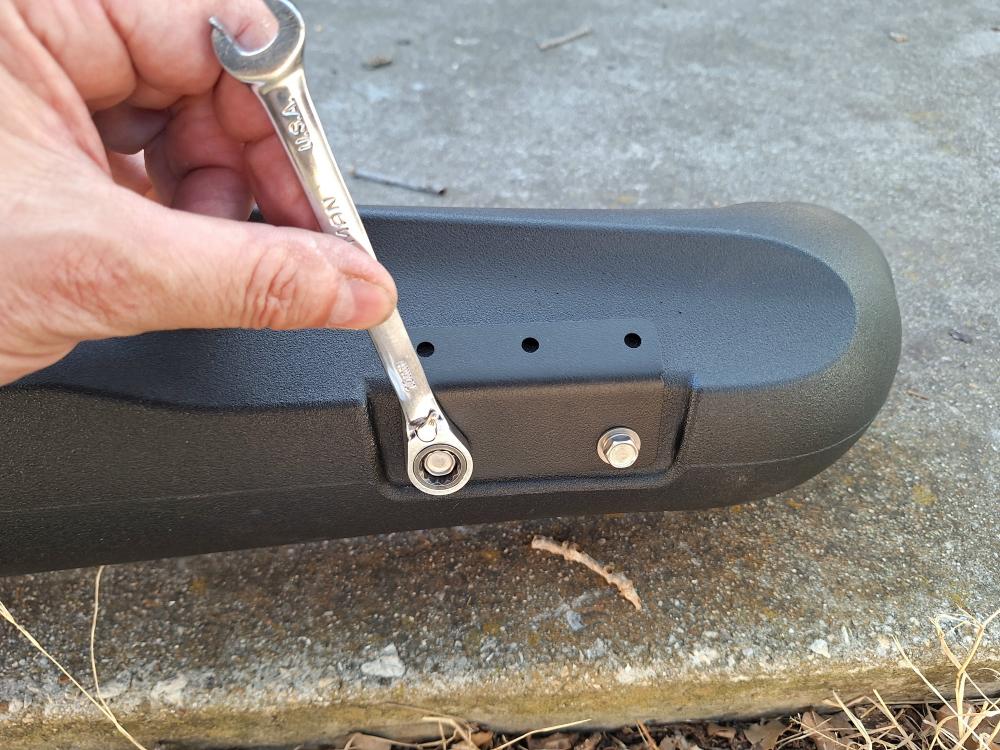
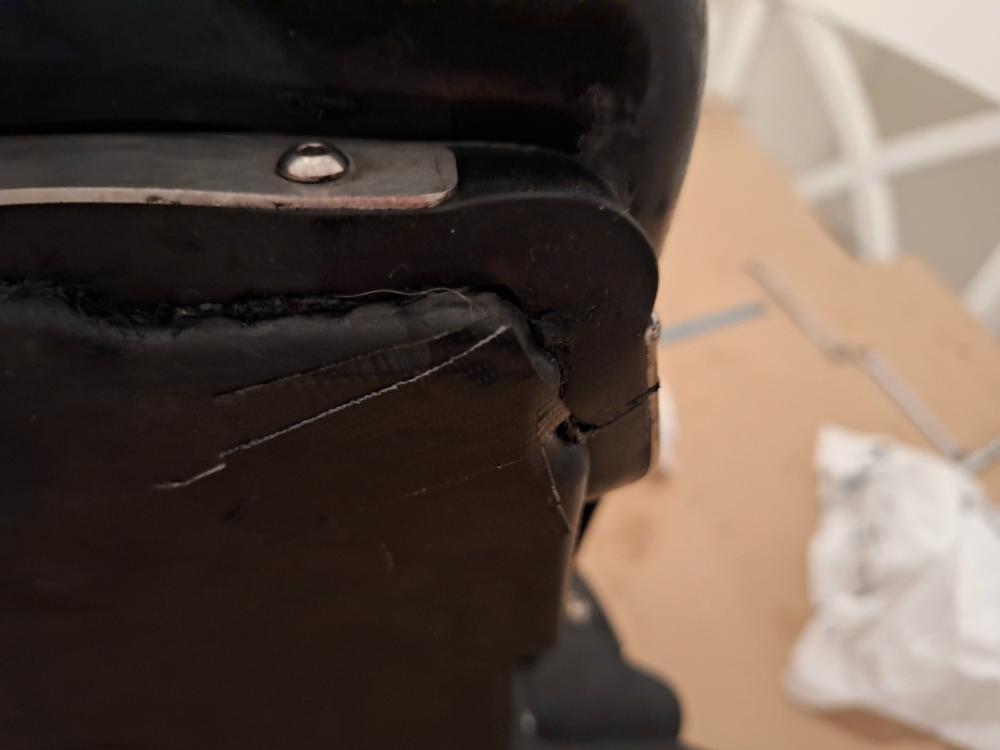
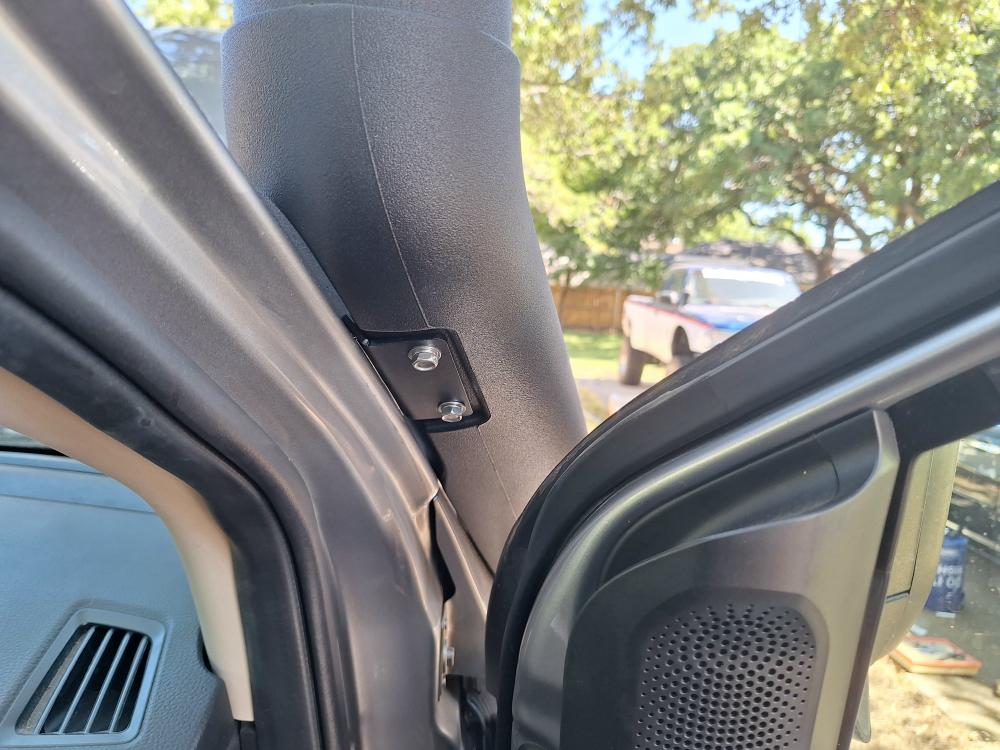
And install the upper mounting bracket.
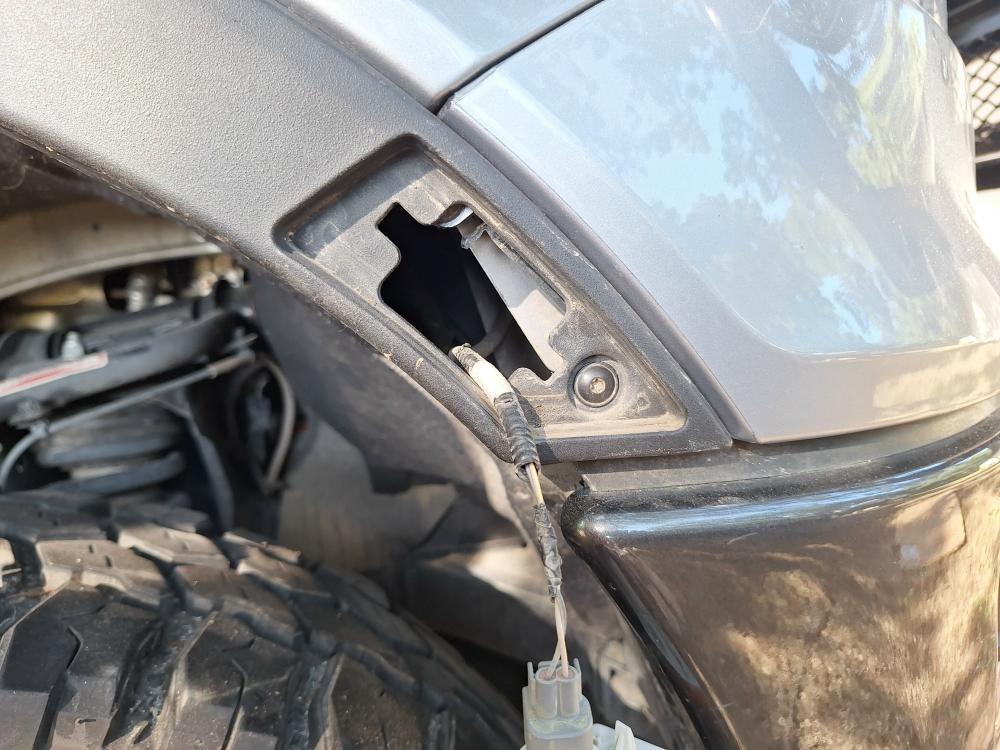
Cover the A-pillar with masking tape.
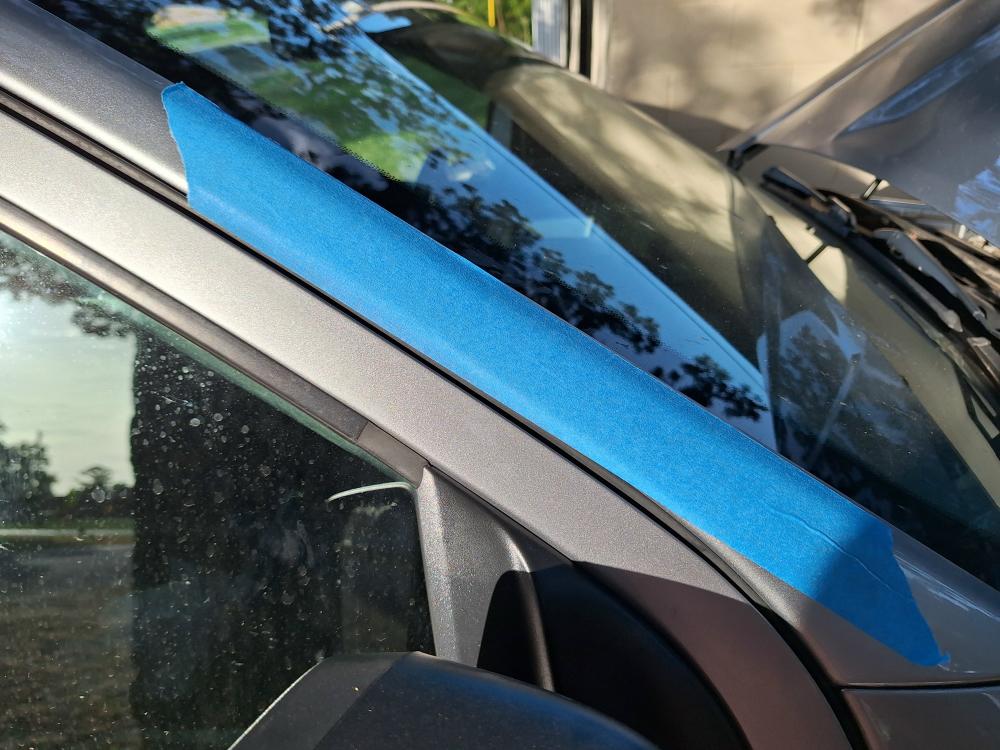
Carefully install the snorkel body onto the fender and then mark the outline of the upper mounting bracket on the masking tape.
With the snorkel body positioned, open the door to make sure it clears.
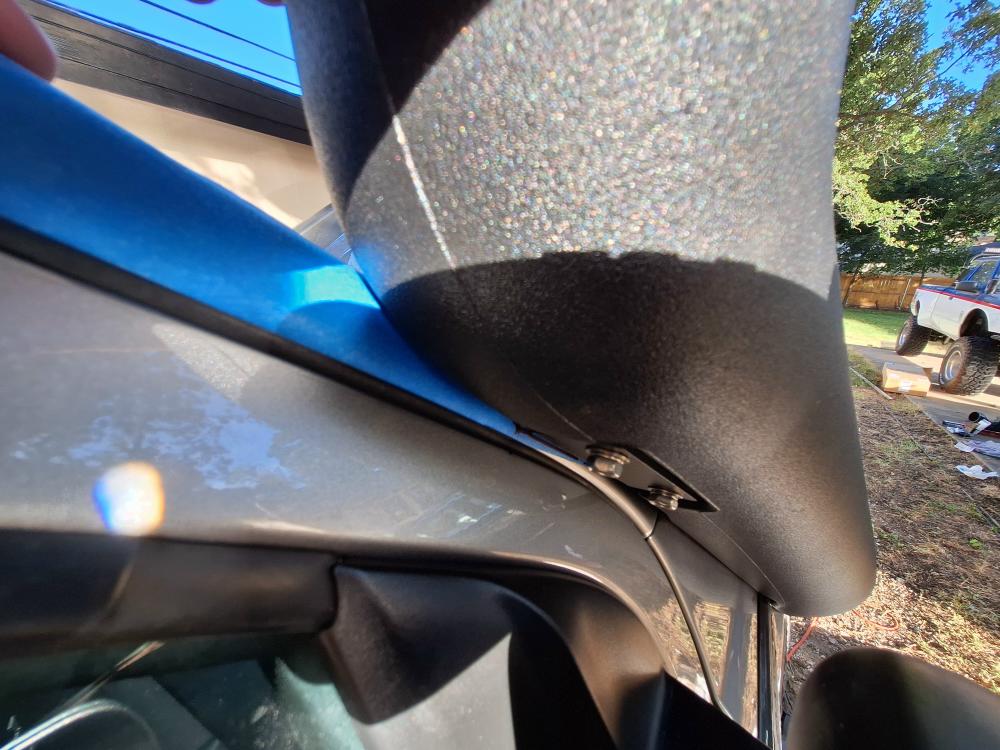
Then remove the snorkel, remove the upper mounting bracket, and use it as a template to mark the mounting holes.
Now drill out the mounting holes with a 5mm (3/16″) drill and install it with the supplied pop rivets.
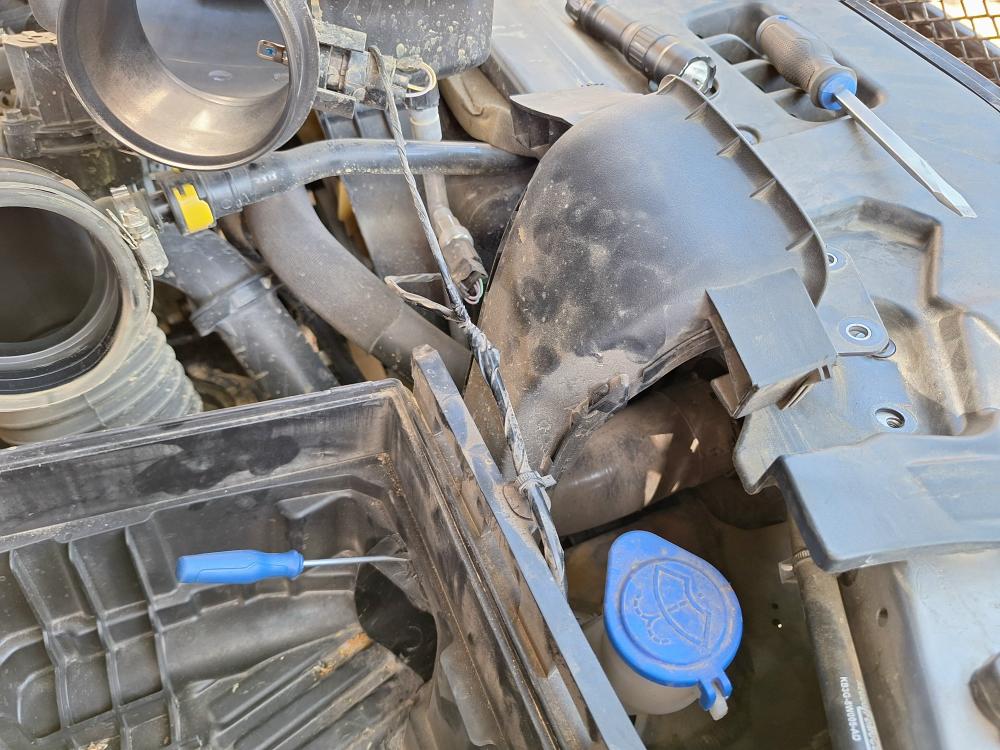
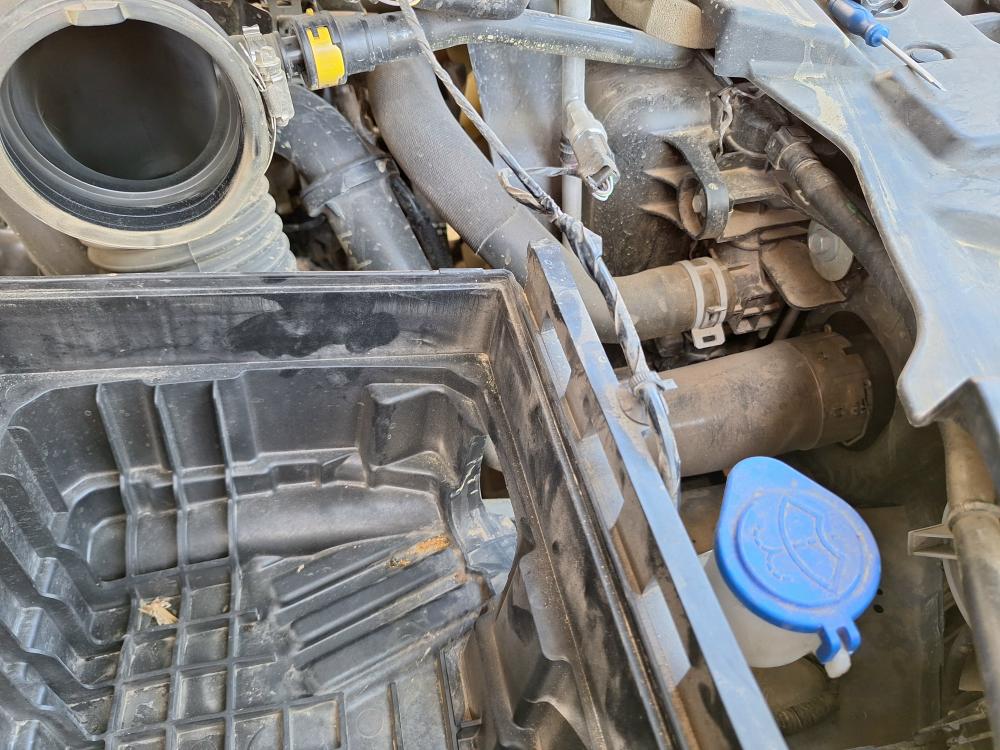
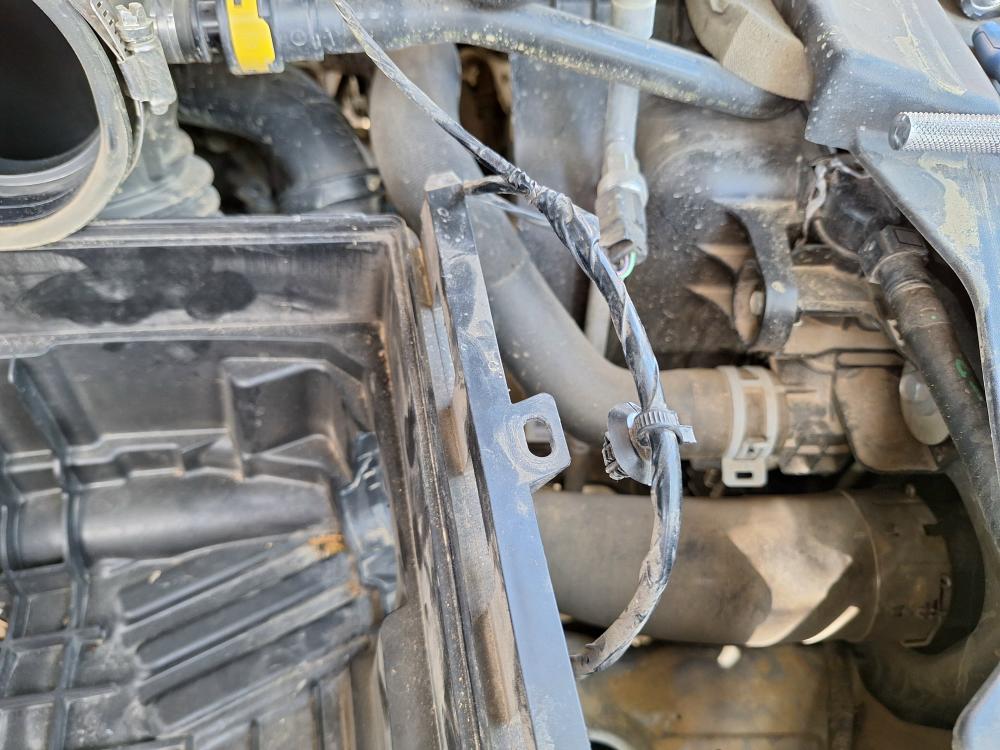
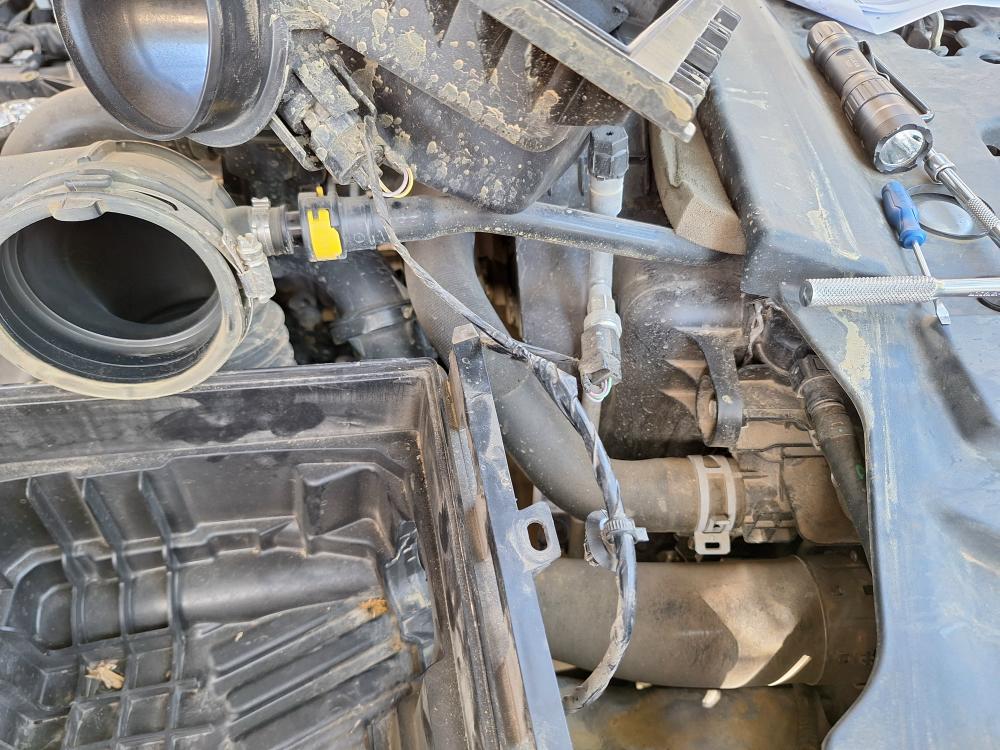
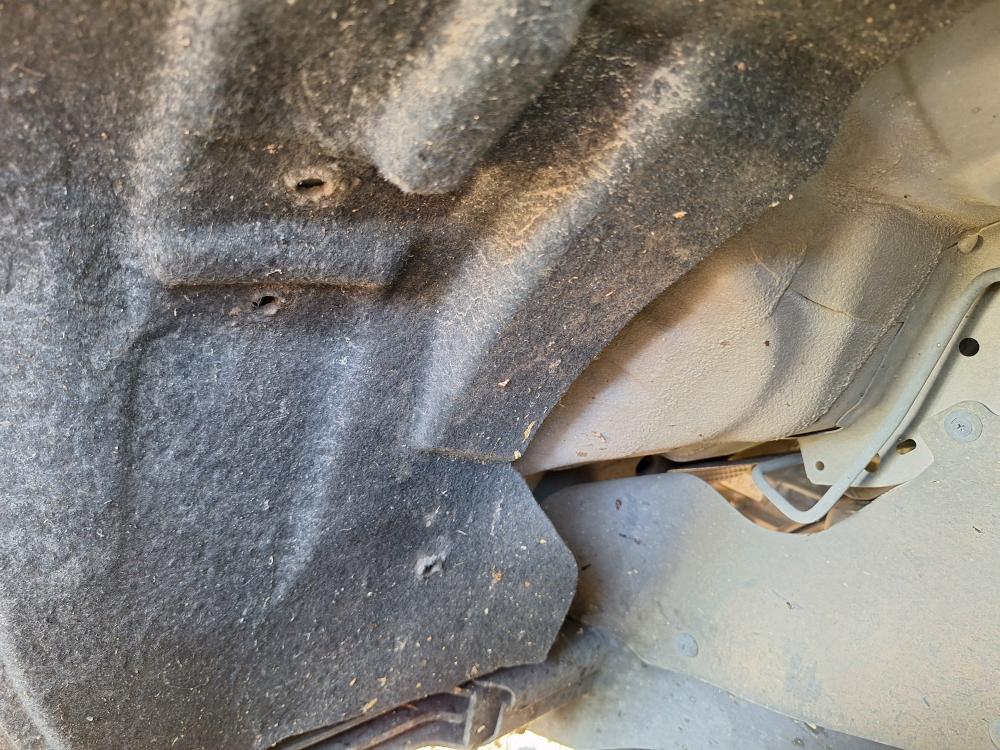
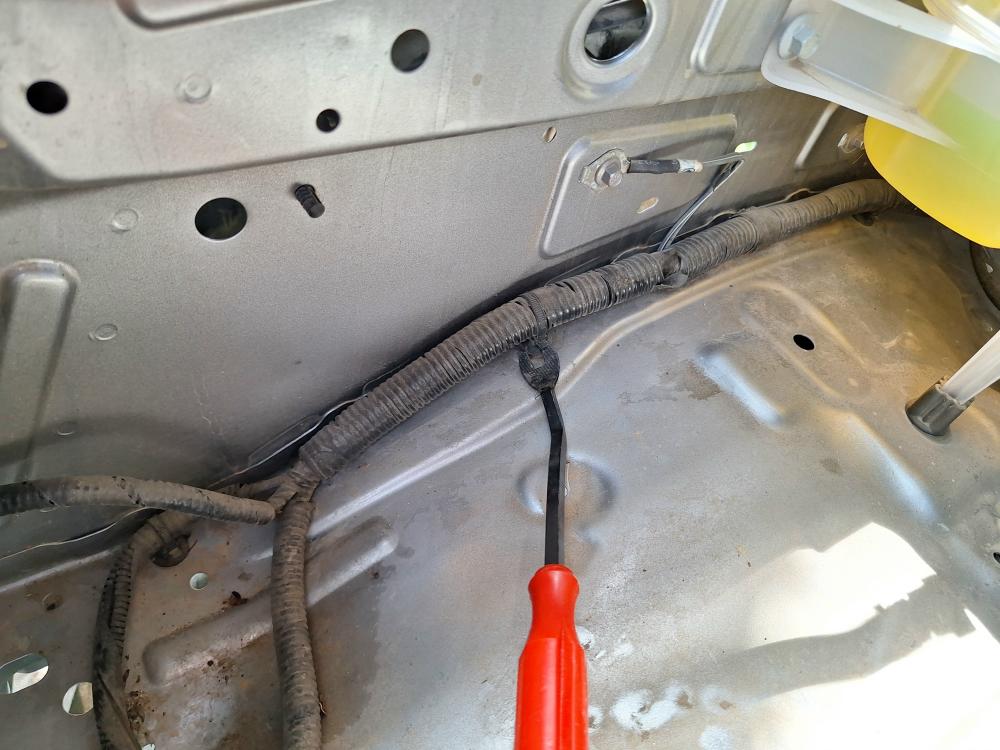
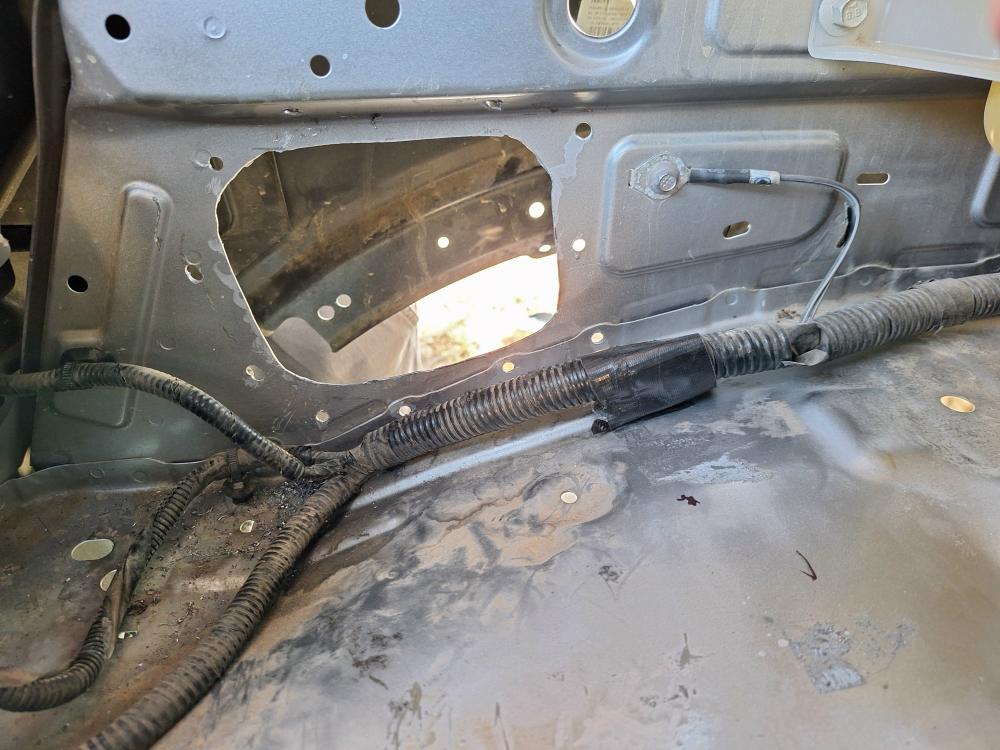
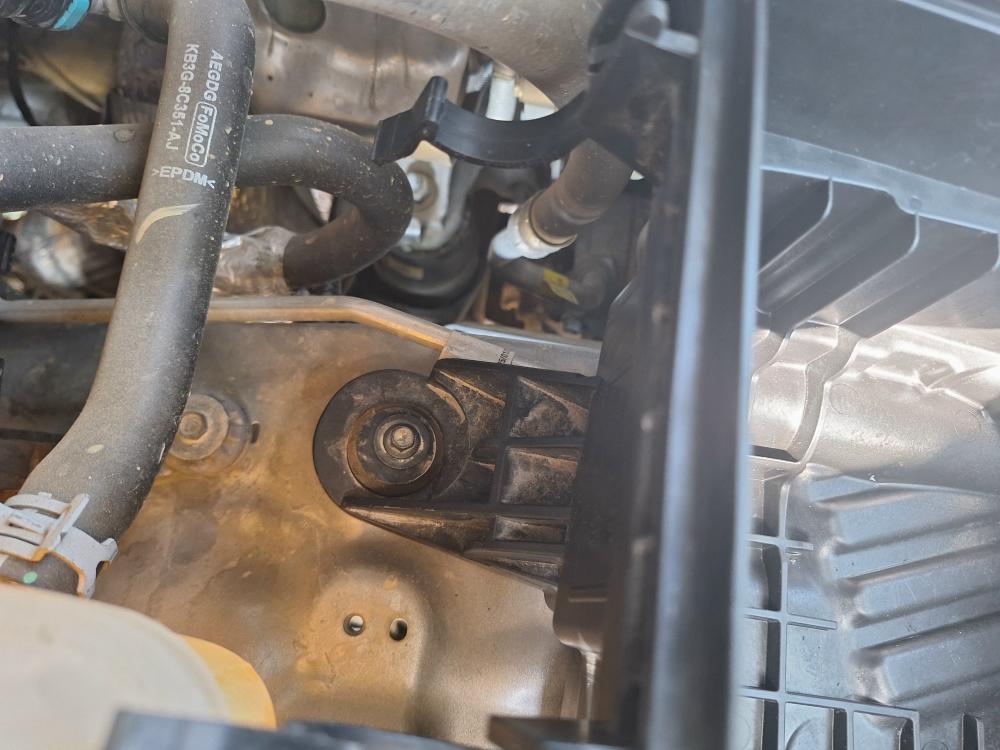
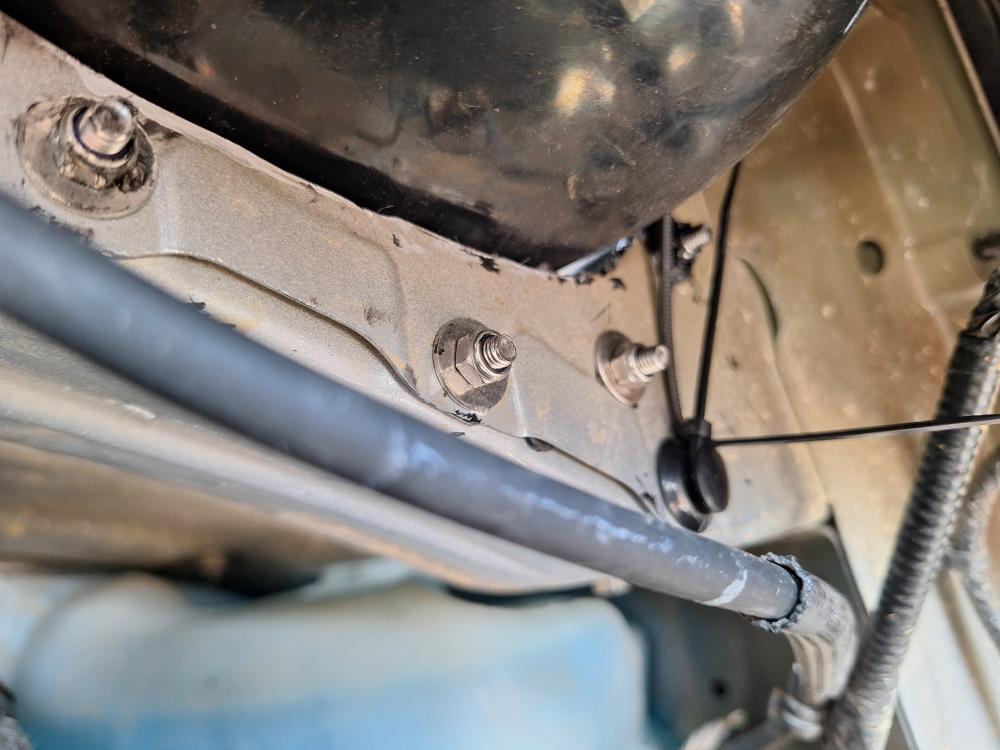
In the inside of the engine bay, you need to unclip this wire loom.
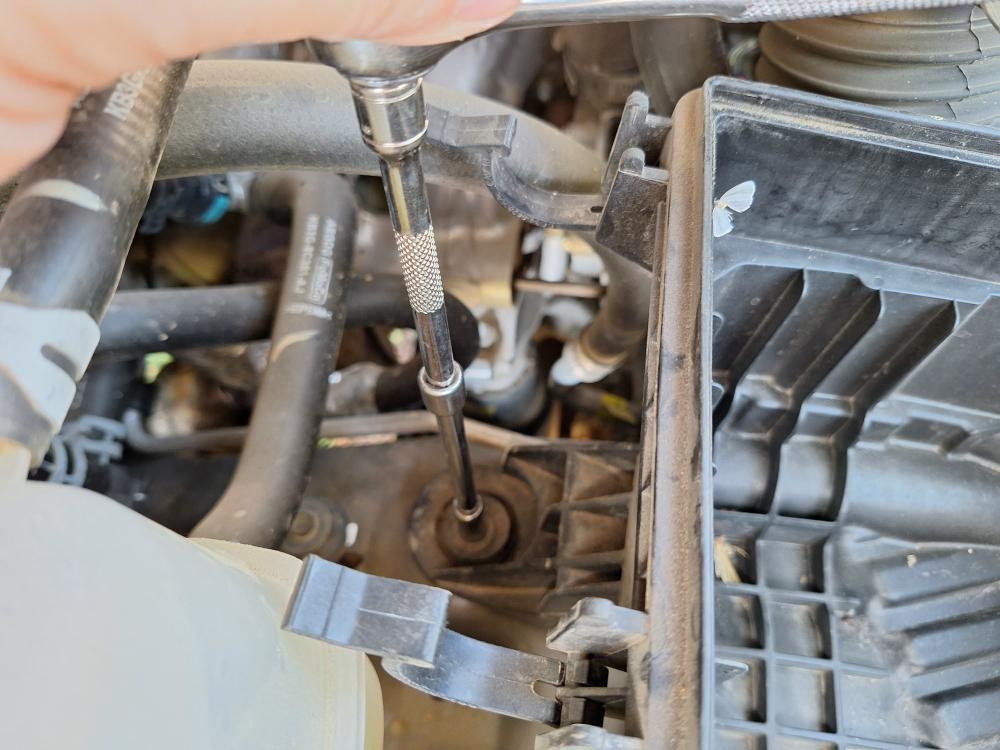
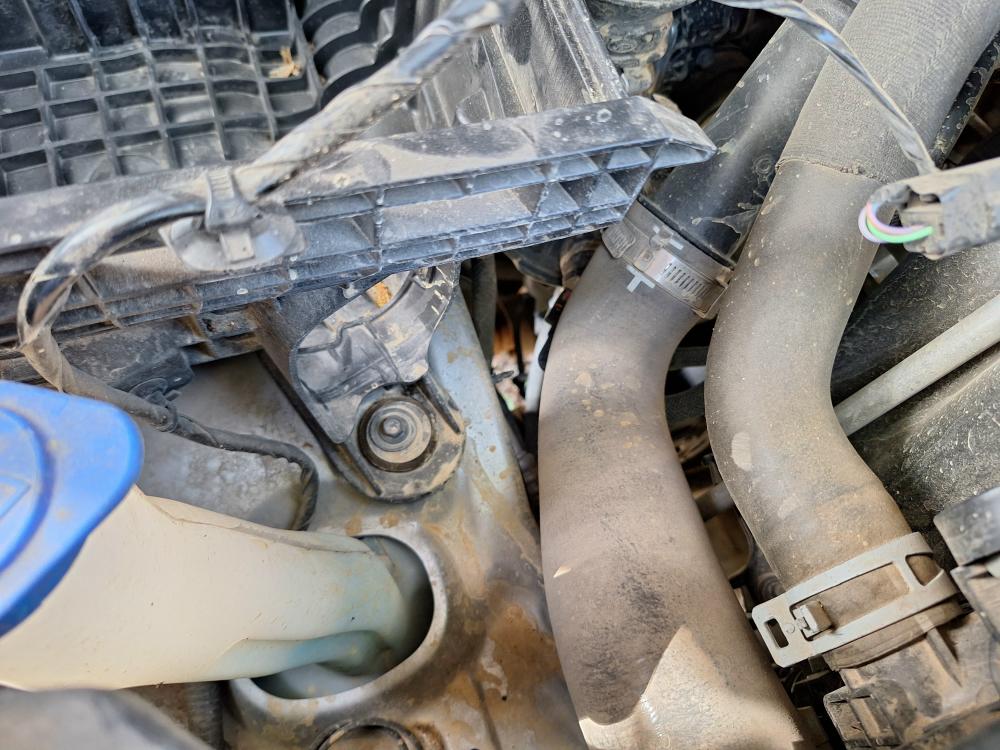
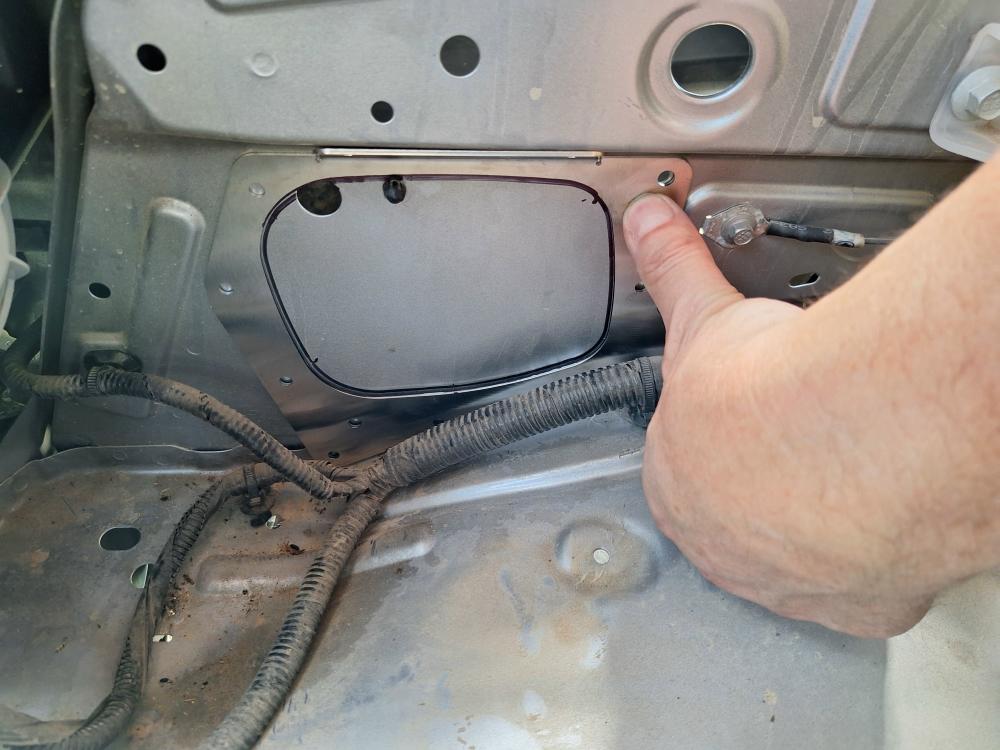
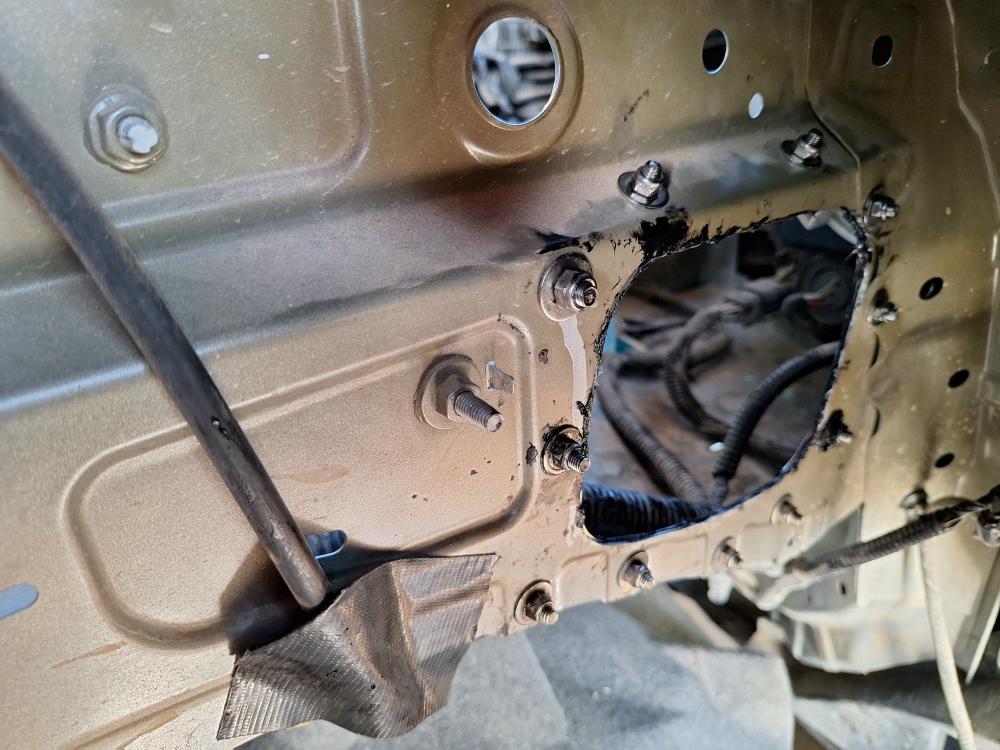
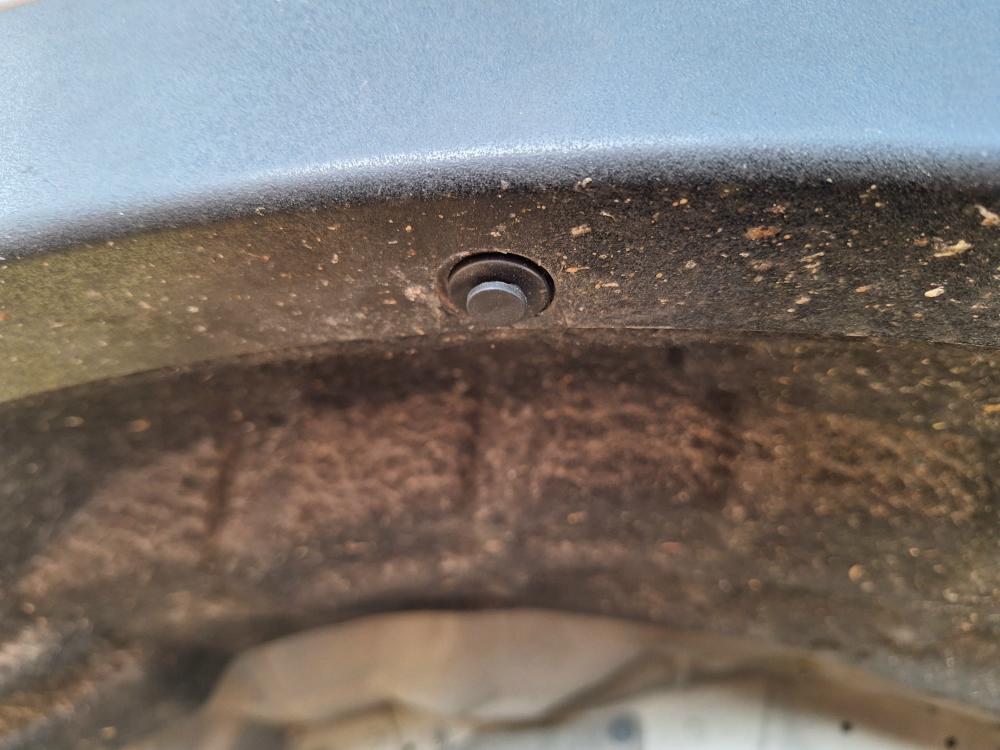
Position the inner support plate to the inner fender using the 6mm hole that’s already there (above my thumb) and trace the opening with a marker.
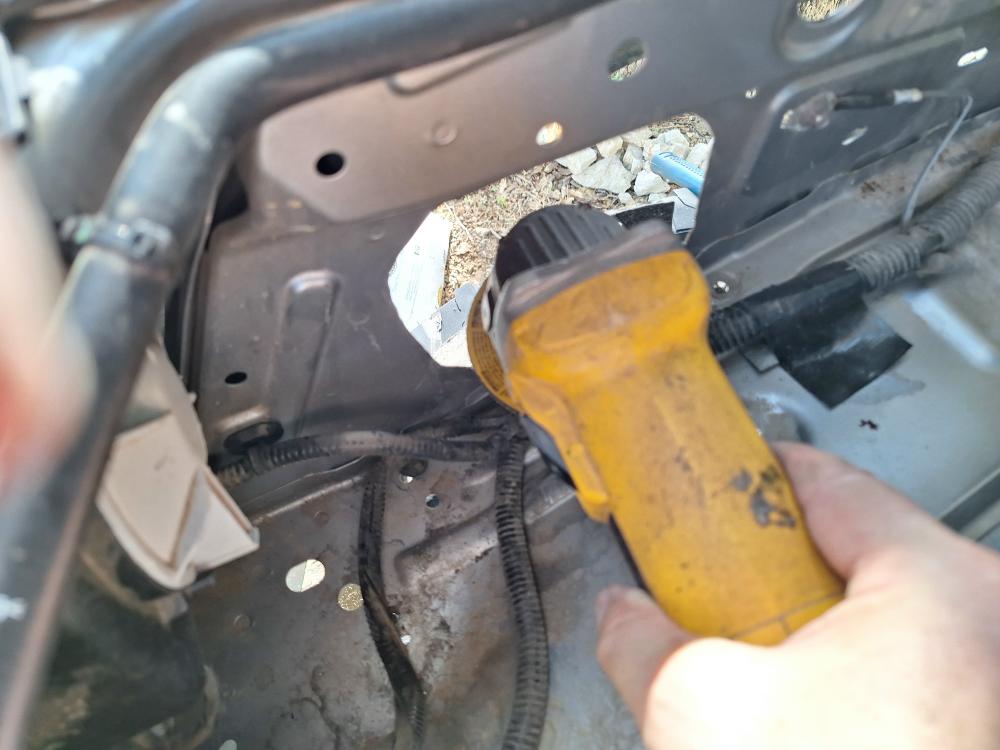
Now the fun is cutting the hole out. I tried cutting it with the jigsaw, and it was a pain. I found that if I drilled larger holes close together there was less metal to cut.
I cleaned the opening with a grinder.
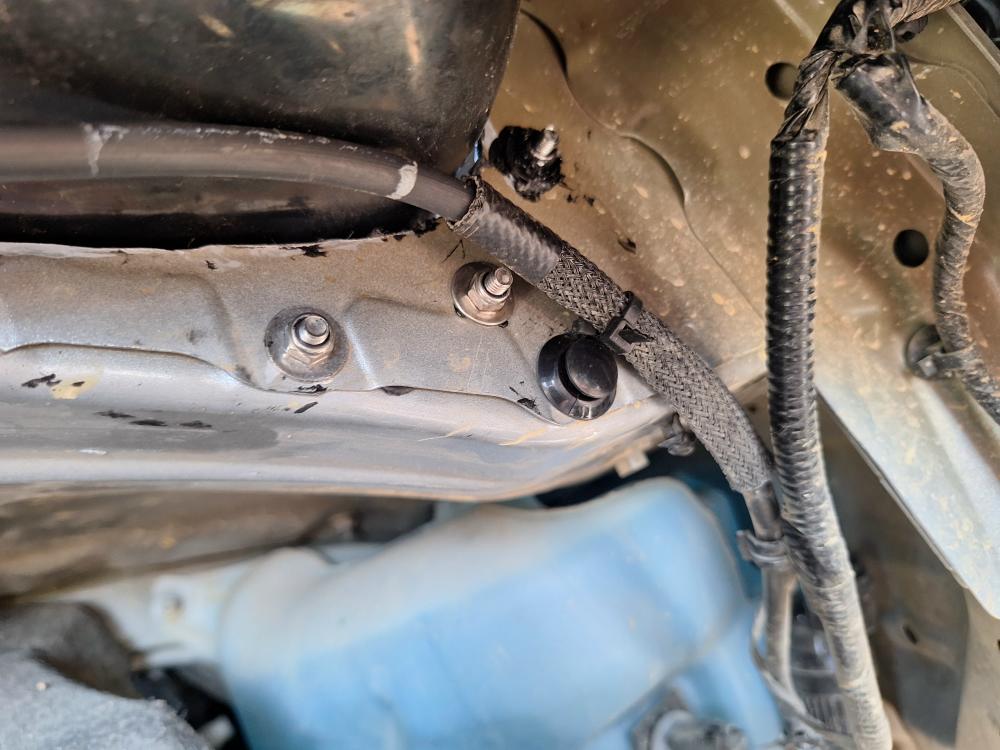
And then installed the support plate again with that 6mm hole so I could mark and drill the remaining mounting holes.
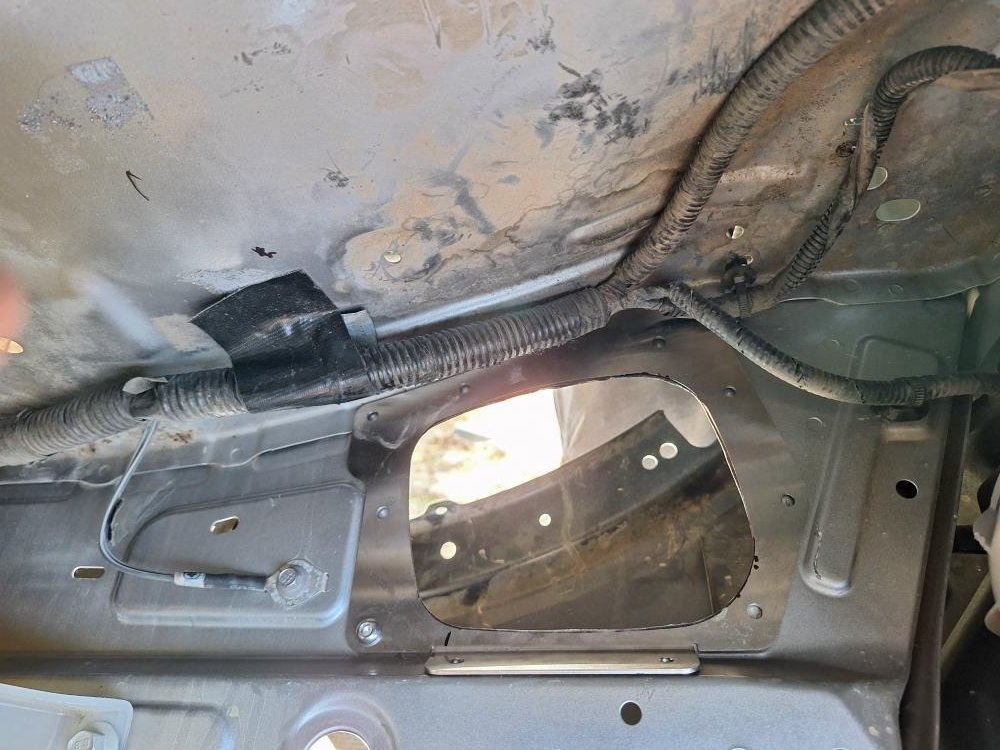
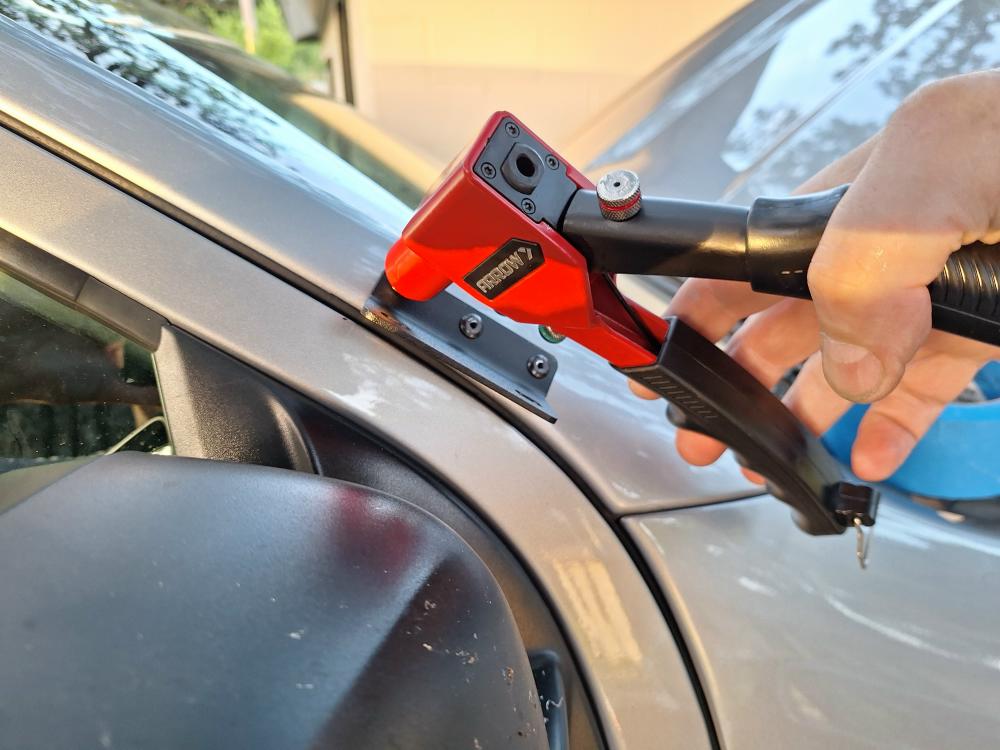
You need a 90-degree drill to drill out the (10) 5.5mm (3/16″) mounting holes. I didn’t have a 90-degree drill, so I picked up a Milescraft Drill90Plus Right Angle Drill attachment for about $20. Works great.
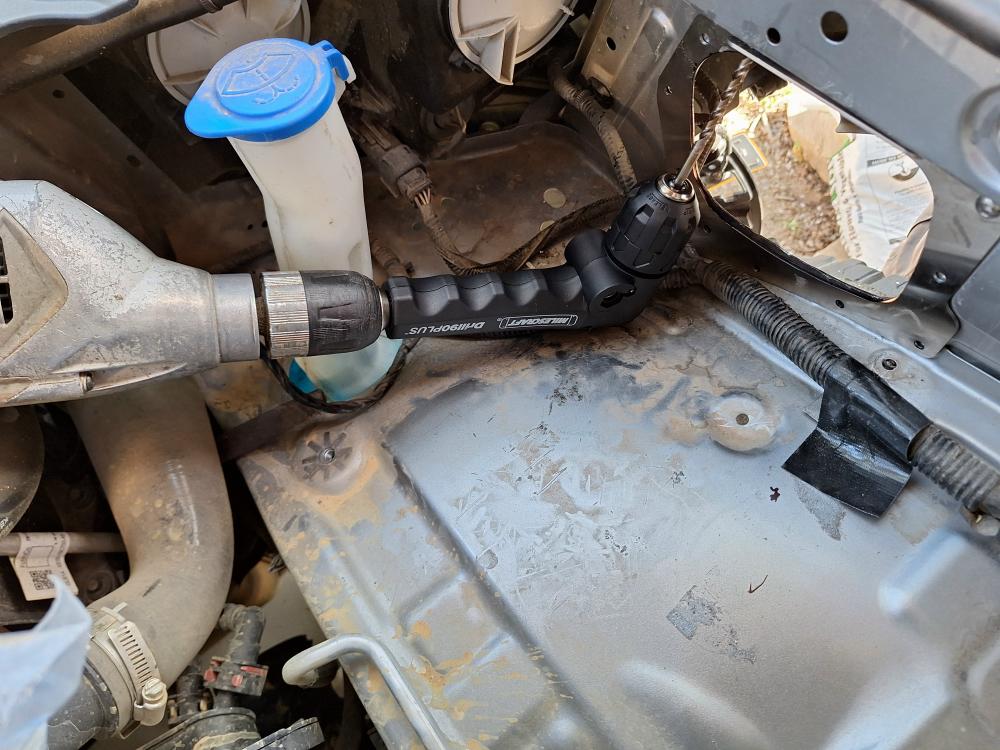
I had to apply Sikaflex 227 adhesive to the back of the inner fender support before bolting it on. This is basically a seam sealer.
I really don’t understand why ARB calls for Sikaflex to be applied to this support plate. It doesn’t seal anything. It doesn’t seal the snorkel.
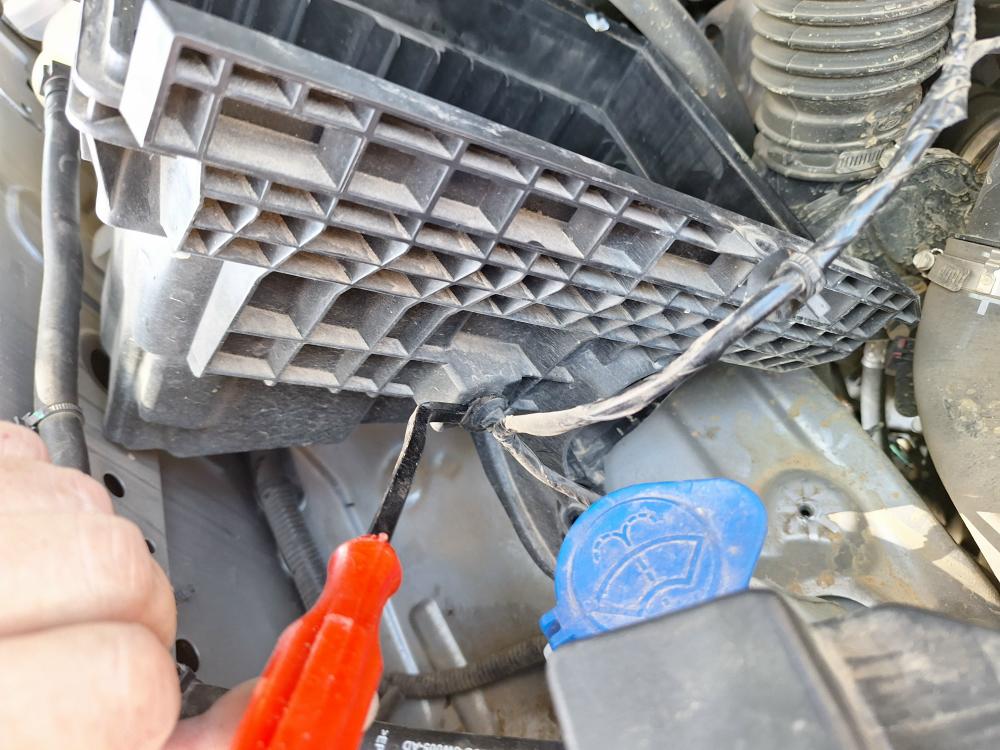
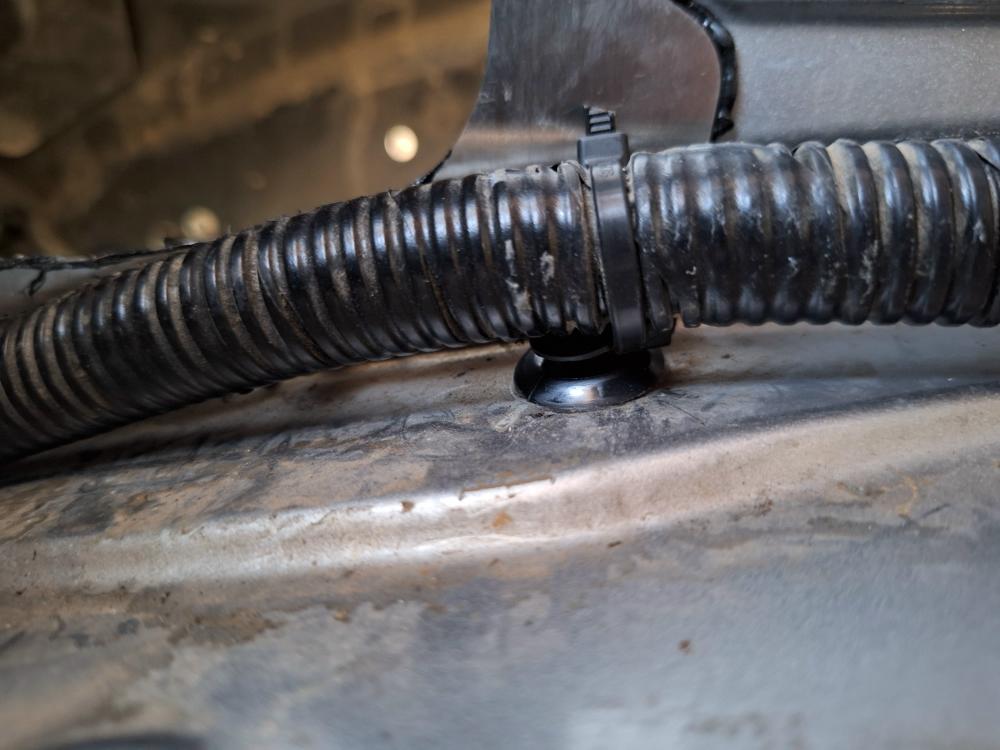
I broke the plastic retaining clip that held the harness where the support plate mounted. I had some plastic retaining clips and took (2) zip ties and made my own clip to hold the harness.

Modifying The Air Box
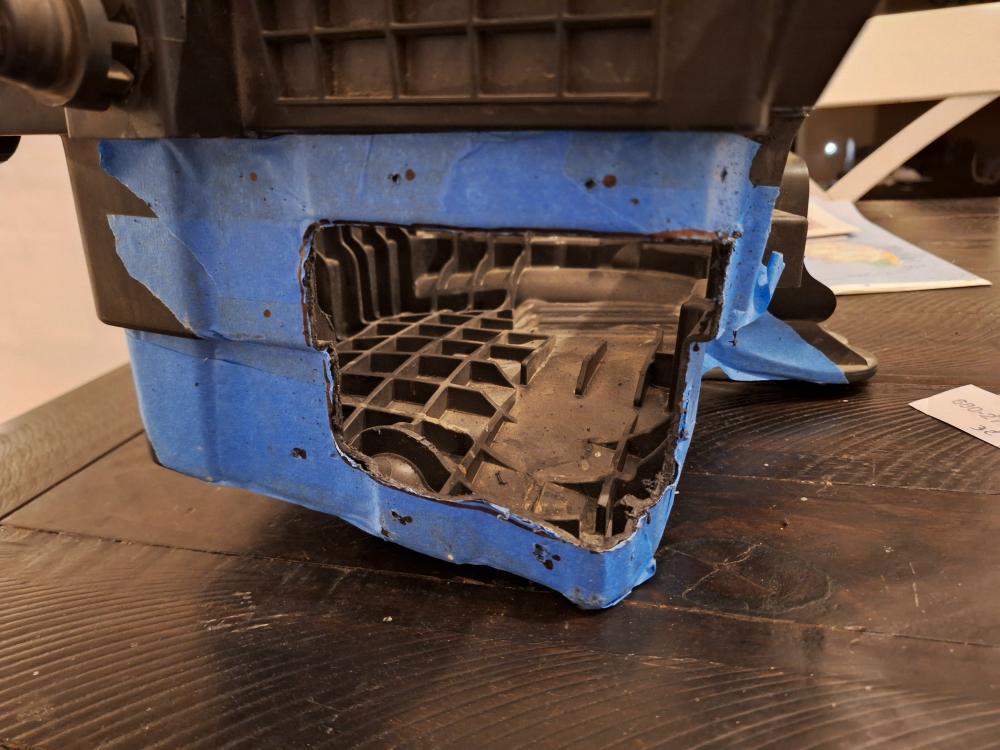
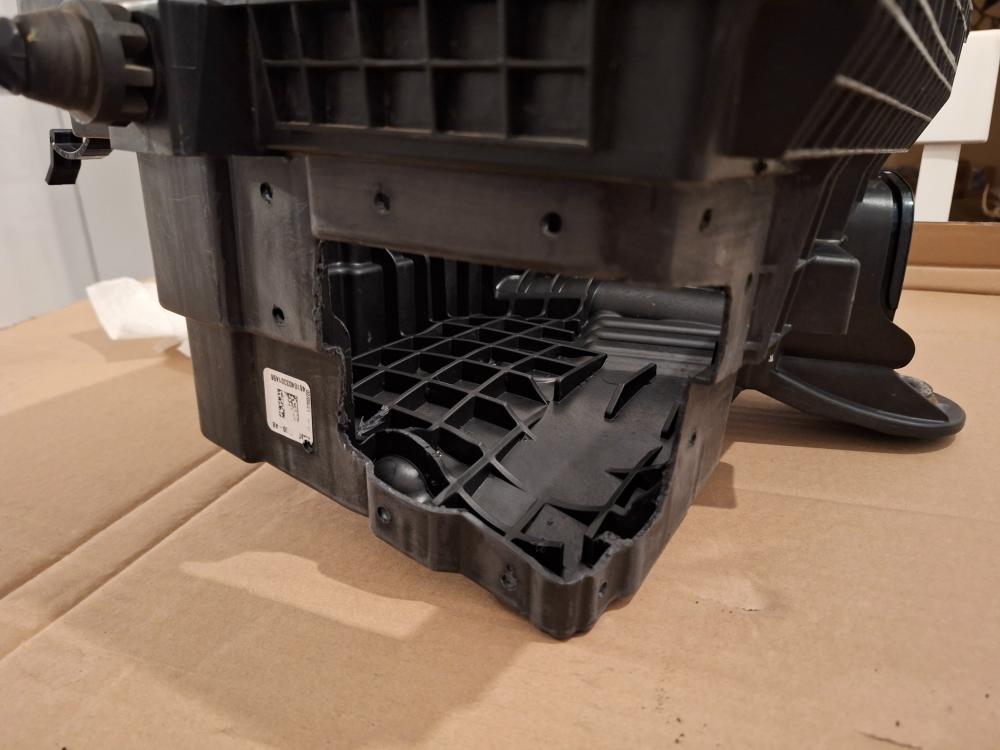
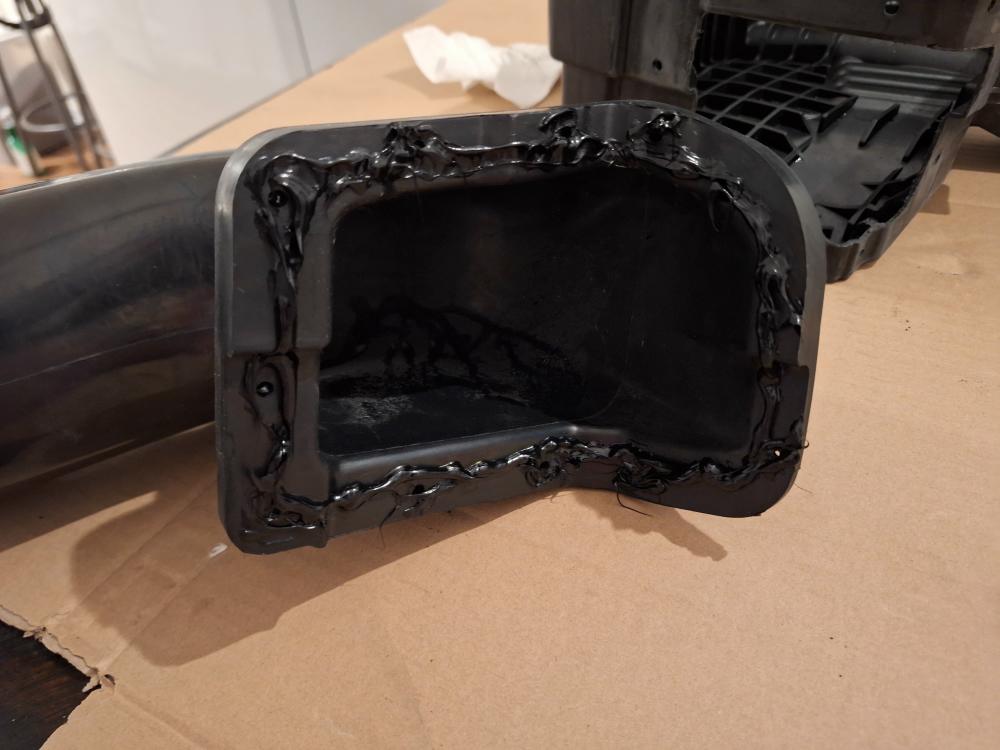
You have to remove some of the ribbed areas on the air box and cut out a section for the snorkel to attach to.
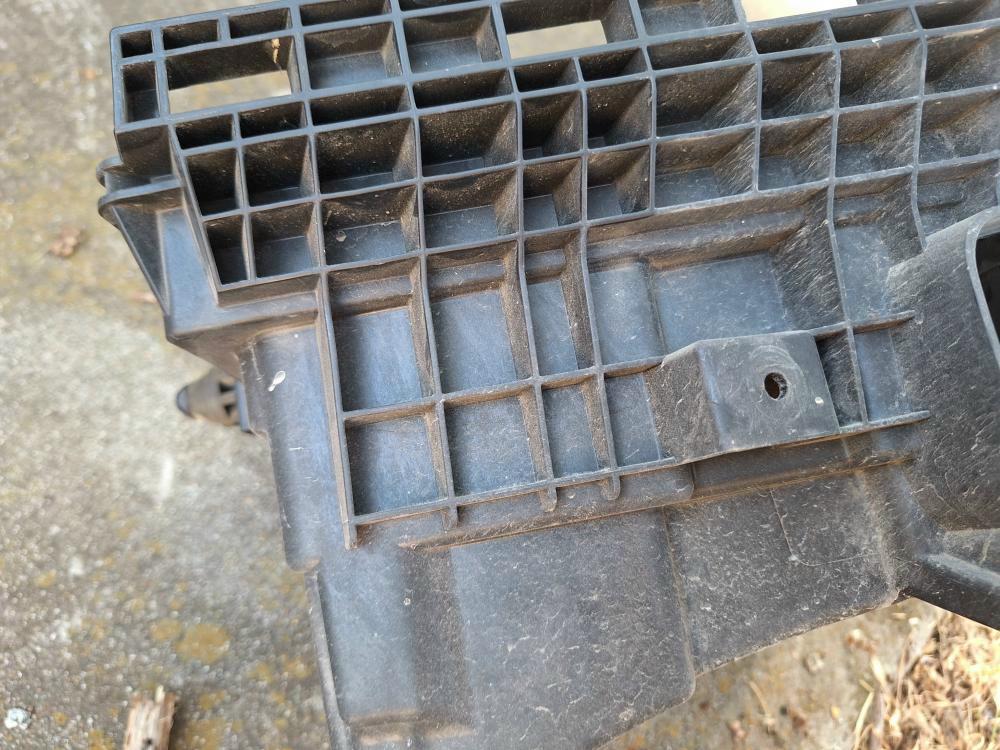
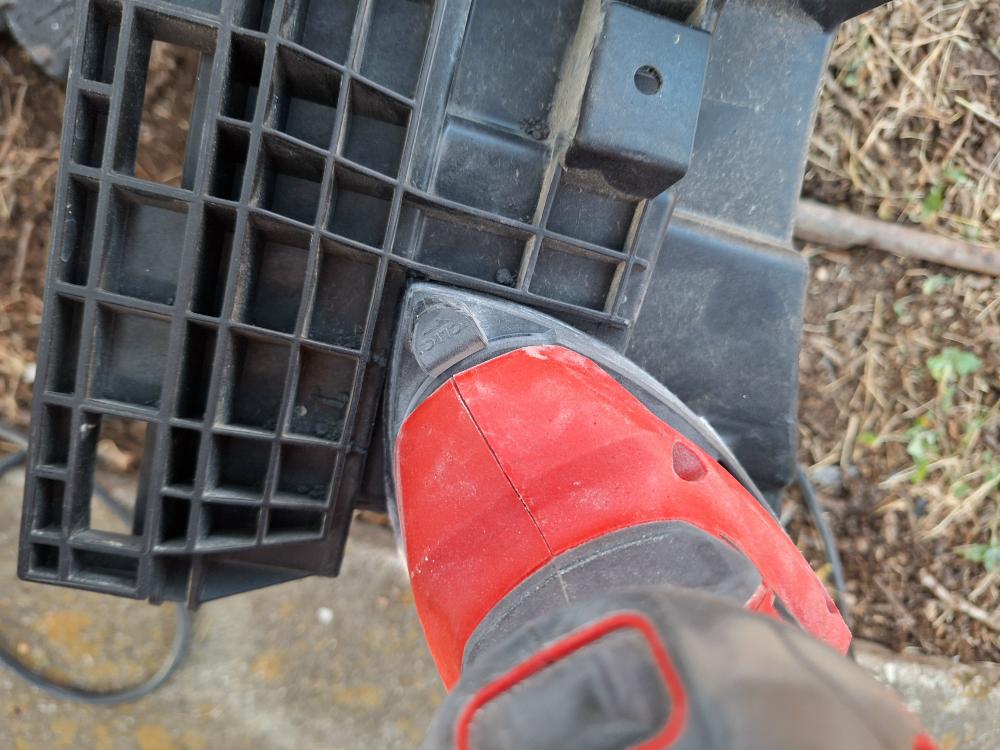
I trimmed them off with a hacksaw blade and sanded the area smooth.
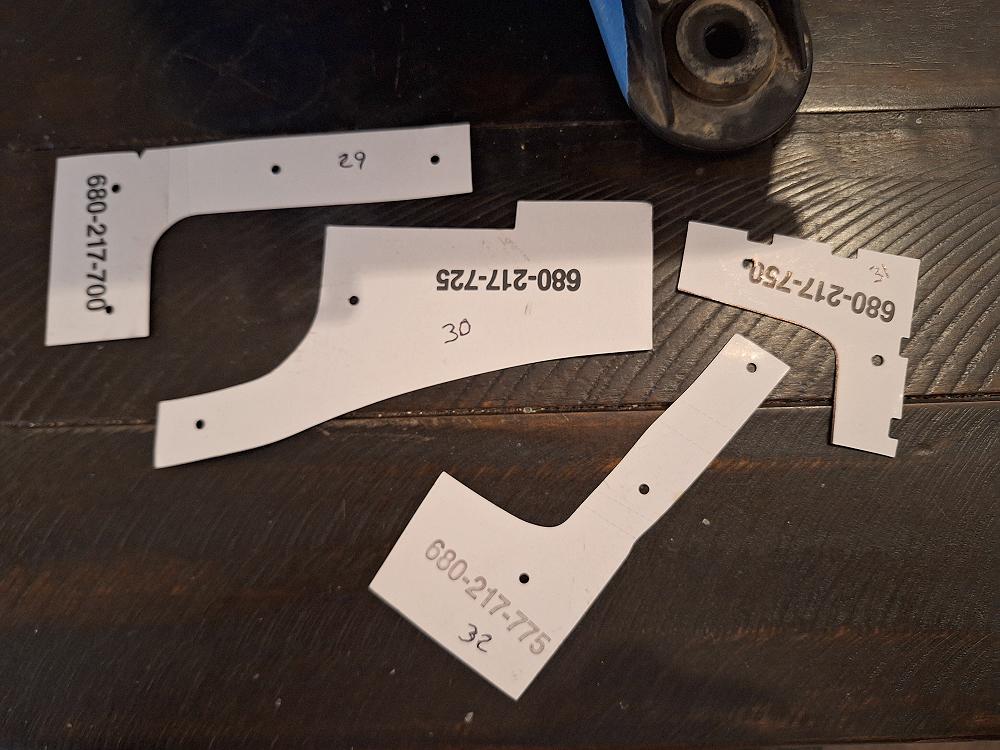
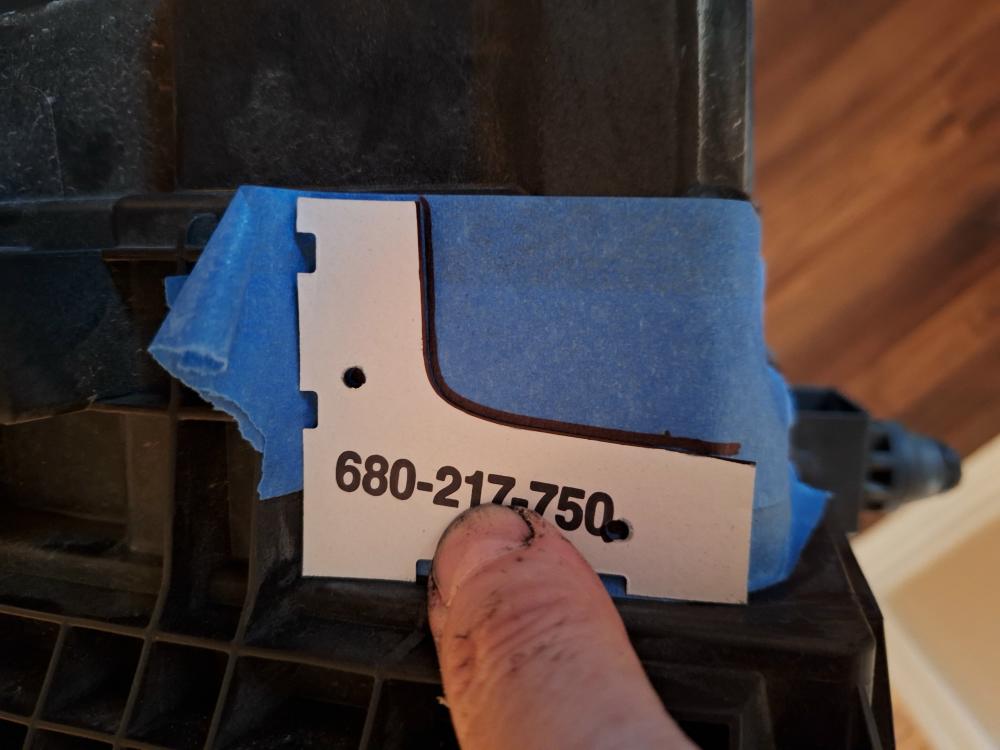
The snorkel kit comes with paper templates that you lay over the air box and trace, so you know where to cut.
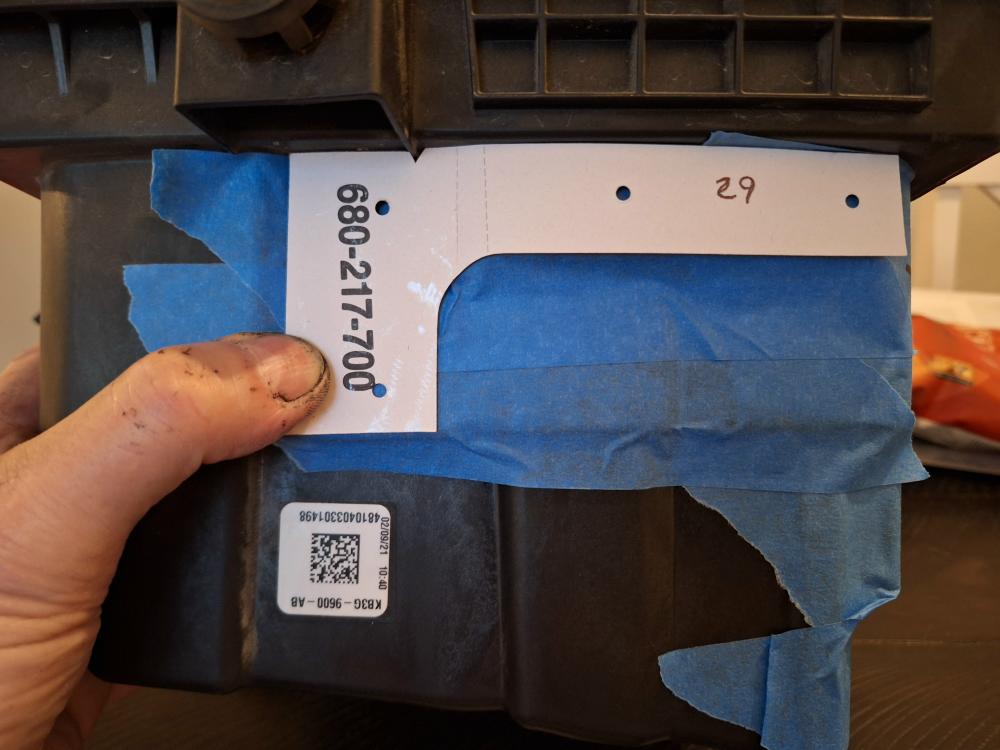
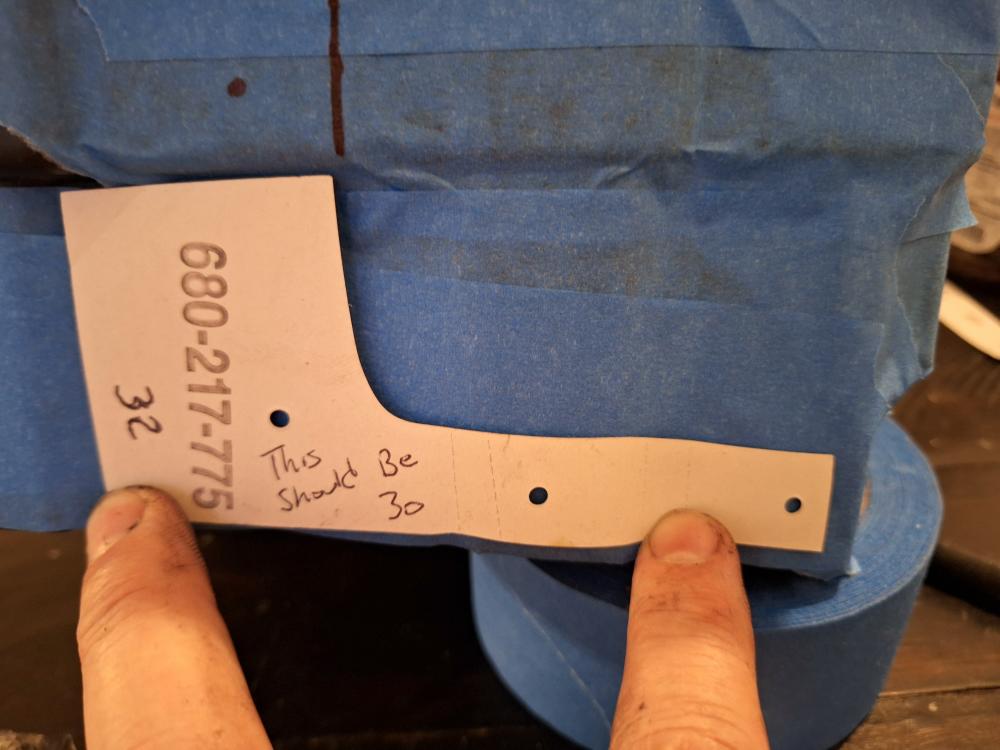
ARB gave these templates part numbers but refer to them in the instructions by an item number. So, you have to look at the parts list to figure out what part number is Item 29. I simplified this by writing the item number on the templates. I also realized that two of them were mislabeled.
So, I put masking tape on the air box so I could trace the templates with a permanent marker.
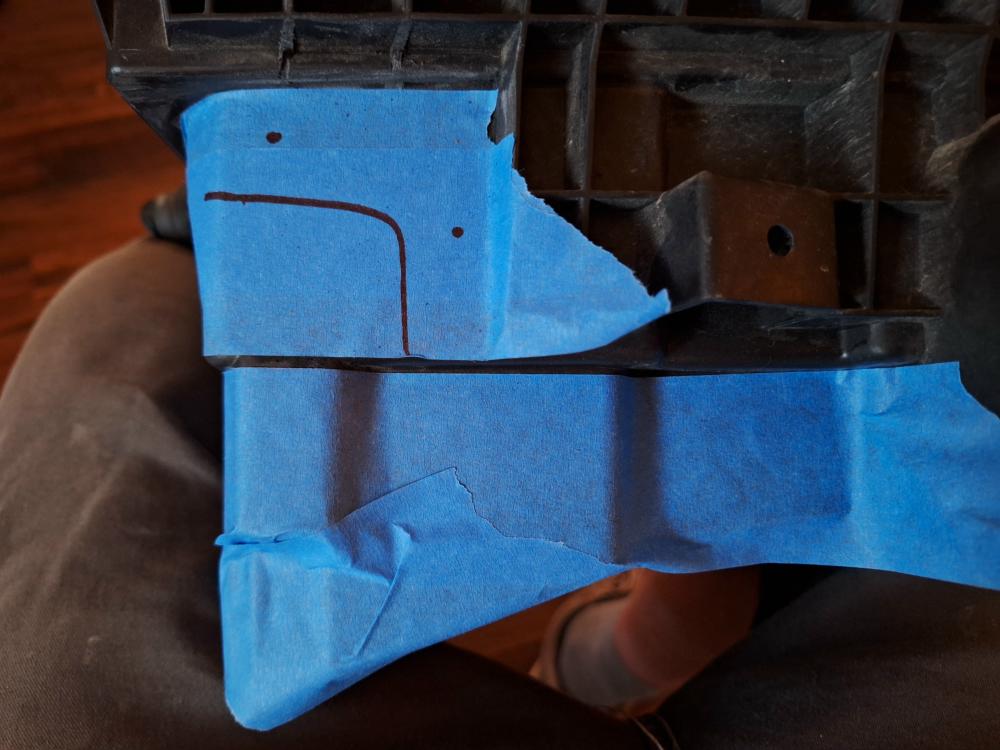
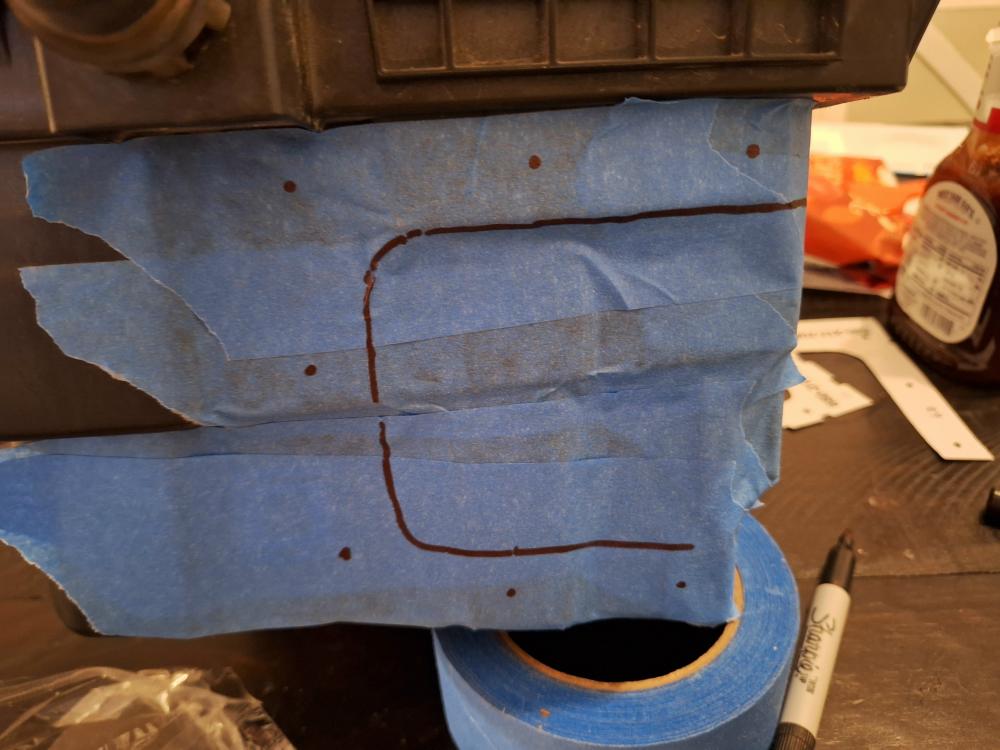

I hate that there’s a bunch of little templates instead of one or two that wraps around. Not only do you have to trace out the cut lines, but you have to mark the holes for the snorkel to bolt to it.
Look at the tape below. I positioned the snorkel hose to it and found that the holes weren’t going to line up with the holes in the snorkel. So, I used the snorkel for my template for the mounting holes.
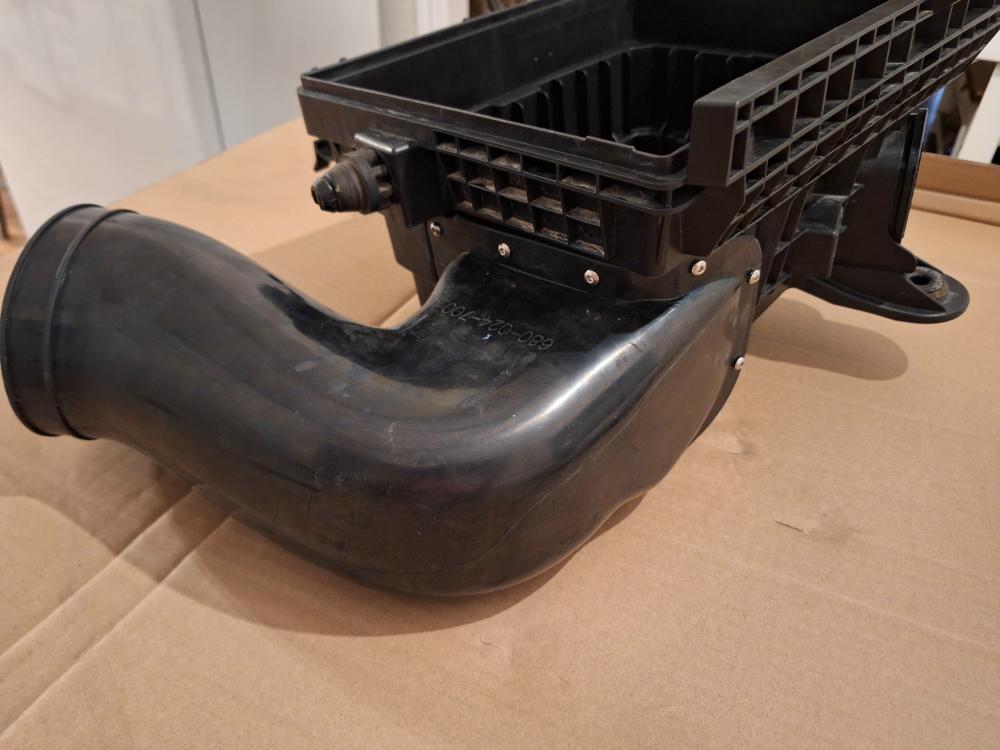
You have to apply Sikaflex 227 to the mounting surface of the snorkel hose before you bolt it on to help seal it.
In the top middle part of the photo below you’ll see a drain hole in the bottom of the factory air box. ARB suggests that seal the drain hole, but for some reason doesn’t include anything to seal it with.
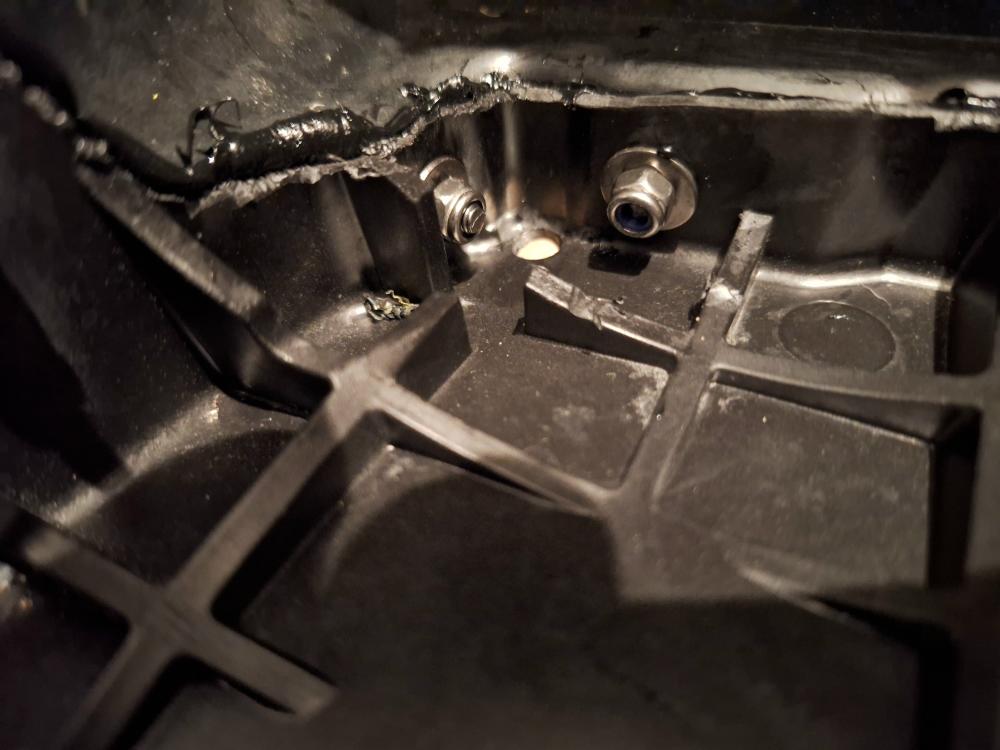
I covered the hole on the bottom of the air box with Gorilla Tape. This tape is strong and holds up well.
On the inside I filled the hole with Sikaflex 227 to help seal it up.

ARB includes a rubber plug to fill the opening left by the factory air intake. You have to apply Sikaflex to the plug to help seal it. ARB includes (2) screws to hold the plug in place once you install it.
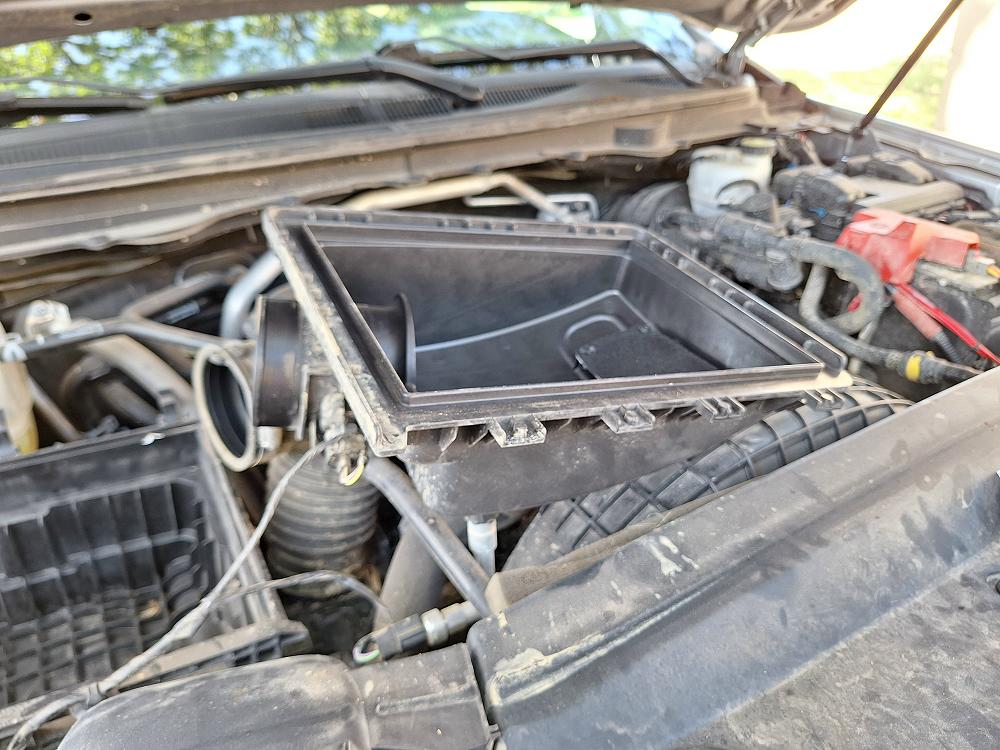
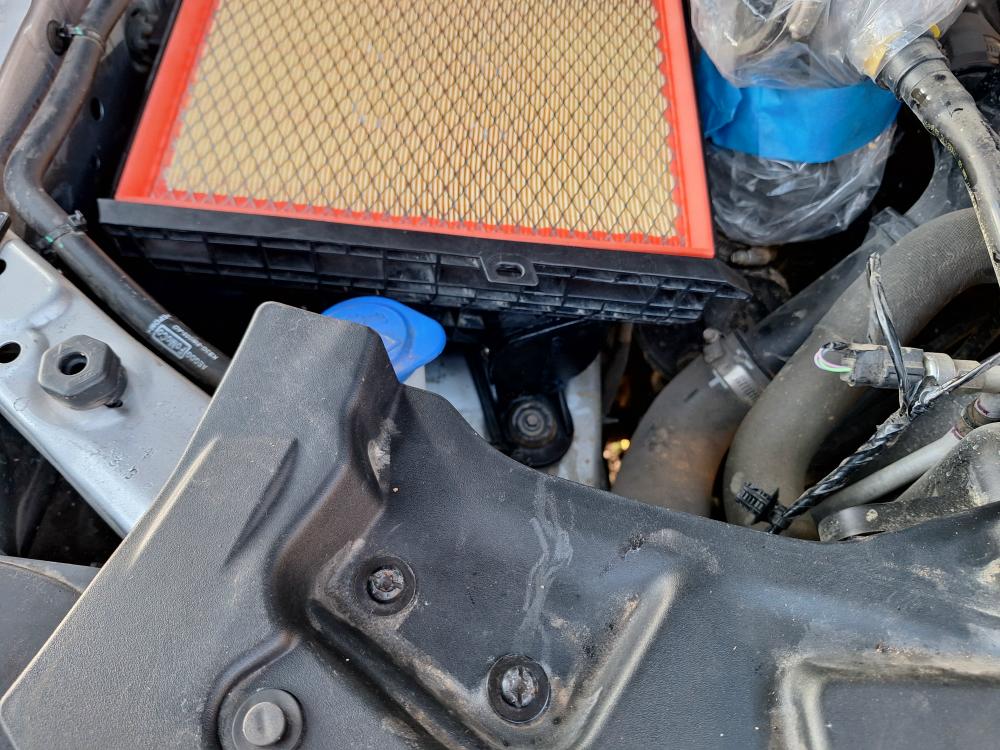
Reinstall the air box in the engine bay.
Mounting The Snorkel
With the airbox back in place, the rubber intake will be aligned with the hole you cut in the fender.
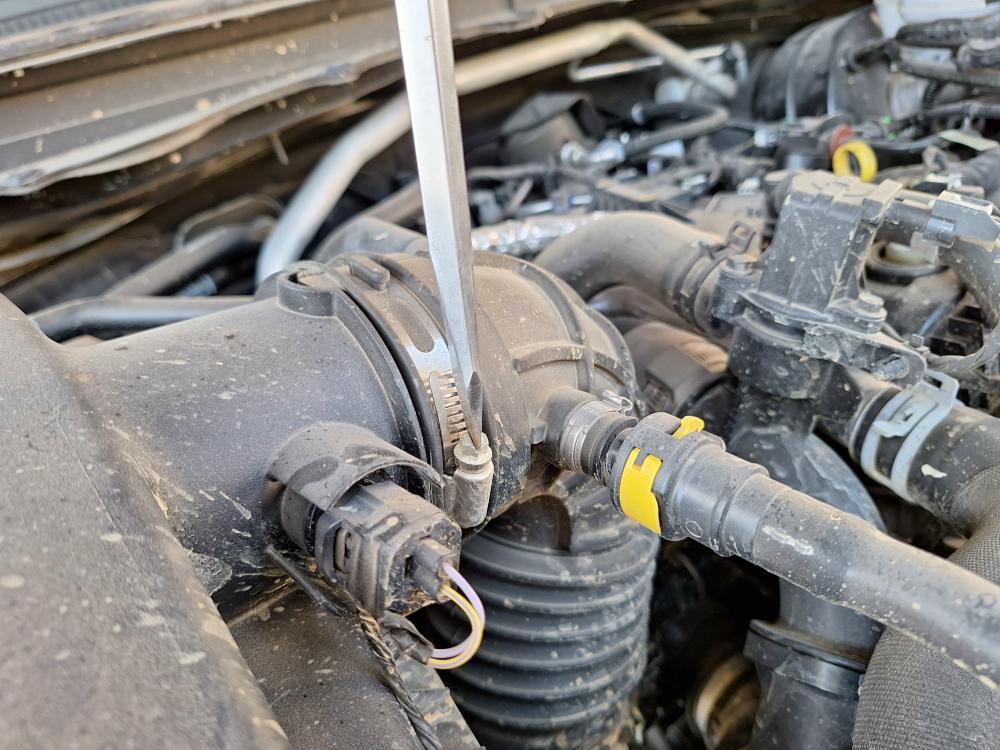
When you mount the plastic part of the snorkel don’t forget to tighten the hose clamp on the rubber hose.

Bolt the snorkel to the fender, and then bolt it to the upper mount that you riveted on to the A-pillar.
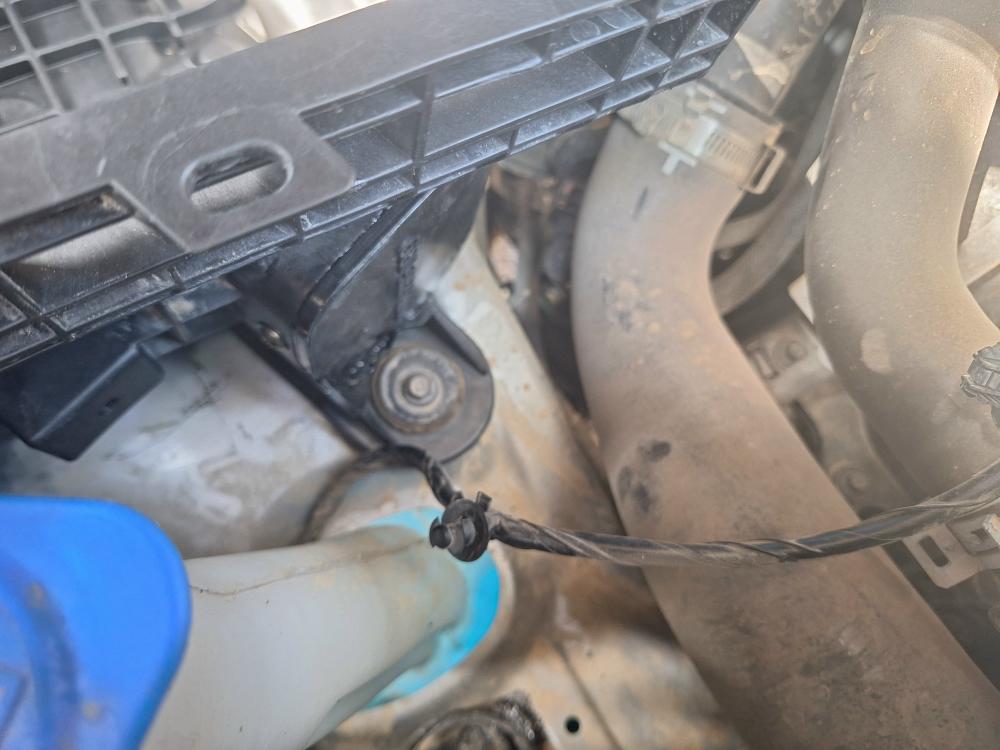
I had to make another mount for the washer fluid hose inside of the fender. I made the mount by looping a zip tie around the head of the plastic retainer, and then looped a zip tie through that one so I could secure the washer hose.
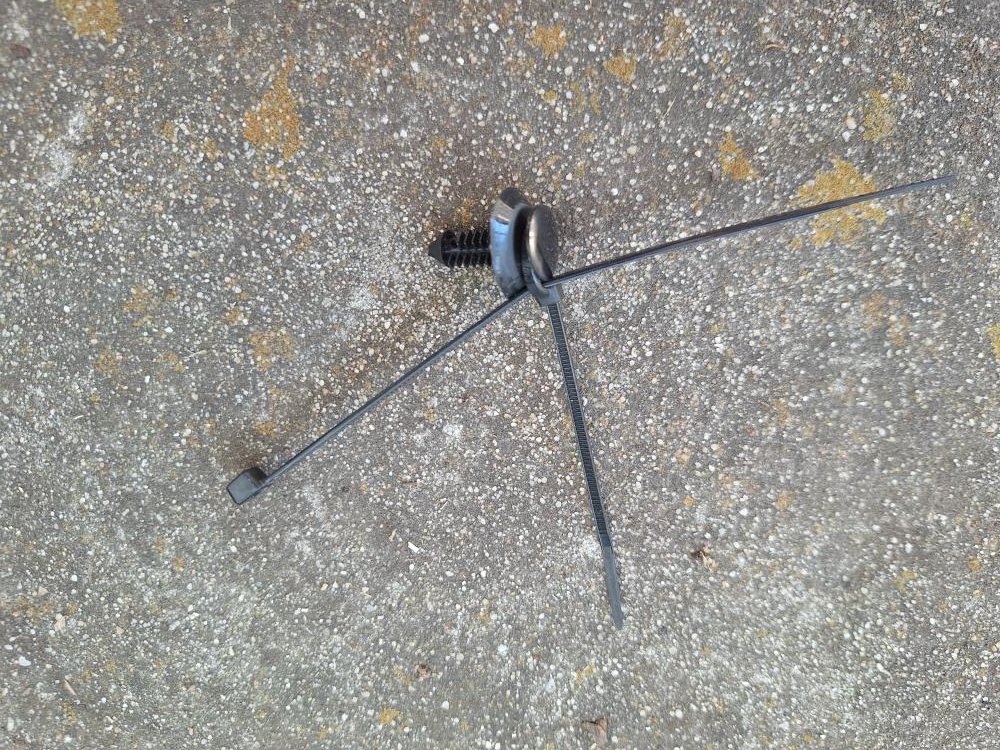
The hose has a protective coating over part of it, but I put a layer of Gorilla Tape over it to keep it from sliding and to protect it from the mounting bolts that are now sticking through right here. I apparently forgot to take a picture of it.
I had some of these plastic panel clips that I used to replace the factory ones that I broke when I removed them. I like these a lot more.


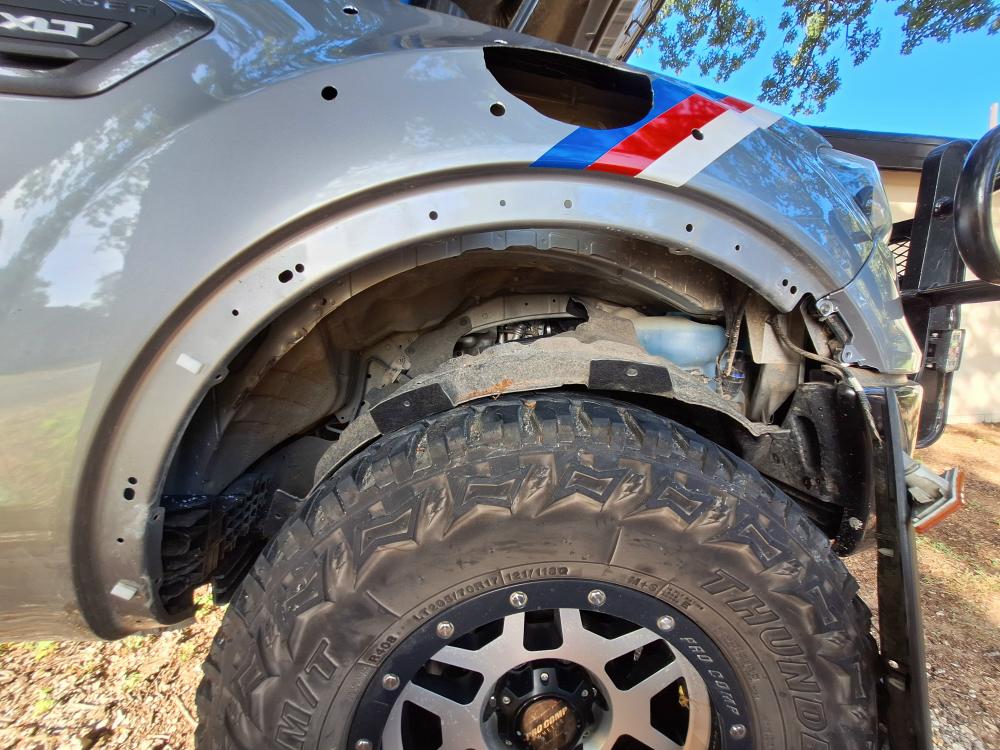
Reinstall the fender liner, and then the fender flare and marker light.
Might as well install a new air filter as well.
All done.

Final Thoughts
Installing an ARB Safari snorkel on a 2021 Ford Ranger FX4 is not a beginner project, but it is absolutely achievable with patience and the right tools. The result is a cleaner, higher-mounted air intake that improves engine protection in water crossings and dusty environments.
Take your time, double-check all cuts, and focus on proper sealing to ensure your snorkel performs as intended.
Related Articles
1983-1992 Ford Ranger Full Height Snorkel For Under $50
Making Your Own Intake Snorkel
How to: Install a Safari Snorkel on a 1993 Ford Ranger
ARB Snorkel For Your 1993-1997 Ford Ranger
About The Author
Jim Oaks is the founder of TheRangerStation.com, the longest-running Ford Ranger resource online since 1999. With over 25 years of hands-on experience building and modifying Ford Rangers — including magazine-featured builds like Project Transformer — Jim has become one of the most trusted authorities in the Ford Ranger off-road and enthusiast space.
Since launching TheRangerStation.com, Jim has documented thousands of real-world Ranger builds, technical repairs, drivetrain swaps, suspension modifications, and off-road adventures contributed by owners worldwide. TheRangerStation.com has been referenced in print, video and online by enthusiasts, mechanics, and off-road builders looking for practical, and experience-based information.