
Introduction
This article is for installing a camshaft synchronizer into the back of the engine.
Disclaimer: The Ranger Station.com, The Ranger Station.com Staff, nor the original poster are responsible for you doing this modification to your vehicle. By doing this modification and following this how-to you, the installer, take full responsibility if anything is damaged or messed up. If you have questions, feel free to PM the original poster or ask in the appropriate section of The Ranger Station.com forums.
Difficulty: 7-9 out of 10 (depending on circumstances)
Time to install: With engine out: 10-20 minutes / Engine in vehicle: unknown (estimated 45 min)
Tools needed:
- Razor blade
- Ruler
- Set of metric wrenches
- Set of sockets (3/8)
- Ratchet
- 1/2″ breaker bar
- Unknown size socket (for turning over engine)
- 3/8 Inch extensions if in the vehicle
Parts needed:
- Camshaft synchronizer
- masking tape
- valve cover gasket (passenger side)
Procedure
Step 1. Remove belts if still on engine.
Step 2. If not already un-installed, loosen and remove hold down clamp before removing old plug or broken/malfunctioning cam-synchro.
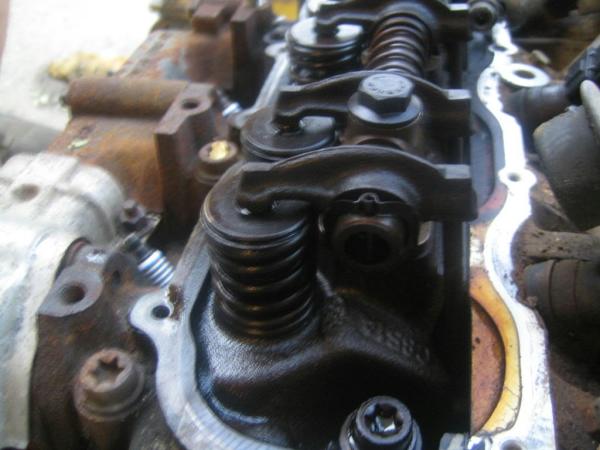
Step 3. Remove valve cover
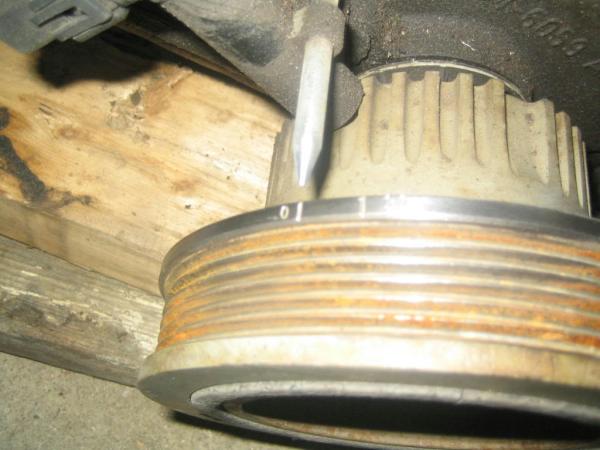
Step 4. Using 1/2″ breaker bar, turn engine clockwise using the big crankshaft pulley bolt. bring engine cylinder #1 to TDC compression stroke (when both valves are closed). The #1 cylinder is the one closest to the front passenger side.
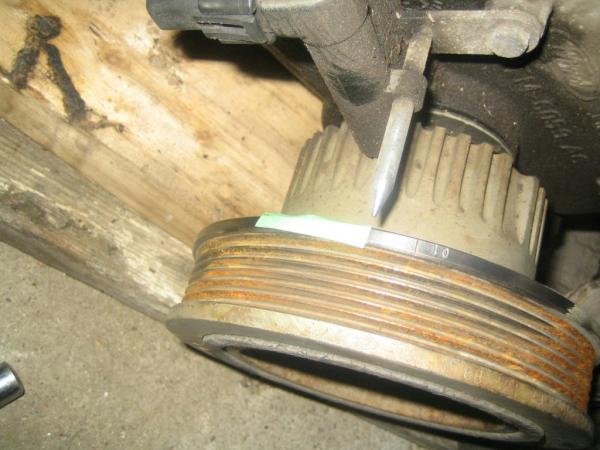
Step 5. Using the ruler, cut a piece of masking tape 34mm long, exactly.
Step 6. Stick tape on the left side of the line on the crankshaft pulley and turn engine clockwise until the timing needle points at the end of the tape:

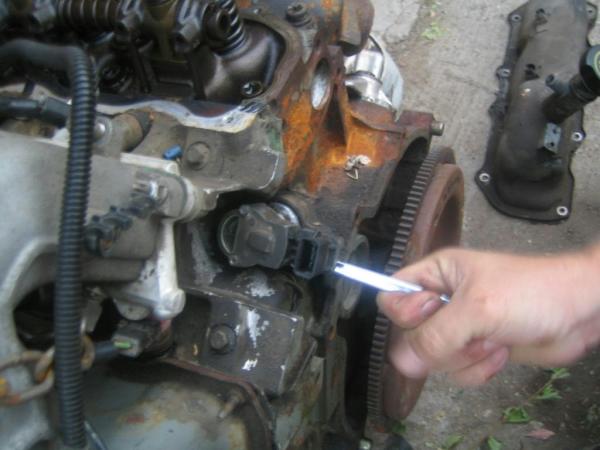
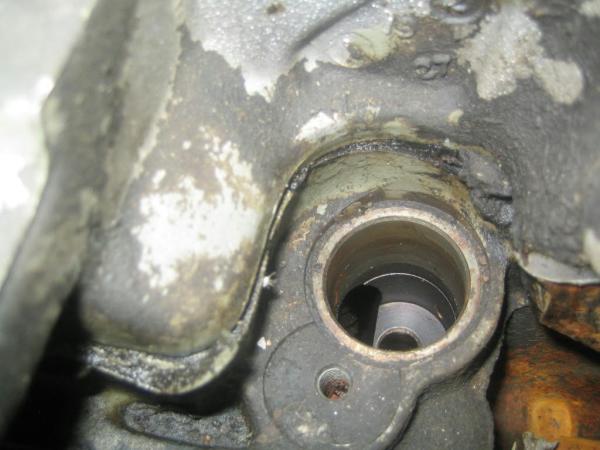
Step 7. Insert cam synchronizer into its socket in the back of the engine, at a 90-degree angle to the back of the block, with the c shaped piece pointed open end towards the driver side and on the far-left mark.

Since the gear is helical, it will rotate as it goes into the engine and hopefully slips right into the oil pump. drive gear. If it does not, try wiggling it around it should drop in. replace hold down clamp, and make sure c shape lines up with the far right line on the sight glass now, perfectly, then tighten hold down. plug in and you’re done.
More Information From Forum member Slingblade:
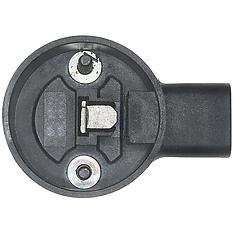
The sensor itself is held on by two philips head screws.
You don’t need to remove the whole drive gear assembly just to change the sensor. So, you don’t need to worry about the timing.
I think it would be easiest to remove the upper intake, but might be accessible with it in, but I doubt. My engines out right now anyways. Here are a couple of pics of what it looks like.
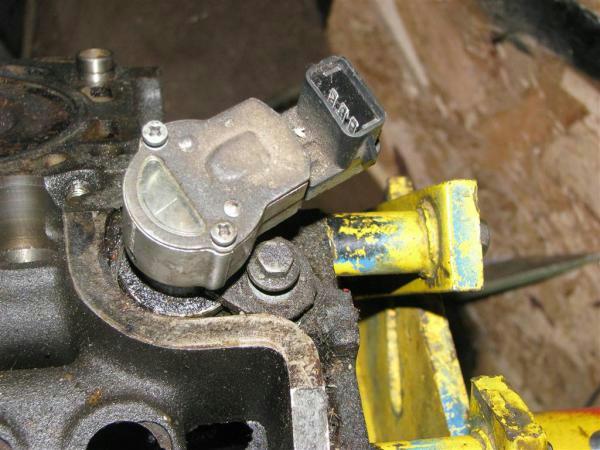

Just the cam sensor
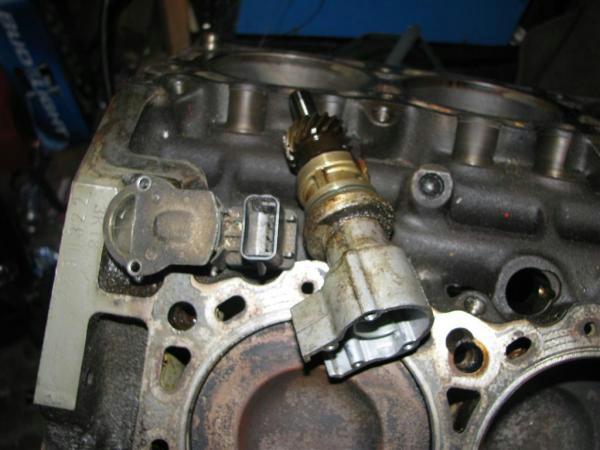
Oil drive and synchronizer
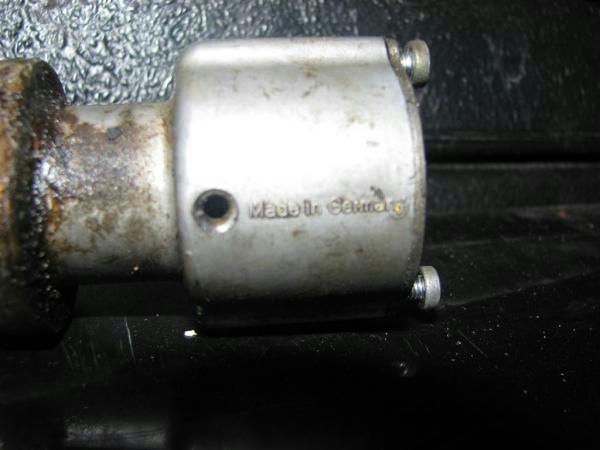
New Sensor

Contributor
This procedure was performed by TRS forum member Jaymegriffiths and contributed to the author to be published at The Ranger Station to help other Ford Ranger owners. See the original thread HERE
Link:
Related Articles
Rebuilding And Improving A Ford 4.0 Engine
How To Build A Ford 4.0L For Power
How To Build And Modify Ford V-6 Engines (.pdf)
Ford Camshaft Position Sensor (CMP) / 3.0L, 4.0L & 5.0L
Supercharging A Ford Ranger 4.0 OHV V6
Last Updated:
About The Author
Jim Oaks is the founder of TheRangerStation.com, the longest-running Ford Ranger resource online since 1999. With over 25 years of hands-on experience building and modifying Ford Rangers — including magazine-featured builds like Project Transformer — Jim has become one of the most trusted authorities in the Ford Ranger off-road and enthusiast space.
Since launching TheRangerStation.com, Jim has documented thousands of real-world Ranger builds, technical repairs, drivetrain swaps, suspension modifications, and off-road adventures contributed by owners worldwide. TheRangerStation.com has been referenced in print, video and online by enthusiasts, mechanics, and off-road builders looking for practical, and experience-based information.