
In the early ’90s, Ford debuted the all-new Ford Explorer outfitted with the 4.0L V-6. Needless to say, with millions sold over the years, the Explorer has gone on to be one of Ford’s biggest success stories. The 4.0L powerplant has its roots in Europe, where it is known as the Cologne engine. Since it has a reputation as being reliable and making good torque, it eventually was offered in the Ford Ranger beginning in the early ’90s and was used through the ’00 model year. Today’s 4.0L powerplant, also found in the Explorer and Ranger, uses the pushrod motor’s bottom end, but now sports a new set of overhead cam cylinder heads.
The bottom line is there are thousands and thousands of these powerplants out there in both Explorers and Rangers that are getting up there in age and mileage and are do for a makeover. The good news is that both trucks can be had rather cheaply these days on the used market, and can be made into a killer sport truck or off-road vehicle with a minimal amount of money.
The biggest complaint, however, as is the case for most trucks owners, is a lack of power. There are several bolt-on power parts available for the 4.0L V-6 that bring the engine alive and push it into V-8 territory in terms of power. Several manufacturers offer simple upgrades, such as after-cat exhaust systems and air intakes, while others offer a more extensive product line for the six-cylinder powerplant.
One company, with a long lineage of 4.0L performance history, offers the “good stuff,” such as larger mass airflow meters, headers, roller rockers, camshafts, valve springs, pushrods, throttle-body upgrades, and more. 4.0-Liter Performance of Tehachapi, California, has been tweaking Rangers and Explorers for more than 10 years and knows what it takes to squeeze the most out of Ford’s premier V-6. One of the company’s test mules outfitted with a 4.0L V-6 was clocked at the Silver State Classic Open Road Race at 147 mph and made nearly 280 rear-wheel horsepower on the dyno.
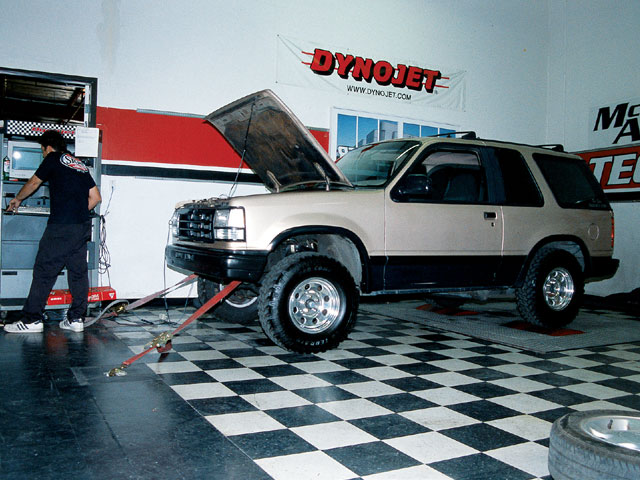
To illustrate how easy it is to find one of these trucks and modify it, we found a well-worn ’92 Explorer Sport for sale that had apparently blown a head gasket after an overheating session. Upon further inspection, we found a rather large crack between the intake and exhaust valve that feeds the number three cylinder. We started collecting information to figure out what our options were at this point, other than to stuff a 5.0L V-8 in it, and quickly learned that there were few rebuilt 4.0L heads available on exchange. Apparently, these heads are so prone to cracks and warpage, that there are only a few rebuildable cores available. This problem, coupled with exhaust manifolds that are also prone to cracks, makes used parts hard to find.
For this particular truck, the initial plan was to go with a handful of popular bolt-ons, such as an upgraded exhaust and intake. The first step was to put the truck on the dyno for baseline numbers. In stock trim, even with 31-inch all-terrain tires on the truck, the Explorer managed to make approximately 120 rear-wheel horsepower and 181 lb-ft of torque.
Our list of bolt-ons included a larger mass airflow sensor and air intake from 4.0-Liter Performance, a Flowmaster Force II after-cat exhaust system, and a piggyback-style performance module from Hypertech. We knew these three common upgrades would help significantly, but only with a solid motor to start with.
Now faced with bad cylinder heads, we turned to Mahle Motorsports, who is a supplier of new head castings for the 4.0L V-6 motors. Besides being brand new and ready to build, the cool thing about the Mahle heads is that they’re 4 pounds heavier per head than the originals. Those extra 4 pounds of cast iron are in all the right places, making the heads virtually bulletproof compared with the stockers. Of course the hot ticket would have been to do a little porting on the stockers for some addition flow, but since we were on a budget, the heads remained as they came.
With the new heads in possession, we got back in touch with Dennis Hilliard of 4.0-Liter Performance, (a division of Central Coast Motorsports) and he supplied us with the company’s trick tapered-stem stainless valves and high-performance valvesprings. He even offered to have his in-house engine building team, Boss Motorsports, assemble the heads for us. Many long-time Sport Truck readers might recognize 4.0-Liter Performance and Dennis Hilliard’s name. He and Editor Kevin Wilson set a record in a ’91 Ford Ranger powered by a supercharged 4.0L V-6 in the Silver State Classic Open Road Race during the mid ’90s.
With the cylinder heads ready to bolt on, we still felt there was one element missing from the power mix – headers – so we turned to JBA for a set of the company’s smog-legal shorty headers. JBA even supplied us with its performance plug wires to round out the buildup perfectly. Once the motor was complete, the addition of the power parts was a simple bolt-on affair.
Once the Explorer was back on the street, and we put a few miles on it for the computer to recognize our bolt-on modifications, we motored back to the tech center for some final numbers. On the dyno, the Explorer registered 145 rear-wheel horsepower at 4,400 rpm and 210 lb-ft of torque at approximately 4,000 rpm. That’s a solid increase of 25 rear-wheel horsepower and 29 lb-ft of torque – and that’s with simple bolt-ons. Hilliard told us these are very repeatable numbers on most 4.0L V-6s (providing the engine is sound to begin with) and that an upgraded throttle body, some roller rockers, and even a camshaft would boost the power levels even higher.
Best of all, the increase in power is noticeable in improved driveability. Off-the-line torque and throttle response are up considerably. If you own an early model Ranger or Explorer with the 4.0L V-6 and are searching for more power, check into these easy upgrades for instant gratification.
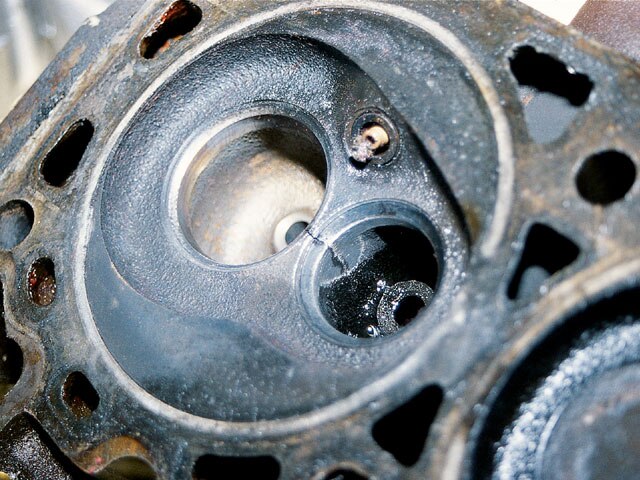
1) After being stranded roadside in the SoCal desert, we pulled the heads and this is what we found: a large crack in the head between the valves that feed the number three cylinder. The more calls we made, the more we learned that these heads were a little on the weak side to begin with and there are almost no good cores to rebuild. It wasn’t what we wanted to hear.
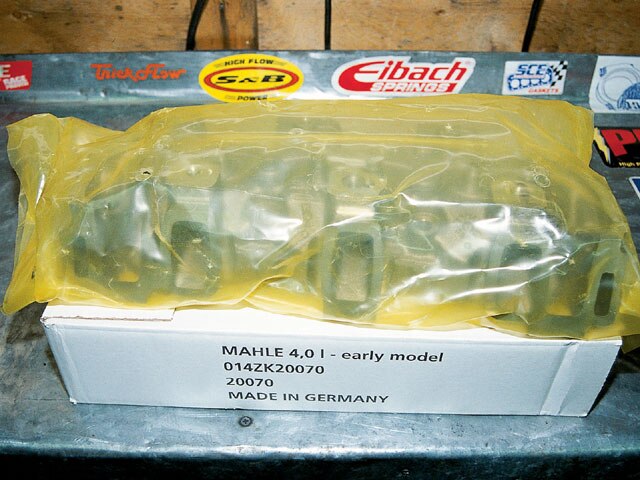
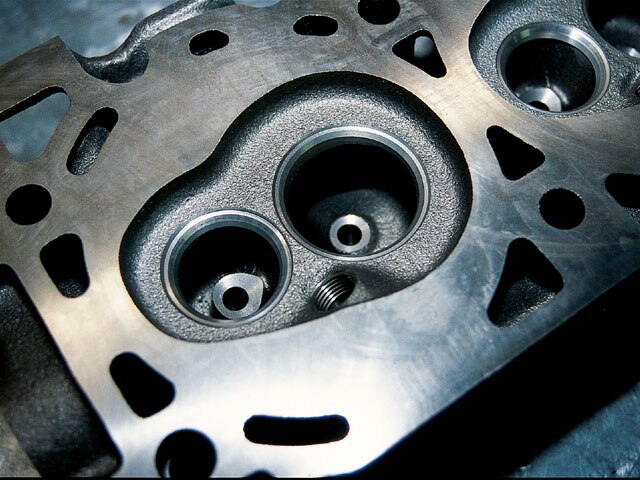
2) Luckily, a rebuilder put us in touch with Mahle Motorsports, who is most famous for its pistons, but is now producing brand-new heads for the 4.0L. The heads are 4 pounds heavier than stock, and all that extra cast iron in the right places makes this new casting practically bulletproof. They come ready to build right out of the box.
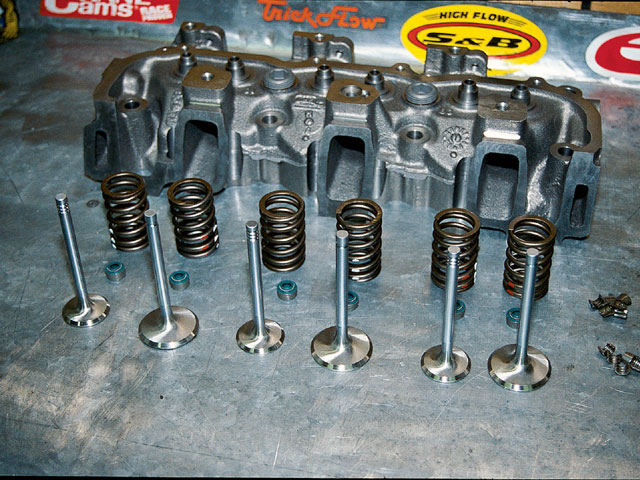
3) We brought our new heads out to Boss Motorsports, the in-house team of builders for 4.0-Liter Performance and Central Coast Mustang. 4.0-Liter Performance supplied its stainless valves with tapered stems, as well as valve springs, seals, and retainers for the build.
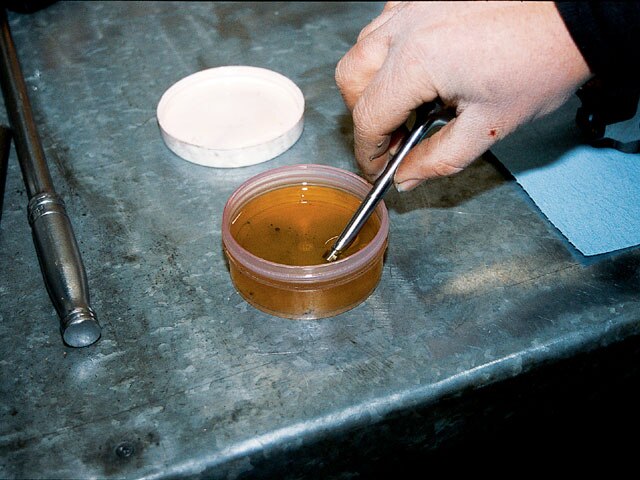
4) We jumped right in to building the heads. Each valve was dipped in assembly lube and slid into the head.
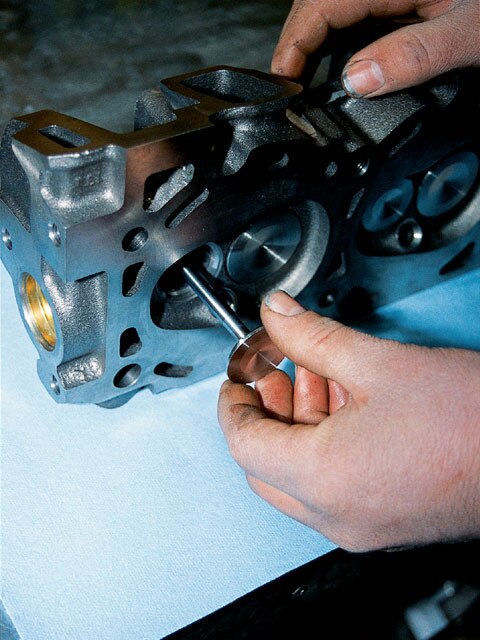
5) Each valve seal is lubed to slide over each stem.
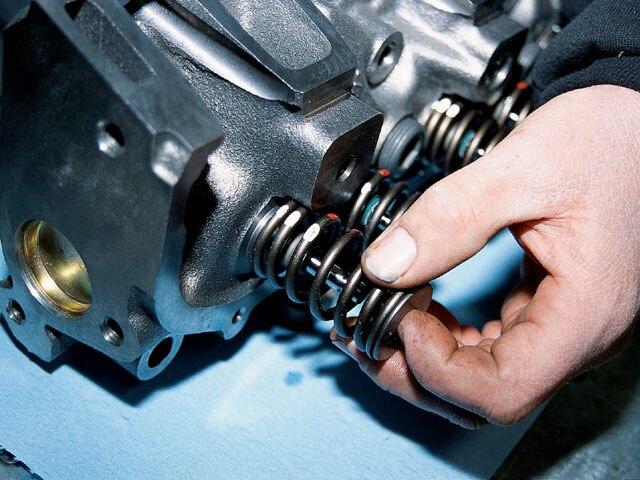
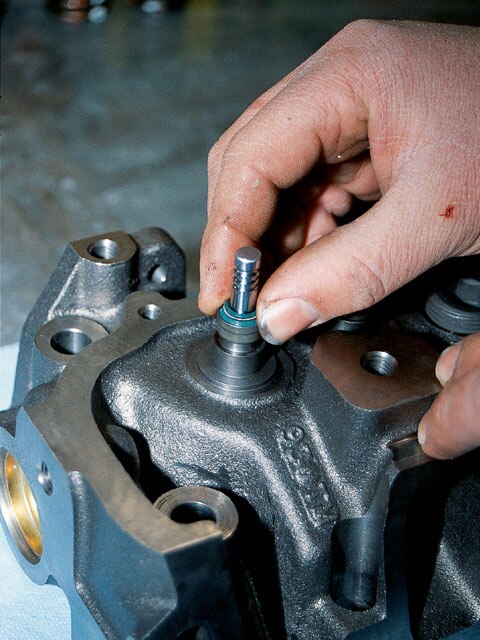
6) While the valve is held closed from behind, the spring and retainer is slid over each stem.
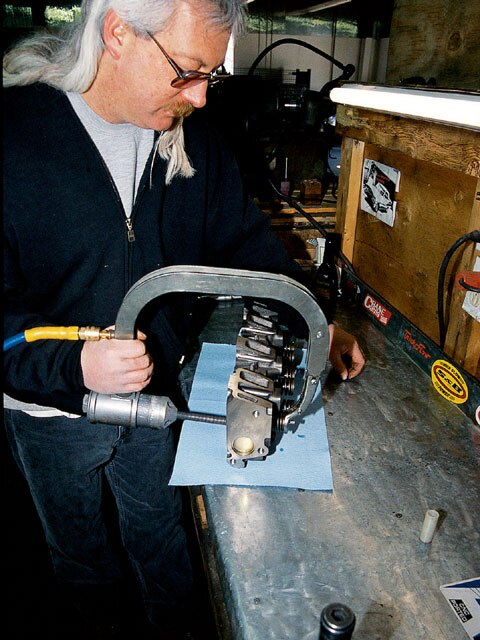
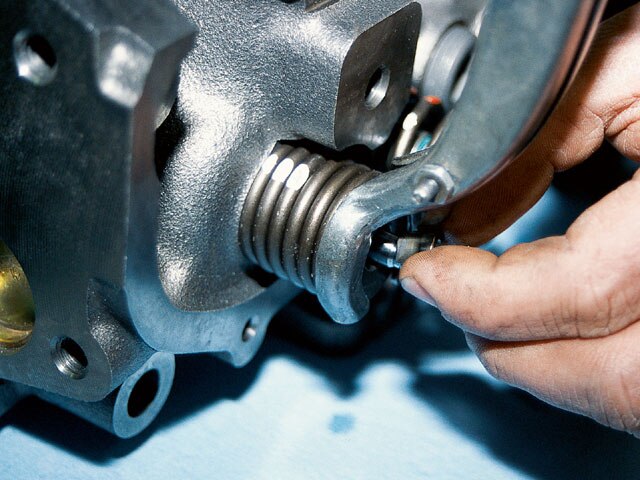
7) A pneumatic spring compressor is used to hold each spring closed while the keepers are set into place.
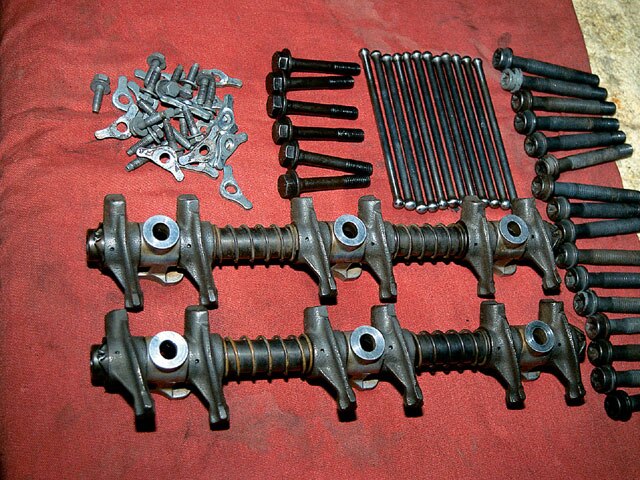
8) The pushrods and rocker shafts were polished up, examined for wear, and set out for assembly. Don’t mind the old head bolts that we cleaned up: At the last minute, we learned that they are one-time-use bolts and needed to be replaced. For the record, when a shop manual says to torque head bolts to x lb-ft (sometimes in several steps), then they are regular reusable bolts. If the manual says torque to y lb-ft and then turn 90 degrees, they are non-reusable torque-to-yield bolts.
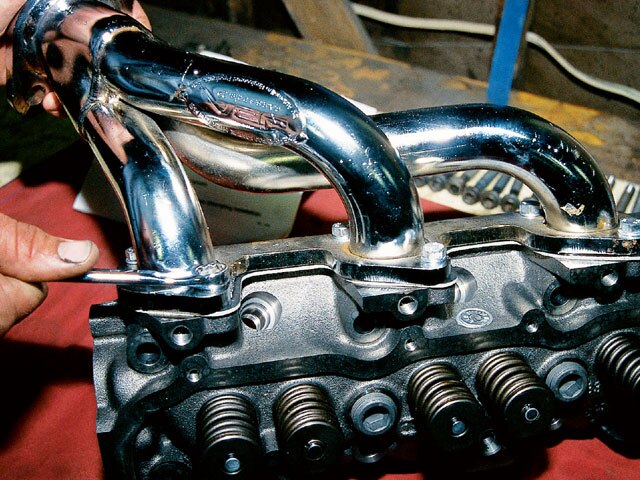
9) JBA Headers had a part number for the 4.0L engine, so we ordered up a set in chrome. The company’s kit comes complete with the Y-pipe, gaskets, and all the hardware. We bolted the headers onto the heads before we installed them. We also installed our new Motorcraft plugs at this time.
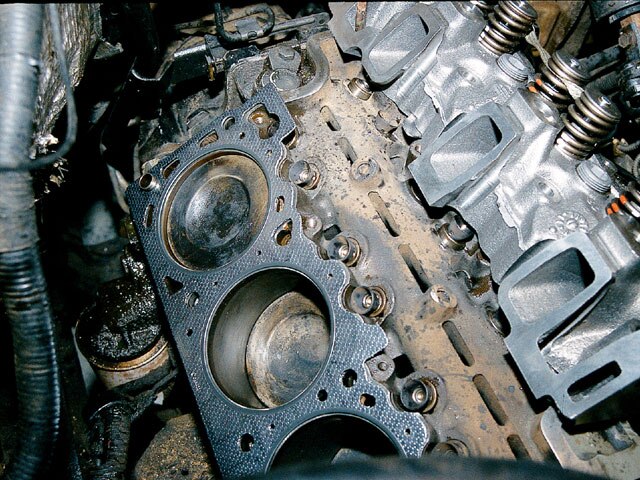
10) We cleaned the carbon off the tops of the pistons, cleaned up the valley, and washed up the lifters on the short-block. We got the new head gaskets from the local Ford dealership. We set each one in place and checked it before grabbing the head.
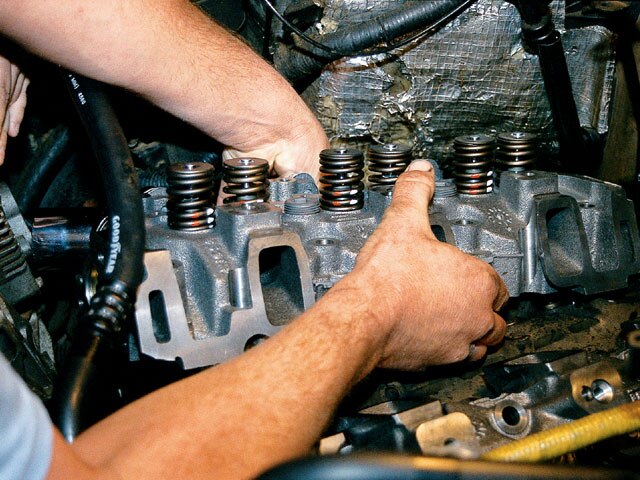
11) Each head was carefully set in place and checked before dropping the head bolts in.
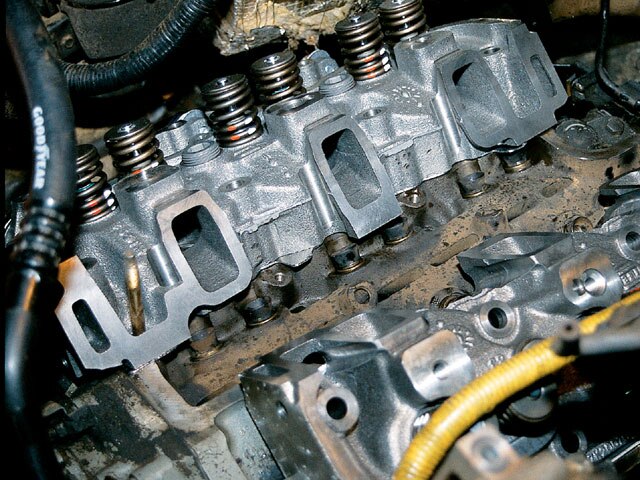
12) To torque the head bolts down, we tightened the bolts from the center out to each end. The first round is to 44 lb-ft; the second is to 59 lb-ft. Then each bolt is turned an additional 80-85 degrees. Those are the numbers Ford gave us with the head gaskets.
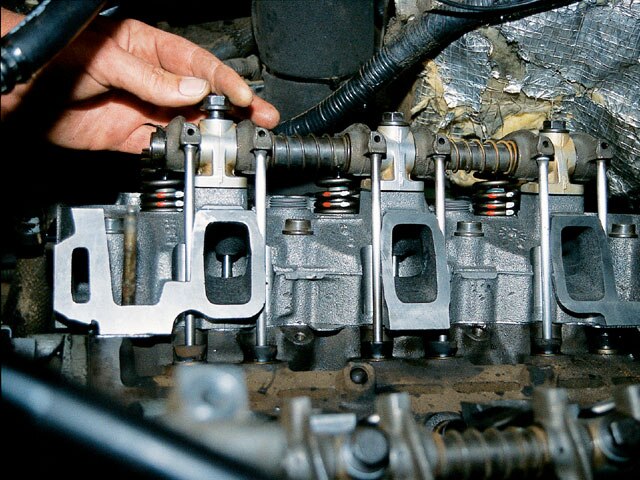
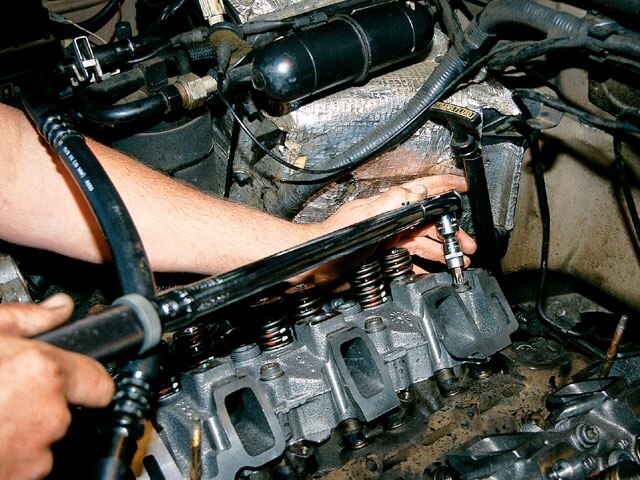
13) Next, the pushrods were dropped through the heads and into the lifters and the rocker shafts were set on and torqued to spec.
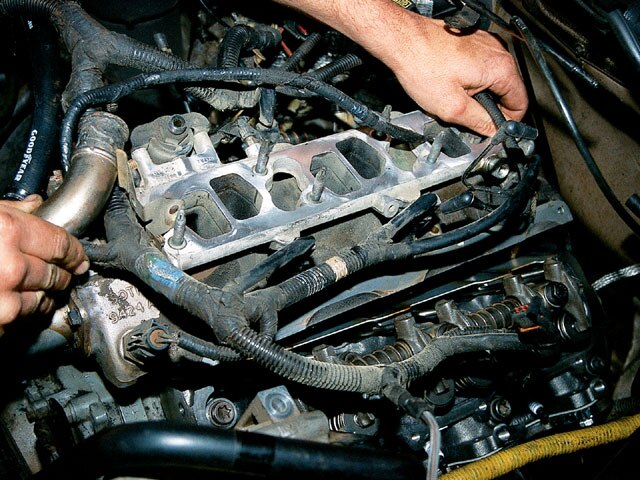
14) Now the new intake gaskets were set in place and the intake manifold was bolted up.

15) We used some leftover POR-15 in good old Ford Blue to clean up the stock valve covers and bolted them in place.

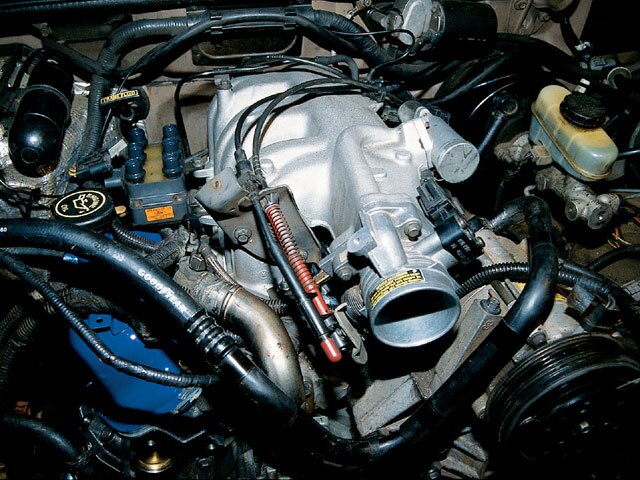
16) Finally, the plenum, throttle body, and everything else we had to unplug or unbolt were returned to their proper place.
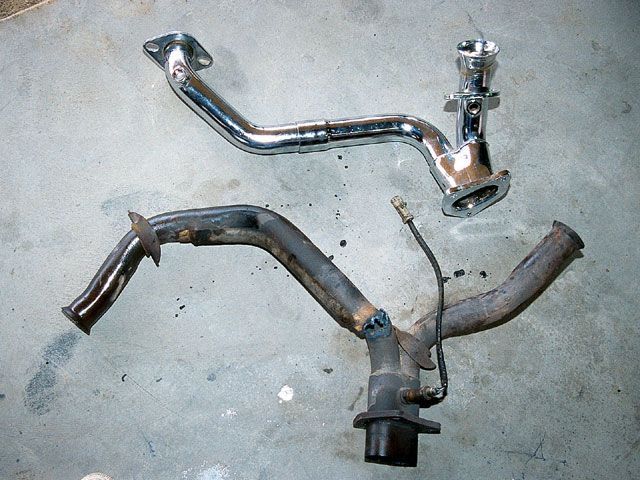
17) We noticed that the JBA Y-pipe had two bungs welded in the tops of the pipe for a pair of 02 sensors, which are for the later 4.0s. We drilled a hole down by the collector, like our stocker, and welded in a bung we got at the local muffler shop. Then we plugged the two upper holes – Easy fix. The Y-pipe bolted up to the headers and to the stock catalytic converter without a hitch.
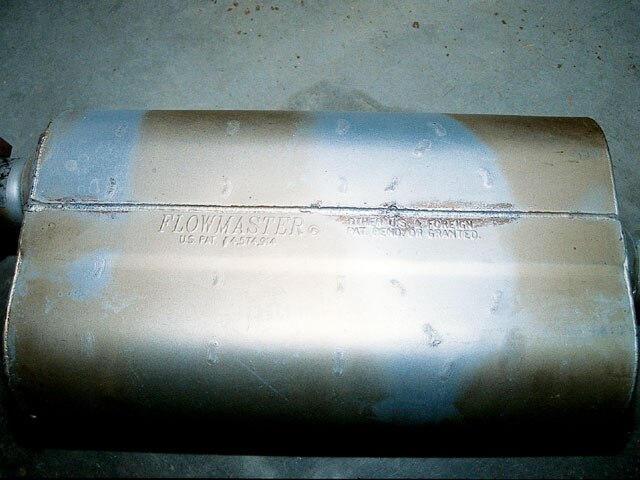
18) The Flowmaster Force II system is made specifically for two-door Explorers and comes complete with inlet pipe, muffler, tailpipe, hangers, and clamps. Our exhaust was completed in less than 10 minutes.
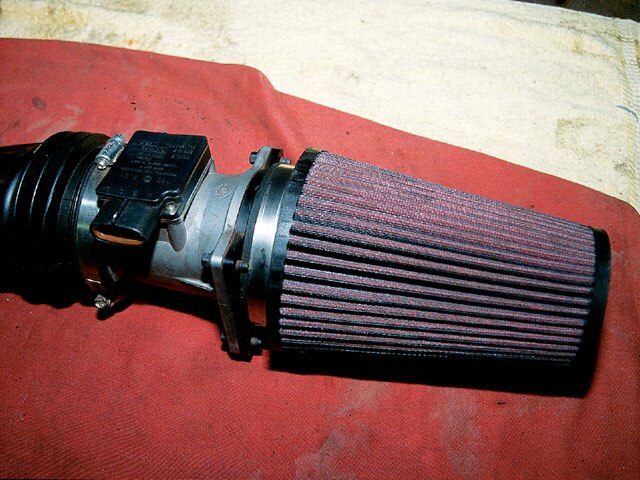
19) The mass airflow meter/air intake combo also came from 4.0-Liter Performance. Once we got the old airbox out of the way, it was a simple plug-and-play operation.


20) The meter simply clamps onto the stock intake tube.
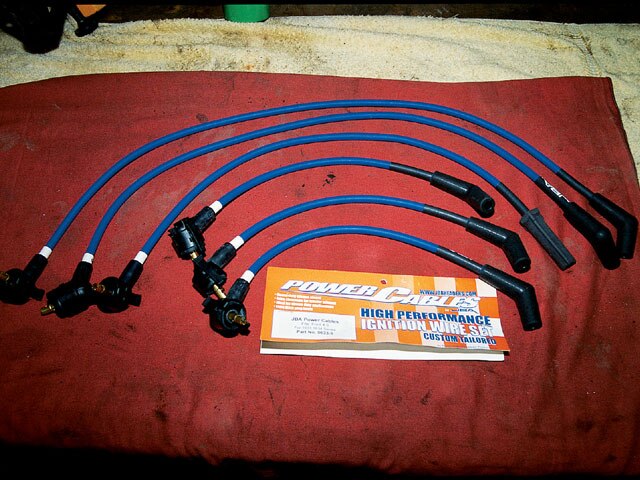
21) JBA offers its own power cables to complement the headers. As you can see, they’re custom fit for every application.
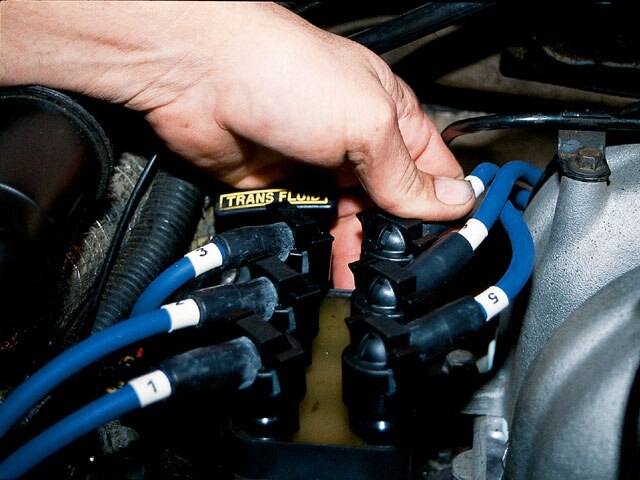
22) Again, it was as simple as pulling off the old and plugging in the new.
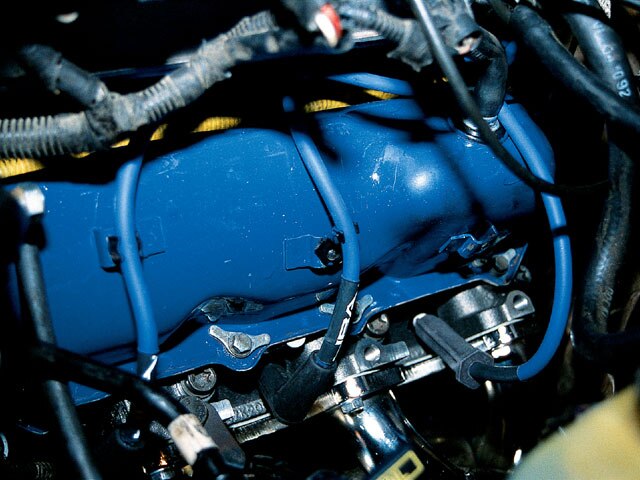
23) How cool does that look? It’s as though we’re looking at a 1960’s Mustang. At this point, the truck was fired up, given the once over, and taken for a test drive.

24) The last addition we made was this Power Module from Hypertech Inc. It’s a chip that rides piggyback on the truck’s computer and helps out with both power and mileage.
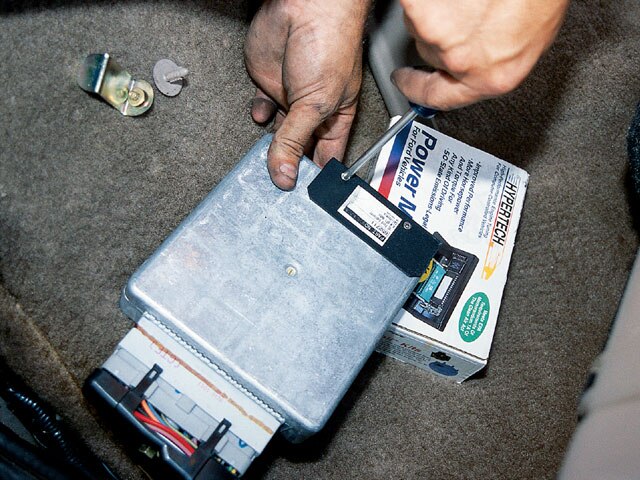
25) Once the computer is loose from the passenger-side kick panel, the module simply plugs into the back and is secured with a set screw.
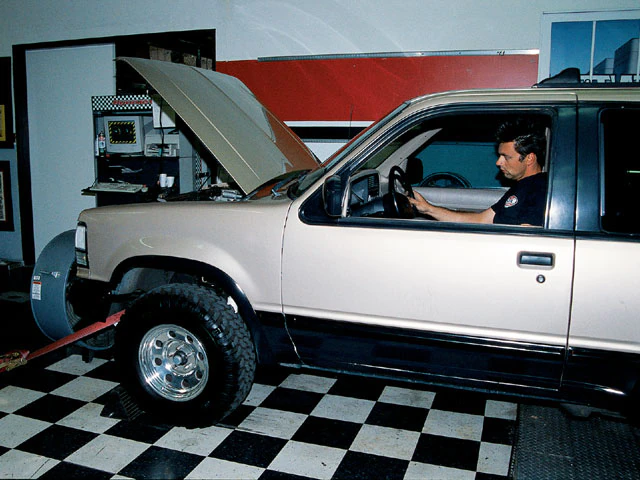
26) Once we got a few miles on the truck, we brought it back to the test center for another dyno test. We gained a respectable 25 rear-wheel horsepower and nearly 20 lb-ft of torque at the rear wheels. More importantly, acceleration off the line was improved dramatically. Some added benefits are a nice throaty sound from the headers and exhaust, and greatly improved throttle response.
Related Articles
How To Build A Ford 4.0L For Power
Rebuilding And Improving A Ford 4.0 Engine
How To Build And Modify Ford V-6 Engines (.pdf)
Last Updated:
About The Author
Jim Oaks is the founder of TheRangerStation.com, the longest-running Ford Ranger resource online since 1999. With over 25 years of hands-on experience building and modifying Ford Rangers — including magazine-featured builds like Project Transformer — Jim has become one of the most trusted authorities in the Ford Ranger off-road and enthusiast space.
Since launching TheRangerStation.com, Jim has documented thousands of real-world Ranger builds, technical repairs, drivetrain swaps, suspension modifications, and off-road adventures contributed by owners worldwide. TheRangerStation.com has been referenced in print, video and online by enthusiasts, mechanics, and off-road builders looking for practical, and experience-based information.