- Joined
- Mar 26, 2012
- Messages
- 175
- Points
- 1,601
- City
- Detroit, MI
- Vehicle Year
- 1988, 1994
- Transmission
- Manual
Quite a lot of progress to post: First off, I was able to finish preping the liftgate last weekend along with the front panel, sun visor, & fenders.
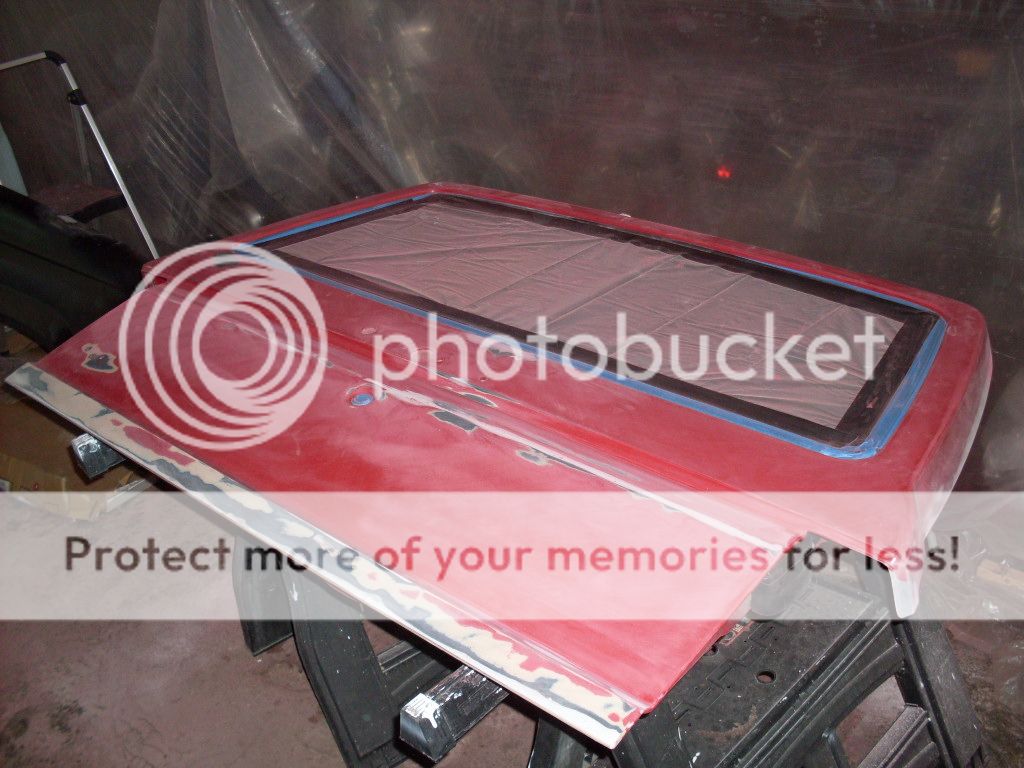
The paint/fiberglass were chipped on the top and sides and needed a lot of repair work. As a side note, I would highly recommend NOT using a DA on fiberglass. It's softer than the paint so the DA just tended to dig valleys that I then had to fill. I learned pretty fast that block sanding worked a lot better on the liftgate.
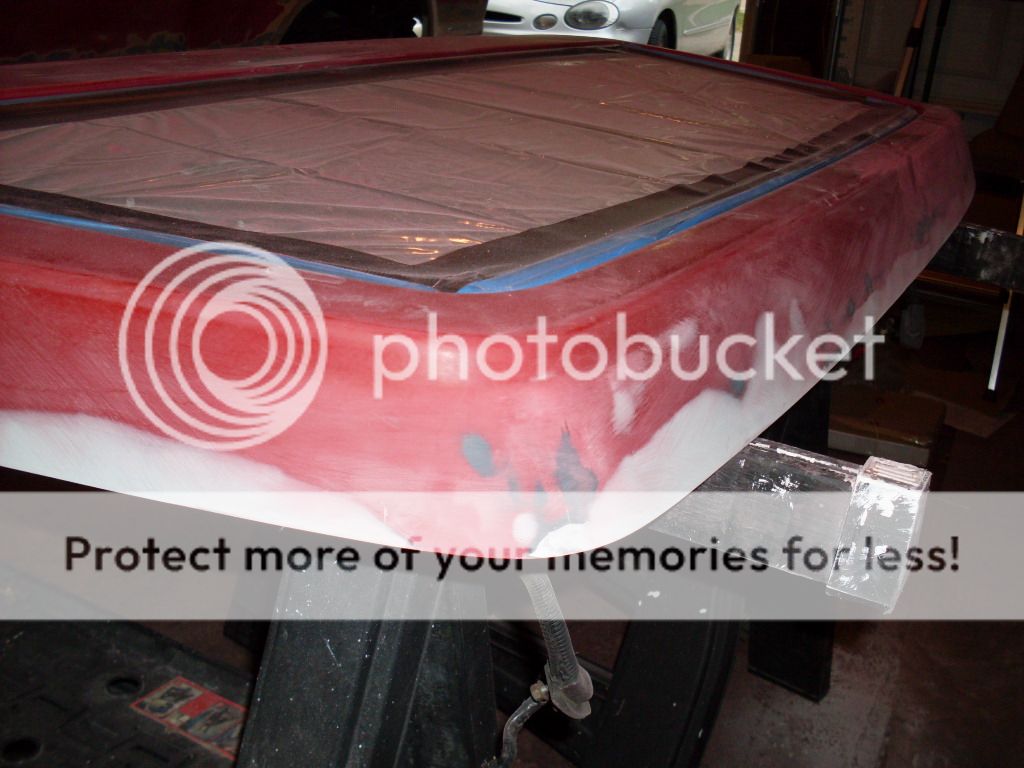
This corner had been broken off when I bought the truck so it was built up with about 4 layers of fiber reinforced filler then smoothed out with regular filler. Kind of proud of myself on this one, I think the lines are pretty close.
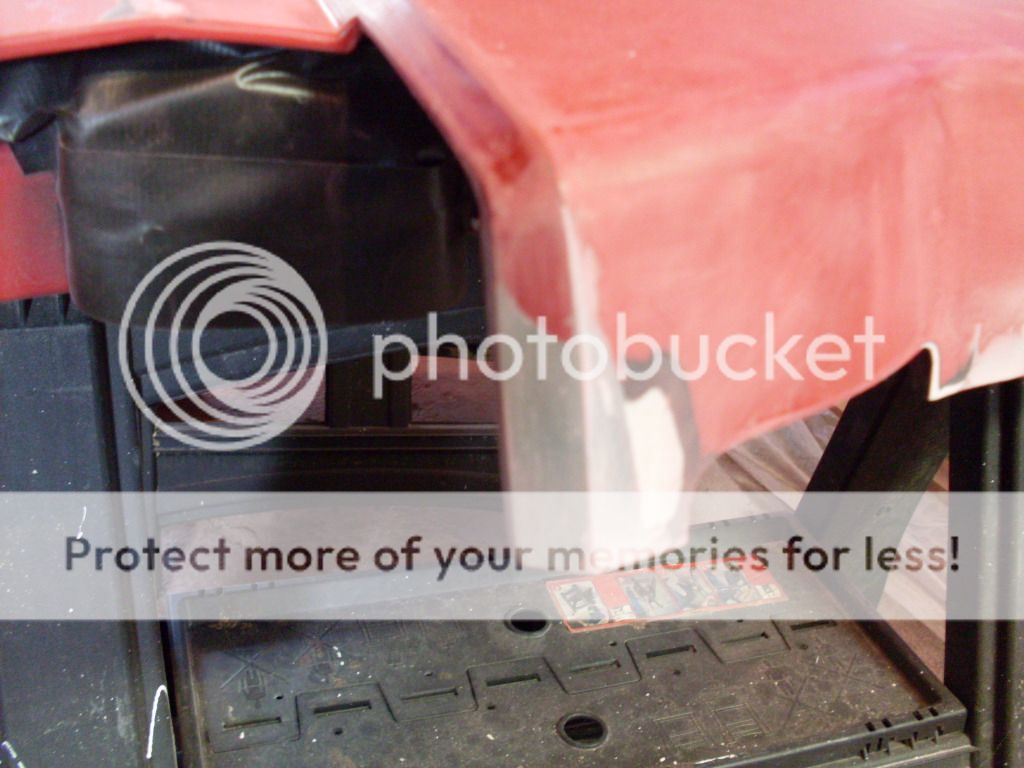
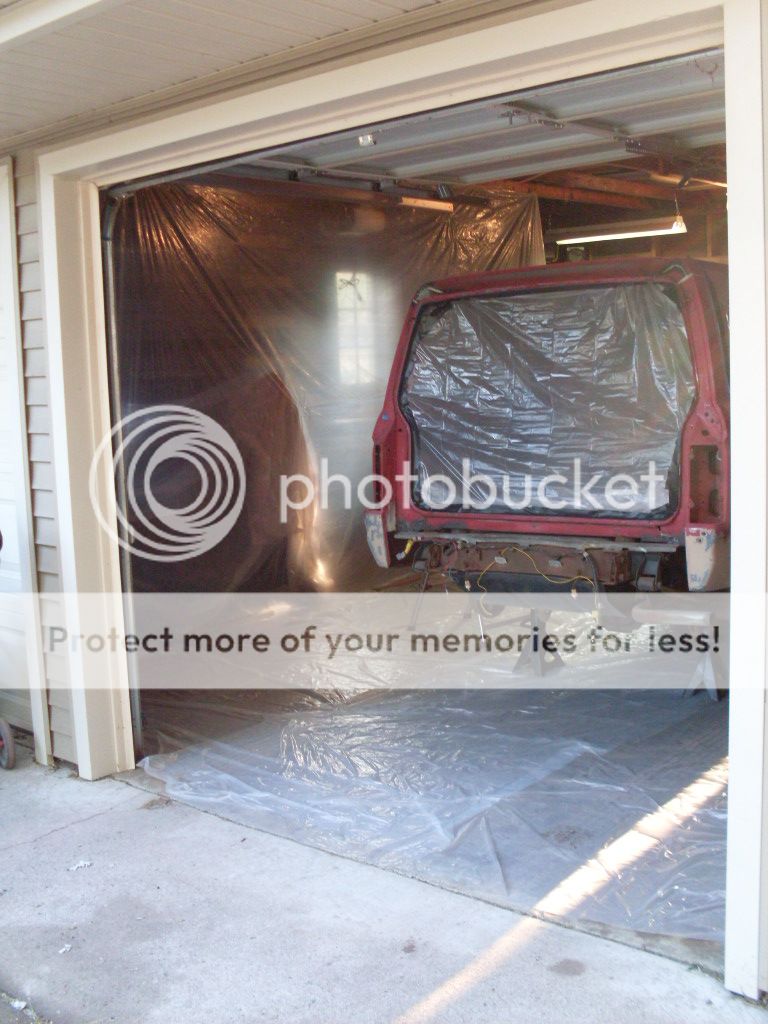
Next was final prep for spraying. Got the makeshift paintbooth all set up and finished taping the truck off.
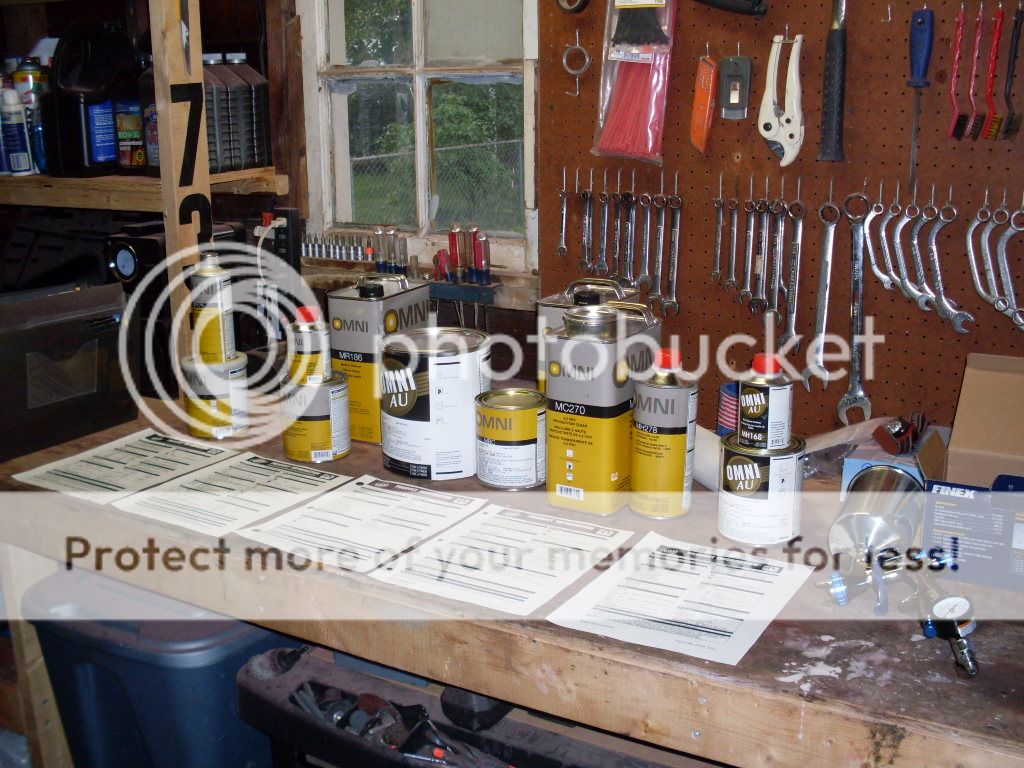
Layed out all the paints and product sheets to try to get myself familiar with the whole process that goes into painting. I feel like I've been studying for the SAT or something lately. There's so much that painters need to know! From left to right: epoxy primer, high-build primer, red base coat, tan base coat, clear coat, single stage black.
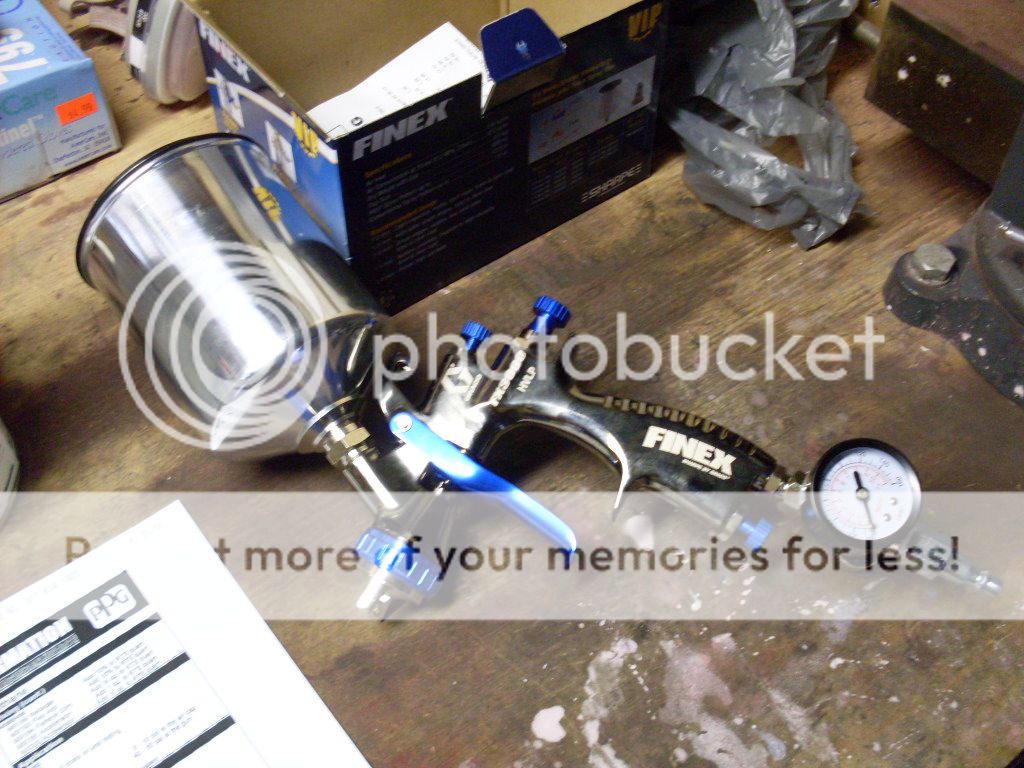
Shiney new paint gun all ready to go:
And, finally, some primer goes on. I can't tell you how good it felt to actually be spraying material back on the B2 after all those months of prep work. And using a professional sprayer was awesome, with it's huge 12-1/2" spray pattern, it made me wonder why I ever used a spray can for anything.
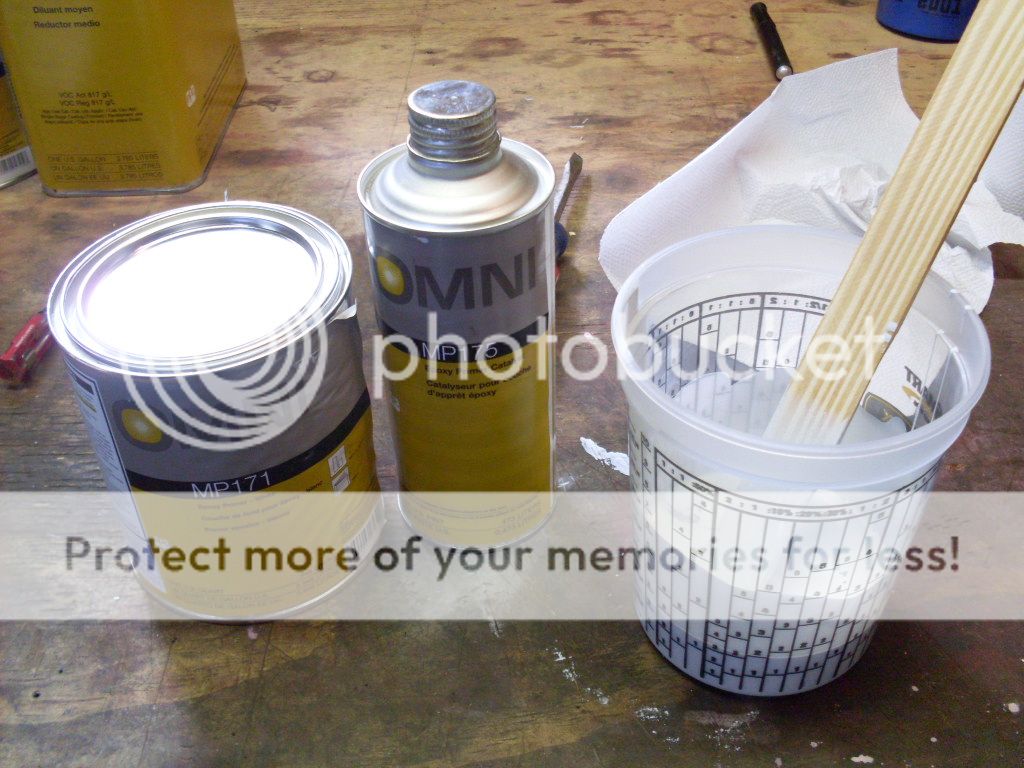
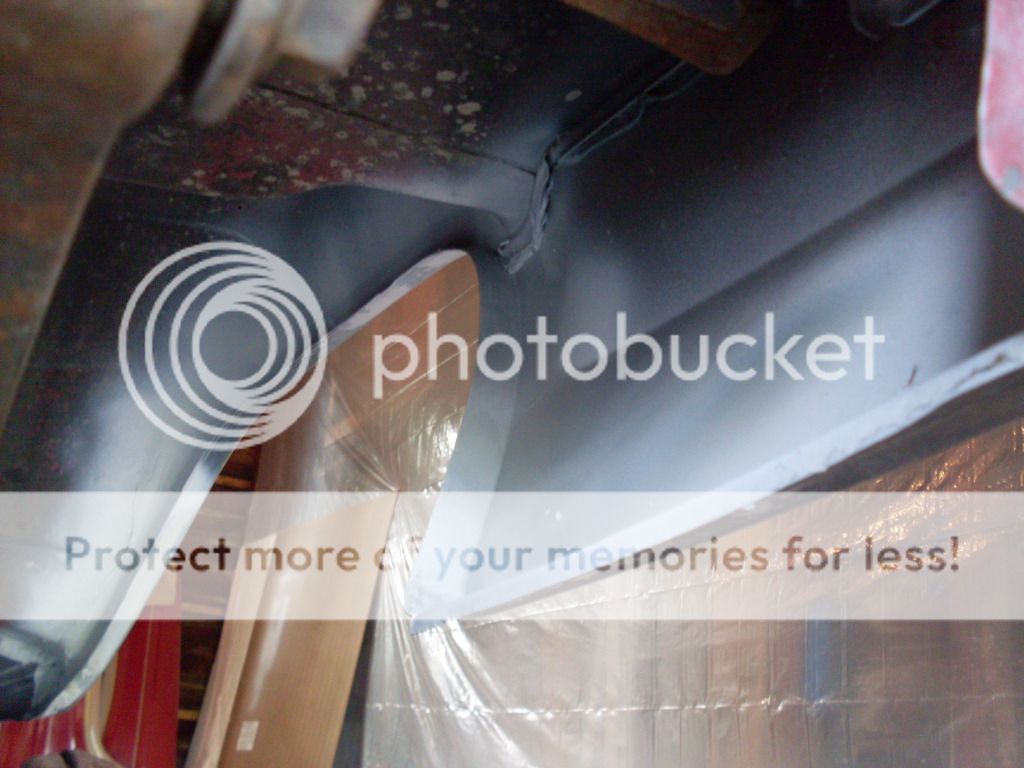
I decided to start in the wheelwells and on the back side of all the body panels. My thought was it would eliminate the possibility of overspraying onto the new paint later and I also felt like it's extremely important to coat all these 'out-of-sight' places as they're where the road salt likes to hide and deteriorate the metal. White epoxy primer:
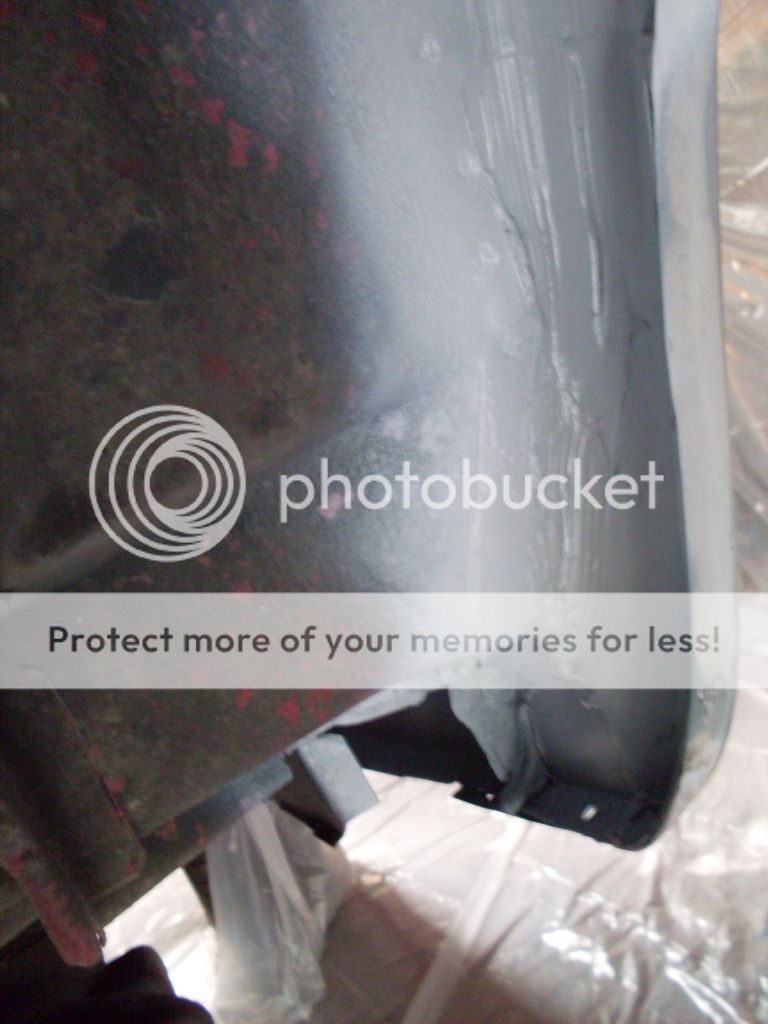
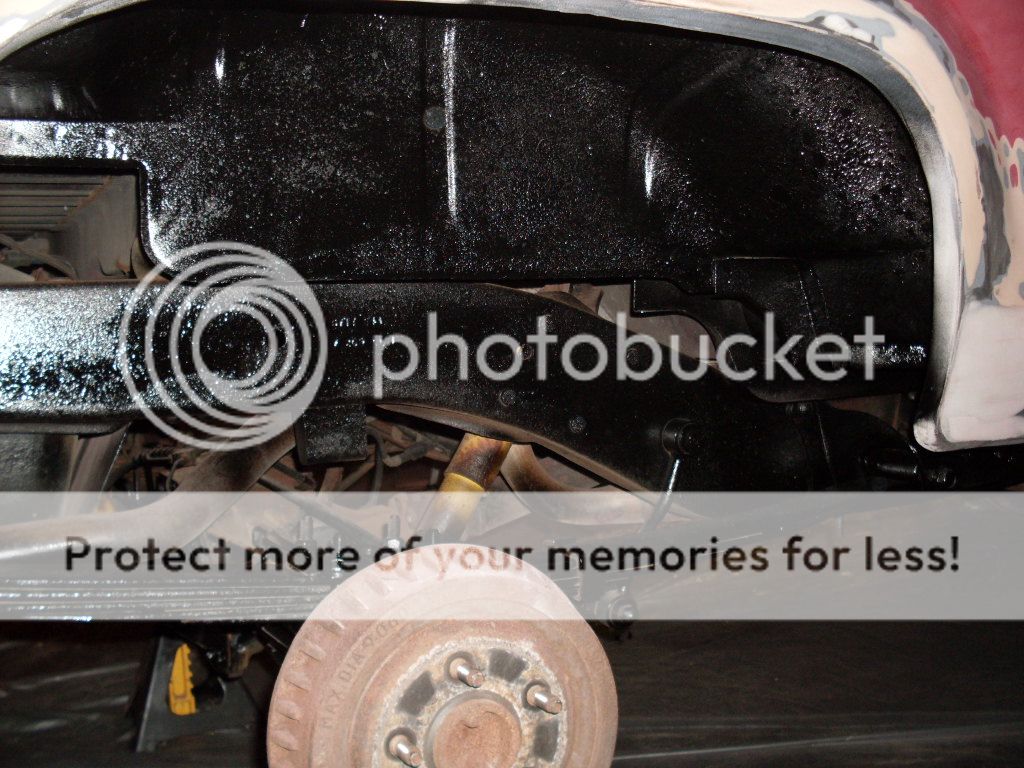
This one's just for you Pb: black single stage on the wheelwells and frame.
I'm at a standstill right now until my high build nozzle comes in the mail. The epoxy primer has to be covered (with high-build in my case) within 3 days so if I spray it now I risk having to sand it down and re-spray if the nozzle doesn't come in time. So next steps will be epoxy, high-build, block sanding, and then... yeah baby... Paint!

The paint/fiberglass were chipped on the top and sides and needed a lot of repair work. As a side note, I would highly recommend NOT using a DA on fiberglass. It's softer than the paint so the DA just tended to dig valleys that I then had to fill. I learned pretty fast that block sanding worked a lot better on the liftgate.

This corner had been broken off when I bought the truck so it was built up with about 4 layers of fiber reinforced filler then smoothed out with regular filler. Kind of proud of myself on this one, I think the lines are pretty close.

Next was final prep for spraying. Got the makeshift paintbooth all set up and finished taping the truck off.

Layed out all the paints and product sheets to try to get myself familiar with the whole process that goes into painting. I feel like I've been studying for the SAT or something lately. There's so much that painters need to know! From left to right: epoxy primer, high-build primer, red base coat, tan base coat, clear coat, single stage black.

Shiney new paint gun all ready to go:

And, finally, some primer goes on. I can't tell you how good it felt to actually be spraying material back on the B2 after all those months of prep work. And using a professional sprayer was awesome, with it's huge 12-1/2" spray pattern, it made me wonder why I ever used a spray can for anything.

I decided to start in the wheelwells and on the back side of all the body panels. My thought was it would eliminate the possibility of overspraying onto the new paint later and I also felt like it's extremely important to coat all these 'out-of-sight' places as they're where the road salt likes to hide and deteriorate the metal. White epoxy primer:


This one's just for you Pb: black single stage on the wheelwells and frame.
Paint the frame and undercoating with either a rustoleum or tractor paint, it's real cheap and it will look amazing with a new paint job!

I'm at a standstill right now until my high build nozzle comes in the mail. The epoxy primer has to be covered (with high-build in my case) within 3 days so if I spray it now I risk having to sand it down and re-spray if the nozzle doesn't come in time. So next steps will be epoxy, high-build, block sanding, and then... yeah baby... Paint!
Last edited:


 Besides, I don't know the first thing about diesels so you don't want me touching that anyway


