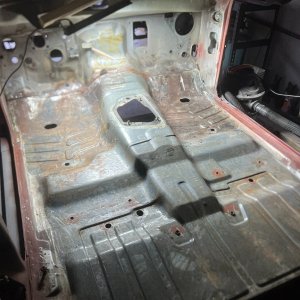
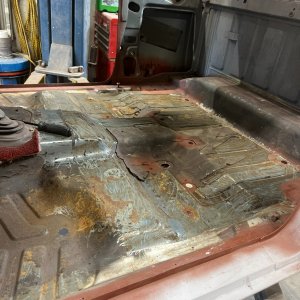
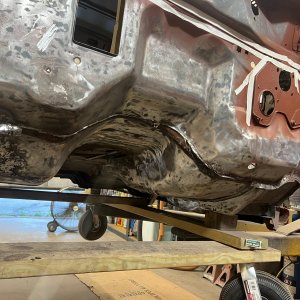
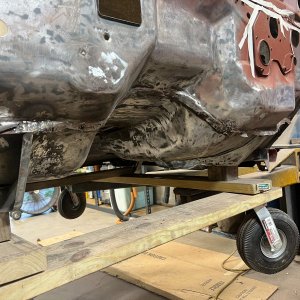
The four years I've owned this truck have been a saga of exercises in patience, that is all coming to a head with this project, I swear. . . The only words I have are:
"Holy crap, wtf!"
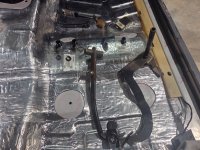
The floor got put at a stand still. ACC sent my order direct through Bronco Graveyard. All this time later, it turns out that my 86-97 ranger super cab vinyl kit is two front halves of padding from two random trucks, and the vinyl from some other random full size extended cab truck with a massive tranny tunnel. . .
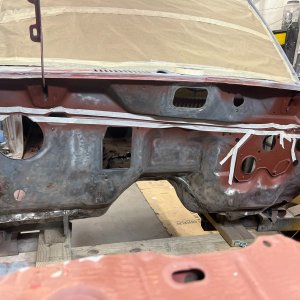
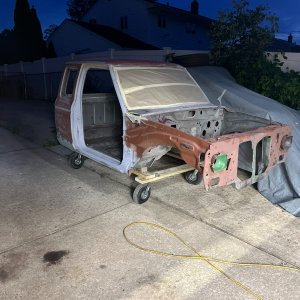
So in the mean time, since I had to fix other people's screw ups in the short block too, I defaulted to putting the engine bay back together. I was going to leave the inner wheel wells out for better access, but the 10 minutes of time it'd save me durring the engine install is currently being sacrificed for the sake of nothing else to do.
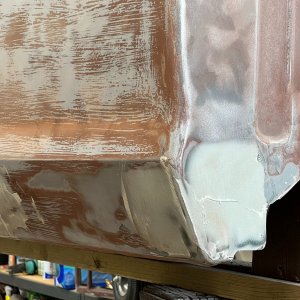
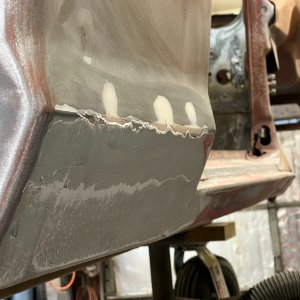
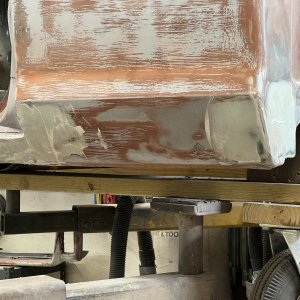
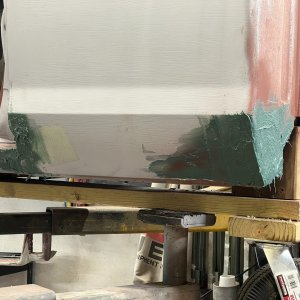
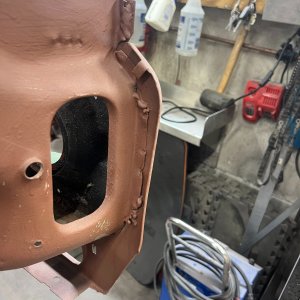
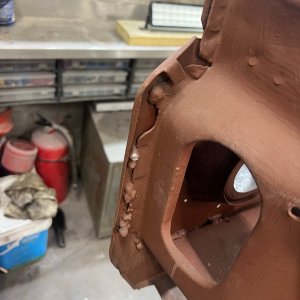
My entire air intake system in front of the butterfly is pretty trashed. The vac resevoir only has one stud left to attach it to the wheel well, the filter box is missing 2/5 of the pressed in nuts, and the intake air heater valve controler is cracked in half. I remedied all these by simply buying the whole chunk out of another truck at one of the local jalopy jungles. A quick bath with some simple green and a dish brush, followed by a wipe down with armorall and it looks good as new. . . Or at least way better than before. In addition to that, the front clip on my truck was pretty messed up from one or more minor colisions that POs had poorly fixed with way too much bondo. This was causing a really bad rub on the passenger side at wheel lock, which not only ate a huge hole in the wheel well, but also ate the end of the front wing. This was somewhat aleviated by the suspension rebuild that included new springs, and I already had a pair of inner wheel wells and a front wing from the junkyard engine donor. The same donor for the new intake ducting I recently pillaged had a pair of very nice front fenders that I also saved; more on that later

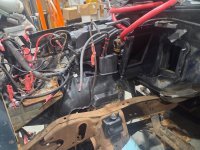
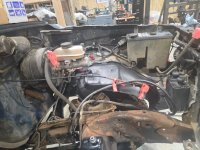
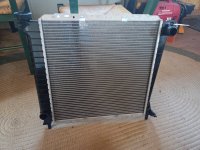
Despite the project progressing in spite of everything thats gone wrong, the list of needed parts is somehow still getting longer. I tired out rock auto for the first time, and after nearly 14 hours of shopping followed by minmaxing over the course of two days, I finally managed a shipping quote I was happy with. The part prices are great, the shipping is what gets you in the end though. . . The goodies are arriving though, and the new shinnys are satisfying!
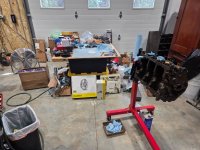
In addition to all that, the lovely lady and I went back to the junk yards. Seems with all the recent bullshizzery the scale finally tipped the other way. We nearly completed a long list of odd small items, and even a handfull of things not even on the list. Several items I had been looking for for a while, like the little XLT badge that goes on the dash, a parking brake pedal assembly that both looks good and works, along with the little plastic end cap that goes on the end of the tonneau cover rod and hooks the clips on the B pillars. Crown jewel of it all came out of a suspiciously clean 89 aerostar that caught my fiancé's eye. I never would've looked at it had she not said something. The interior was one of the cleanest of that vintage I had ever seen, was recently brought to the yard, and low and behold what we might find in the dash but a mint am/fm cassete player:
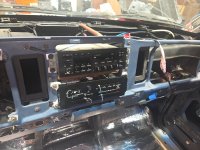
Fits perfectly. I got both pigtails and a good 6-8" length of wire on each. My harness got chopped for the aftermarket unit, but I have some other materials and ideas to add on to this find to include a line output converter, amp and bluetooth along with keeping full original functionality. My fiance is a musician and I've been wanting to add a nice sound system to this truck for her. . But for now, this is going to the back burner, and back in a box where its safe lol
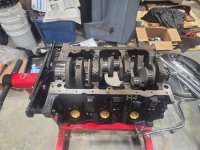
Back at the short block, I took the rotating assembly to Northwest Motor Machine in Caldwell, and they did not disapoint. They were busy, fast, polite, had reasonable prices and got the three rods flipped and my crank polished inside of two days! Now with that stupidity professionally fixed, I began work on the short block. . . Ohhhh but I'm getting a bit ahead of myself. We need to go back to the beginning of this story to an extent. . . More to follow. . .