- Joined
- Aug 15, 2019
- Messages
- 4,005
- Reaction score
- 1,988
- Points
- 113
- Location
- Oklahoma
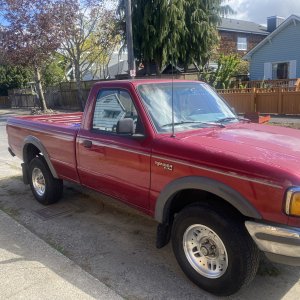
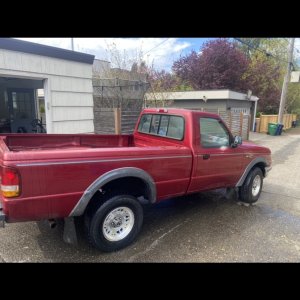
- Vehicle Year
- 1993
- Make / Model
- Ford Ranger
- Engine Type
- 4.0 V6
- Transmission
- Manual
- 2WD / 4WD
- 4WD
Couldn't really find a definite spot to land this, so if it needs moved have at it ")
I looked for awhile but not even the Non RBV Tech seemed to be a good fit
There's been a number of threads addressing vehicle computer boards and replacing the Capacitors, something any of us might find useful. I've seen it in other forums as well, particularly computer and monitor boards. I've also wanted to inspect my vehicles computer boards but was in no way prepared to address any issues there so hadn't even opened one up to check them.
Well, I was recently awakened to the challenge when the worst of all scenarios occurred, yep, it was the demise of my digital TV :/
It wasn't long before I had another w/ the same size screen, but it has no base, no frame, and no body, not nearly the connectors I had on the other one, nor near the ability to maneuver through the ins and outs of every day use as I had grown accustomed to. It also sits a full 6" lower than the other one, nowhere near filling the hole it left.
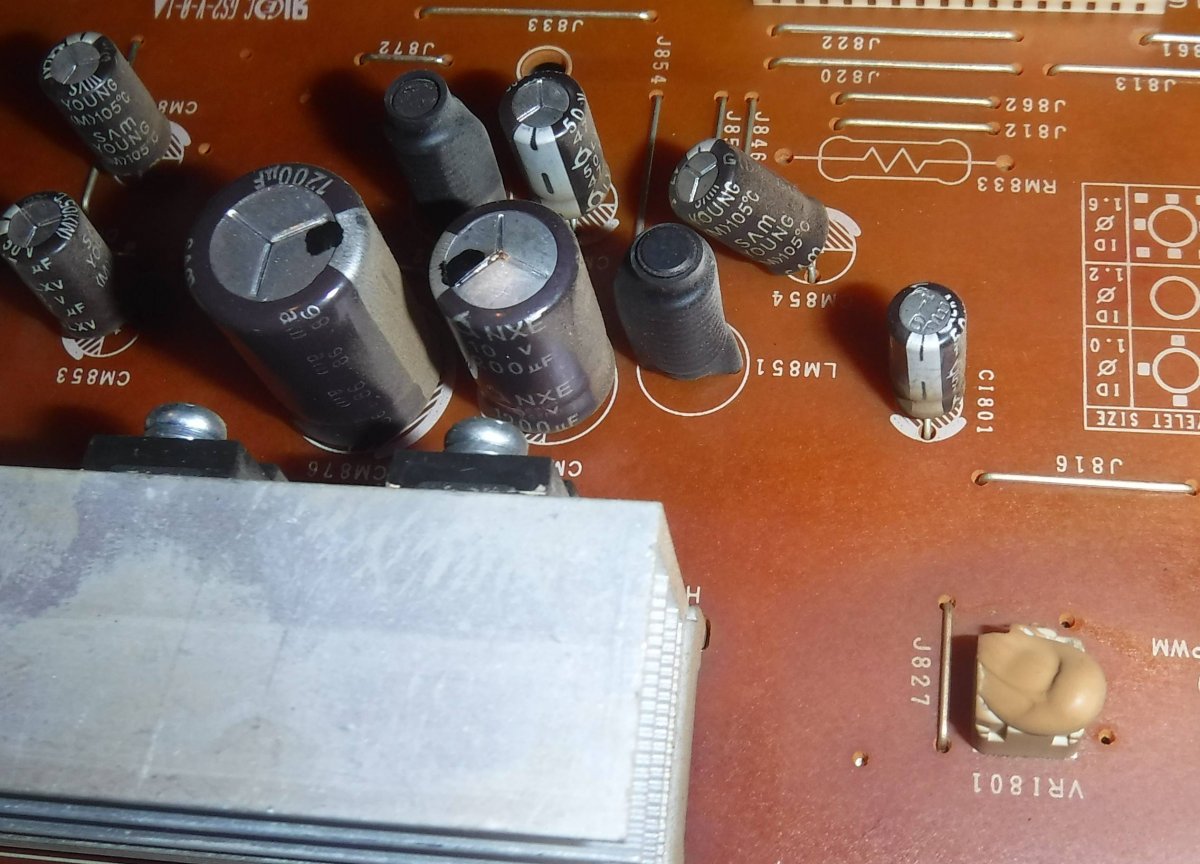
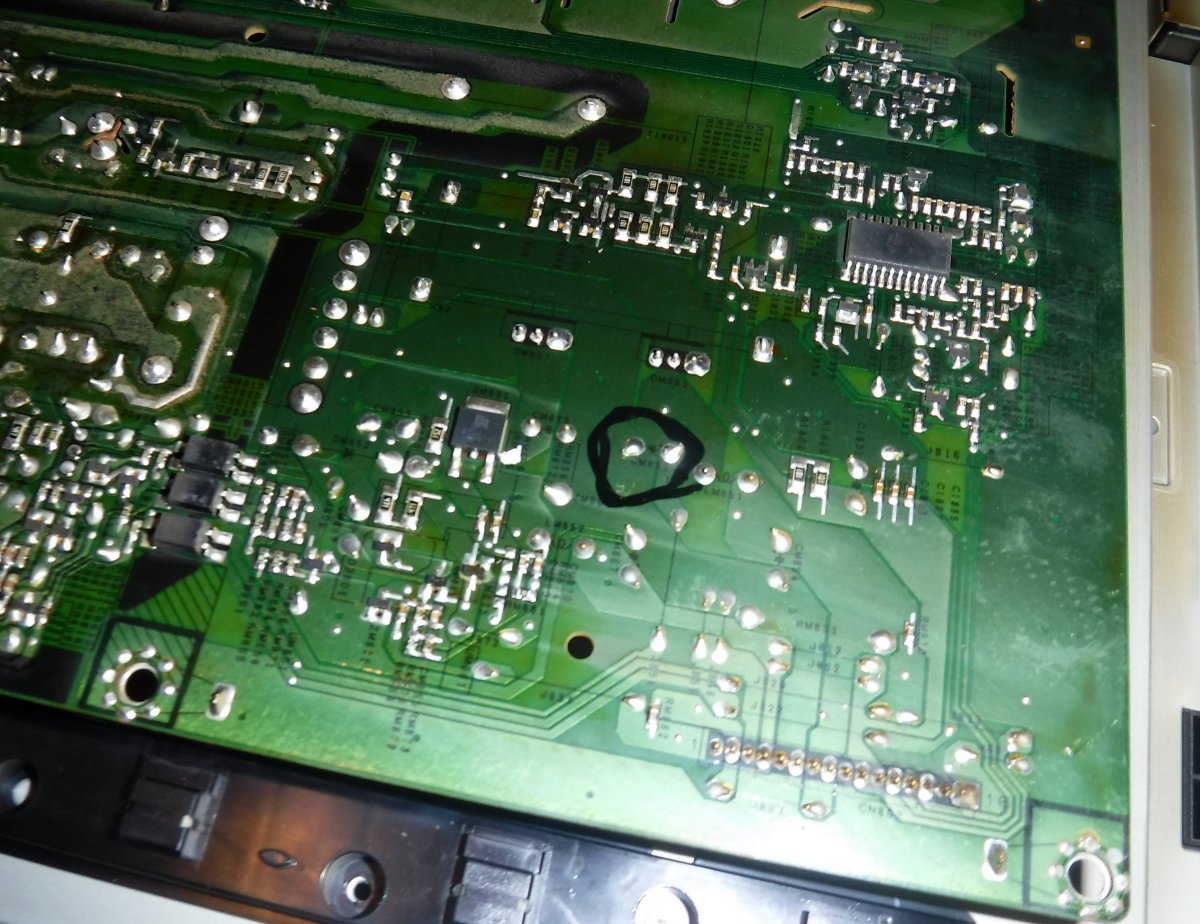
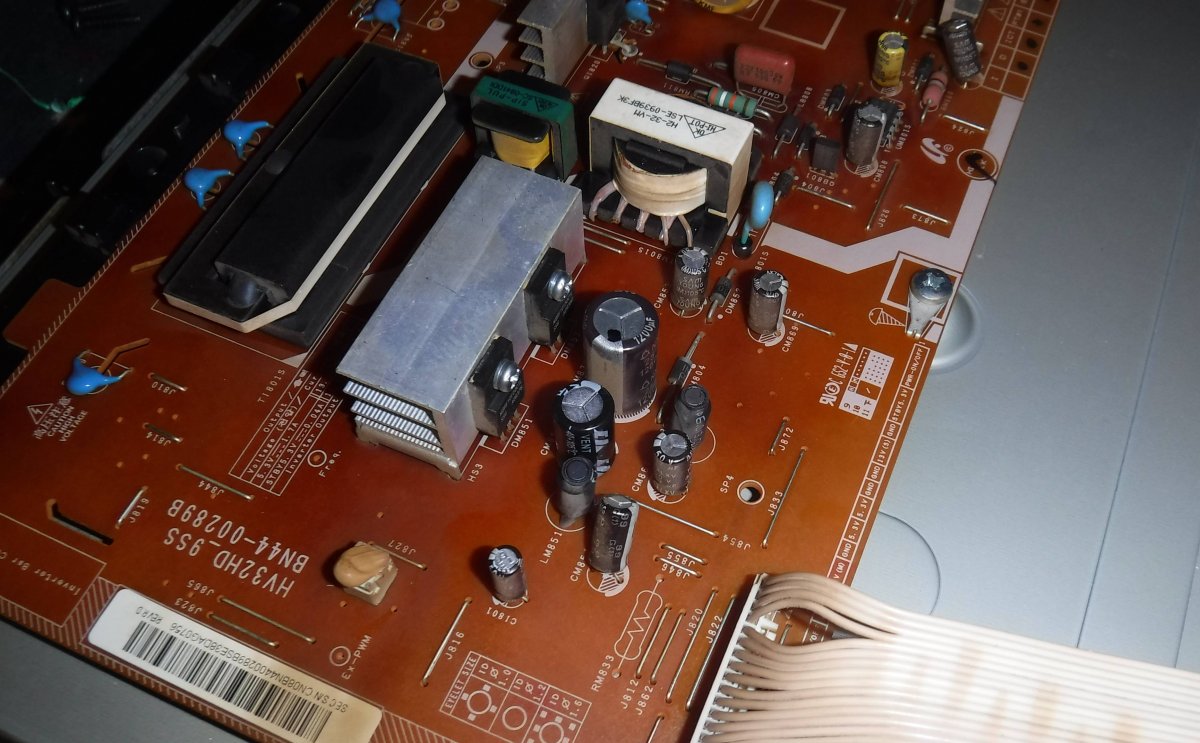
I removed the rear cover and sure enough found a swollen capacitor.
So I decided to take the plunge, and try to figure this out. I've seen lots of people saying how easy it was. Watched U-tubes which were somewhat informative, and also make it look fairly simple and easy, but I still had to break through the ice.
Looked at capacitor sets on Amazon and Ebay, which in itself can be daunting, I know nothing about faurads or any the other terms so many had used, picked out several sets of likely candidates, several times over. Picked one set with 100 pcs, another with 180, another with 240, still confused so decided on one, then realized $2 more I could double it, and $2 more could double it again. I got a 500piece for $14 plus shipping roughly $20,and waited.

After receiving it was rather surprised at how small they all were, not at all what had been expected, figured I'd have a decent arsenal to address any issues in anything. Not so, the biggest one of these wasn't even as large as the small one I needed.
Before pulling the one off the board I had no idea what numbers were on it, but it was a 1200 farad(I guess it's called), and the largest, strongest one in the set was 1000.
I had read on one of the many reviews I'd studied that someone had tested a bunch of them, and their numbers were inaccurate, and often much more than specified, so figured for the 20% difference I'd give it a go anyway.
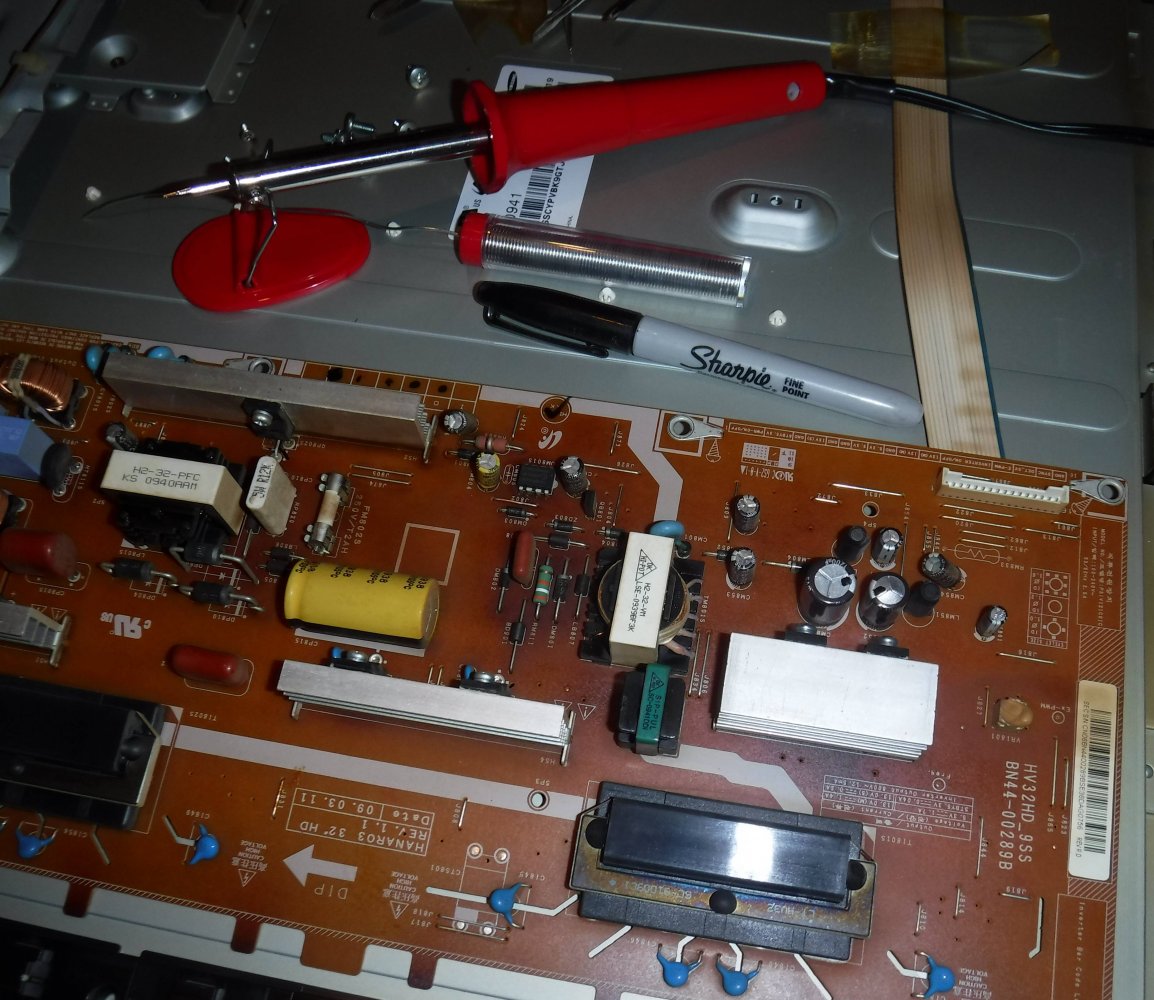
Circled the spots on back of the board with a sharpie, warmed up the $10 special, 30 watt, soldering "iron", and managed eventually to pluck it on out of there
The soldering "thing" didn't work nearly well as the ones I'd seen them use on videos, but I kept plugging away until getting it secured in there somehow
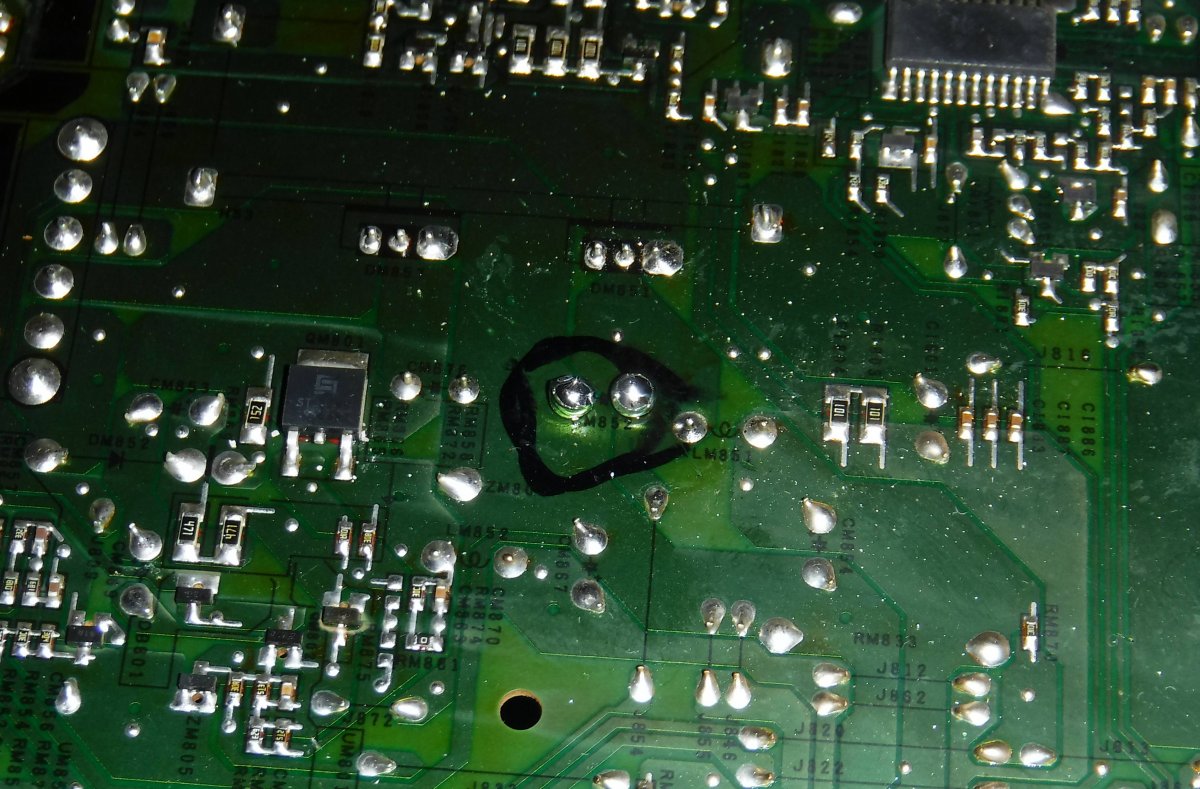
That little thing just isn't nearly warm enough or something, to get enough heat into the point to make it do like I'm sure it should, but it's replaced, and seems relatively secure
I plugged it up, went and got the remote, and it fired right up
Tomorrow, or (later) today I should say now, I'll put it all back together and back in it's place, and IF I can get that other one back in its' box will likely return it. Having to use it over a week is what really got me going into doing this, as it only 14 days to return.
Maybe I can use some of the money to get a better soldering iron and a set of larger capacity capacitors to cover addressing issues such as vehicle computers and such
I looked for awhile but not even the Non RBV Tech seemed to be a good fit
There's been a number of threads addressing vehicle computer boards and replacing the Capacitors, something any of us might find useful. I've seen it in other forums as well, particularly computer and monitor boards. I've also wanted to inspect my vehicles computer boards but was in no way prepared to address any issues there so hadn't even opened one up to check them.
Well, I was recently awakened to the challenge when the worst of all scenarios occurred, yep, it was the demise of my digital TV :/
It wasn't long before I had another w/ the same size screen, but it has no base, no frame, and no body, not nearly the connectors I had on the other one, nor near the ability to maneuver through the ins and outs of every day use as I had grown accustomed to. It also sits a full 6" lower than the other one, nowhere near filling the hole it left.
I removed the rear cover and sure enough found a swollen capacitor.
So I decided to take the plunge, and try to figure this out. I've seen lots of people saying how easy it was. Watched U-tubes which were somewhat informative, and also make it look fairly simple and easy, but I still had to break through the ice.
Looked at capacitor sets on Amazon and Ebay, which in itself can be daunting, I know nothing about faurads or any the other terms so many had used, picked out several sets of likely candidates, several times over. Picked one set with 100 pcs, another with 180, another with 240, still confused so decided on one, then realized $2 more I could double it, and $2 more could double it again. I got a 500piece for $14 plus shipping roughly $20,and waited.
After receiving it was rather surprised at how small they all were, not at all what had been expected, figured I'd have a decent arsenal to address any issues in anything. Not so, the biggest one of these wasn't even as large as the small one I needed.
Before pulling the one off the board I had no idea what numbers were on it, but it was a 1200 farad(I guess it's called), and the largest, strongest one in the set was 1000.
I had read on one of the many reviews I'd studied that someone had tested a bunch of them, and their numbers were inaccurate, and often much more than specified, so figured for the 20% difference I'd give it a go anyway.
Circled the spots on back of the board with a sharpie, warmed up the $10 special, 30 watt, soldering "iron", and managed eventually to pluck it on out of there
The soldering "thing" didn't work nearly well as the ones I'd seen them use on videos, but I kept plugging away until getting it secured in there somehow
That little thing just isn't nearly warm enough or something, to get enough heat into the point to make it do like I'm sure it should, but it's replaced, and seems relatively secure
I plugged it up, went and got the remote, and it fired right up
Tomorrow, or (later) today I should say now, I'll put it all back together and back in it's place, and IF I can get that other one back in its' box will likely return it. Having to use it over a week is what really got me going into doing this, as it only 14 days to return.
Maybe I can use some of the money to get a better soldering iron and a set of larger capacity capacitors to cover addressing issues such as vehicle computers and such