
Building A Rear Driveshaft From An Explorer Front Driveshaft
This article documents how to build a rear driveshaft for a Ford Bronco II using a front double cardan driveshaft from a Ford Explorer. This is a common and cost-effective solution when upgrading drivetrains, changing axle setups, or replacing a damaged factory Bronco II rear driveshaft.
The swap uses factory Ford components and results in a stronger double cardan (CV-style) rear driveshaft, which is better suited for steep driveline angles found on lifted or modified Bronco II vehicles.
Disclaimer: Welding and driveline modifications should be performed by experienced individuals or a qualified driveline shop. Always verify balance and driveline angles before driving.
Applicable Vehicles & Donor Parts
- Recipient Vehicle: 1984–1990 Ford Bronco II (4×4)
- Primary Donor: 1990–1994 Ford Explorer front driveshaft (double cardan)
- Alternate Donor: 1990–1996 Ford Explorer Sport rear driveshaft
This guide covers driveshaft identification, measuring for proper length, cutting and shortening the tube, yoke alignment, and welding. Final length may vary depending on suspension height, axle choice, and drivetrain configuration, so measurements should always be verified on your vehicle.

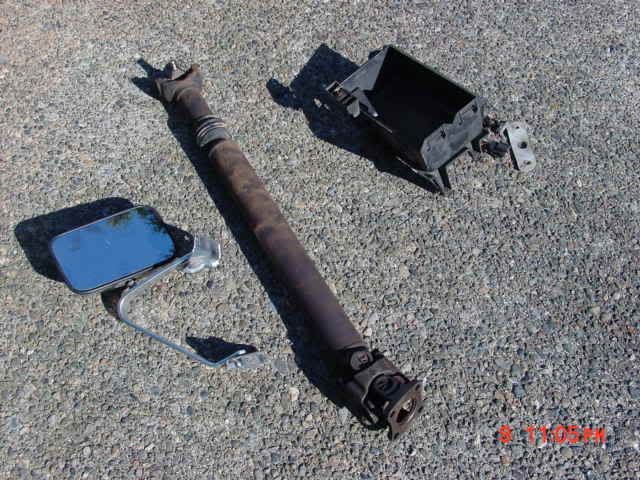
Today I hit up the junk yard to grab a front drive shaft from a 1990-1994 Ford Explorer to shorten for the rear of my Bronco II. I pulled a driveshaft and pinion yoke from the front of the transfer case, and started to walk through the yard, then I noticed a mid-1990’s Ford Explorer Sport. So, I went and checked it out, and noticed it’s a 5-speed, and the driveshaft was still there, BINGO! So, I found the sought-after Ford Explorer double cardan driveshaft!
NOTE: The 1990-1994 Ford Explorer uses a double cardan front driveshaft, and the 1990-1996 Ford Explorer Sport uses a rear double cardan driveshaft.

Here is the difference between the stock Ford Bronco II GKN Style CV (Constant Velocity) rear driveshaft and the Ford Explorer and Explorer Sport Cardan shaft:

(Bronco II stock rear driveshaft – top / Ford Explorer double cardan driveshaft – bottom)
So, the process begins… I marked a line with permanent marker about 8-inches down the yoke, and along the length of the driveshaft on the double cardan end.
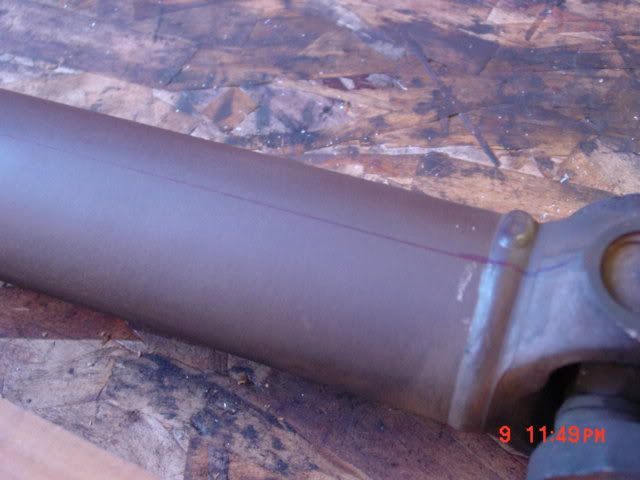
Then I proceeded to grind the weld down flush with the tube.

Afterwards, I wrapped masking tape around the tube in the area where the center of the weld was and drew a line around the edge of the tape.


Then I took the shaft to the band saw and followed the line around the tube cutting about an 1/8″ deep (You could also use a grinder with a cut off wheel).
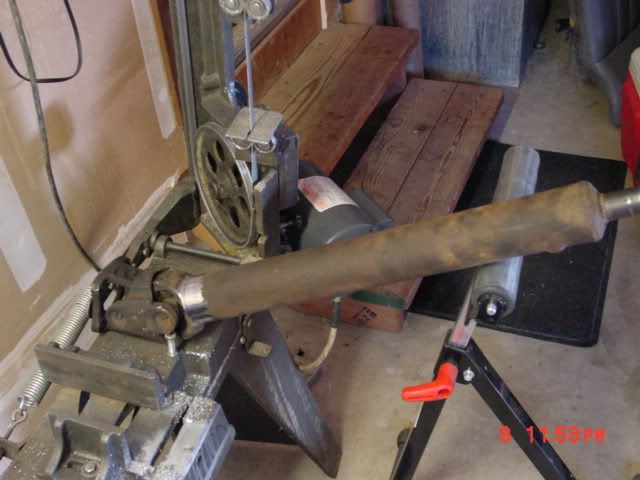
Next, I took a Deadblow (mallet) and knocked the yoke off and out of the end of the tube. The deadblow / mallet is used instead of a hammer to prevent damaging the yoke.
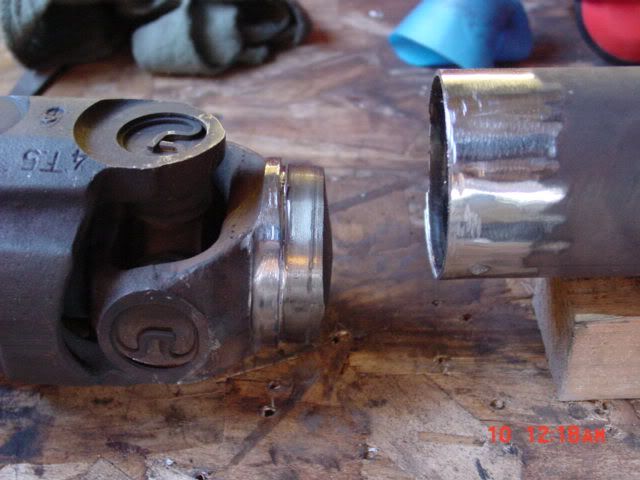
Next, I took and marked the tube 6-inches in from the end, applied masking tape, and drew a line around it to mark my cut.
The amount cut off was the difference in length between the Ford Explorer driveshaft, and the stock Bronco II driveshaft. The length you need could vary, and you should take your own measurement.
You should remove the mounting flange from the rear of the transfer case and install the new yoke.

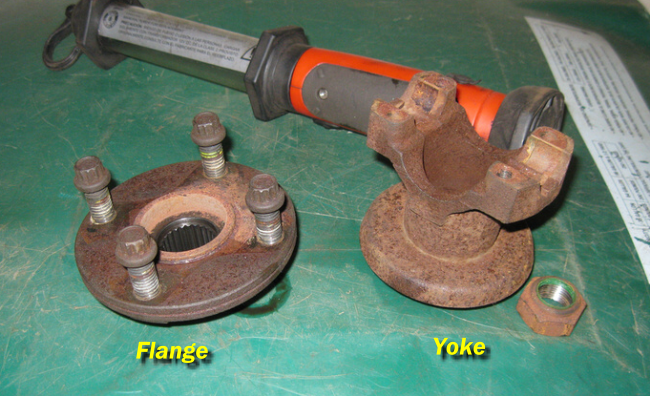
With the yoke installed, you can check the measurement from the yoke on the transfer case to the yoke on the rear axle. This is especially helpful if you’ve busted the stock rear driveshaft, or doing a custom axle, drivetrain, or suspension setup.
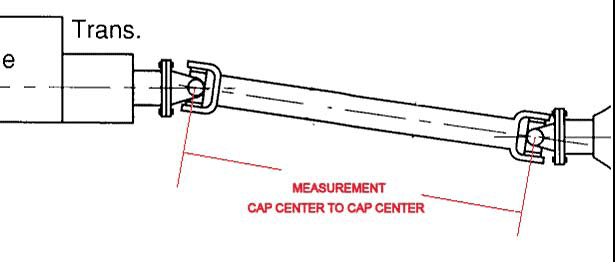
Once you’re sure you have the right measurement, you can cut the driveshaft tube.

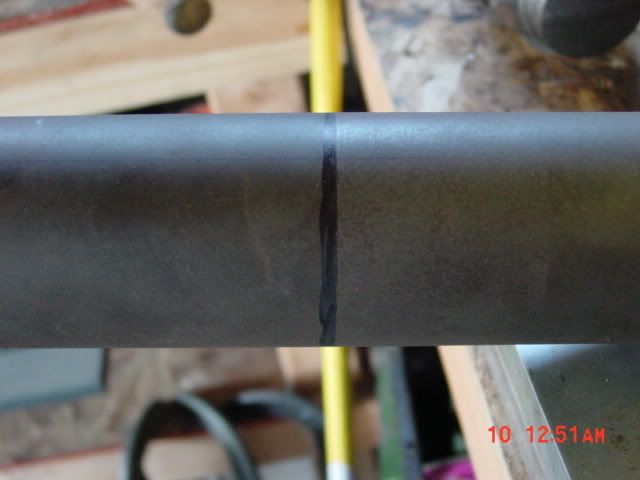
I took the driveshaft back to the band saw, and cut it off just shy of the line…

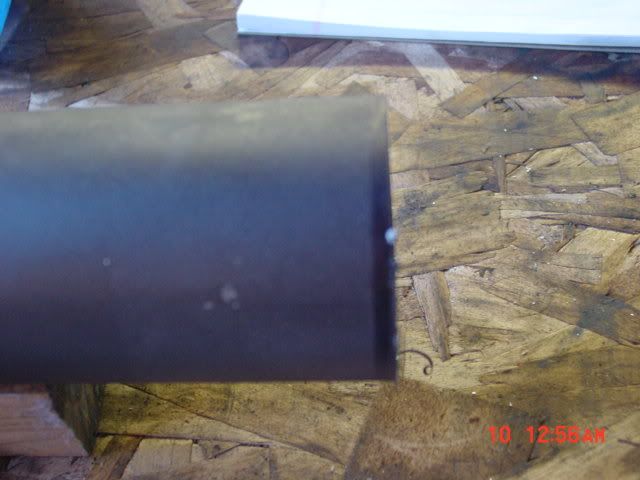
I took a grinder and ground the rest down to the edge of the line so that the end was perpendicular to the tube and checked with a square. I also ground the surface of the end so I could get a good weld on it.

I lined up the lines (remember the line you drew along the tube on to the yoke?) and installed the end in the tube all the way up to where I sawed…it’s a very snug fit.


Then I threw a tig weld down on it just because I can!

Done!

Hope the helps!
About The Author
Jim Oaks is the founder of TheRangerStation.com, the longest-running Ford Ranger resource online since 1999. With over 25 years of hands-on experience building and modifying Ford Rangers — including magazine-featured builds like Project Transformer — Jim has become one of the most trusted authorities in the Ford Ranger off-road and enthusiast space.
Since launching TheRangerStation.com, Jim has documented thousands of real-world Ranger builds, technical repairs, drivetrain swaps, suspension modifications, and off-road adventures contributed by owners worldwide. TheRangerStation.com has been referenced in print, video and online by enthusiasts, mechanics, and off-road builders looking for practical, and experience-based information.