I thought I would throw another Ford Ranger T6 into the mix this month, since they’ll be going into production here in the U.S. this fall.
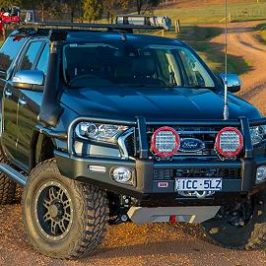
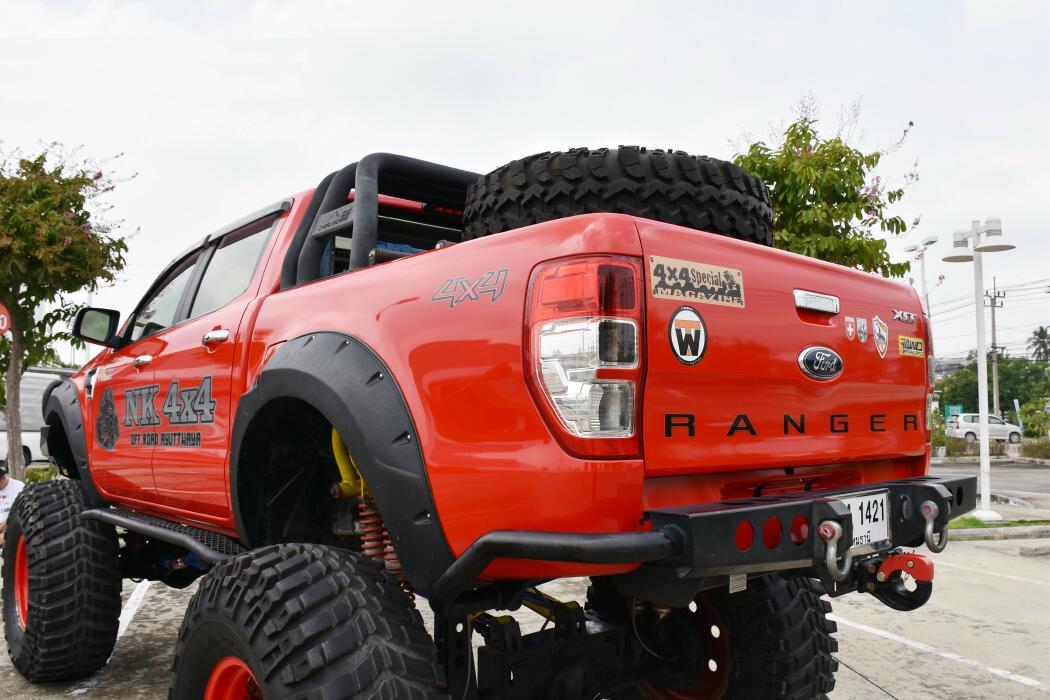
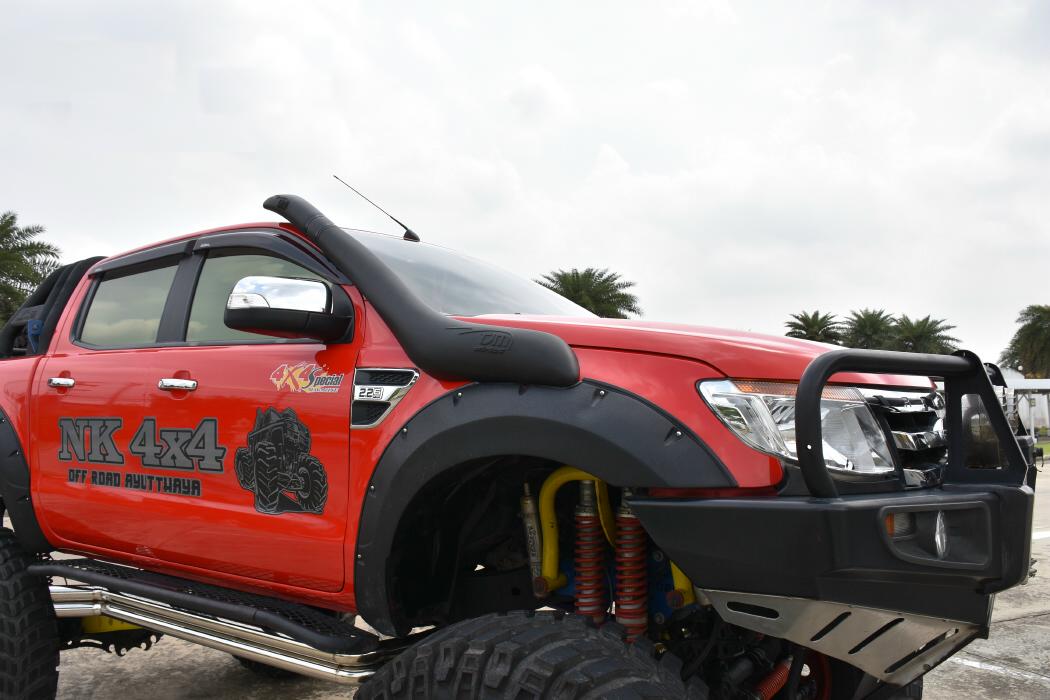
Based on the headlights, I can see that this is a 2011-2014 Ford Ranger T6 from Thailand. The 2015-2018 Ford Ranger T6 (like we’re getting) has a slightly different fascia and headlights (one of Ford’s mild makeovers).
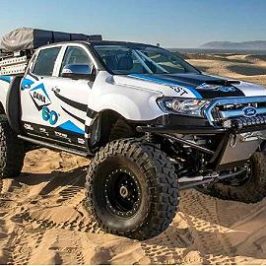
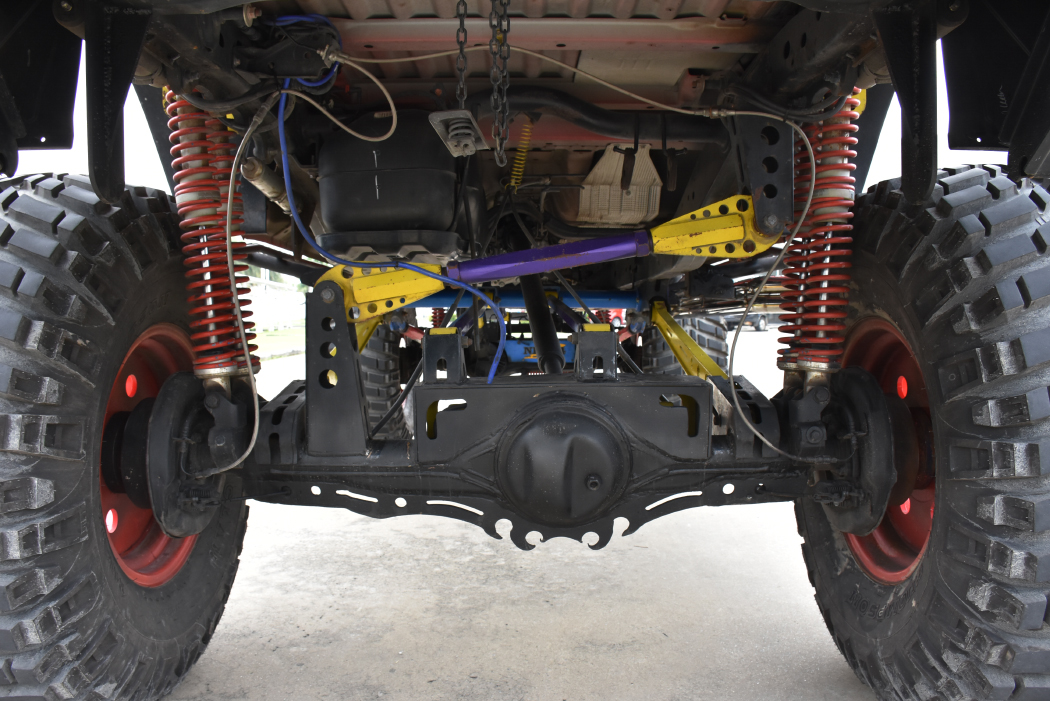
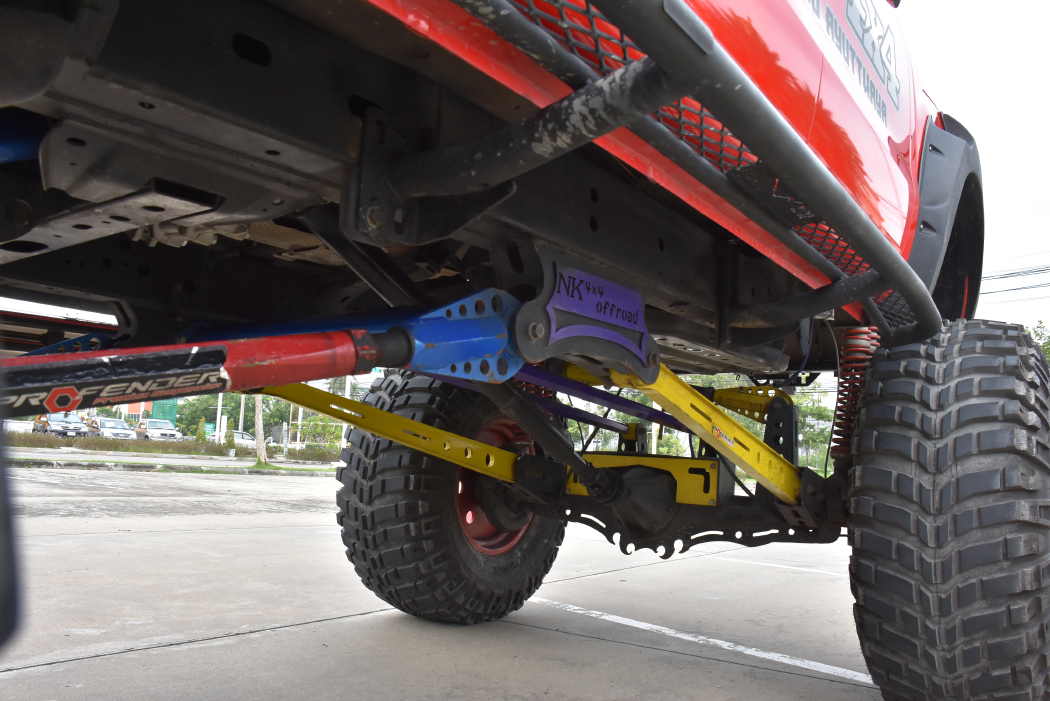
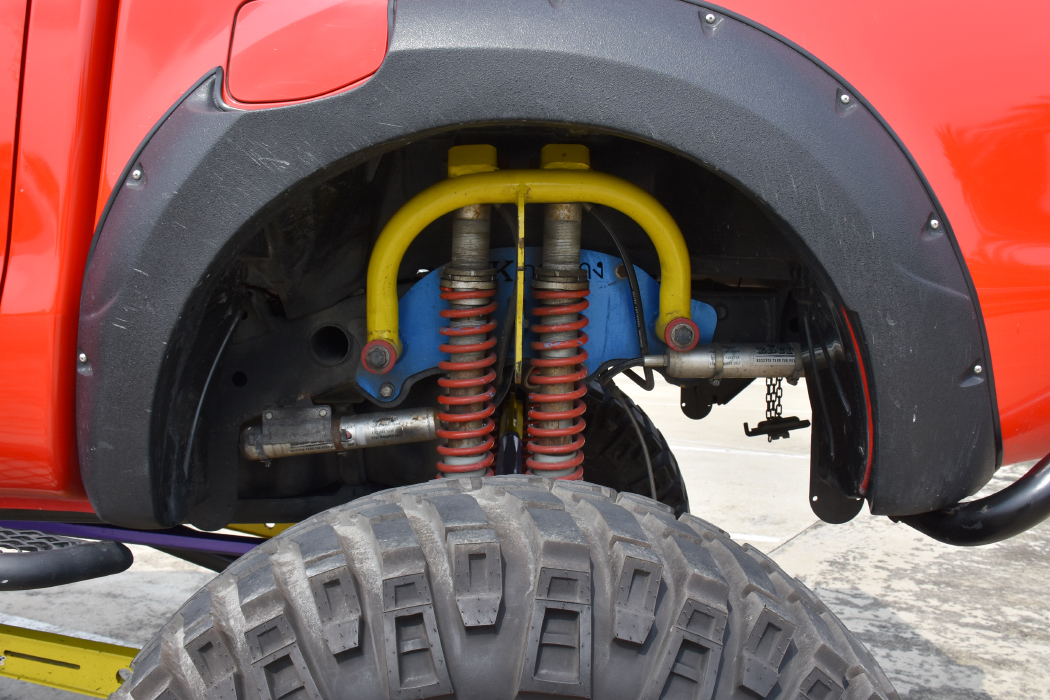
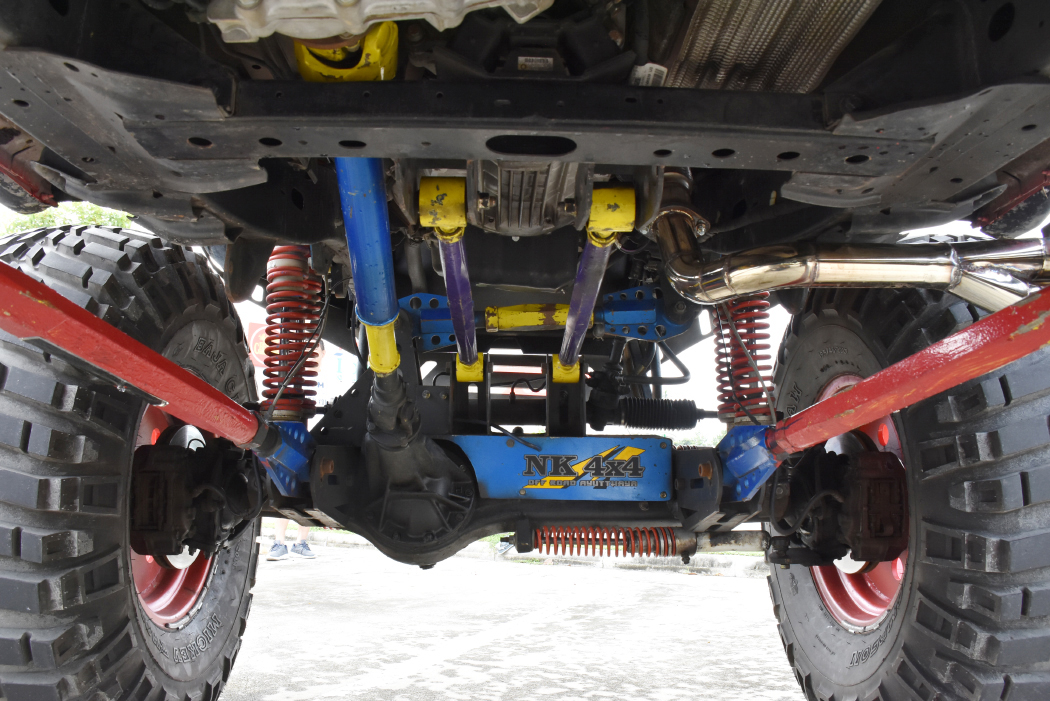
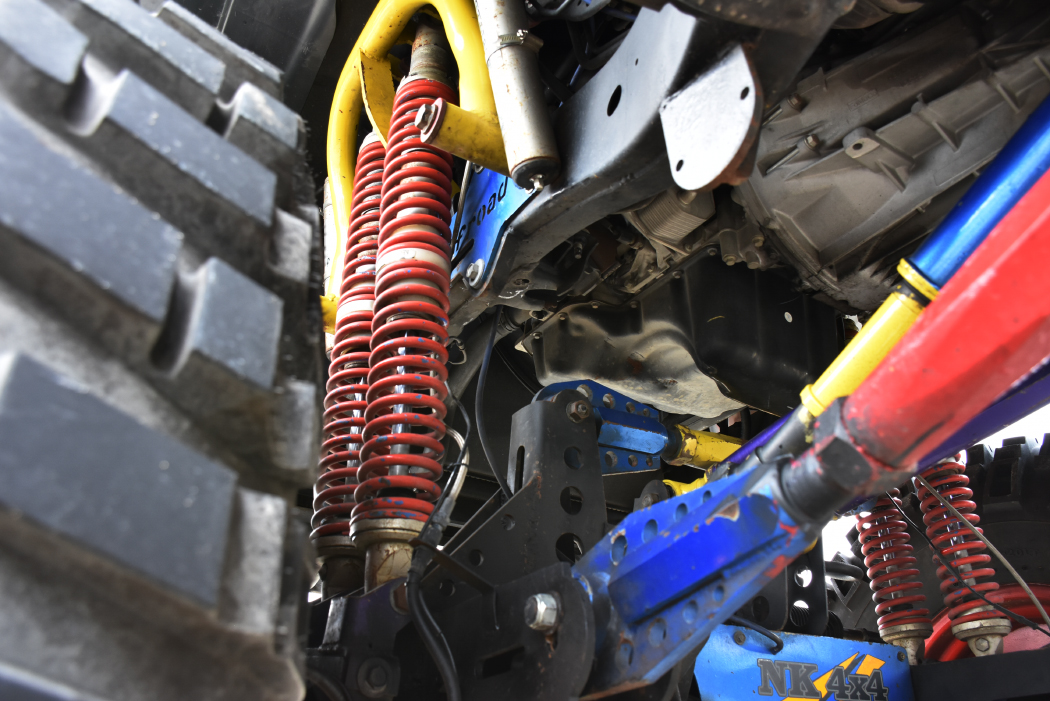
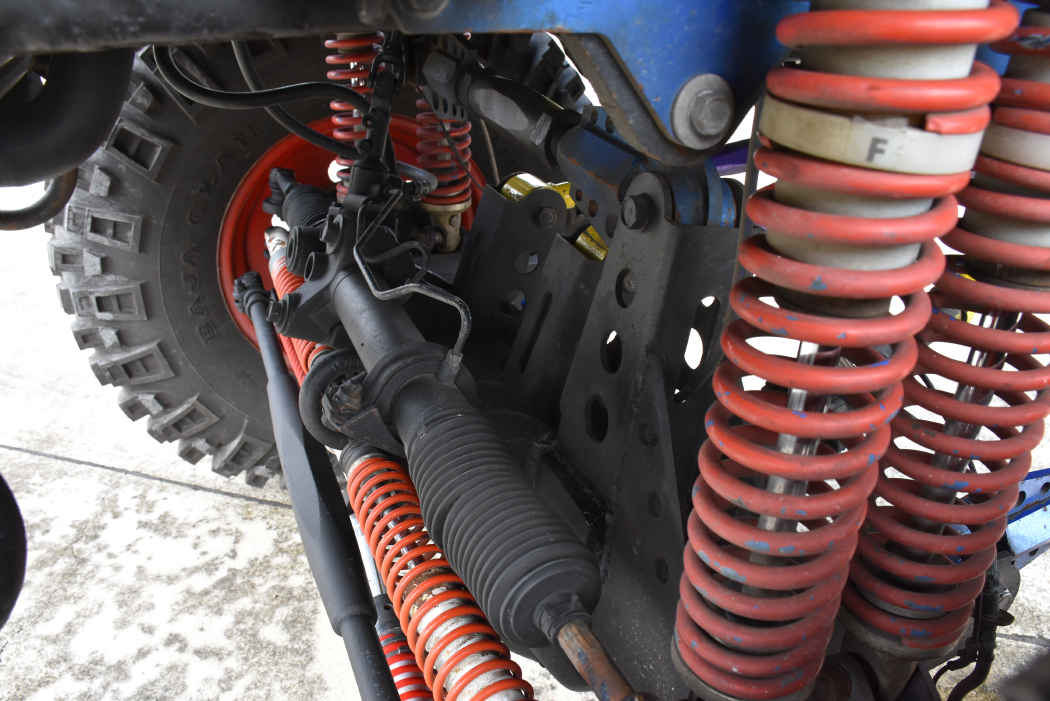
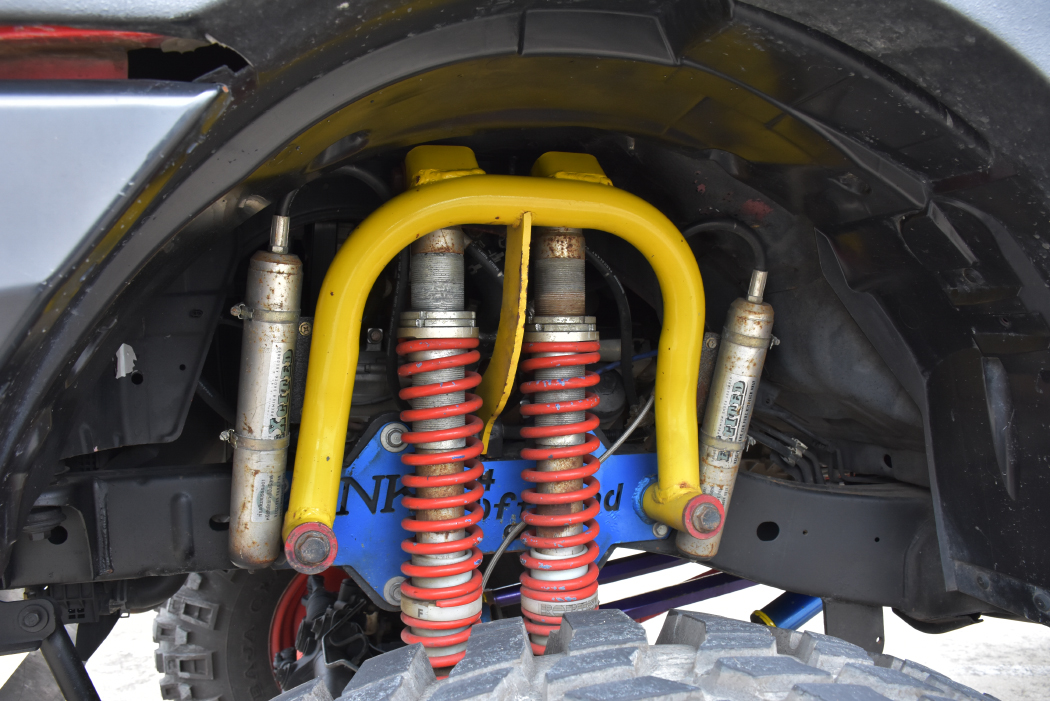
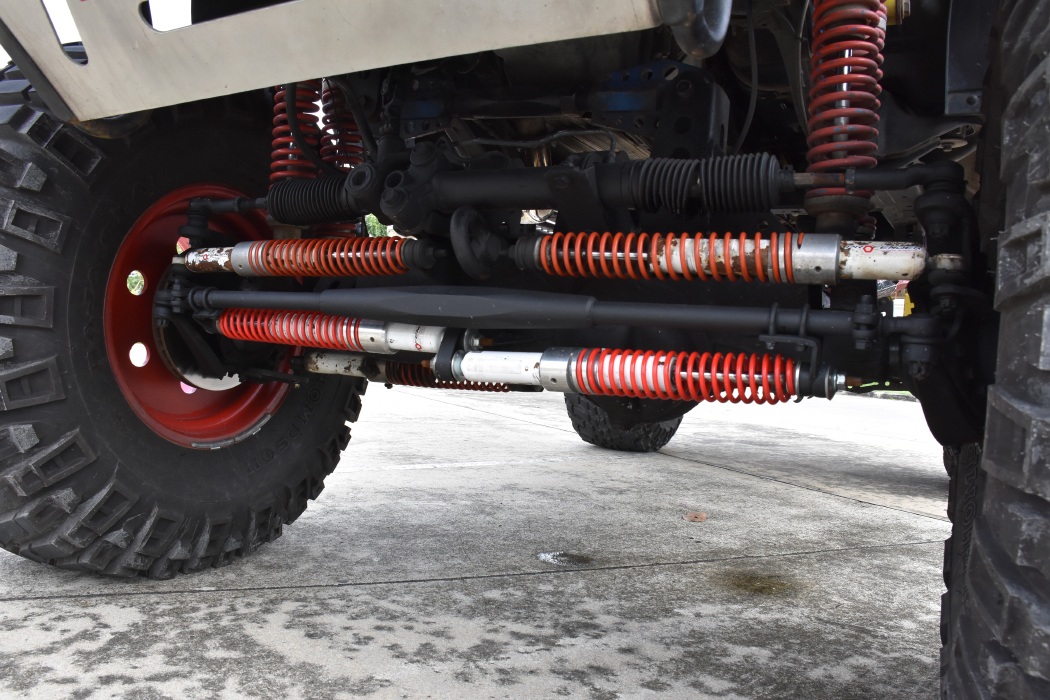
The most obvious feature on this truck is the Mickey Thompson Baja Claw 19.5 / 46-20LT tires on USA 20-inch wheels with a -40 offset. Lift is made possible with the help of dual coilovers at each wheel, and a 4-link suspension. You’ll also obviously notice that this Ford Ranger T6 has a SAS (Solid Axle Swap). The axles have been replaced with Toyota Land Cruiser VX80 axles.
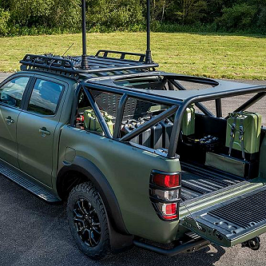
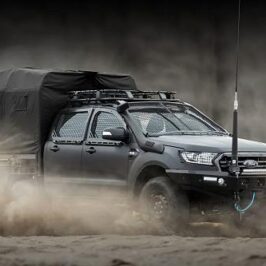
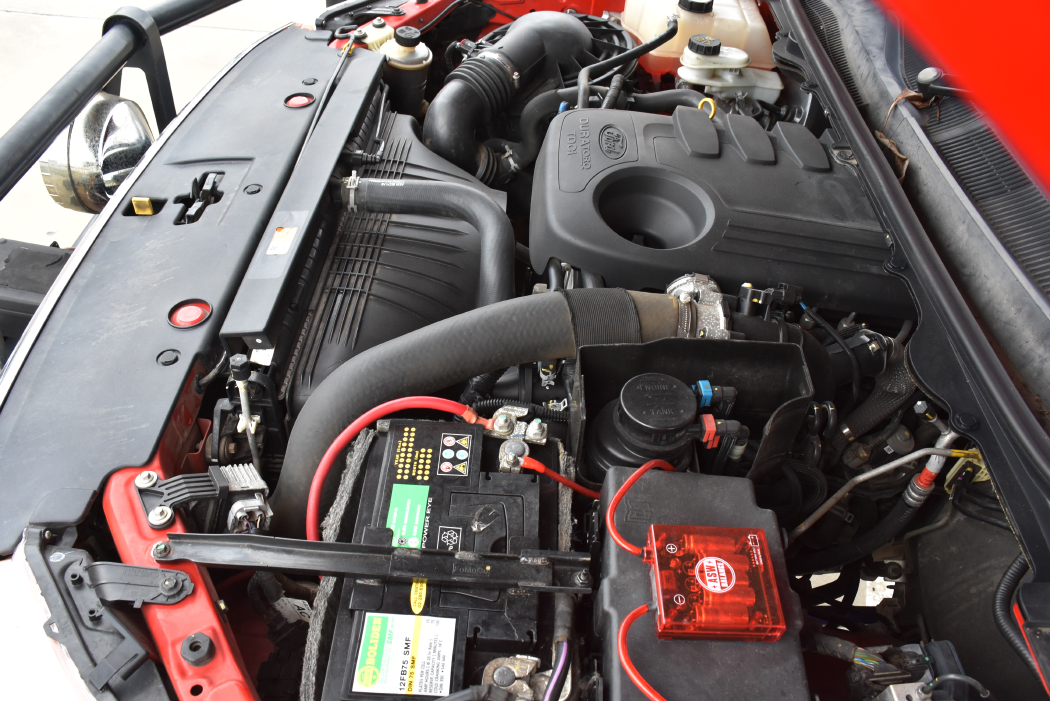
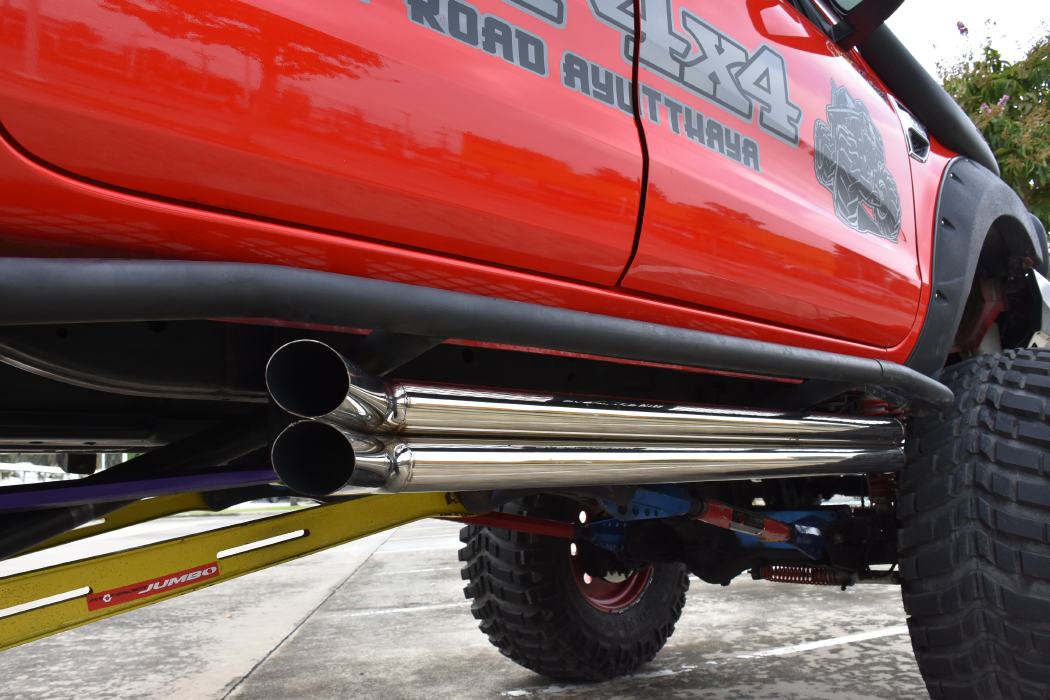
The Ranger is still powered by the original 2.2-liter Duratorq turbodiesel. The engine breaths through a TJM snorkel, although I don’t see how this Ranger could get in water deep enough to need it. The exhaust exits through a dual chrome NK Mechanics exhaust mounted under the passenger side steel running board / slider.
Other features include a winch, MCC front and rear bumpers, roll bar, and fender flares.
I can’t help but wonder how long it will take someone to SAS a Ford Ranger T6 here in the states.
Video:
More Photos:
Click the photos to enlarge – click the arrows to load more.
About The Author
Jim Oaks is the founder of TheRangerStation.com, the longest-running Ford Ranger resource online since 1999. With over 25 years of hands-on experience building and modifying Ford Rangers — including magazine-featured builds like Project Transformer — Jim has become one of the most trusted authorities in the Ford Ranger off-road and enthusiast space.
Since launching TheRangerStation.com, Jim has documented thousands of real-world Ranger builds, technical repairs, drivetrain swaps, suspension modifications, and off-road adventures contributed by owners worldwide. TheRangerStation.com has been referenced in print, video and online by enthusiasts, mechanics, and off-road builders looking for practical, and experience-based information.