
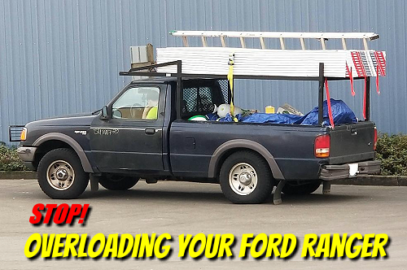
Stop Overloading Your Ford Ranger
The Ford Ranger in the photo above is looking overloaded. Just those ten sheets of plywood weigh 510-570 lbs. The steel rack carrying the drywall probably weighs 120-160 lbs. How much stuff is... READ MORE

The Right Size Truck
I’ve had a lot of experience with truck ownership. From compact trucks to 1-ton diesels, I’ve had them all. In high school I had a 1982 Datsun pickup that had a manual transmission,... READ MORE
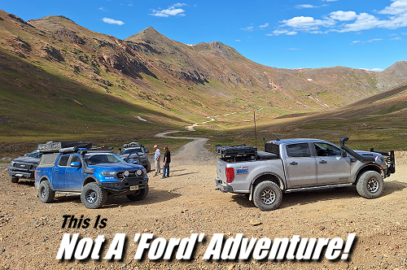
Not A Ford Adventure
A Ford Adventure Shouldn’t Cost This Much Ford Motor Company seems to think your Ford Ranger isn’t an adventure vehicle. Ford has released dates and locations for their “Ford Off-Road Adventures,” but the... READ MORE

Ford Ranger Seat Bolt Recall
Ford has boasted about profits and the huge bonuses it has given its top executives such a Jim Farley’s $5.75 million cash performance bonus, but they lead the industry in recalls. Ford issues... READ MORE
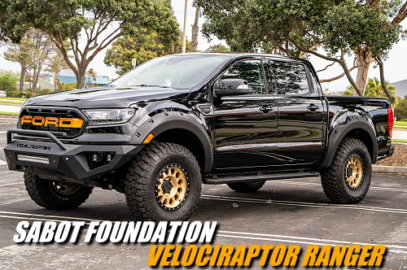
Sabot Foundation VelociRaptor Ranger
Built For Performance, Purpose, and Patriotism When the North American Ford Ranger returned for 2019, enthusiasts immediately started wondering how far the platform could be pushed. Few answered that question more dramatically than... READ MORE
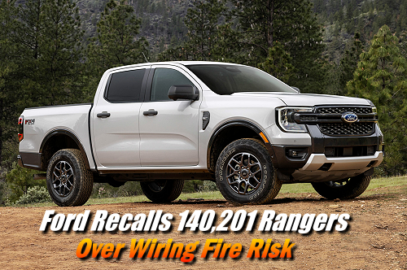
Ford Ranger Recall – Fire Risk
Ford Recalls 140,201 Ranger Trucks Over Wiring Fire Risk Ford Motor Co. has issued a recall for 140,201 Ranger midsize pickups in the U.S. produced from the 2024 to 2026 model years after... READ MORE
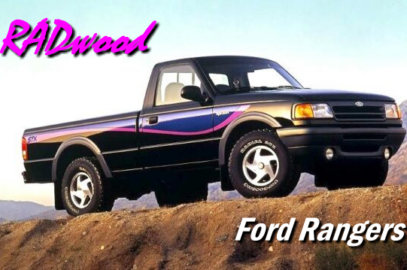
RADwood Ford Ranger
Celebrating the 1983–1997 Ford Ranger: A RADwood Icon The 1983-1997 Ford Rangers weren’t just compact pickups—they were statements of style, attitude, and individuality. In 2026, younger enthusiasts are rediscovering these trucks not only... READ MORE
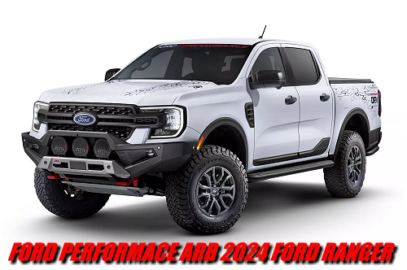
Ford Performance 2024 Ranger
Ford Performance ORV Package Ford used the SEMA Show to preview a new off-road upgrade package designed specifically for the next-generation 2024 Ford Ranger. Known as the Ford Performance ORV (Off-Road Vehicle) Package,... READ MORE
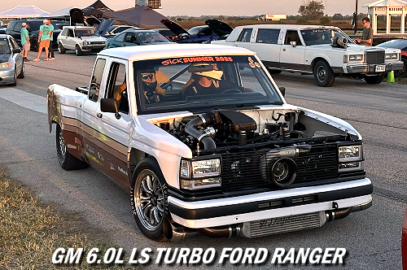
Turbo 6.0 LS Ford Ranger
Ryan Zemla’s 1988 Ford Ranger “Danger Ranger” When you think of a compact pickup, “drag-strip monster” might not be the first image that comes to mind. But for Ryan Zemla, his 1988 Ford... READ MORE
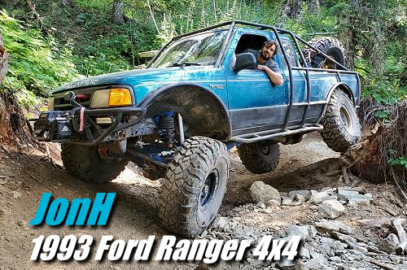
JonH 1993 Ford Ranger 4×4
As the owner and creator of The Ranger Station, I’ve looked at and critiqued a lot of Ford Ranger builds over the last 26-years. Everything from sketchy low budget to price is no... READ MORE
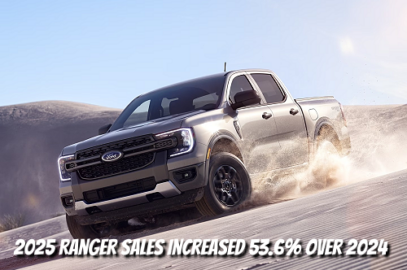
Ford Ranger Shines in 2025
Ford Ranger Shines in 2025: A Banner Year for the Midsize Pickup Anyone who follows The Ranger Station knows what we’ve always known: the Ford Ranger is a fantastic truck. Rugged, capable, and... READ MORE
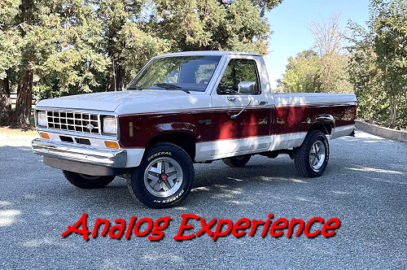
Analog Ford Ranger
Why The 1983-1992 Ford Rangers Still Captivates Us There’s a quiet revolution happening in the automotive world. Enthusiasts and everyday drivers alike are rediscovering something that never really went away but has become... READ MORE
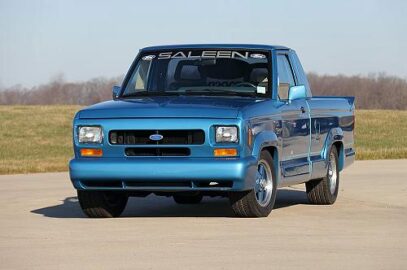
Saleen Ford Ranger (1 of 1)
Saleen No. 88-0009 is a 1988 Ford Ranger Saleen Sportruck, the ninth of 27 built in 1988, one of 24 built for the street, and the only one finished in Regatta Blue, with... READ MORE
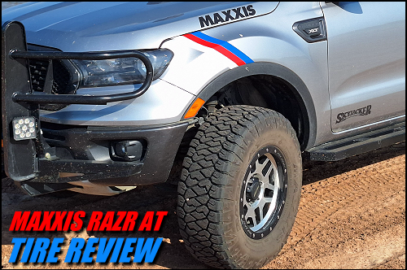
Maxxis RAZR AT Review
15,000-Mile Test on a Ford Ranger FX4 Introduction When building an overlanding adventure vehicle that’s going to see a lot of highway and off-road miles, choosing the right tire becomes one of the... READ MORE
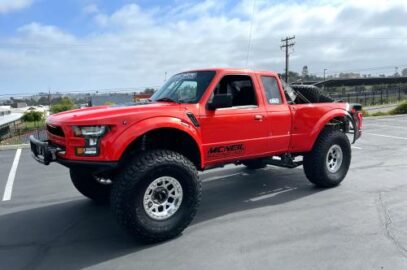
Mark McNeil’s Ranger Raptor Conversion
Can’t afford $56k for a new Ford Ranger Raptor or just don’t want to spend that much? Build your own. This Ranger Raptor you see here was built and is owned by Mark... READ MORE

Explorer Bear 42-Quart Fridge Review
Explorer Bear 42-Quart Fridge Review (2025): Performance, Features, and Value In this detailed review, we take a close look at the Explorer Bear 42-Quart Portable Fridge, designed for camping, overlanding, and everyday outdoor... READ MORE