The rain tapered off about 3 PM, and I went out between the raindrops determined to get that upper deck put back together. I got 90% of the way home.
The biggest issue was my own sloppiness when I cut the trailer section, and stepped it up (36 hours before the Truck Nationals). I used the drops from the axle frame to make the risers, and I didn’t realize they were different lengths by 3/4”. Remember, I built the tongue upside down, and then flipped it over and welded it to the front of the remaining trailer. So now I have had to go to great lengths (yuk yuk) to level out the deck on top. Done, I just have to clean it up cosmetically on either side.
In the process, I got rid of all of the pressure treated temporary stuff, and I used all kinds of my salvaged Aluminum. The center line, that will carry the load of the winch, is a piece of the 4“ x 1 1/2“ channel. Either side of that I used some 1 1/2 inch aluminum, the rectangular stuff with a slot in it that you use to hang curtains in a hospital room. It’s fairly stout, but mostly it was the right dimension to keep the deck level. I did cut some small one and a half in.² square pressure treated blocks to slide inside that aluminum at the pressure points. It’s both functional and a tribute to the original pressure treated lumber. And I preserved the original one and a half in.² tubing on both sides.
View attachment 107125View attachment 107126
My concern with the winch was either pulling in the front end, or having the whole deck flip up as whatever I was pulling up on the main deck passed the horizontal point of the cable pulling it.
Using the aluminum channel down the middle strengthened the whole center section lengthwise, so I’m no longer afraid of crushing it lengthwise. As regards having the deck flipping up, I ended up drilling and tapping the steel arrow point part of the frame (that doesn’t tilt up, that supports everything), so I could put a half inch eyebolt through the deck into the steel frame. The steel at that point was only about 3/16 thick, so I threaded a nut onto the eyebolt, and threaded the eyebolt into the hole, ran the nut down snug, and then I welded the nut to the plate. That gives me about 3/4 of an inch of thread on that plate that is just a few inches from the frame on either side.
With a steel washer on the eyebolt, it holds the upper deck down at the point the table would be pulling on it. I don’t plan on ever using the winch at any significant angle to the sides, or up and down, so the loading on this eyebolt is minimal. I won’t run the cable through the eye, but rather I will attach the cable to the eye with a double shackle. That will allow more than adequate side to side or up and down leeway, while still holding the deck down firmly. The deck is also held down at several other points with removable pins.
View attachment 107127
I had one like this the right size in the shed of miracles. I can pull the outside pin, so I can thread the eyebolt through the deck, and then run the cable through the outer shackle part. That way I don’t have to leave the eye bolt in the deck all the time.
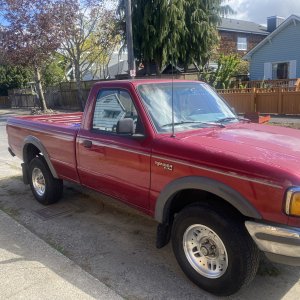
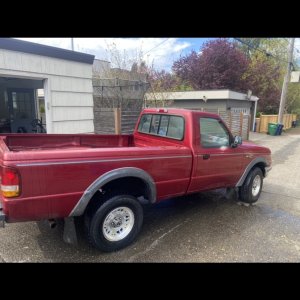
In the first picture, I put a little piece of scrap wood behind the eye, to make it easier to see. The portable winch is just sitting on the deck right now. In this picture, though, you can see the toolbox on the back of the truck, where the second battery resides. It’s a marine battery with the threaded terminals. If I get ambitious, I will get a male/female connector that I can run through the side of the toolbox, but most likely I will just use it with the clamps that came with it.
The only thing remaining is to put a pin/bolt through the trailer to hold the winch. The winch can be permanently mounted with three 3/8 inch bolts. I like the idea of being able to remove it and keep it in the toolbox. The cleat that comes with it is designed to slip over a Trailer Ball (3/4” bolt) so I am envisioning a three-quarter inch bolt through the tip of the trailer, with a sufficient steel plate on the bottom side to spread the load across the channel, and to hold it all firmly through the upper deck.
I was surprised myself that I actually had a three-quarter inch bolt, nut, lock washer and washers in the shed of miracles, but it wasn’t long enough. I want to get a longer bolt, make a steel frame underneath the tongue that straddles the four-inch channel, and run it up through the bottom. On the top side, I want a nut to simply snug the bolt to the front of the deck, with about 2 inches of the bolt sticking up. Then I can slip the winch clevis over that, I’ll make an oversized washer, a second nut above that, and drill the bolt with a clevis pin above, on the slim chance the top nut would back off if I was distracted when winching.
A lot of tedious detail, but I’ve spent the last two weeks taking my trailer with an upper deck, and making it into a trailer with an upper deck! It was a ton of details to make it straight, level and capable of my insanity.
You can also see the front end of the casket in the pictures. Now picture that atop an aluminum frame that’s about 24 inches above the main deck. I can’t wait….