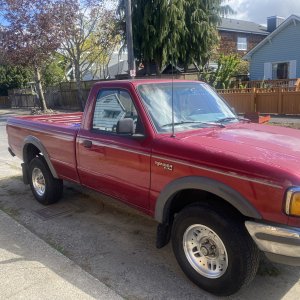
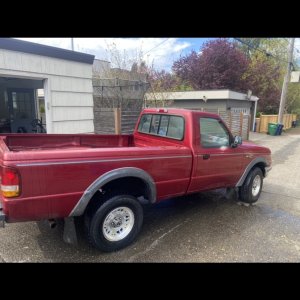
Allright! I took the weekend to wrestle everything back together and heres how I did it. YMMV, this is my method and my experience, Im not a professional mechanic.
Passengers side: A lot of people say you don't need to disconnect everything from the radius arm to get at these bushings, but it sure makes everything easier. I was also replacing the axel pivot bushing at the same time so I needed to completely remove the whole radius arm and I-beam assembly for that. First start out by jacking up the knuckle to relieve some tension and completely remove the sway bar and setting it aside. Disconnect the tie rod end, brake caliper, the top nut on the shock absorber, the nut on the back of the radius arm (1/18 socket) and the axel pivot bolt. As you lower the jack you should be able to maneuver the whole assembly out from under the truck. This might take some wrestling, it wasn't easy. Replace the axel pivot bushing with a balljoint/control arm press kit and fit the new inner bushing onto the radius arm. Now for the re-assembly.
On the passengers side I first tried to place the ibeam axel pivot bushing in position and use a ratchet strap to pull the radius arm into place. That didn't work at all. Maybe I wasn't pulling it right, or pulling it at the right angle, but regardless I was putting a LOT of force on the ratchet strap with the truck on jack stands and was still about an inch and a half short of getting the radius arm up and into the hole in the bracket. That much stress on a truck on jack stands didn't sit well with me and I didn't want to pursue that method any further. So I grabbed some grade 8 hardware from NAPA for $15. You'll need two 1 1/2" long 7/16 bolts with nuts and lock washers.
I got to work with the angle grinder and took bracket off. First grind the heads of the rivets down and either punch them out of the bracket or pry the bracket off the frame. Remove the 4 bolts in the middle of the bracket connecting the passengers side bracket to the drivers side and lastly take off the two remaining bolts holding the bracket to the frame and it should just fall right out. Then grind the rivet stud down flush with the frame and punch it out. I used a large transmission bolt with a pointed end I had laying around and gave it a good few whacks with a sledge hammer.
Next with the axel pivot bushing in place, put the radius arm through the bracket and maneuver it into position on the frame. Put your new hardware through the bracket and hand tighten all bolts. Remember not to torque any bolt to spec until the truck is on the ground and you've rolled it back and forth to let the suspension settle.
The passengers side is MUCH easier. No bracket removal required. Jack the knuckle up the same way you did the passengers side. Remove the axel pivot bolt, the radius arm nut, tie rod end, brake caliper and top nut on the shock absorber. Let the jack down and you should be able to pry the I-beam out of its bracket and the whole assembly should slide out easily. Replace your bushings. Reassemble by starting with the radius arm in the bracket (it might be wise to tape up the threads to prevent damage) and using a pry bar maneuver the I-beam into position. Bolt it in place to prevent it from falling out. As you jack up the suspension replace the tie rod end, shock absorber nut, caliper and the outer part of the new radius arm bushing. Put the sway bar back on, lower the vehicle and tighten all nuts and bolts to spec.
My advice, plan on grinding the passengers side bracket off. It's a little time consuming but will save you a very large and confusing headache. The drivers side does not need the bracket replaced. Hope this helped! I will try to answer any questions the best I can.

 What a shame. Hopefully somebody can use this info in the FUTURE
 Eric and 850, just caught that part.......... My bad