85_Ranger4x4
Forum Staff Member
TRS Event Staff
TRS Forum Moderator
Article Contributor
V8 Engine Swap
OTOTM Winner
TRS Banner 2010-2011
TRS 20th Anniversary
VAGABOND
TRS Event Participant
- Joined
- Aug 7, 2007
- Messages
- 32,342
- Reaction score
- 17,837
- Points
- 113
- Location
- SW Iowa
- Vehicle Year
- 1985
- Make / Model
- Ford
- Engine Type
- V8
- Engine Size
- 5.0
- Transmission
- Manual
This is how I restored my cluster a few years ago:
I found a place that sold overlays (generally sell white or carbon fiber but they did have black backgrounds too)


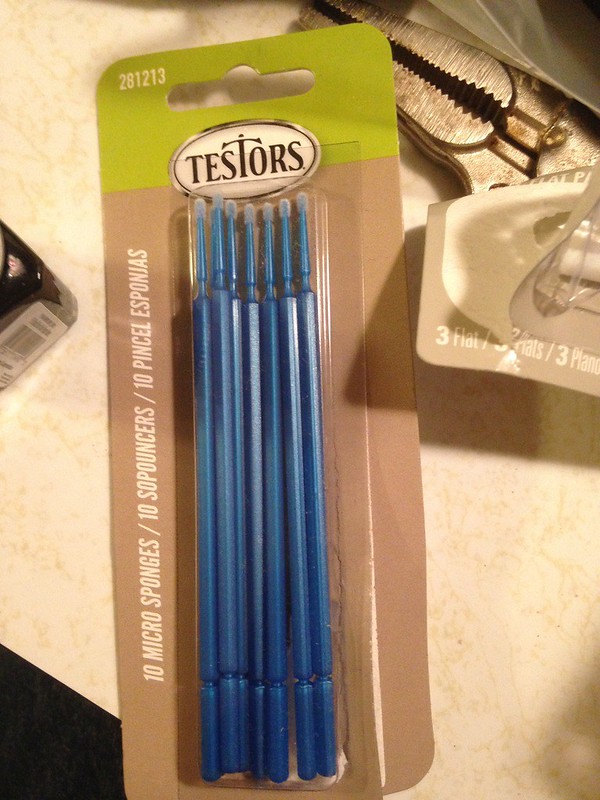
I also snagged the paint they offered to repaint the needles. I used these for brushes:

I masked it off thusly, be sure to get it tight against the needle and pressed down good against the base so paint doesn't creep under the tape.

Big needles are done.

Then I had to remove these three very small screws.

They were kind of a fight

The tach needle just pulls off, with the faceplate also removed I could now access the faces for the fuel and temp gauges as well as their needles.
Note, they did change the faces on the tach at some point. My original face went past 7k, the new one goes to the center of the 7.


Threw some gloss black model paint on the three screws to dress them up.

Its dirty but you can see how nice and bright everything stands out now:

I found a place that sold overlays (generally sell white or carbon fiber but they did have black backgrounds too)
I also snagged the paint they offered to repaint the needles. I used these for brushes:
I masked it off thusly, be sure to get it tight against the needle and pressed down good against the base so paint doesn't creep under the tape.
Big needles are done.
Then I had to remove these three very small screws.
They were kind of a fight
The tach needle just pulls off, with the faceplate also removed I could now access the faces for the fuel and temp gauges as well as their needles.
Note, they did change the faces on the tach at some point. My original face went past 7k, the new one goes to the center of the 7.
Threw some gloss black model paint on the three screws to dress them up.
Its dirty but you can see how nice and bright everything stands out now: