caveman_joey
New Member
- Joined
- Dec 20, 2008
- Messages
- 87
- Reaction score
- 0
- Points
- 0
- Location
- Fitzgerald, GA
- Vehicle Year
- 1998
- Make / Model
- Ford
- Engine Size
- stock 4 banger
- Transmission
- Manual
*Caution Do This At Your Own Risk The Ranger Station nor am I responsible for any damage or injury that may occur from doing this*
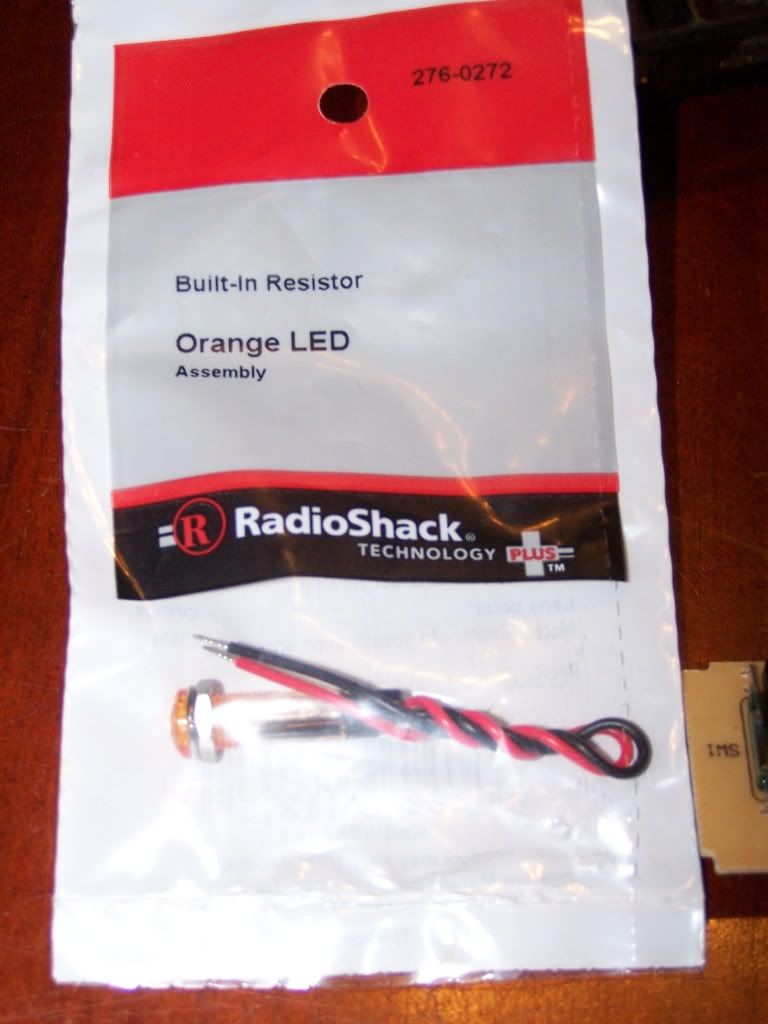
Today I decided to finally fix my Airbag light on the Passenger Airbag Disable Module on my 98 Ranger that was blown causing a flash code of 27 on the instrument cluster. I searched for this repair on this site but finally gave up and decided since I was doing it I would share how I did it with some pictures. I found a write up on how to do this repair, but there were no pictures of the procedure and it used a normal incandescent bulb. I chose to use a 12 volt LED purchased at Radio Shack part# 276-0272. This procedure will work with other year models and other vehicles.
This is the procedure that I used:
1) remove ash tray from console panel
2) using a socket set, remove 4 hex head screws from console panel
3) pull console panel out of the two clips
4) remove connector from Passenger Airbag Disable module in console panel and take console panel to a work bench
5) remove 2 phillips head screws to remove the airbag key module
6) carefully unclip the plastic tabs that hold the airbag key module case together
7) remove circuit board from airbag key module housing
8) to prepare the module housing I drilled a 1/4" hole through the clear lens allowing my particular LED to be attached through that hole
9) now carefully unsolder the blown light bulb
10) then you are able to solder on the new LED *polarity matters* with that in mind the negative on the circuit board is closest to the outer edge of the circuit board
11) reassemble the PAD Module and put it back into the console panel and then put everything back together on the dash in the reverse order of removal.
Pull straight up on the ciruit board to remove it from the housing.
Here you can see the clear lens on the bottom left of the housing. I removed it to drill the hole for my LED.

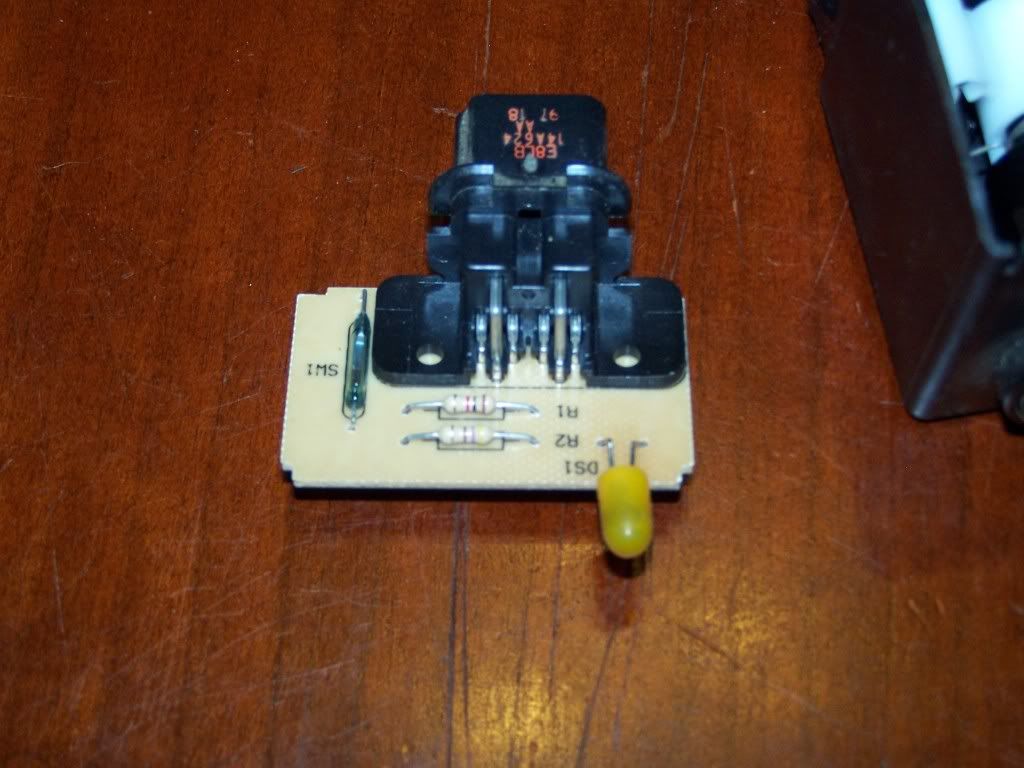
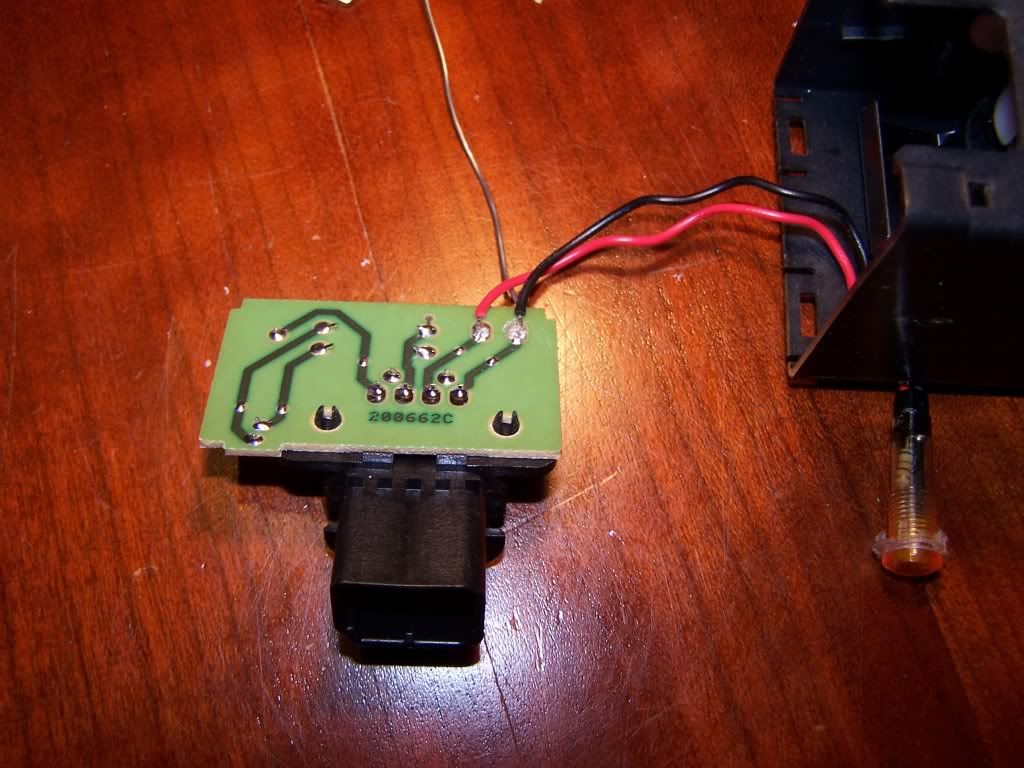
Here I have my LED mounted in the clear lens and the wires soldered to the circuit board. Notice that the negative connection (black wire) is located on the upper right in this picture closest to the outer edge.
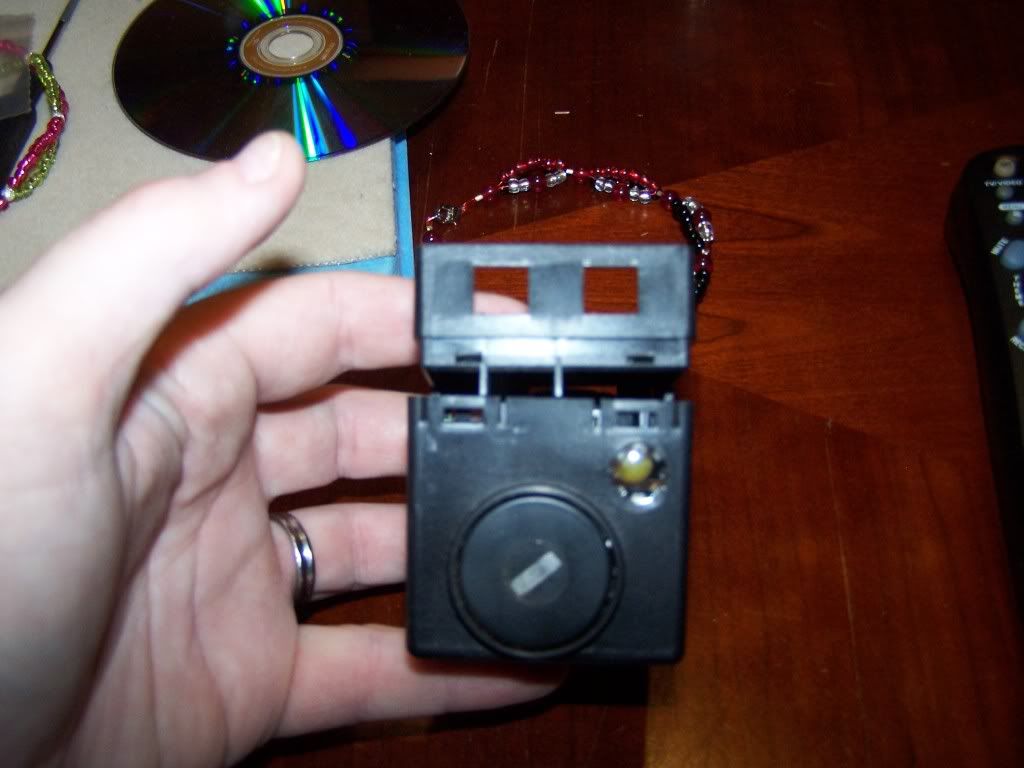
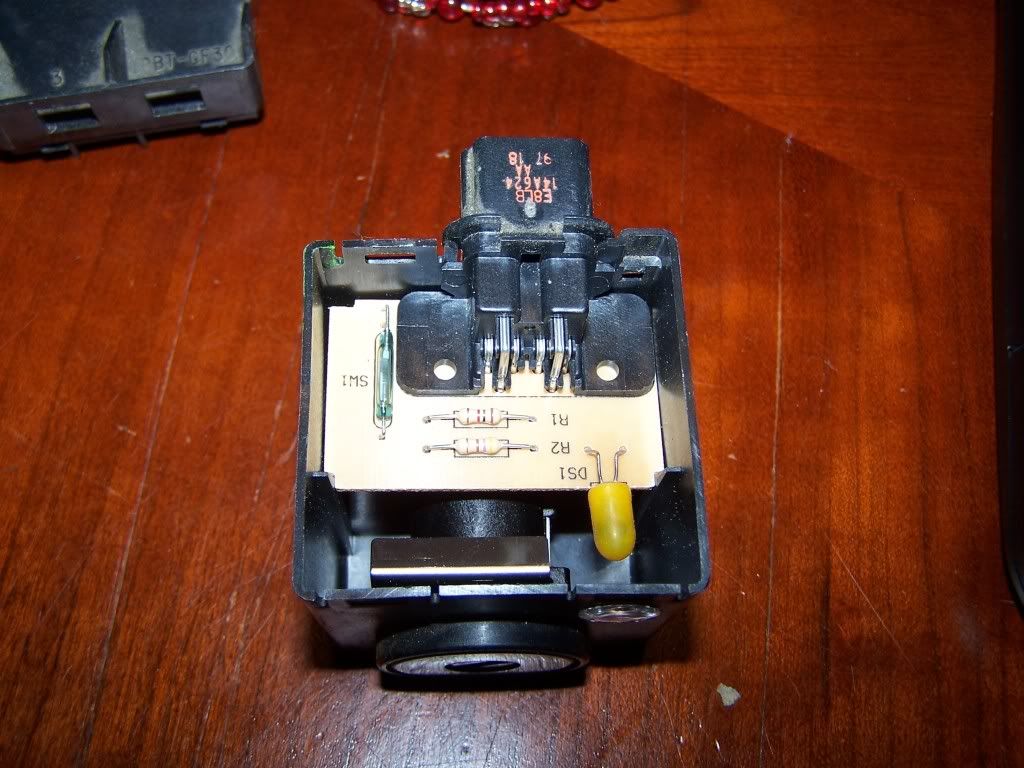
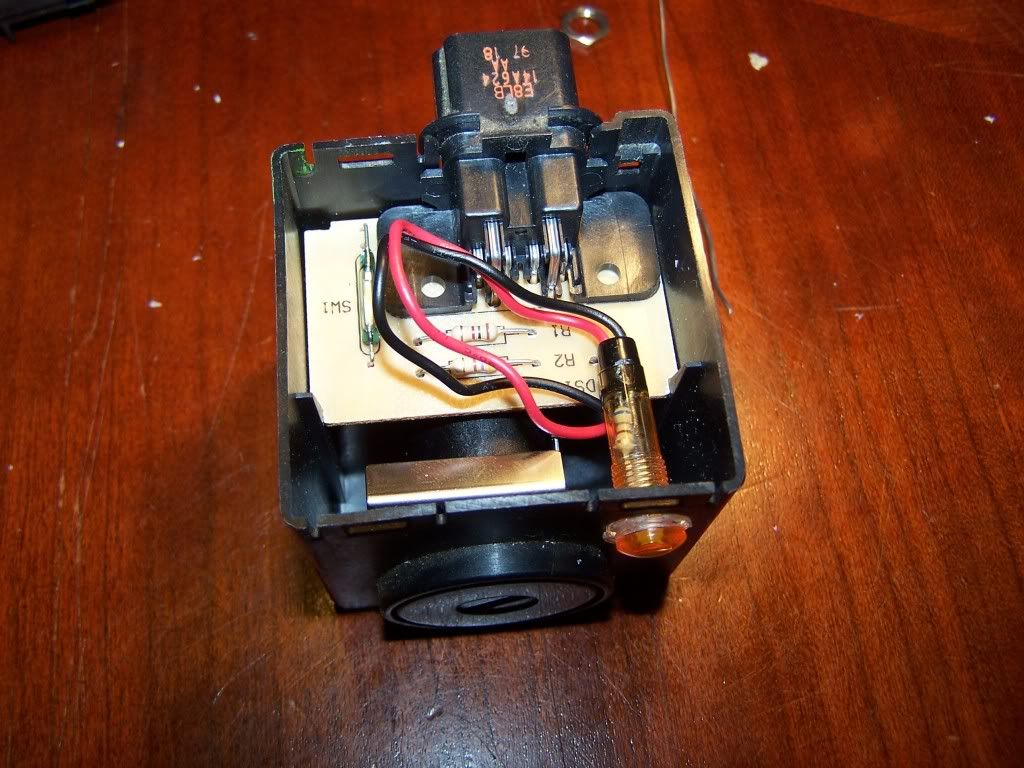
Here is the housing with the circuit board and LED installed.
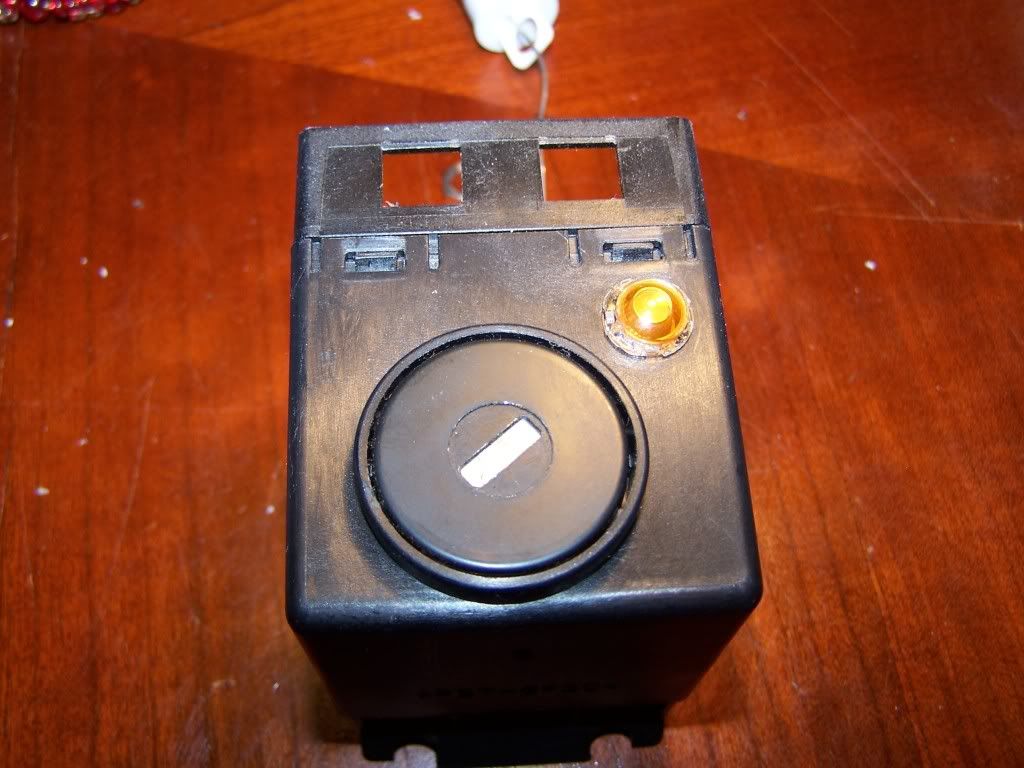
Here is the finished product ready to be installed back into the truck.
Once I put everything back together in the truck I turned the key on and it was a success... no more flash code on the instrument cluster. I hope this write up will help other members fix their problem and if you do attemp this repair I wish you luck. It is not a hard repair to do and doesn't take that long to do I had mine done within 20-30 minutes with taking a few pictures.
Today I decided to finally fix my Airbag light on the Passenger Airbag Disable Module on my 98 Ranger that was blown causing a flash code of 27 on the instrument cluster. I searched for this repair on this site but finally gave up and decided since I was doing it I would share how I did it with some pictures. I found a write up on how to do this repair, but there were no pictures of the procedure and it used a normal incandescent bulb. I chose to use a 12 volt LED purchased at Radio Shack part# 276-0272. This procedure will work with other year models and other vehicles.
This is the procedure that I used:
1) remove ash tray from console panel
2) using a socket set, remove 4 hex head screws from console panel
3) pull console panel out of the two clips
4) remove connector from Passenger Airbag Disable module in console panel and take console panel to a work bench
5) remove 2 phillips head screws to remove the airbag key module
6) carefully unclip the plastic tabs that hold the airbag key module case together
7) remove circuit board from airbag key module housing
8) to prepare the module housing I drilled a 1/4" hole through the clear lens allowing my particular LED to be attached through that hole
9) now carefully unsolder the blown light bulb
10) then you are able to solder on the new LED *polarity matters* with that in mind the negative on the circuit board is closest to the outer edge of the circuit board
11) reassemble the PAD Module and put it back into the console panel and then put everything back together on the dash in the reverse order of removal.
Pull straight up on the ciruit board to remove it from the housing.
Here you can see the clear lens on the bottom left of the housing. I removed it to drill the hole for my LED.
Here I have my LED mounted in the clear lens and the wires soldered to the circuit board. Notice that the negative connection (black wire) is located on the upper right in this picture closest to the outer edge.
Here is the housing with the circuit board and LED installed.
Here is the finished product ready to be installed back into the truck.
Once I put everything back together in the truck I turned the key on and it was a success... no more flash code on the instrument cluster. I hope this write up will help other members fix their problem and if you do attemp this repair I wish you luck. It is not a hard repair to do and doesn't take that long to do I had mine done within 20-30 minutes with taking a few pictures.