
Introduction
Here’s how you can change of the look of your interior by painting the interior pieces.
Past Projects
I’ve had experience with painting interior components in Ford Rangers and Bronco II’s. It’s a project that can produce incredible results without having to spend a lot of money.
Junkyard & Spare Parts Bronco II Interior
In my Junkyard & Spare Parts Bronco II build, I had converted a 1984 Ford Bronco II to power windows and locks by swapping doors from a 1989-1992 Ford Ranger and also swapped in the Rangers dash. I bought some seats out of a Honda minivan that were like brand new, and now I had to make everything match.
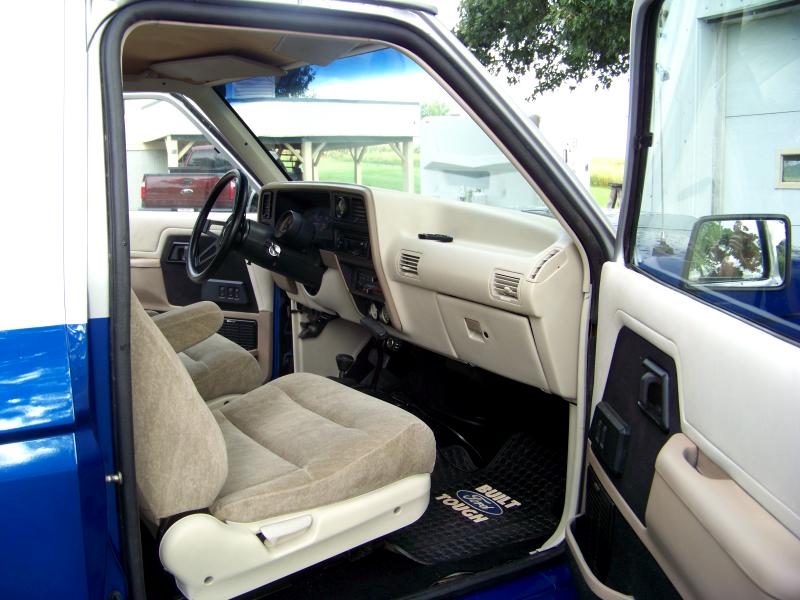
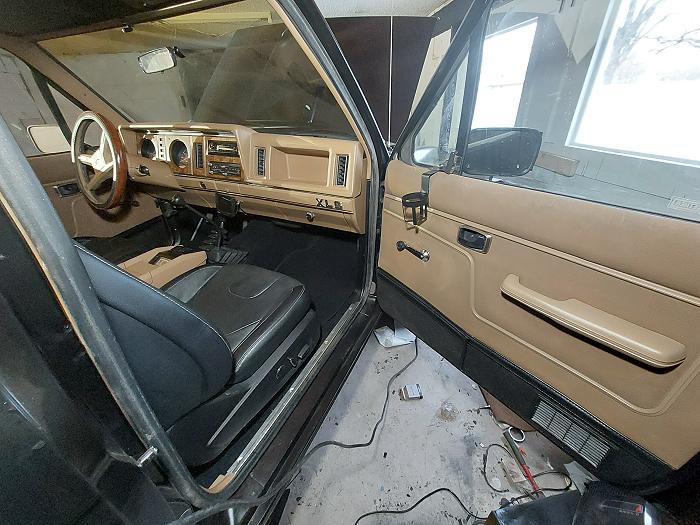
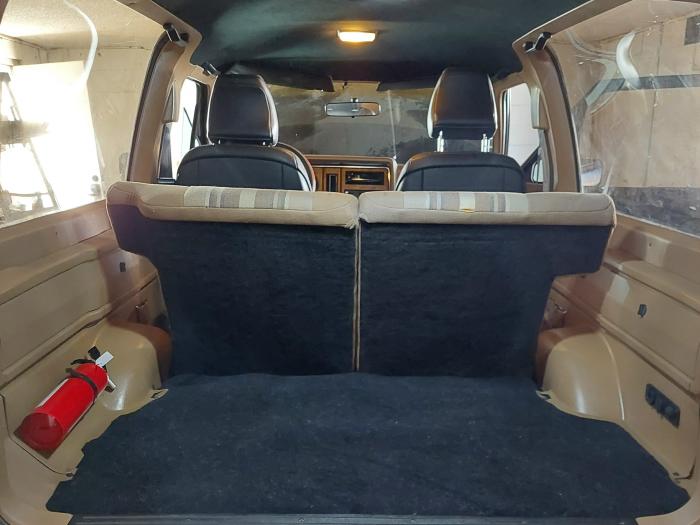
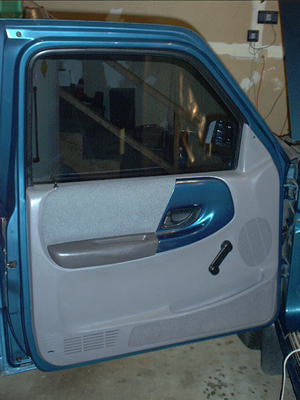
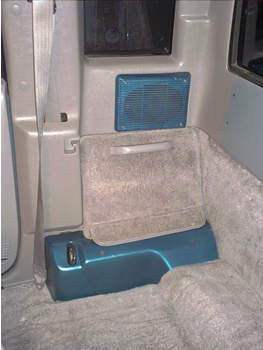
In the photo above you’ll see the Ford Ranger dash, door panels, and the Honda seats. In the photo below you’ll see the original Ford Bronco II rear seats.
The goal here was to paint the panels to make everything work together. By using the lighter tan on the dash, door panel, side panels, and the plastic trim under the Honda seat, it helped everything blend together. Then by using a darker tan on the door panel, side panel, and the trim on the dash, it helped tie in the original Bronco II seats in the rear.
I also painted the fabric section of the doors black to match with the carpet.
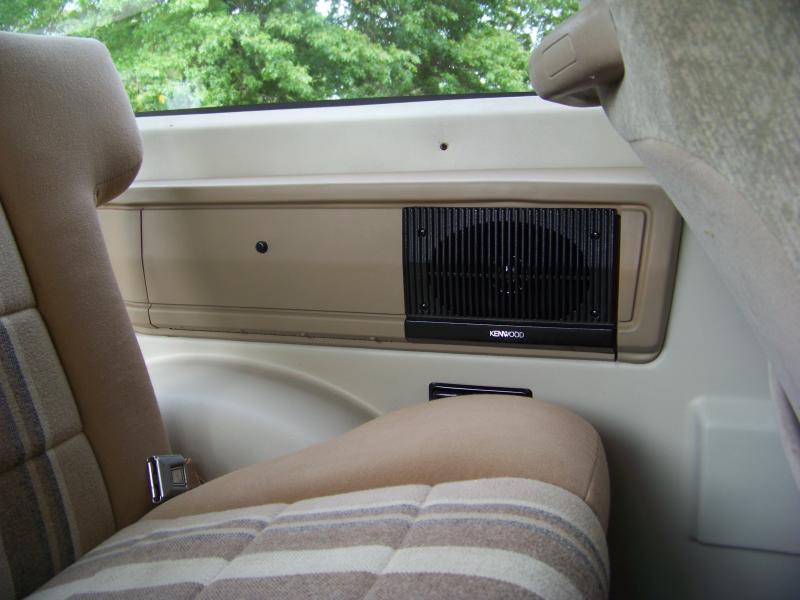
Like the Kenwood speaker cover? That’s the factory Bronco II speaker cover. I painted the factory speaker covers with black Krylon Fusion paint and then added the plastic Kenwood badges that I found online. It’s a cool little touch that cost very little. Yes, there really is a Kenwood speaker behind that grill. In fact, the entire stereo system is a custom Kenwood setup.
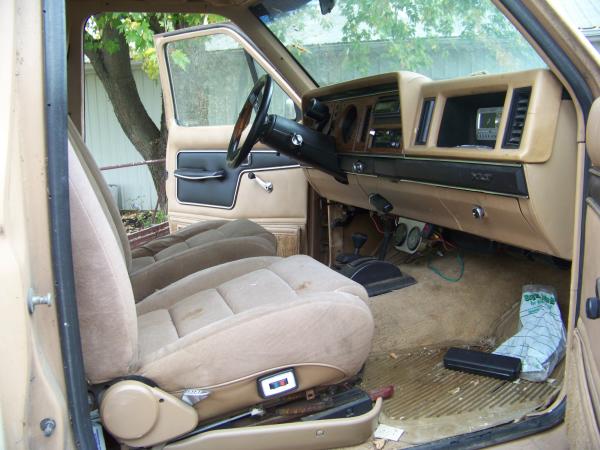
For reference, this is what the inside of that Bronco II looked like when I got it:
The B2 Marauder Interior
The B2 Marauder was another Bronco II build that I did where the interior received a lot of attention on a low budget. As you can see, it was in rough shape.
Before:
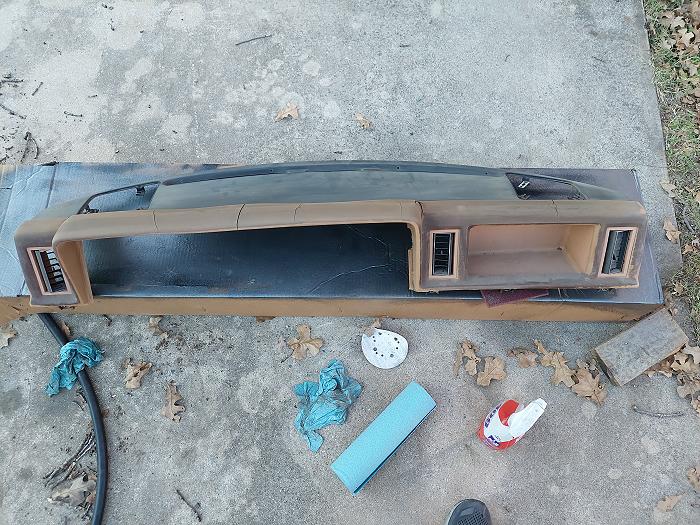

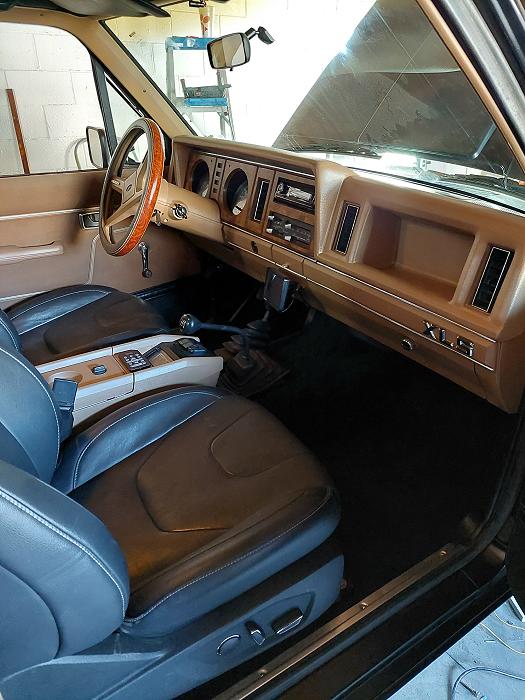
After:
The entire interior was removed, and all of the plastic pieces were thoroughly cleaned and painted with Rust-Oleum Painters Touch Satin Nutmeg. The ‘Nutmeg’ was a close color match that ended up looking great in the Ford Bronco II.
You have to make sure that if you’re painting plastic that you use paint made for plastic. I’ll share more on that further down the page.
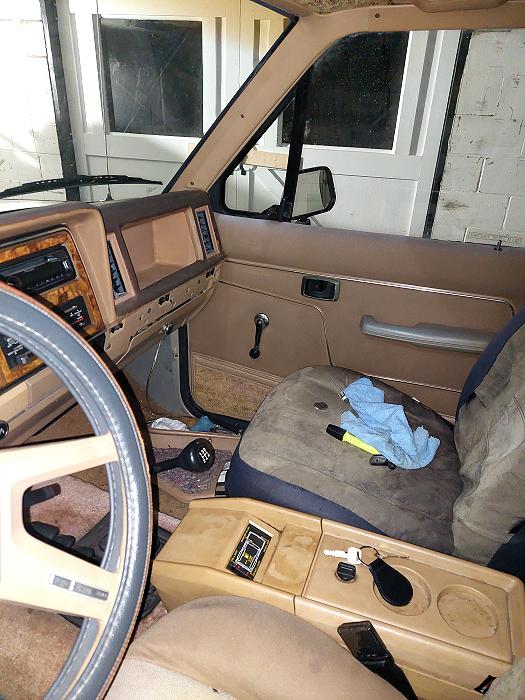
I completely disassembled the center console, cleaned it, and painted it Nutmeg.
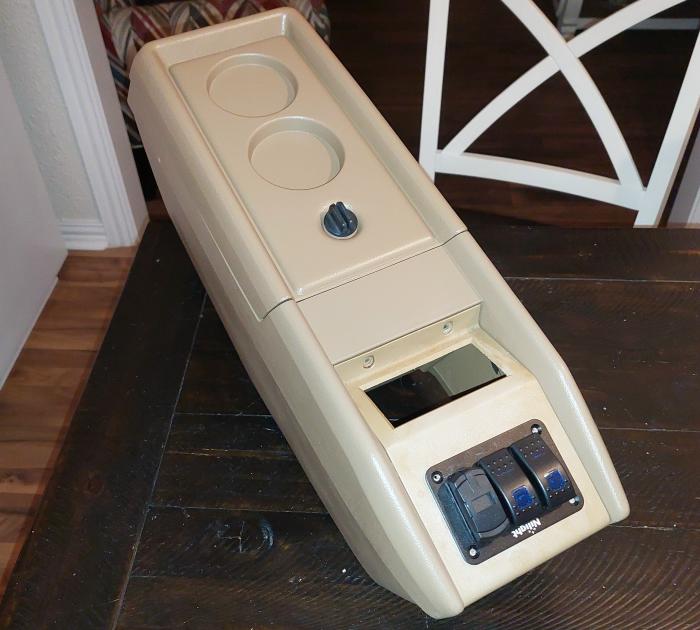
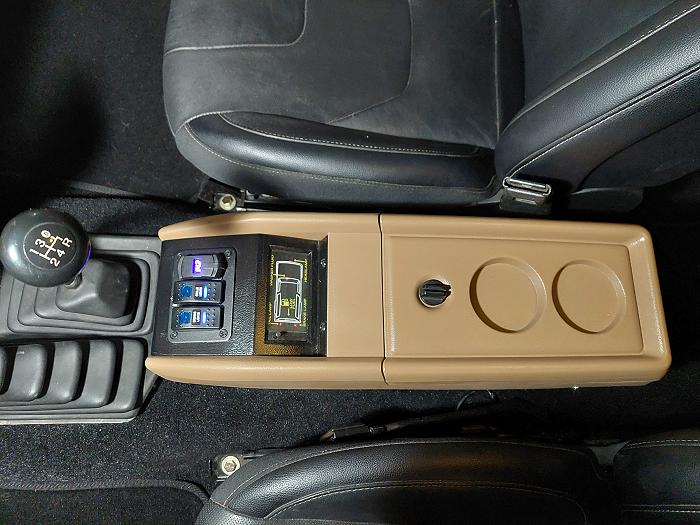
It’s crazy how much lighting effects the color on photos, but the photo above and below was taken after painting the console. The photo above was taken with a flash. If you look closely, you can see that the center piece with the switches hasn’t been painted and is still the factory color. I felt like it was a great place to add some switches, but it needs to be black.
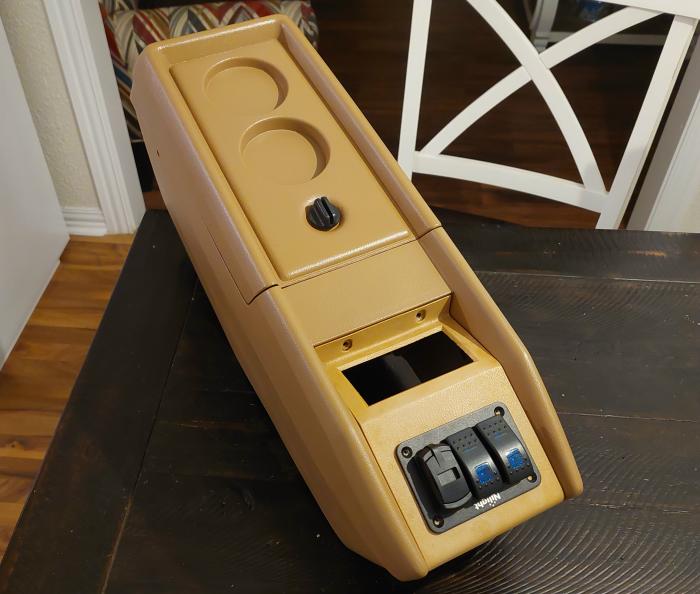
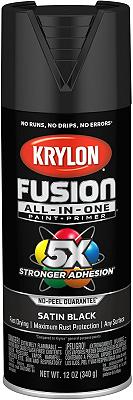
That center panel was painted with black Krylon Fusion which is a great paint for plastics.
I replaced the worn-out carpet with a new carpet kit, but the bottom of the door panel has carpet on it as well, so I masked the carpet off and painted (dyed) it with flat black Dupli-Color Vinyl & Fabric paint.
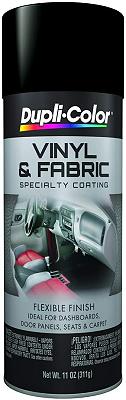
The back of the rear seat is supposed to match the carpet as well because the back of the seat becomes the floor when the seat is laid down, so I used the black Dupli-Color on the back of the seats as well.
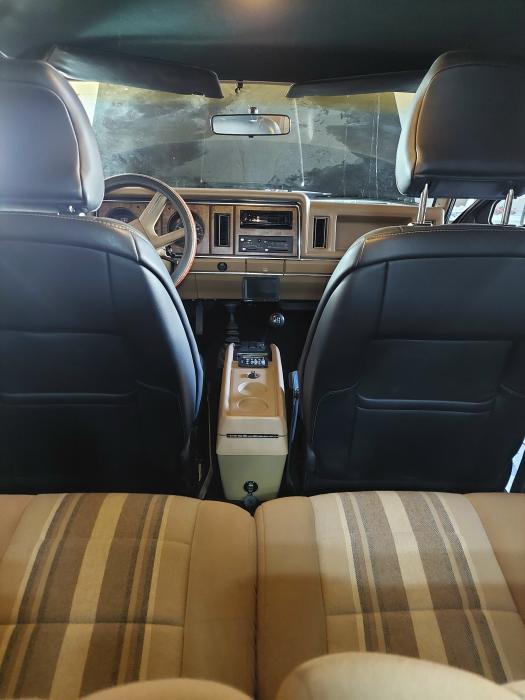
Speaking of the seats, the black leather bucket seats came from a Ford Fusion. The black carpet and reupholstered black headliner and the black carpet along the bottom of the door panel help the seats blend in and look like they were meant to be there. Even the stock rear seats look good even though they’re not black. I could have used the Dupli-Color on them, but I think it would have been too much black. I think the rear seats give it style and character.
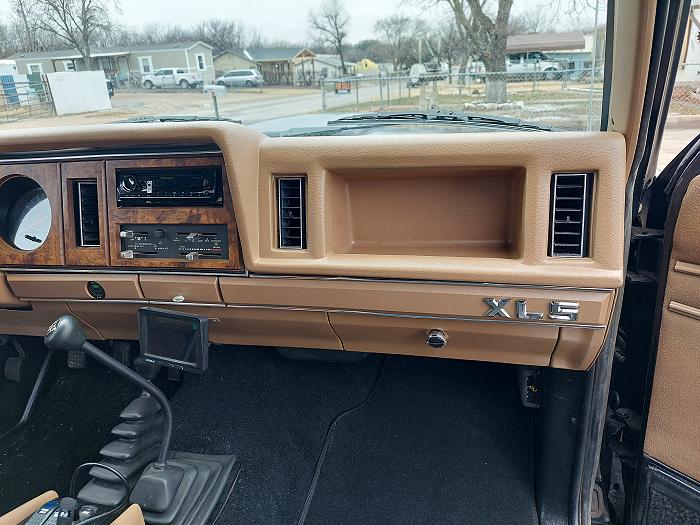
The dash was recovered with a Coverlay dash cover, and the dash and cover were both painted with the Rust-Oleum Nutmeg. I found a piece of dash trim to replace the missing piece and painted it to match. And since this is an XLS model, I picked up some chrome letters from the local Auto Zone and stuck them on there.
Big difference from this:
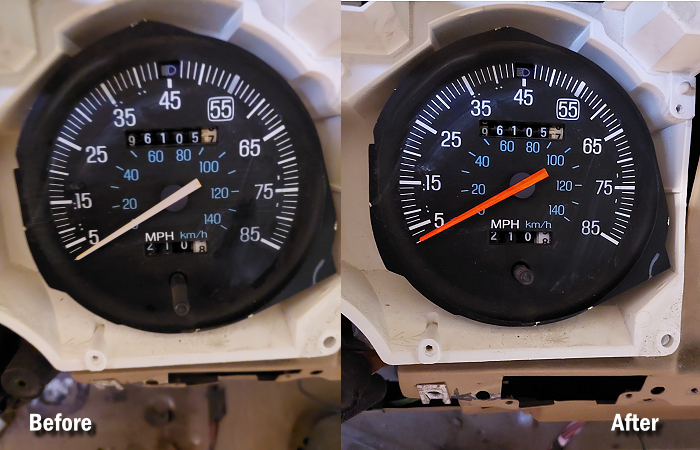
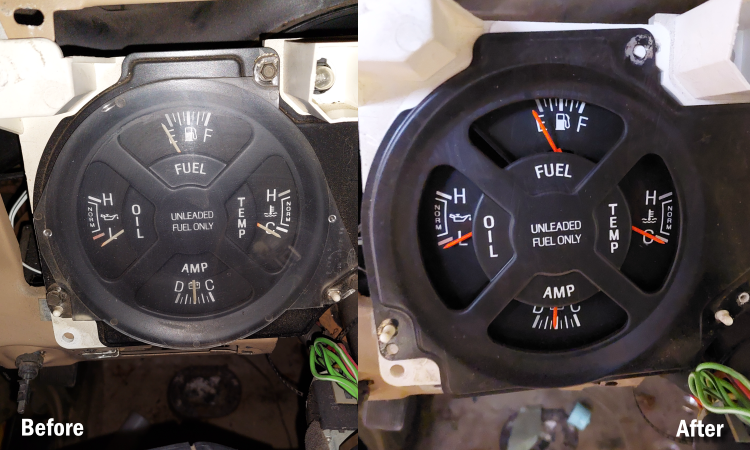
Don’t Forget The Gauges:
The needles on the gauges and speedometer had been bleached white over time, so I repainted them with Orange Createx Fluorescent Airbrush Colors paint. You have to use fluorescent so it will light up. Painting the needles made these old gauges look like new.

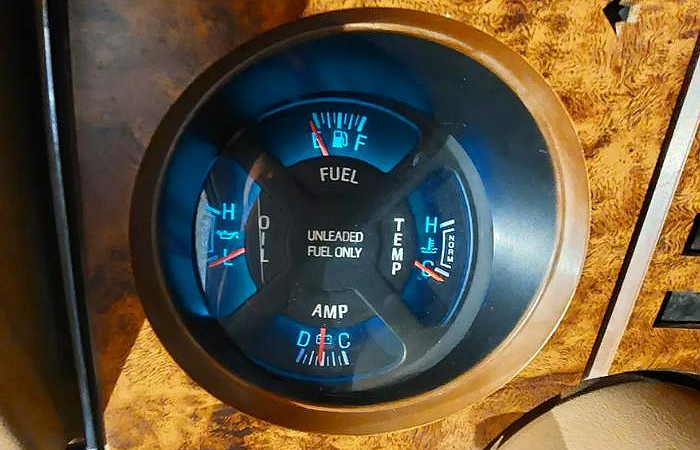
On a side note, the dash lights in the old Ford Rangers aren’t green, they’re blue. Yes, they look green, but when you disassemble them, you see that they have a blue filter. The old incandescent bulbs give off a yellow hue, and if you add yellow to blue you get green. If you replace the factory bulb with a white LED bulb, you’ll get the true-blue lighting.
Obviously, you can paint the plastic in the 1993-2011 Ford Rangers as well:
Cleaning / Prep
I should note that I did not use any primer, but if you use a primer, use the same brand / product as the paint you’re using. I just cleaned the part really good and painted it. I use simple products like Dawn dish soap which works great for removing grease as well as other cleaning products like 409. Isopropyl alcohol is also a product recommended for cleaning plastic.
DO NOT use lacquer thinner or acetone. It can damage / melt / distort the plastic.
What Paints To Use
Krylon Fusion
I think Krylon Fusion is an excellent paint for plastics and is readily available in most major stores.
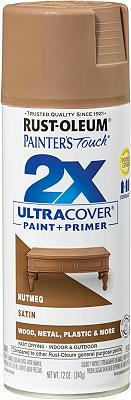
Rust-Oleum
Rust-Oleum Painters Touch 2X Ultra Cover is another good paint and is the Nutmeg paint that I used.
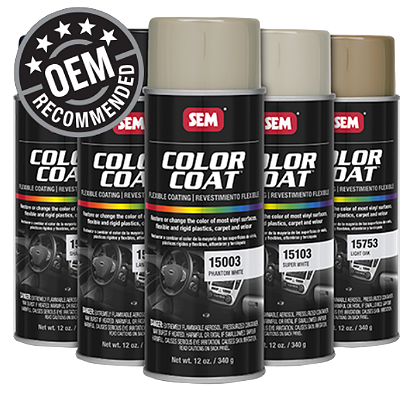
SEM Products
SEM Products is a great product for plastic and vinyl. It’s harder to find. You’ll have to either go to a paint supply business or Summit Racing.
Related Articles:
1989-1993 Dash Swap For 1983-1988 Ranger
Recovering Your Ford Ranger Headliner
Interior Electronics & Upholstery
Last Updated:
About The Author
Jim Oaks is the founder of TheRangerStation.com, the longest-running Ford Ranger resource online since 1999. With over 25 years of hands-on experience building and modifying Ford Rangers — including magazine-featured builds like Project Transformer — Jim has become one of the most trusted authorities in the Ford Ranger off-road and enthusiast space.
Since launching TheRangerStation.com, Jim has documented thousands of real-world Ranger builds, technical repairs, drivetrain swaps, suspension modifications, and off-road adventures contributed by owners worldwide. TheRangerStation.com has been referenced in print, video and online by enthusiasts, mechanics, and off-road builders looking for practical, and experience-based information.