• Welcome Visitor! Please take a few seconds and Register for our forum. Even if you don't want to post, you can still 'Like' and react to posts.

Yet another axle swap


1freaky1

Well-Known Member
U.S. Military - Veteran
Solid Axle Swap
TRS Banner 2010-2011
Joined
Mar 6, 2011
Messages
137
City
Thornton
Vehicle Year
2002
Transmission
Manual
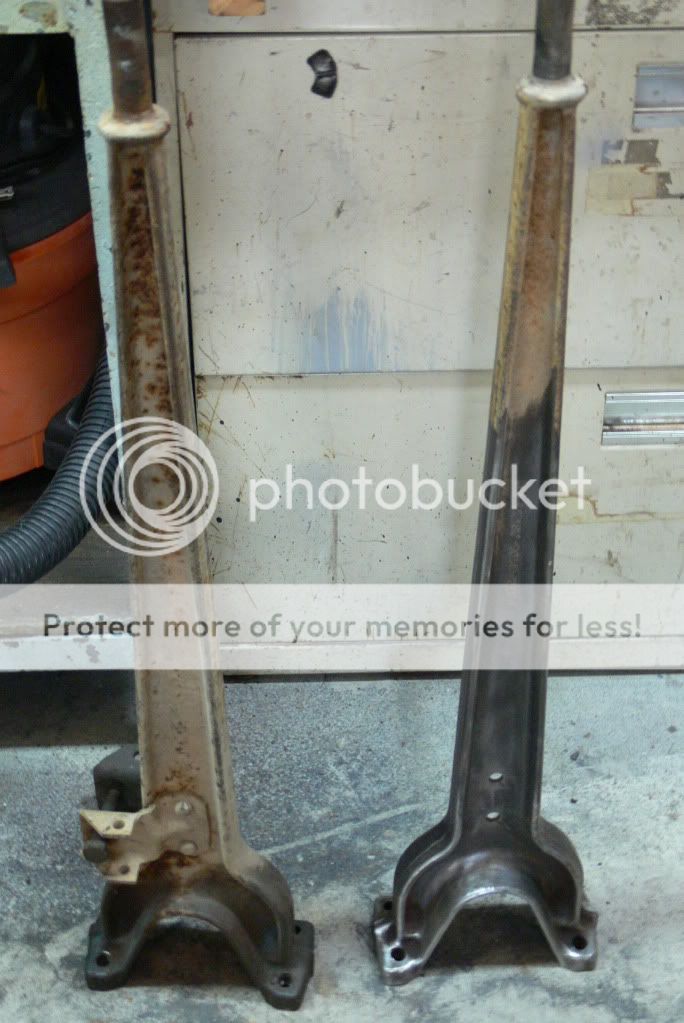
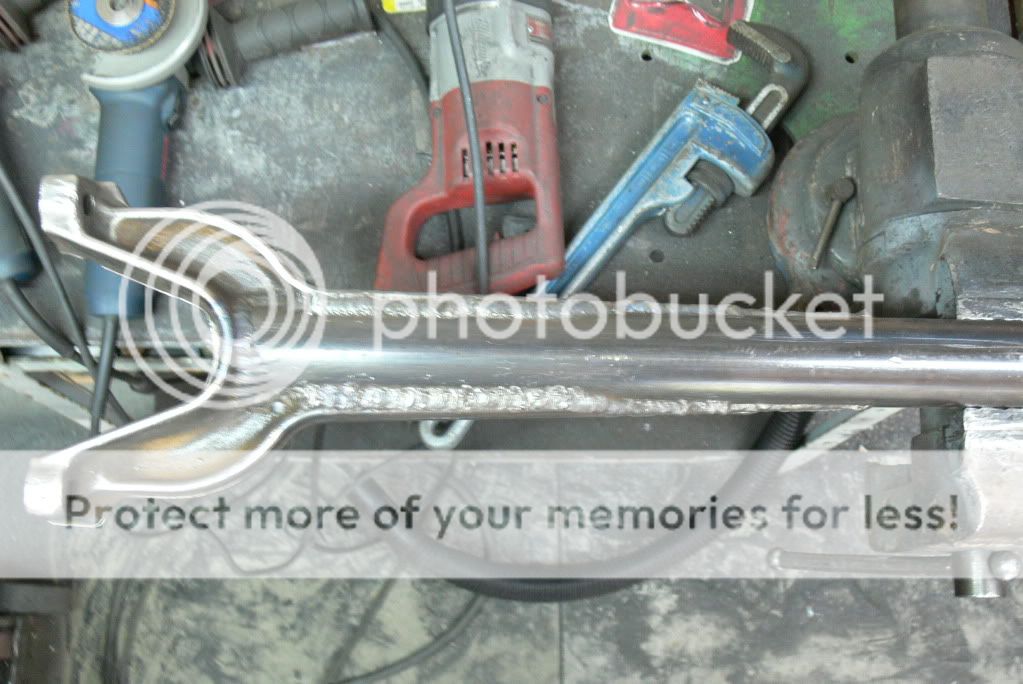
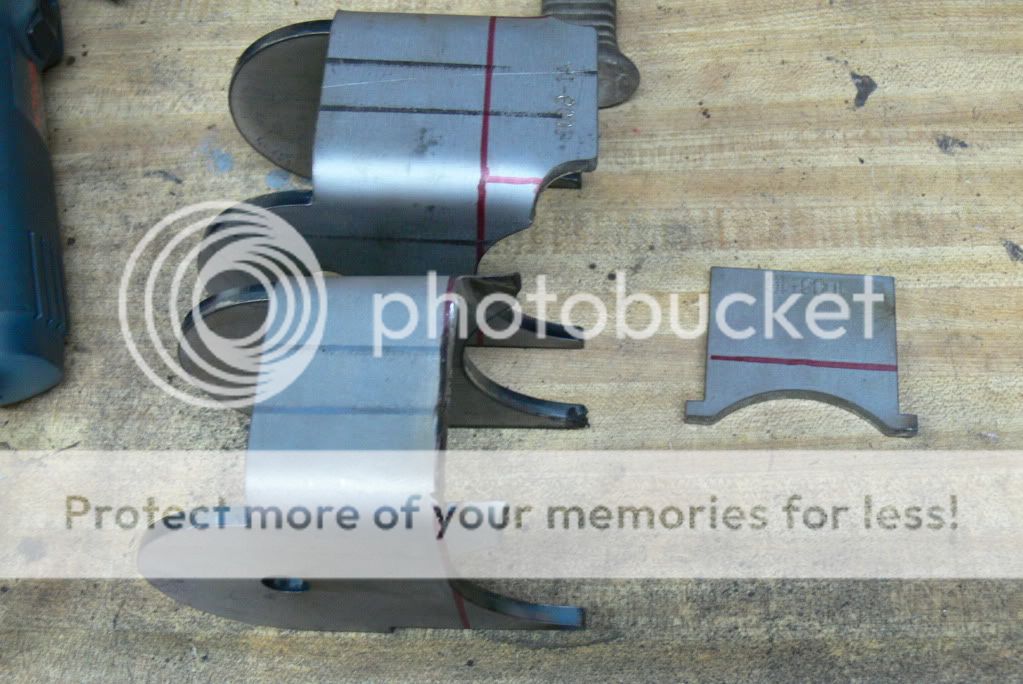
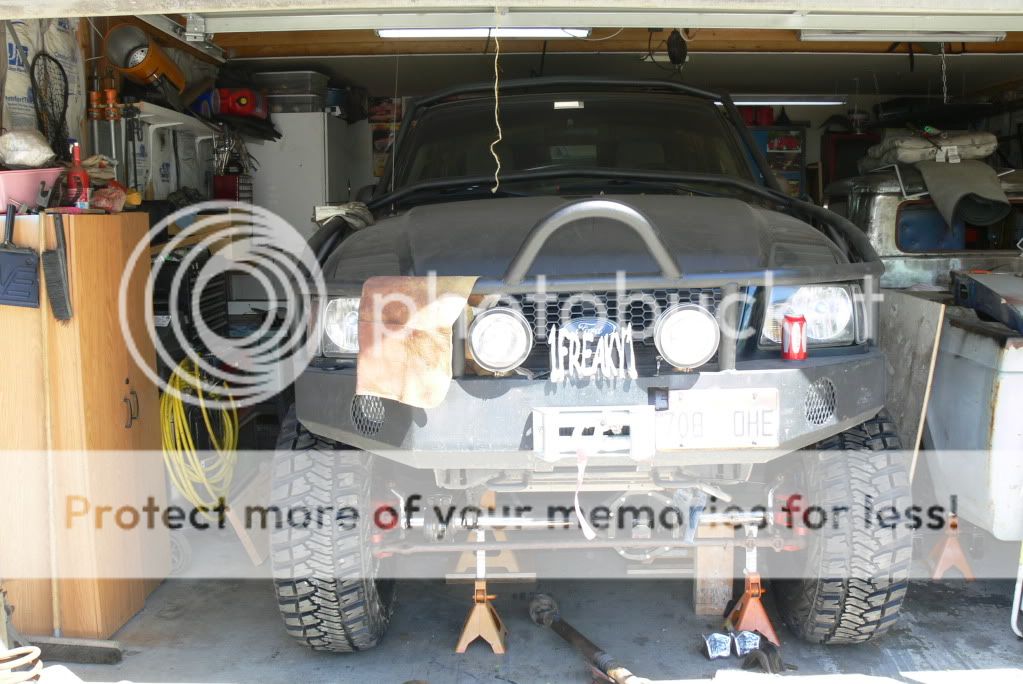
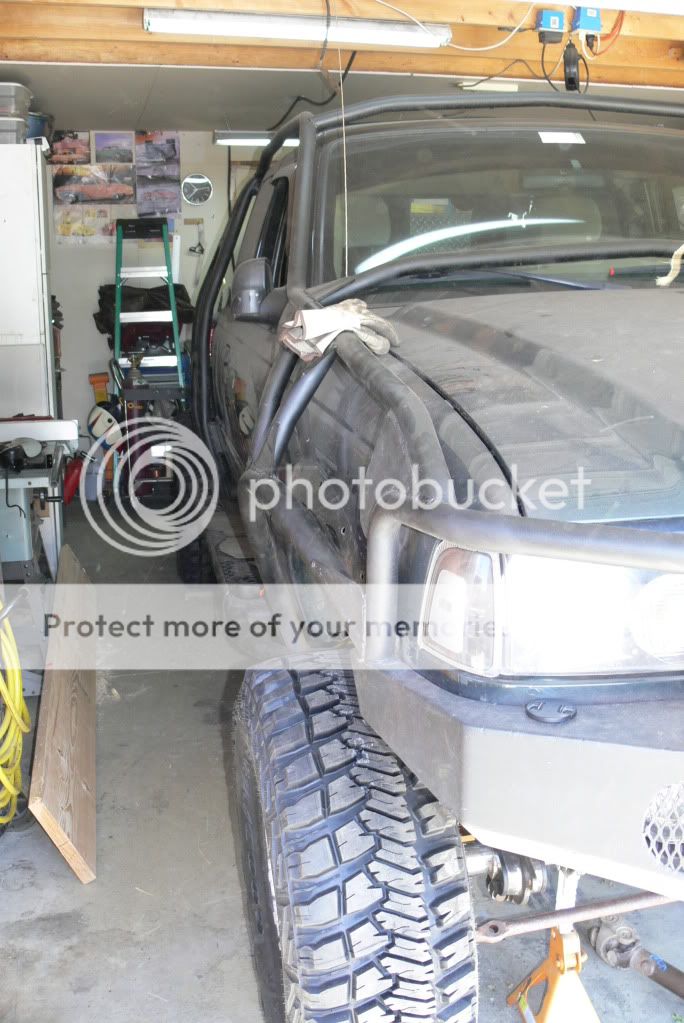
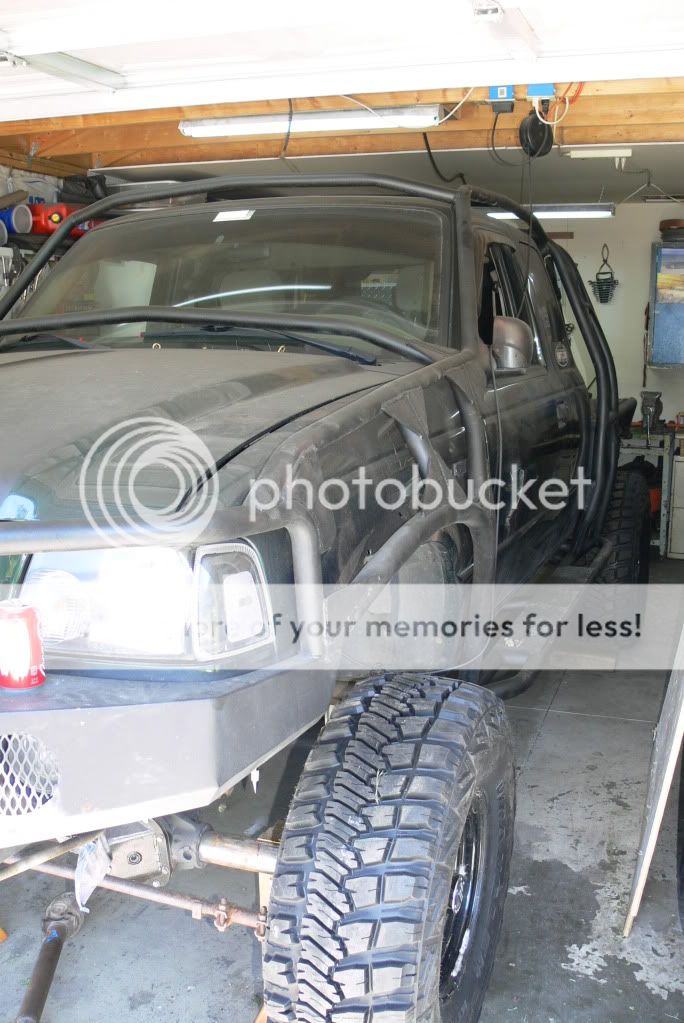
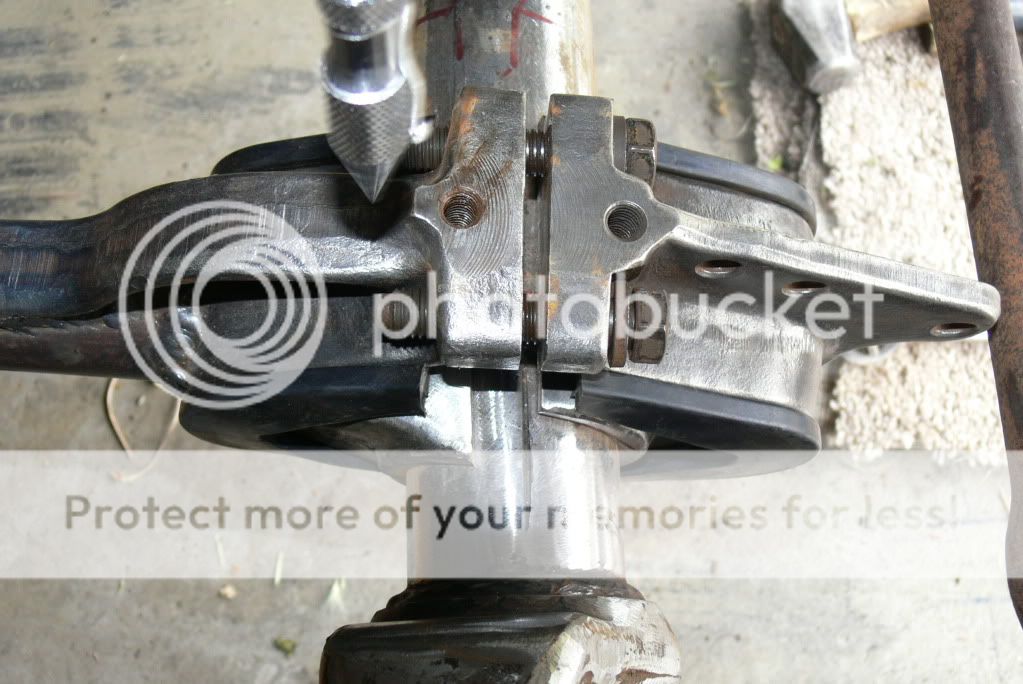
Well this last weekend I finally started my axle swap. I pulled out the 8.8 LS w/4.10s and installed my full width 9" w/4:88s and then started gutting the front IFS for the full width Dana 44. Yesterday I got all the front suspension removed to include mounting brackets, rack n pinion, and cross-member. Here is a few pics of it so far.
 

Attachments

  • 002.JPG
    002.JPG
    205.8 KB · Views: 406
  • 004.JPG
    004.JPG
    210.3 KB · Views: 292
  • 008.JPG
    008.JPG
    195 KB · Views: 290
  • 006.JPG
    006.JPG
    187.3 KB · Views: 285
  • 009.JPG
    009.JPG
    213.2 KB · Views: 300
Looks good, what are you doing for shock mounts and coil buckets?
Are you planning on extending the radius arms?
 
I bought new after market mounts as for the radius arms I am leaving them stock for now and see how it works out, may legthen them later.
 
Well plans changed and I lengthened the arms and used Creeper Joints on them bought some mounts from Ballistic Fab since I did not have time to fab them myself nor did I feel up to it. Here is a couple shots of the arms. The tubes are 1-1/2"I.D.x1/4" wall DOM.

StockBroncoradiusarms.jpg


Radiusarmcut.jpg


005-1.jpg


Radiusarmwelded.jpg


Radiusarmmounts.jpg
 
Last edited:
Ok here is the pics with tires on it, and how the longer radius arms look done up

Attached Images

0092.jpg

0112.jpg

0102.jpg

0132.jpg
 
Last edited:
The last 2 day presented a couple of challenges but I got it worked out.
The radius arm mounts to the frame like I had hoped would not work. It caused the steel wedges to sit offset which would have prematurely worn out the wedge bushings (pics 1 & 2). So back to the thinking process! What I came up with was that the mounts needed to sit just inside the frame rails so now to come up with a way to make a solid mounting point since the rails are basically a "C" channel.

Walla! I used some flat plate to box in the frame and then used some architectural steel angle iron 3x6x 1/4". Which is fully gusseted. Here are the pics:

0022.jpg

0052.jpg

0072.jpg

0062.jpg
 
The passenger was a piece of cake to do, but on the drivers side all the fuel lines run on the inside of the frame (1 steel line & 2hard black plastic lines) and of course there is the fuel filter there too not to mention a major wire harness.
So I had to re-bend the steel line out of the way and then wrap all the lines w/ fire proof material so I could weld in the boxing plate. Then today I can weld on the angle iron and mount. I HATE welding near fuel lines! The next time I have to change the fuel filter I will be relocating the fuel line & filter location.

0083.jpg

0093.jpg

0103.jpg
 
Did you turn the wheels with tires on to see if you hit the RAs? We had to put bends in the tube because the tires kept hitting the RAs.

I'm diggin it though. I REALLY like your Exo.
 
Did you turn the wheels with tires on to see if you hit the RAs? We had to put bends in the tube because the tires kept hitting the RAs.

I'm diggin it though. I REALLY like your Exo.


They did hit when I had the mounts on the frame but since I moved them to the inside I haven't checked yet, will do today.

Thanks too!
 
That tubing with stock d44 radius arms deal is amazing, I would have never thought to do that. Its looking real good, good luck with the rest.

Nice welding too btw
 
That tubing with stock d44 radius arms deal is amazing, I would have never thought to do that. Its looking real good, good luck with the rest.

Nice welding too btw

Thanks!

I got 95% of the driverside mount welded on to the frame but now the fuel filter is too close to get in and finish welding that mount. So I am going to have to figure out what I am going to do next to finish it. Did I mention how I totally hate welding aroung fuel lines!:icon_welder:
 
I would disconnect the fuel lines myself and relocate the fuel filter if it would be a pain to change with your new setup.

Like how this is turning out.
 
Those brandy new Kevlars are straight cake lookin'

Keep up the good work :icon_thumby:
 
how long you extened the arms? whats the total length?

From the flat surface to the center of the bolt hole on the joint is 51-1/2"s and I can still adjust them in or out another 1-1/2"
 

Sponsored Ad


Sponsored Ad

TRS Events

Member & Vendor Upgrades

For a small yearly donation, you can support this forum and receive a 'Supporting Member' banner, or become a 'Supporting Vendor' and promote your products here. Click the banner to find out how.

Latest posts

Recently Featured

Want to see your truck here? Share your photos and details in the forum.

Ranger Adventure Video

TRS Merchandise

Follow TRS On Instagram

TRS Sponsors


Sponsored Ad


Sponsored Ad


Amazon Deals

Sponsored Ad

Back
Top