What did you do to your Ranger today? (Part Deux!)


Featured Build Threads

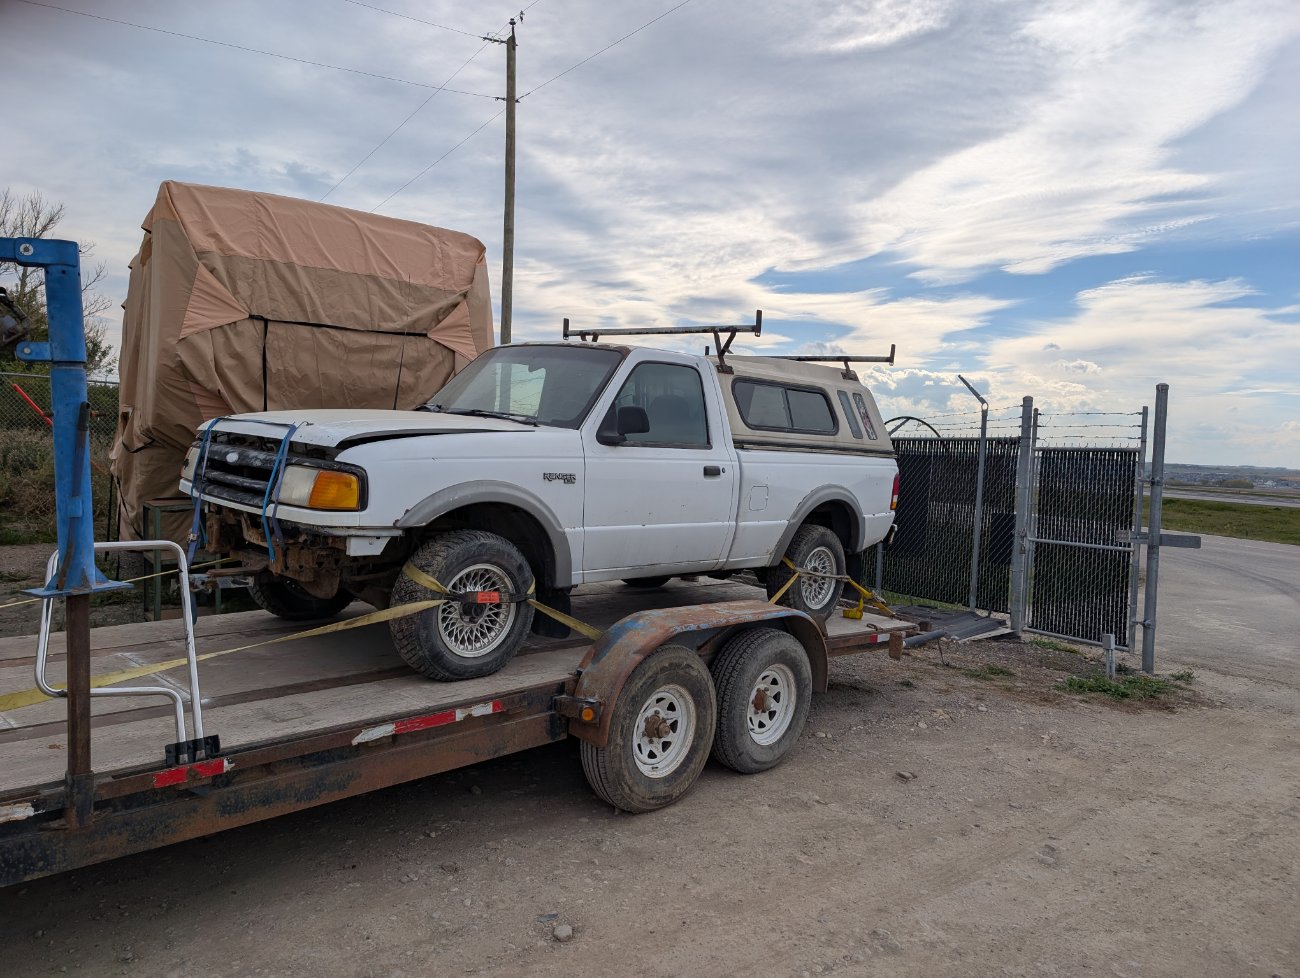
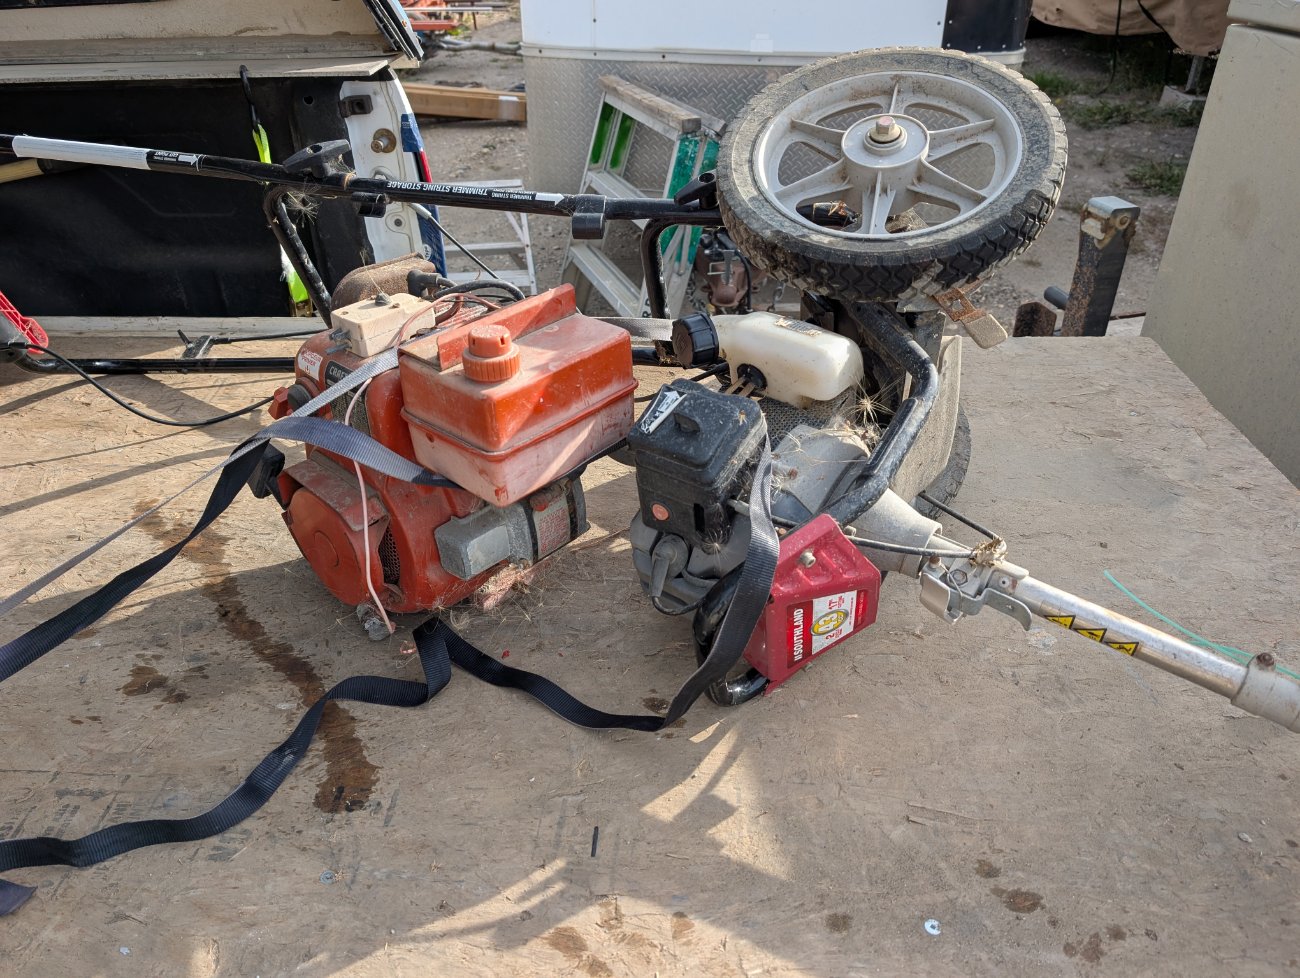
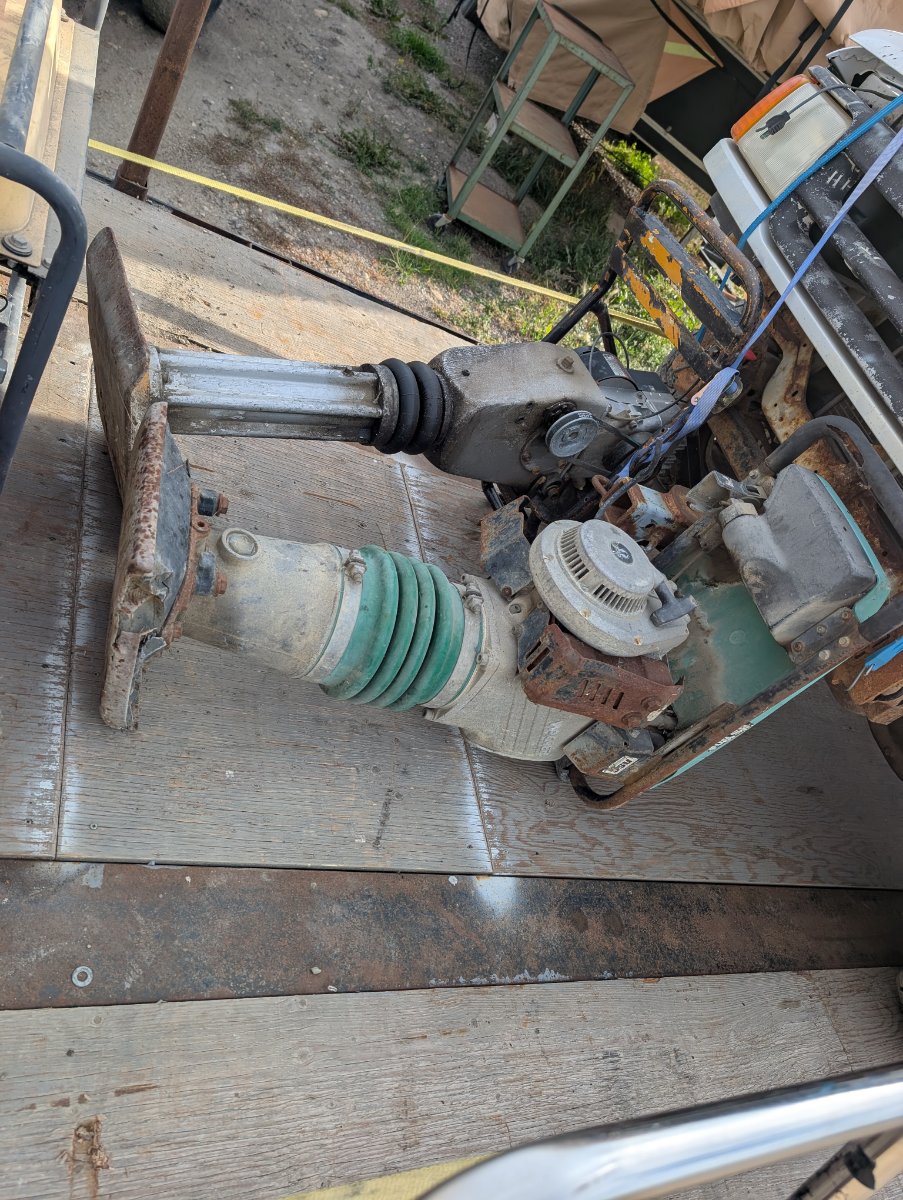
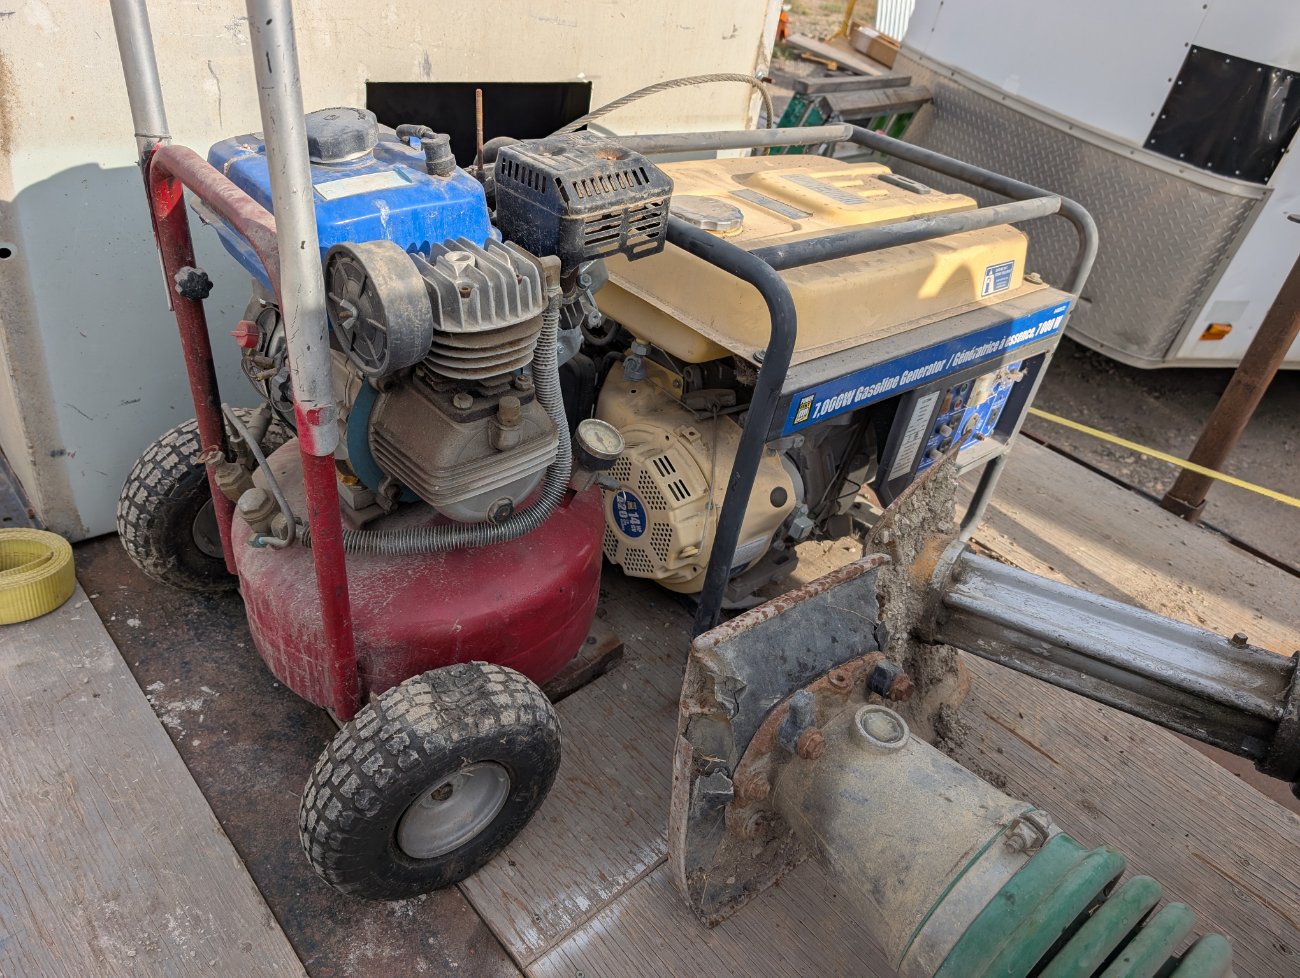
Next load going to the highschool.
The ranger will get the wiring smoke put back in.
The small engines are getting donated to the automotive course to get fixed and sold, proceeds to go to the race truck that was donated last month.

PXL_20260923_220145017.jpg
PXL_20260923_225512503.jpg
PXL_20260923_225519400.jpg
PXL_20260923_225530820.jpg
 
Never saw those rims before
 
You might remember my mentioning I changed the passenger's-side timing tensioner in my 2011 with the 4.0 SOHC. Was waiting on a tool to arrive before attacking the one on the driver's side. The tool was an offset box-end wrench with one 27 mm and one 24 mm head. I was trying to avoid removing the temperature sensor, which would also require draining the coolant, and I wanted to get this job done before my brother comes down this weekend to give me a hand with other things.

Turned out that tool was useless after all, but I still managed to get the old tensioner out and new one in this morning using a regular 27 mm combination wrench from the front of the engine. This worked on my 2011, but I can't guarantee this will work on older Rangers with the SOHC.

First step is to remove the trim piece that says "4.0 SOHC" (duh). Then the plenum from the air filter has to be removed, and so does its adapter to the throttle body, which is held to the intake manifold with four long screws. Some wiring needs to be moved a bit as well. But after that, I was able to get the box end on the tensioner and just managed to break it loose by pulling up on the wrench. After carefully jockeying back and forth with the box and open ends and turning the tensioner a few degrees each time, I was finally able to turn it the rest of the way by hand and get the long head beside the temp sensor wiring before fishing the tensioner out of its hiding place. Installation was the reverse. I got the new tensioner as tight as I could with the box end without going crazy with it.

Turned out the old tensioner was missing its washer, but it never leaked. The new one has its washer. Both tensioners just installed, like the old ones, are Motorcraft. I had primed the new one before installation, and a small amount of oil came out of the tensioner priming hole as I was screwing it in. The fit was a little tighter than for the one on the passenger's side, but I was still able to screw in the new one by hand.

I used the ignition cutout trick when starting as with the first tensioner on Sunday until the oil light went out. Starting and running the engine has been uneventful so far.

If you try to do this in the same way, make absolutely sure of what you're doing and take care not to risk rounding the hex on either tensioner. To be honest, I feel a bit lucky I was able to do this in the way I did.

You have to wonder why Ford made changing this particular tensioner so tedious. The original plan was to change it after draining the coolant and removing the temp sensor as my brother works on changing the water pump. Another member recently posted pics of getting the tensioner out by using a deep socket with an extension, which became my plan too. Most of you will be better off doing this as the other member did. But I'm glad I was able to get the job done sooner. Hope this description helps.

The truck turned over 200,000 miles yesterday.
 
You might remember my mentioning I changed the passenger's-side timing tensioner in my 2011 with the 4.0 SOHC. Was waiting on a tool to arrive before attacking the one on the driver's side. The tool was an offset box-end wrench with one 27 mm and one 24 mm head. I was trying to avoid removing the temperature sensor, which would also require draining the coolant, and I wanted to get this job done before my brother comes down this weekend to give me a hand with other things.

Turned out that tool was useless after all, but I still managed to get the old tensioner out and new one in this morning using a regular 27 mm combination wrench from the front of the engine. This worked on my 2011, but I can't guarantee this will work on older Rangers with the SOHC.

First step is to remove the trim piece that says "4.0 SOHC" (duh). Then the plenum from the air filter has to be removed, and so does its adapter to the throttle body, which is held to the intake manifold with four long screws. Some wiring needs to be moved a bit as well. But after that, I was able to get the box end on the tensioner and just managed to break it loose by pulling up on the wrench. After carefully jockeying back and forth with the box and open ends and turning the tensioner a few degrees each time, I was finally able to turn it the rest of the way by hand and get the long head beside the temp sensor wiring before fishing the tensioner out of its hiding place. Installation was the reverse. I got the new tensioner as tight as I could with the box end without going crazy with it.

Turned out the old tensioner was missing its washer, but it never leaked. The new one has its washer. Both tensioners just installed, like the old ones, are Motorcraft. I had primed the new one before installation, and a small amount of oil came out of the tensioner priming hole as I was screwing it in. The fit was a little tighter than for the one on the passenger's side, but I was still able to screw in the new one by hand.

I used the ignition cutout trick when starting as with the first tensioner on Sunday until the oil light went out. Starting and running the engine has been uneventful so far.

If you try to do this in the same way, make absolutely sure of what you're doing and take care not to risk rounding the hex on either tensioner. To be honest, I feel a bit lucky I was able to do this in the way I did.

You have to wonder why Ford made changing this particular tensioner so tedious. The original plan was to change it after draining the coolant and removing the temp sensor as my brother works on changing the water pump. Another member recently posted pics of getting the tensioner out by using a deep socket with an extension, which became my plan too. Most of you will be better off doing this as the other member did. But I'm glad I was able to get the job done sooner. Hope this description helps.

The truck turned over 200,000 miles yesterday.
Next time, you don't need to prime the tensioner even though many tell you to do so. It makes installation a lot easier and less of a mess. It will prime just fine when you hold the gas pedal to the floor and crank the engine.
 
@Peter_'86_2.9L_Auto and I grabbed my tools and hopped into his 86 (with Lincoln) and we went to the south Pull-a-part in Atlanta (we have three). We folded up the armrest for Lincoln, but he kept circling, sniffing the seat, where “Mashed Potatoes” usually sits. That’s all I’ll say about how another man names his dog. We usually call him Mashy.

Out of the blue they had a half dozen first gen, and a half dozen second gen in the yard, plus a couple Mazdas. Neither one of us really needed anything, so it was just kind of a testosterone road trip.

I picked up a couple of the OEM L-shaped six conductor and eight conductor radio connectors in the dashboard. I still have a glitch in my 87 that I’ve narrowed down to those connectors. I also picked up a couple of the caps in my gray color that go over the top of the seatbelts on the door post. We picked up a couple of like new chrome bumper bolts to put Peter’s new (used) bumper on after he paints it. I picked up a couple of the Chrome Ranger XLT fender emblems. The pure chrome ones are hard to find, and there must be four or six left that I’m going to go after. Both of my trucks are XLT’s, and I add the extra emblems to the various fabrications involving the trucks, trailers, etc..

For me, the big deal is I found a 2.9 that had every piece of the air air-conditioning system under the hood, and I believe it’s all working. The truck was sitting there because it was wrecked in the rear. I got the compressor, which had a brand new belt on it, and mostly the brackets that are impossible to find for a whopping $85. The hoses are good, all the wiring is there, and I’m going to grab the condenser coil as well, but I didn’t have the little tool to pop the hoses loose. I’ll go back in a day or two, and I’m going to grab all the wiring as well.

Peter picked up an absolutely cherry passenger armrest in Blue, his interior color. And a freebie center seat rest female. The spring is broken in his. He also picked up an absolutely cherry front chrome grill. His damages were $35.

The best deal for me, since they no longer have golf carts, is Peter’s friendship. I grabbed my tools, and I have a little bit of knowledge from the gray hairs, and he loads them in the wheelbarrow and he pushes it down there and back. Of course the truck section is in the far left-hand corner. I don’t think I could push it back-and-forth myself.

The funny thing is, when I go there, I’m hurting all over, and I get winded pretty quickly. Once we get down in the corner, and I start pulling a plastic cap for my seatbelt, and a couple of emblems, the adrenaline starts to flow from those exciting finds, and I forget about my sore body. Seriously, thankfully!

One last thought, one last question. I vaguely remember that the pop out windows on the second gen are apparently hard to find. Is that true? There’s one Ranger and there’s one Mazda that have them in perfect condition. I’m tempted to get them for my 97, but now that my air is freezing cold, it’s no longer a priority. But I was thinking if anybody else wants them and they are hard to find, when I go back for the AC parts, I’d be happy to pull them out and ship them to somebody at cost. Are they really rare? Or am I delirious? No need to answer that last question.

I started out with the cute little brunette today, scoured the scrap yards with Peter, and I’m sitting in my recliner with Lincoln. It was, is, a good day, Life is good.

EDIT/AFTERTHOUGHT:

I looked up the pricing, the windows are about $30 each, and it would be shipping on top of that


What did you do to your Ranger today? (Part Deux!)
 

Upcoming TRS Events

Sponsored Ad

Featured Ranger Based Vehicle

TRS Latest Video

Official TRS Merchandise

Follow TRS On Instagram

Back
Top