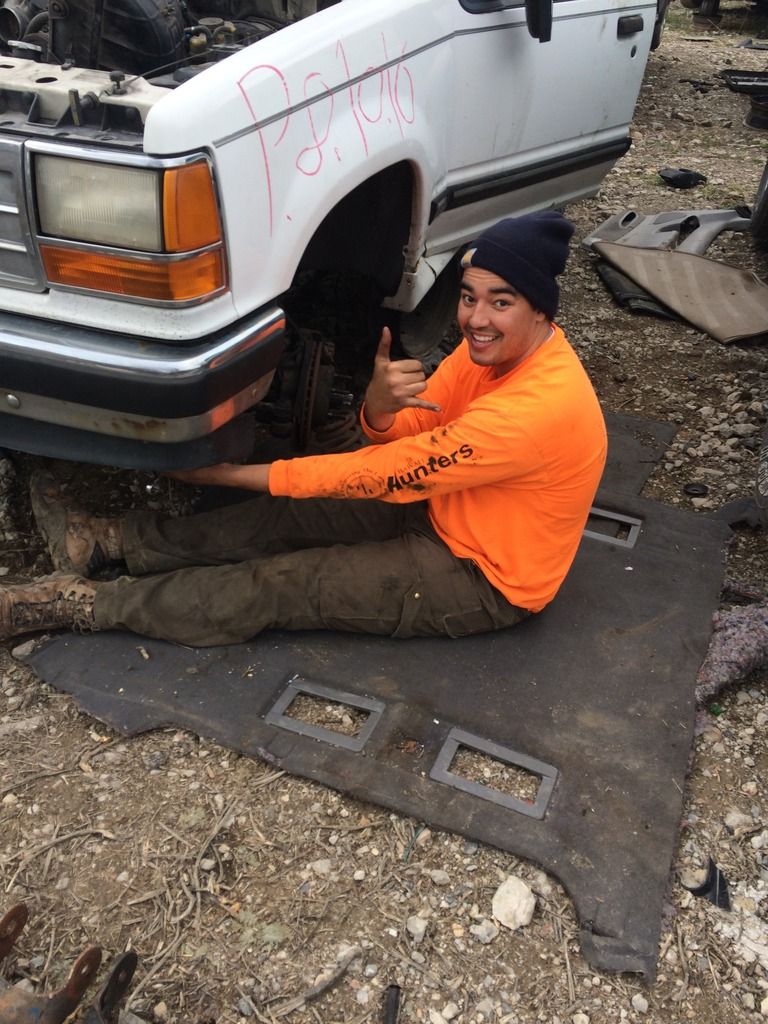
2 weekend back i was finally able to get the bronco back together and just did the simple upgrade of 95 chevy 2500 brake lines (info found in the tech station) i just ordered those off of amazon(pretty much the go to for almost everything), just make sure when you do that upgrade you notice the lip on each side. I had accidentaly put mine in backwards and couldnt figure out what was wrong

, it was also 12 at night and had to be on the road the next afternoon.
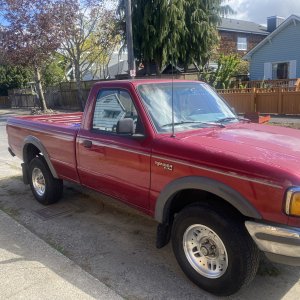
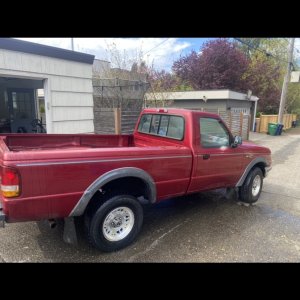
But after it all was together I packed it up and headed to SLC/OREM area to meet up with BlackBII to build some arms. The ride down was fun, had alot of rocking and just a bit wobbling with anything over 60mph.
The build took us 2 days a total of about 20 hrs with little breaks for food and alot of runs to the store for hardware and a hole saw.
Parts used:
5 foot 2"odx1.5"idx.25 (about $9.00 a foot)
1/4" steel plate (BlackBII had it already)
2 stock radius arms (JY paid $15 a piece)
Radius arm bushing ($20 from a local store)
Crap ton of grade 8 hardware (i dont want to know how much i spent)
Cutting wheels (HF came through for the win)
Plumbing pipe($5)
then various tools you will need or can get by.
Day 1
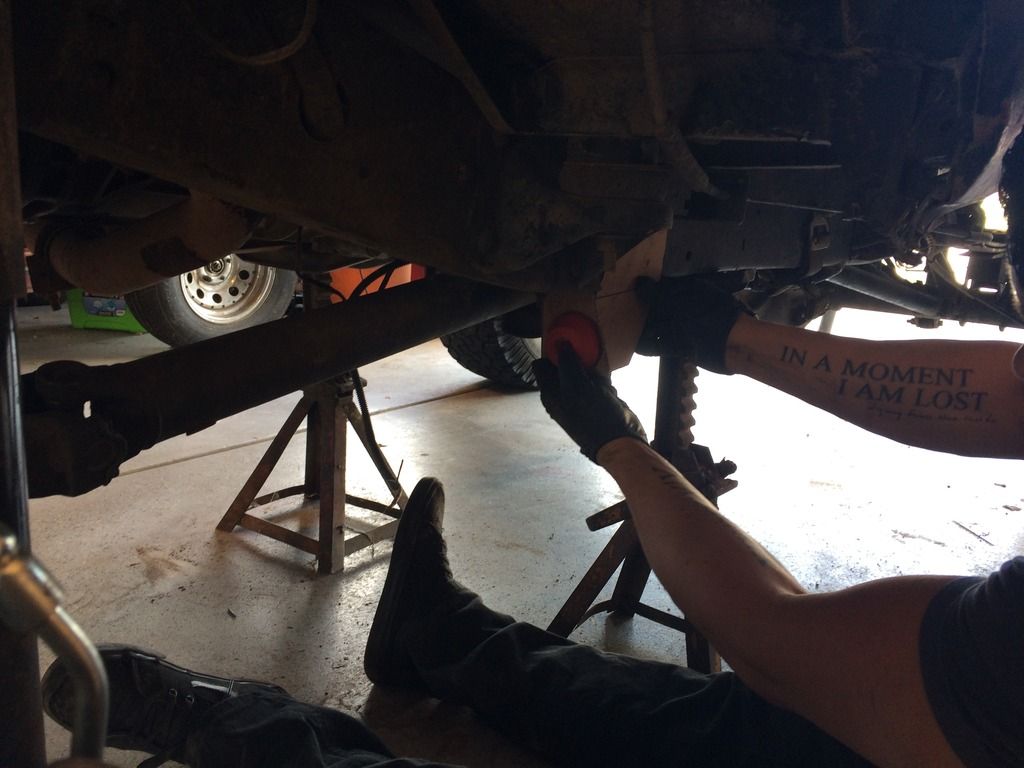
First we took the old arms off and just to make it easy and use the same locations.
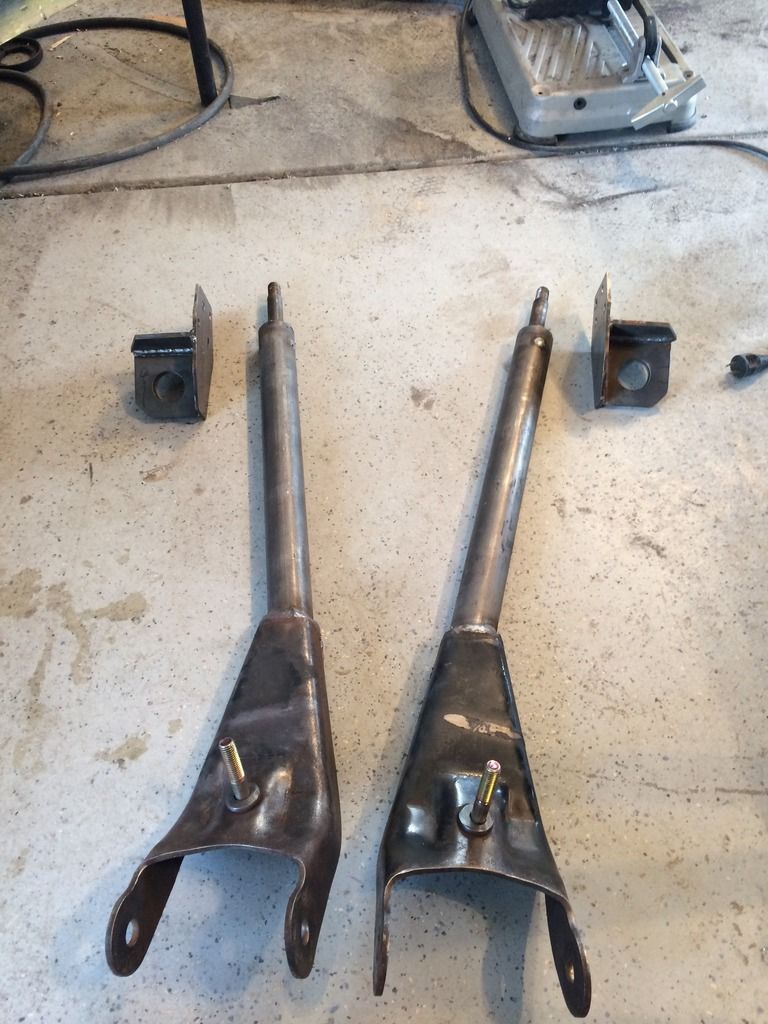
Then mocked up some brackets using cardboard and got to cutting. This whole process took us all of day 1 and here was the end result.
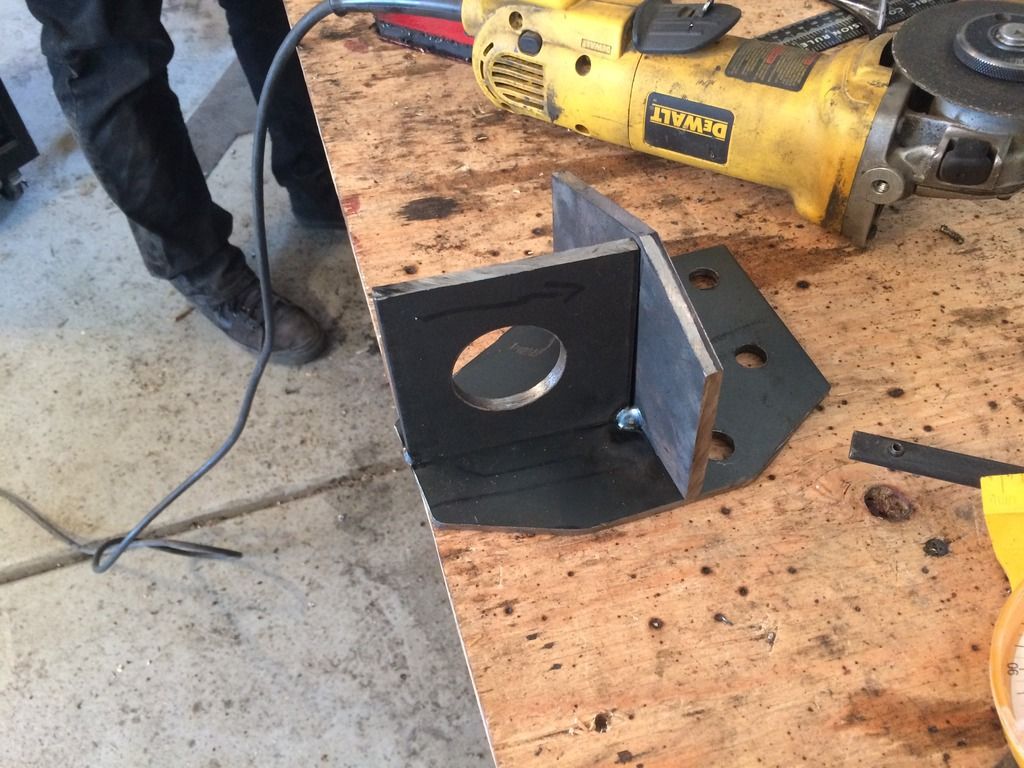
To get the angles we needed, we just put the axle at stock height and followed the angle of the drive line. If i remember right it was like 6 degrees. To cut the hole for the arm we used a 1 5/8" hole saw from lowes(cause home depot didnt have it). Something we also did was used a small portion of galvanized plumbing pipe(dont remember the size) to make a washer or spacer type thing on the back of the bracket so that there was no space in the bushing.
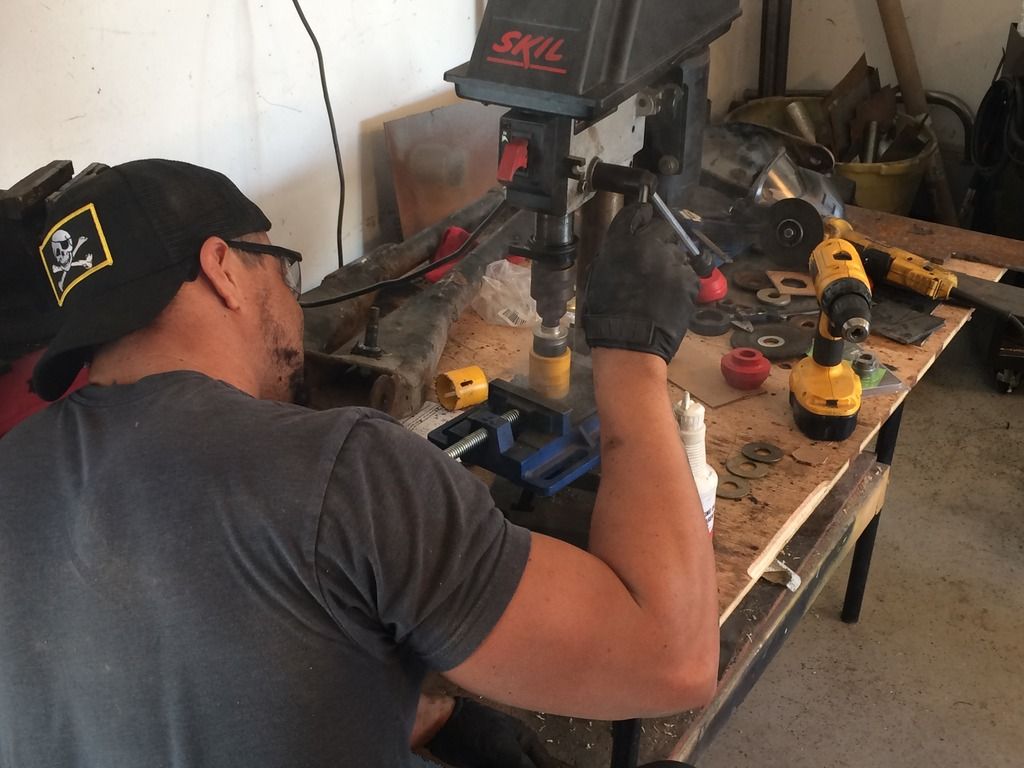
Here is Dante doing his thing on the drill press
Day 2
Day 2 was alot faster because we already had our angles and design laid out so it was a piece of cake to throw another bracket together and build the actual arms.
So first thing we did was cut and build another bracket.
Then came the arms themselves. First i measured and cut the rod end off. Then i cut the arms right where the the tubing fit nice and tight. From there we installed the cut up radius arms to the axle and measured how much tubing we would need.
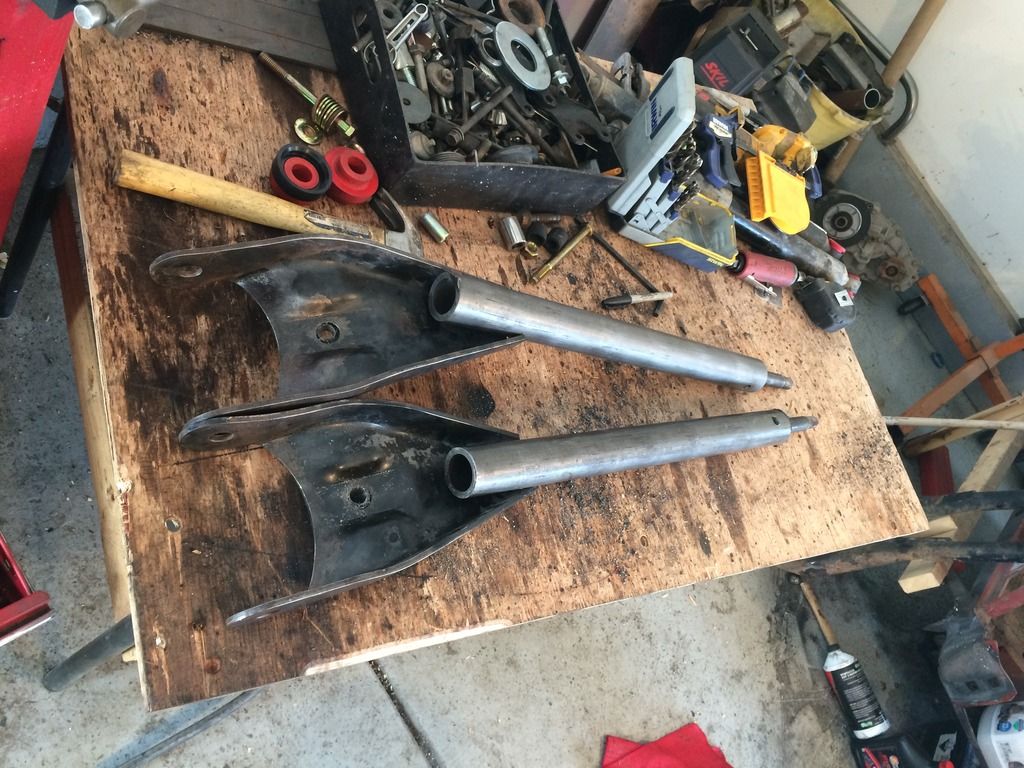
Once we got that length the tubing was cut it was tacked into place and everything was fully welded up. BlackBII did all the welding.
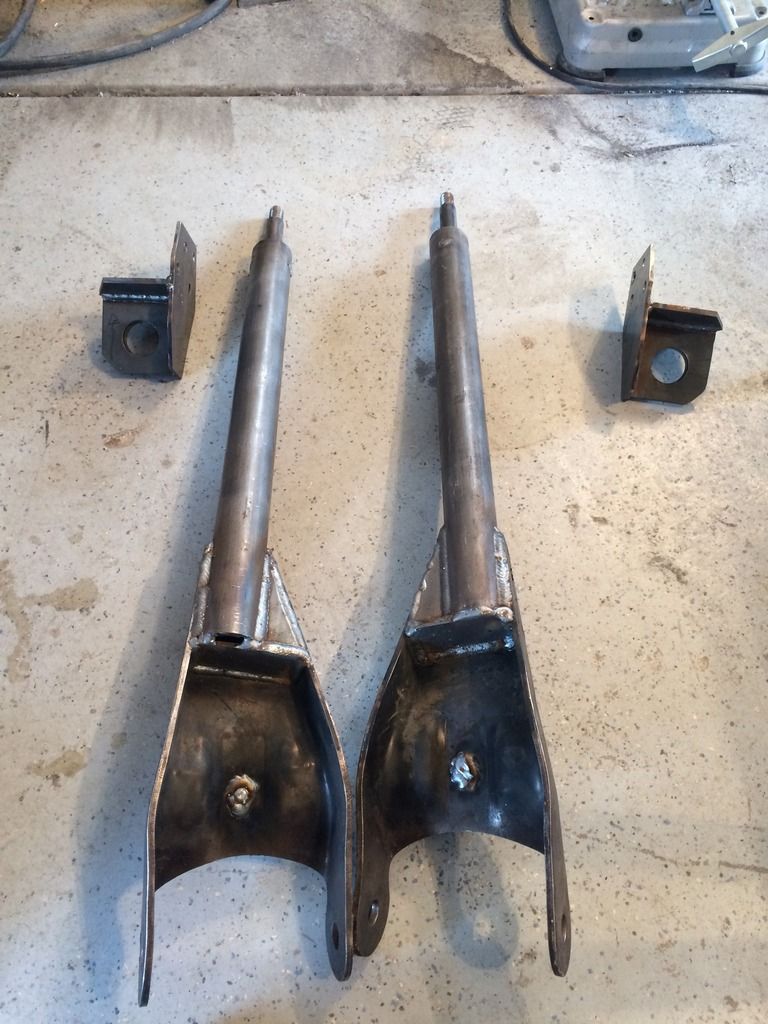
Here is the end results. Sorry i didnt take more pics of the entire process.
Here is what they look like primed and installed:
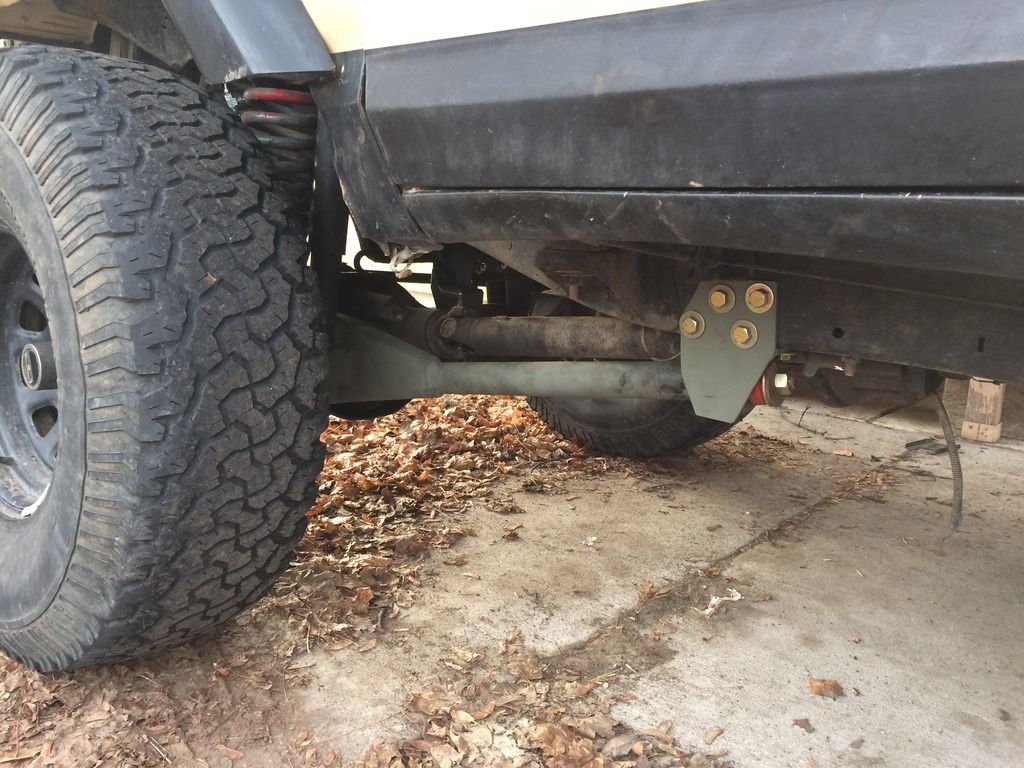
They area gonna be painted black when i get my powersteering all fixed up and the front third member re sealed.
The drive home i can say was 100 times better than the drive down. I had no more rocking, without realizing it i would be at 70 mph and no problems at all. I have not been able to tell a major difference flex wise from the hiems to bushing. But if i was to recommended this upgrade to anyone i would say bushing for the win.
THINGS I WOULD HAVE DONE DIFFERENT:
1 thing to note is Do not weld grade 8 bolts it will make them brittle.
If not for the doubler I would have tied the arms into the transmission cross member.
Make sure when measuring the length needed the axle is in proper location. we had to do some grinding in the end.
hope this helps for those who are wanting to extend there radius arms. I apologize for the vagueness of some areas if you need some more details or pics just ask and I can snap some up for you.