Just creating this thread to document me replacing my rocker arms and push rods on my 1993 Ranger 4.0 OHV. Just in case it proves helpful for someone looking to do the same.
The reason I am doing this is because the engine has a loud ticking noice. I tried a tune up and multiple rounds of seafoam (crank case, intake, and fuel tank), with minimal results.
My research suggested it may be a lifter tick. But when a stethoscope was applied, the tick seemed to be coming from all over. Another thread suggested the tick may actually be coming from worn push rods or rocker arms. This is a much easier fix because I don't have to take the cylinder head off (compared to doing the lifters) and also that there aren't many good replacement lifters versus the OEM already in the engine.
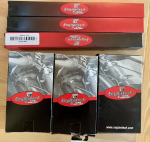
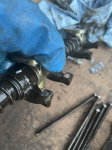
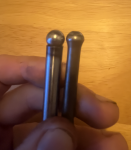
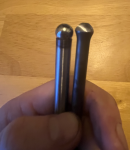
So, to address the tick, I'll be replacing all of the rocker arms and pushrods. I purchased replacements from rockauto, and will compare them against what I'm taking out.
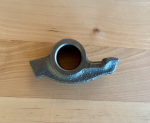
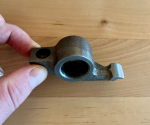
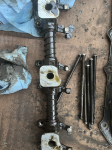
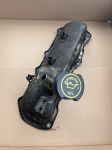
Seems like I'll just need to take off some things to access the valve covers. Take those off. Remove rocker assembly. Then follow this video for rocker arm replacement:
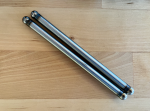
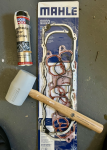
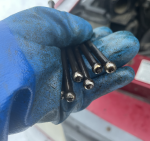
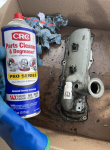
It seems that the pushrods should just slide out. Then slide in replacements, making sure it sits comfortably in rod cup. Applying assembly lube (in my case, permatex ultra slick) and appropriate torque. I'll also be replacing the valve cover gasket while I'm at it.
I think before I begin I'll need to drain the coolant and the oil? I am doing this replacement in winter temperatures that may get below freezing. Is it okay to drain the coolant in potentially freezing temperatures, complete this project (may take a couple weeks in total if I need to order something unexpected), and then refill with 50/50? That's the only part I'm still unsure of. Thanks! I'll attach pictures and work documentation once I begin.
The reason I am doing this is because the engine has a loud ticking noice. I tried a tune up and multiple rounds of seafoam (crank case, intake, and fuel tank), with minimal results.
My research suggested it may be a lifter tick. But when a stethoscope was applied, the tick seemed to be coming from all over. Another thread suggested the tick may actually be coming from worn push rods or rocker arms. This is a much easier fix because I don't have to take the cylinder head off (compared to doing the lifters) and also that there aren't many good replacement lifters versus the OEM already in the engine.
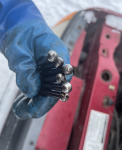
So, to address the tick, I'll be replacing all of the rocker arms and pushrods. I purchased replacements from rockauto, and will compare them against what I'm taking out.
Seems like I'll just need to take off some things to access the valve covers. Take those off. Remove rocker assembly. Then follow this video for rocker arm replacement:
It seems that the pushrods should just slide out. Then slide in replacements, making sure it sits comfortably in rod cup. Applying assembly lube (in my case, permatex ultra slick) and appropriate torque. I'll also be replacing the valve cover gasket while I'm at it.
I think before I begin I'll need to drain the coolant and the oil? I am doing this replacement in winter temperatures that may get below freezing. Is it okay to drain the coolant in potentially freezing temperatures, complete this project (may take a couple weeks in total if I need to order something unexpected), and then refill with 50/50? That's the only part I'm still unsure of. Thanks! I'll attach pictures and work documentation once I begin.