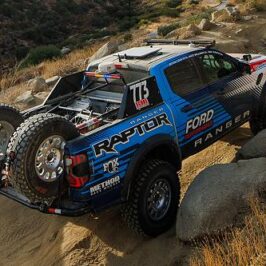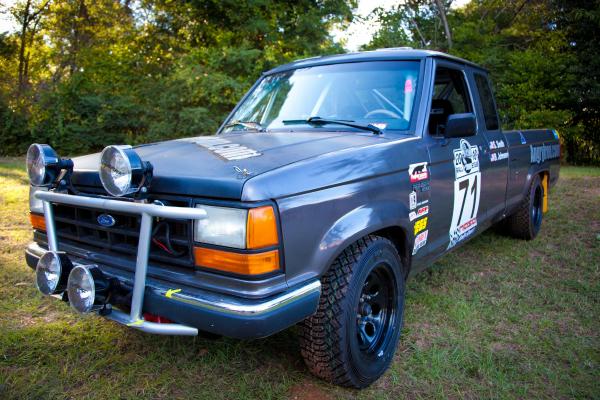
On 05/28/2009 forum member Angry Iron started a build thread on their rally Ranger. I recently followed up to see what had ever become of the rally Ranger.
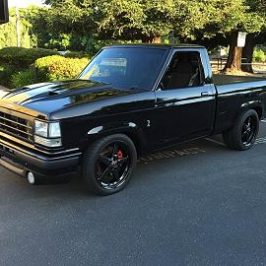
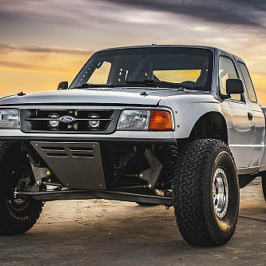
The 1990 Ford Ranger Crew Cab was chosen and will provide ample space while remaining light weight and versatile. The truck was chosen because the parts are cheap, durable and easy to find with the truck being built for so many years without major changes. The Ranger also has fairly good aftermarket support with some performance parts to be had. It is Angry Irons intentions to evolve the truck into a rally championship winning vehicle over the next couple of seasons.
The truck was in pretty good condition and the steering and suspension were tight. At a cost of $250.00, they really couldn’t go wrong. The engine was seized so that was the primary reason for the great price.
They stripped the truck down to the bare interior and then removed the bed and body from the chassis.
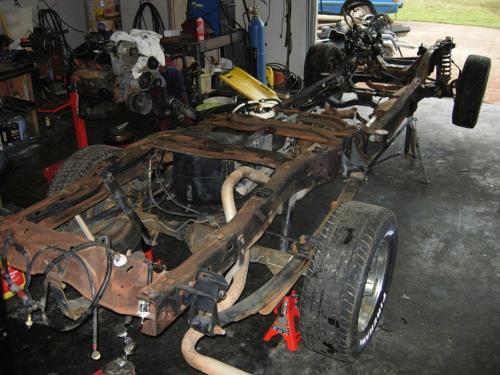
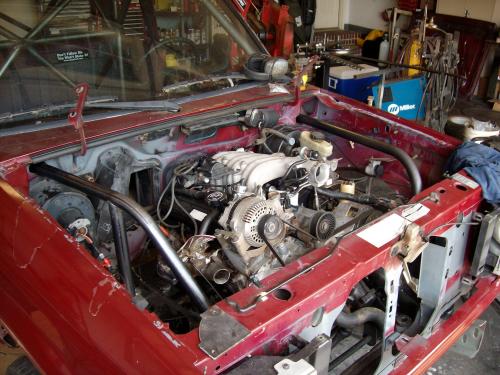
They removed the dead 2.9L engine and transmission and replaced it with the 3.0L and manual 5-speed from a 1993 Ranger.
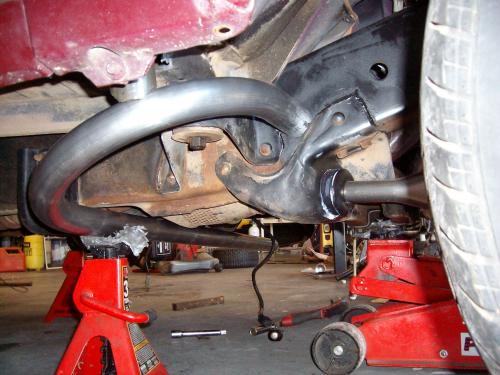
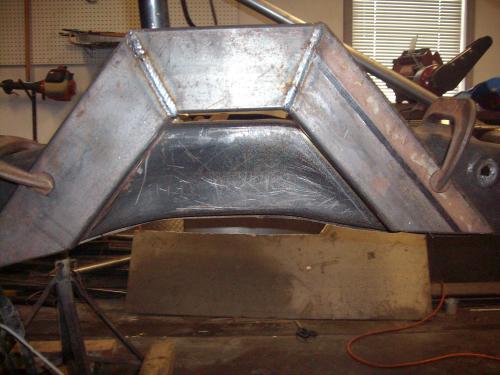
The Front radius arms from the factory are stamped steel so all of the tabs had 3/16 plate added to the outer surfaces. The shock mount received a backup plate with the stud welded to the plate. Then they added a full web to the open part of the arm allowing clearance for the ”I” beam. You can see a couple of the steps taken in the first two shots to strengthen the web:
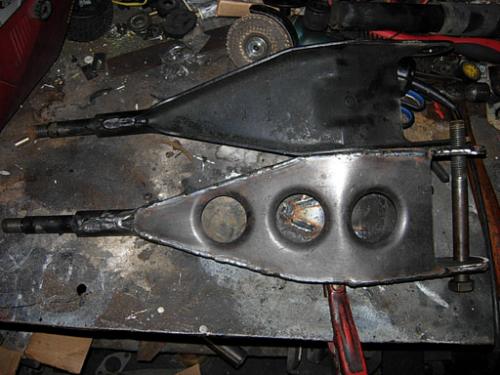
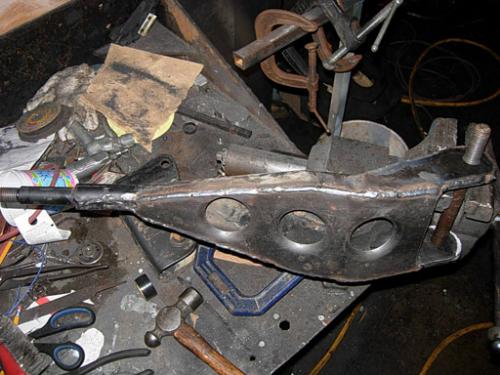
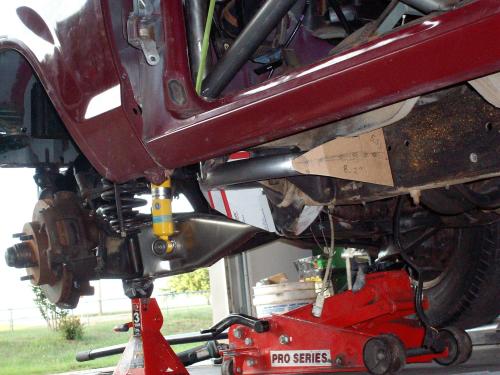
Next, they added reinforcement plates to both of the front shock/spring perches. They will eventually be tied into the cage using some tubing.
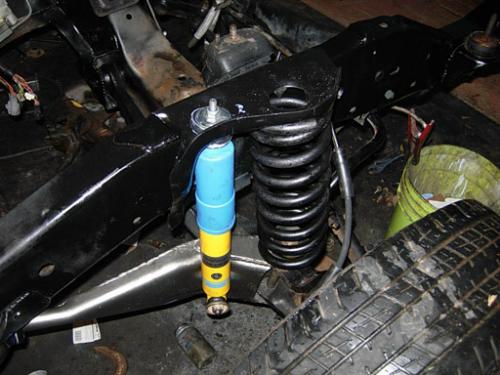
Before reinstalling the Beams and radius arms, they replace all of the factory original bushings with superior urethane units from Energy Suspension.
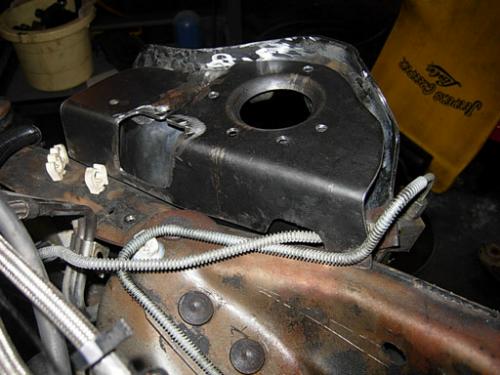
The new donor engine had a major oil leak that required the intake to come off. While they had the top of the motor off, they took the opportunity to do a little port matching work on the upper and lower intake. They also half shafted the throttle body and knife edged the forward end of the intake to promote easier air flow into the engine.
Since they were bolting the 3.0L in place of the 2.9L, they had to relocate the engine mounts by removing them and then just re-bolting them into the next set of holes on the engine supporting cross member.

The fuel lines also needed to be brought over from the 1994 Ranger XLT. At this point it is essential that you have a set of quick disconnect tools. We purchased a nice complete set at Autozone for just over $20.00 bucks.
The power steering lines were also taken so everything would line up just right.
The complete 3.0L wiring harness was removed from the donor for easy hook up of the computer.
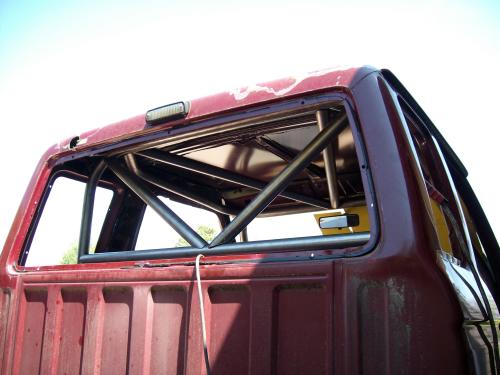
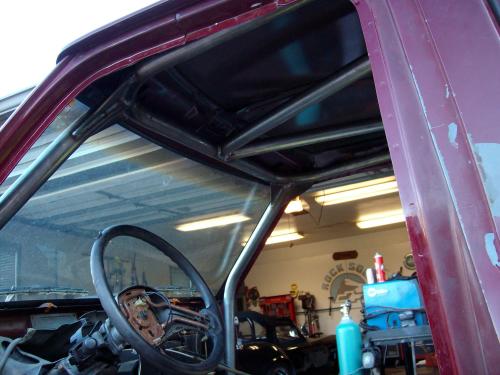
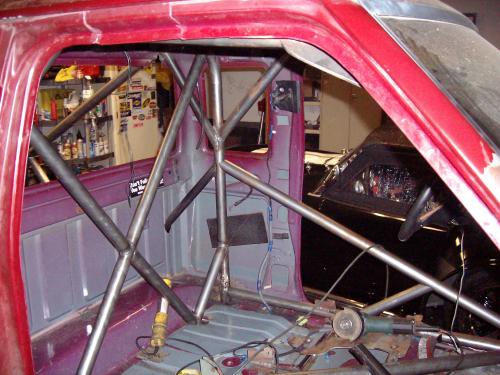
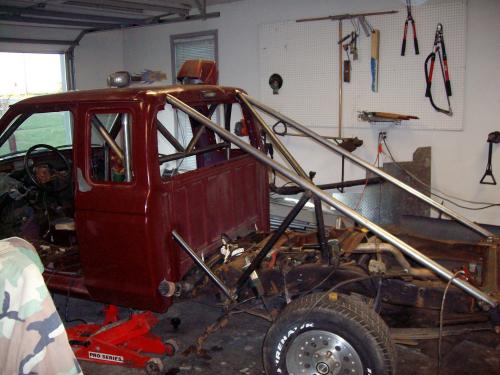
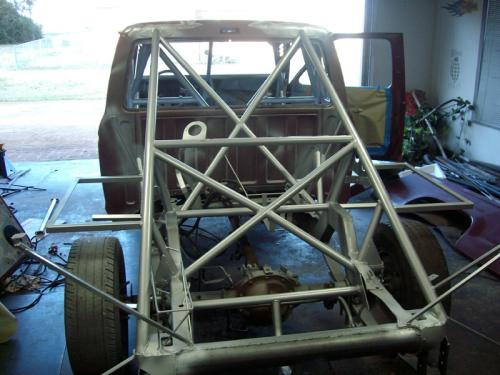
Next came the roll cage.
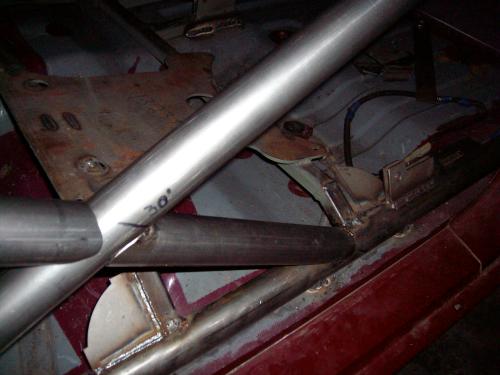
The roll cage was built from 1-3/4 inch DOM tubing of the .120 and .095 wall varieties as required, with smaller supplemental tubing where not required by the rule books.
They built the primary structure of the cage before dropping it through the holes previously cut in the floor. This allowed full access to the top of the joints of the cage to be welded.
The Cage is tied into the frame of the truck using more .120 wall tubing bent into a 180 deg. Simi-circle then welded into place.
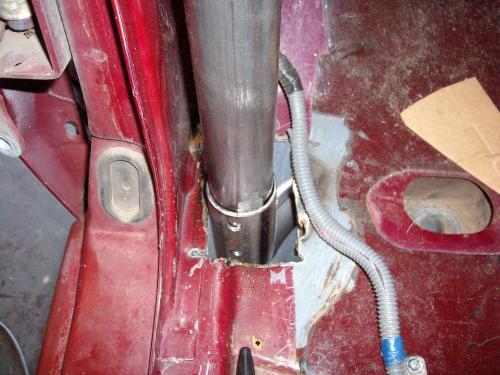

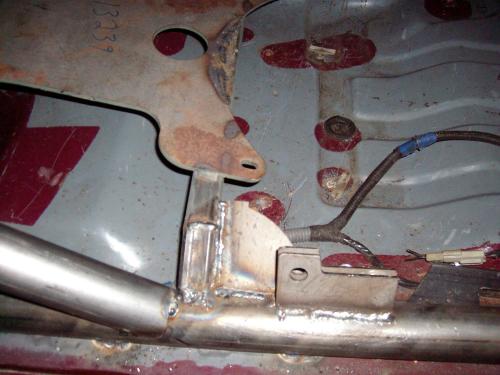
Mocking up the gussets for the driver’s side frame mount. With the Ranger’s frame running below the driver’s foot, there is little to no way to get a tube directly to the frame in a vertical direction.
The cardboard template was replaced with 3/16″ steel.

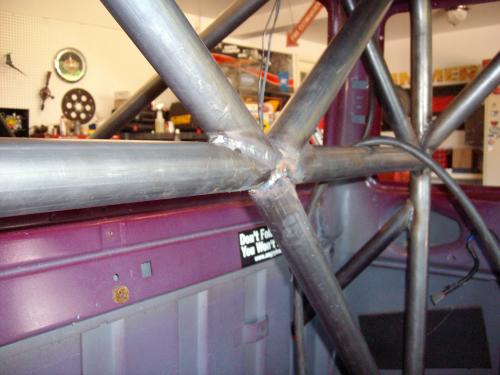
Above you can see the gussets beefing up the vertical load handling for the Ranger’s roll cage.
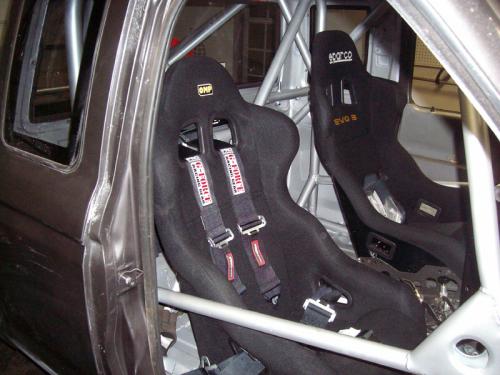
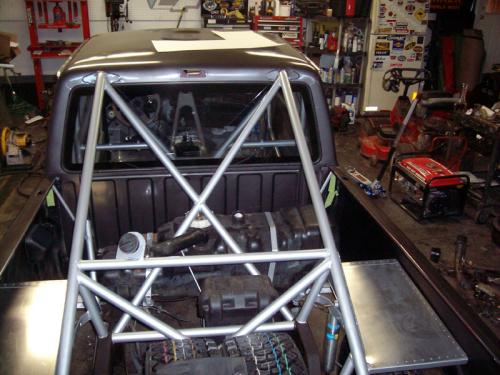
The Roll cage fabrication continues with the seat support system. We also fabricated and located the mount tabs for the racing harnesses.
Once the seat support was completed with gussets and tabs for the safety harness installation, I moved on to the forward brace tubing going into the engine compartment. We will be coming back to these later. I need to get them into place while I still had access to weld them all the way around. Once the Door bars are in there will be very limited access for the welder.
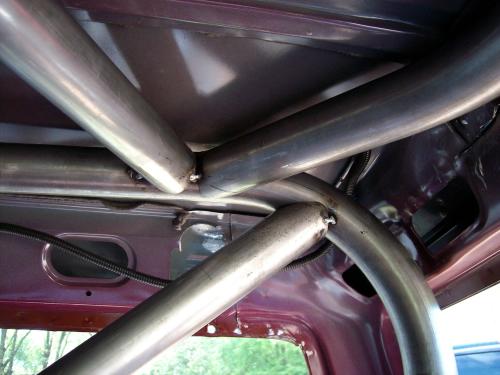
Another shot of the gussets on the seat support where it ties into the roll cage.
This picture shows the drive and co-drivers center Harness mount points. You can see I also stitch welded them to the floor for added rigidity.
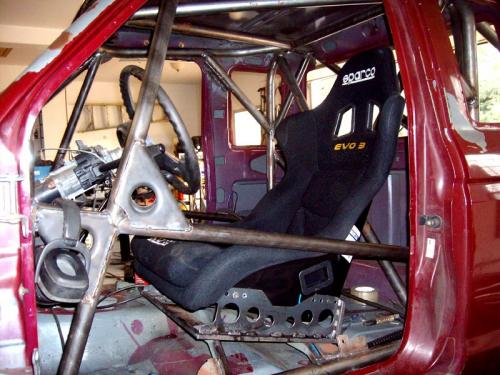
Check out those gussets in the cage (Above).
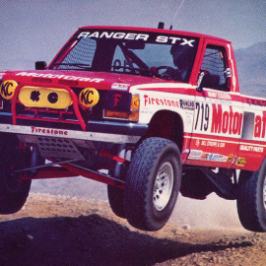
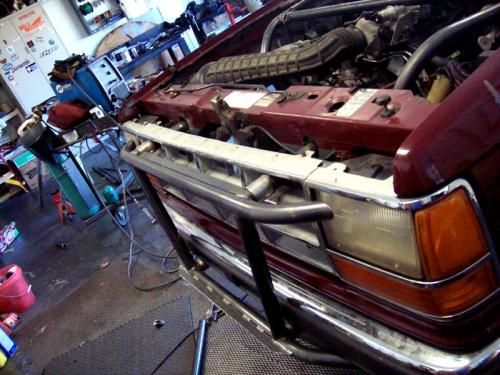
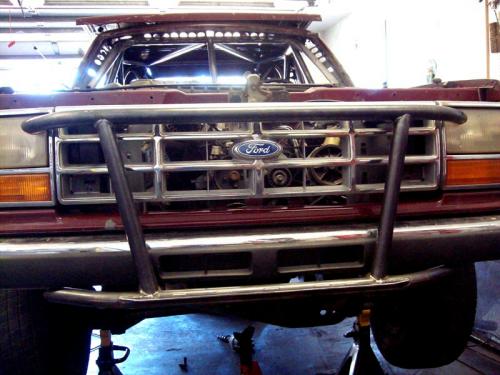
There is a cage in the engine compartment as well. It will brace the front spring/shock mounts and have tubes that extend out to the front for a light bar attachment.
Above you can see the holes cut in the core support for the front light bar. Below you can see where the bars come through the grill and connect.
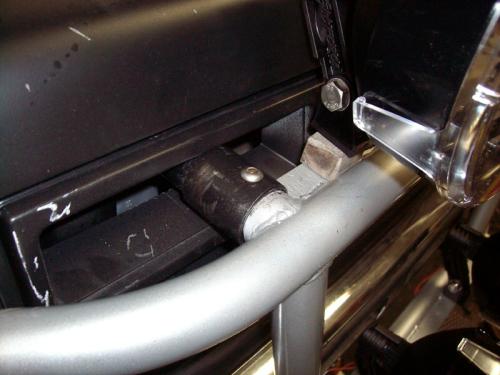
The front light bar disconnect is better seen above.
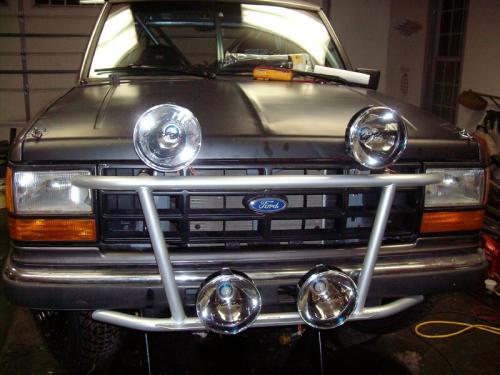
Front lightbar complete. The lights are from Lightforce and use a weather pack connector so they can be unplugged for removal.
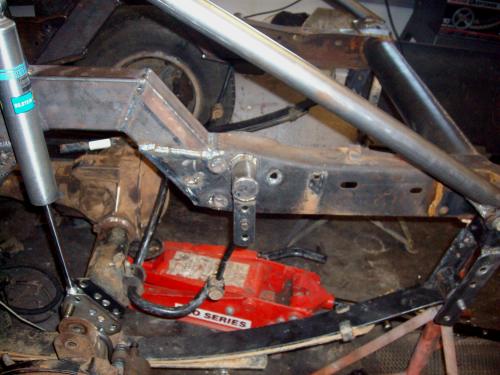
When Adding the Ford 8.8 rear end acquired from Avante Salvage we decided to install it spring under. This will cut down on axle wrap while lowering the back end for better cornering. This creates the problem of dramatically limiting rear suspension travel in the upward direction, so we took a lesson from the Low-riders out there. C-notching the Frame on our Ranger gave us more than enough space even for longer travel in the future.
The rear bed was removed to save weight. Just the metal bed sides were retained.
Above you can see all the cage work in the bed area.
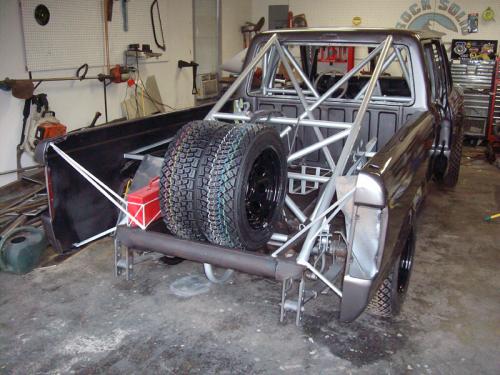
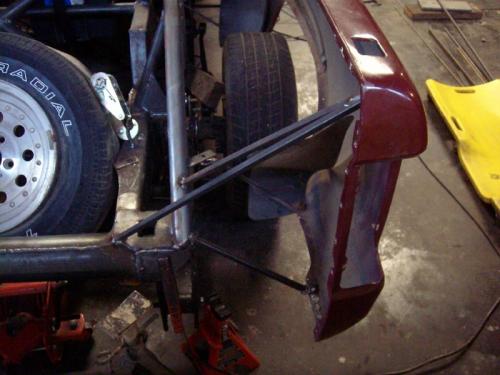
Note the use of the factory gas tank in the cage and the lightweight aluminum fender wells.

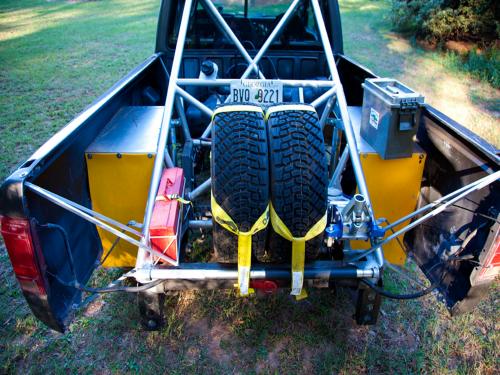
The spare tires are held down with S-Line car trailer tie downs.
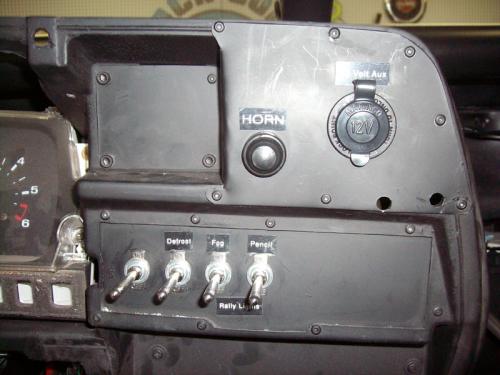
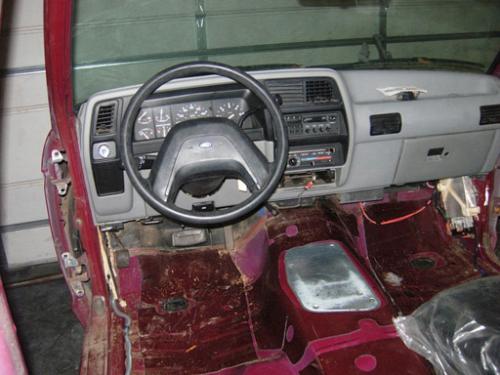
This is how the auxiliary switches are configured on the dash. Added a 12-volt Aux outlet in case the Co-driver needs to charge his phone.
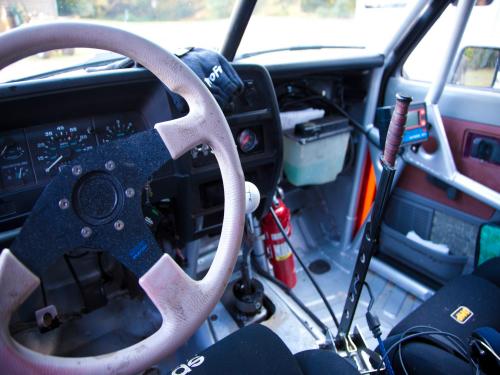
A shot of the interior. You can see where the wiper fluid reservoir was moved into the passenger compartment. You can also see the Rally computer, fire extinguisher, and huge brake handle sticking up.
Peltor intercom installed within easy reach of driver and co-driver while strapped in.
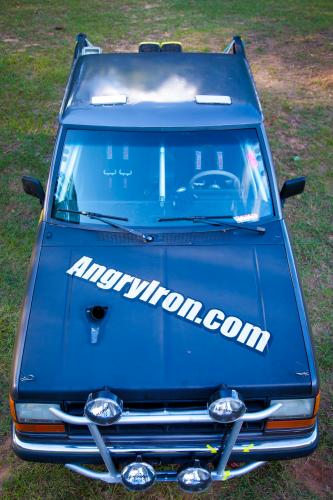
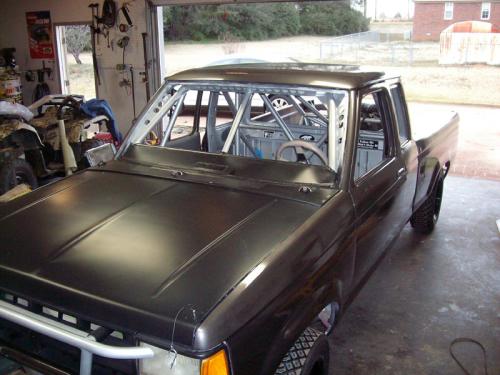
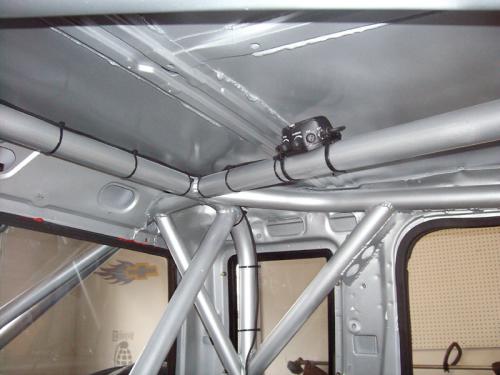
Note the air inlet for the engine in the hood and the vents in the roof for the occupants.
About The Author
Jim Oaks is the founder of TheRangerStation.com, the longest-running Ford Ranger resource online since 1999. With over 25 years of hands-on experience building and modifying Ford Rangers — including magazine-featured builds like Project Transformer — Jim has become one of the most trusted authorities in the Ford Ranger off-road and enthusiast space.
Since launching TheRangerStation.com, Jim has documented thousands of real-world Ranger builds, technical repairs, drivetrain swaps, suspension modifications, and off-road adventures contributed by owners worldwide. TheRangerStation.com has been referenced in print, video and online by enthusiasts, mechanics, and off-road builders looking for practical, and experience-based information.