- Joined
- May 13, 2009
- Messages
- 3,088
- Points
- 3,101
- Age
- 35
- City
- lisle ontario
- Vehicle Year
- 19961991
- Transmission
- Automatic
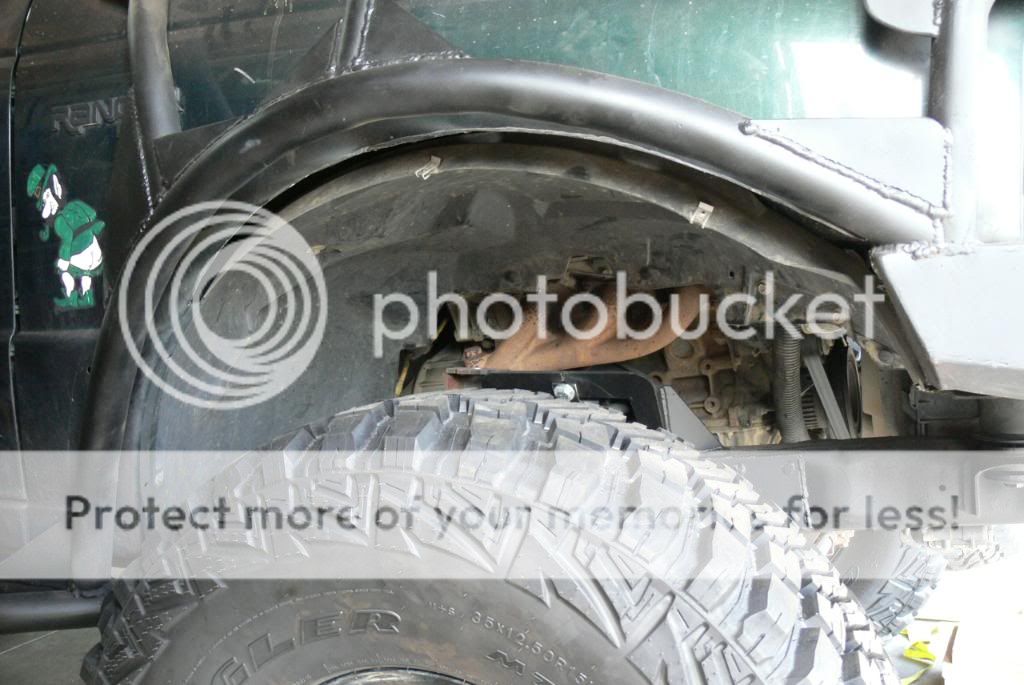
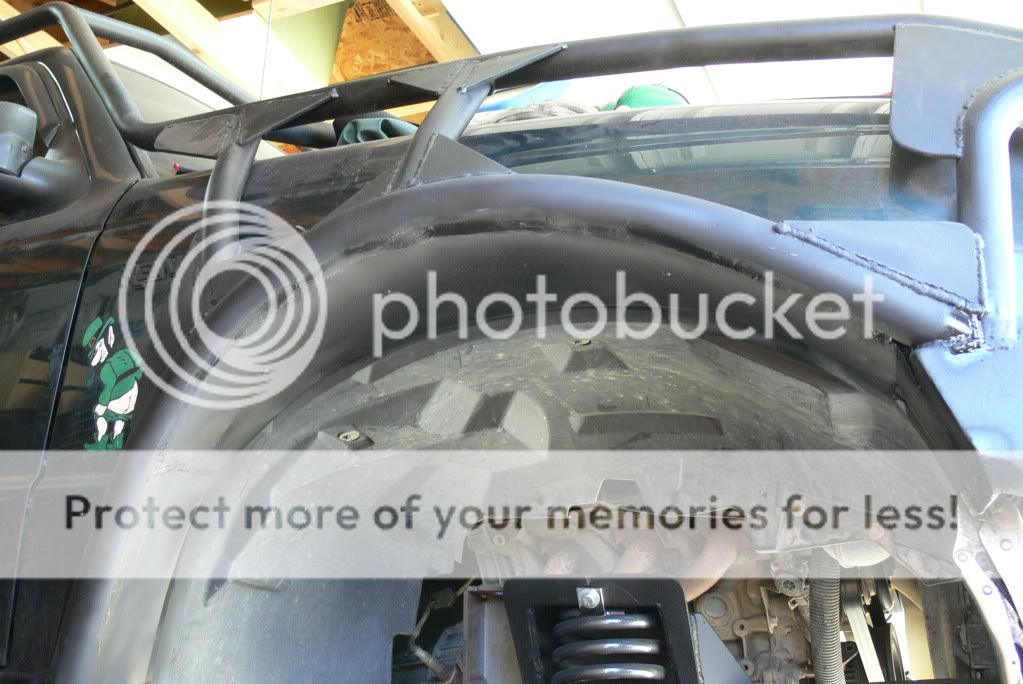
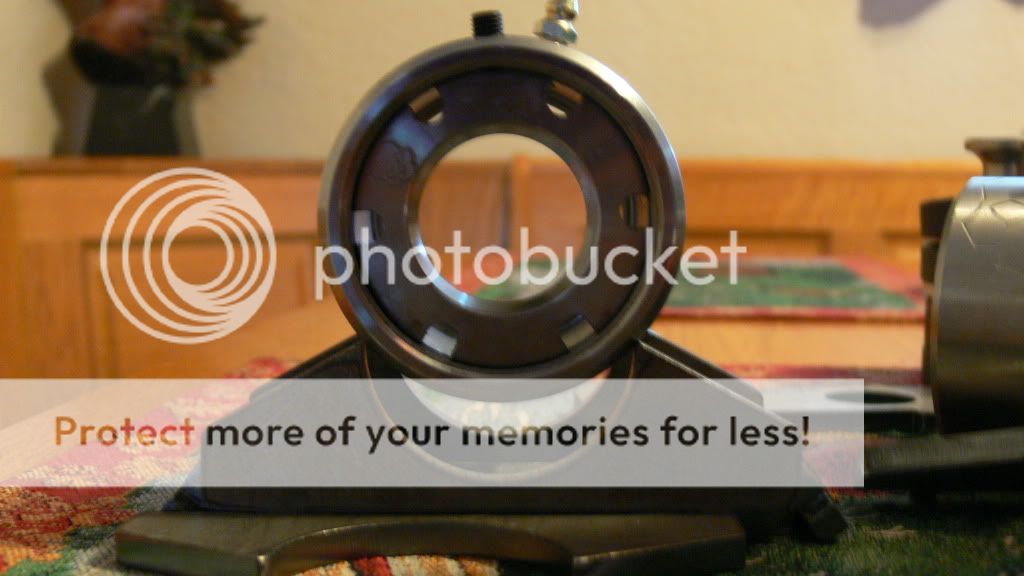
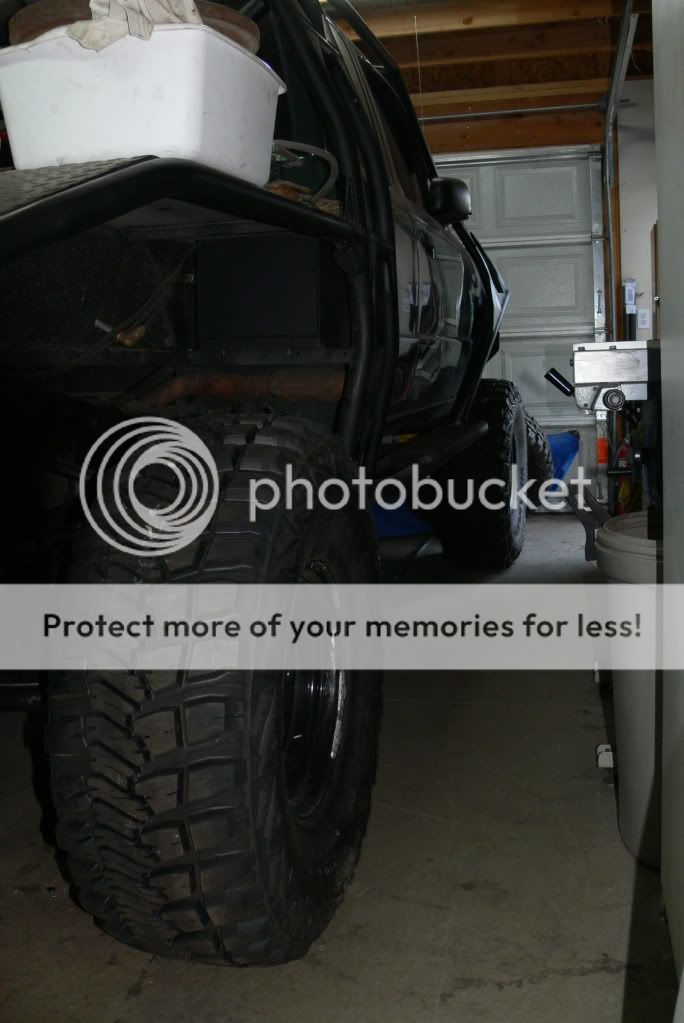
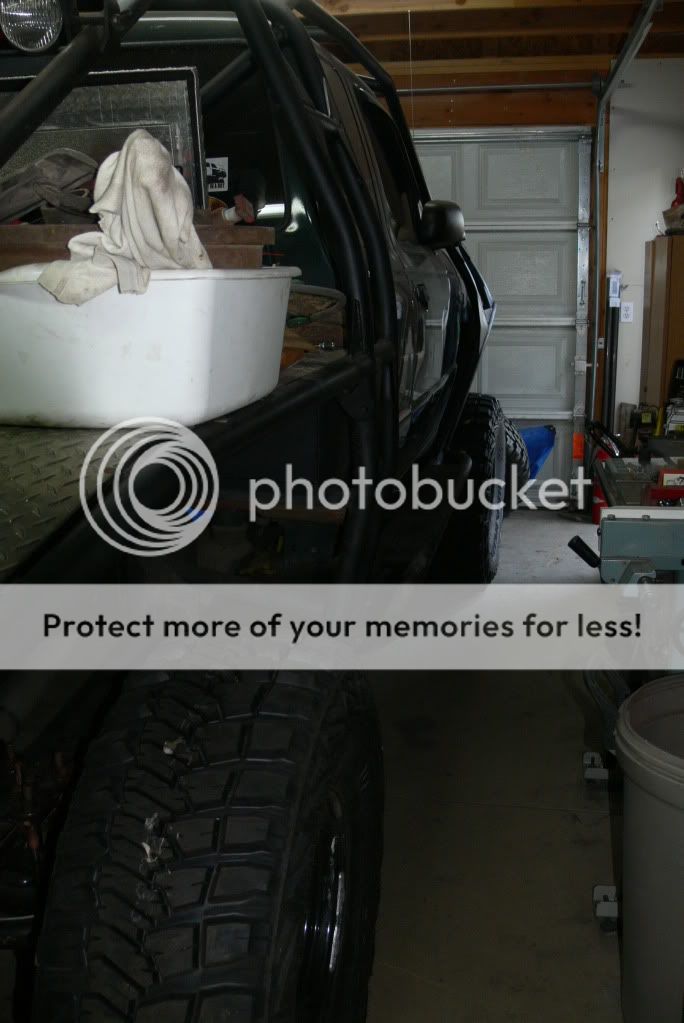
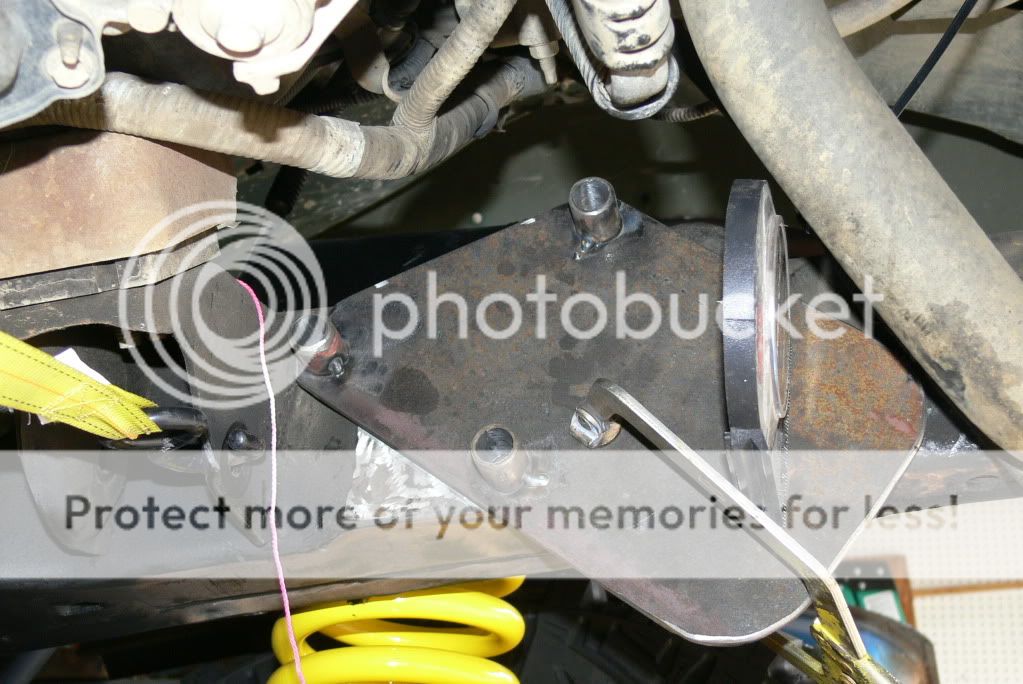
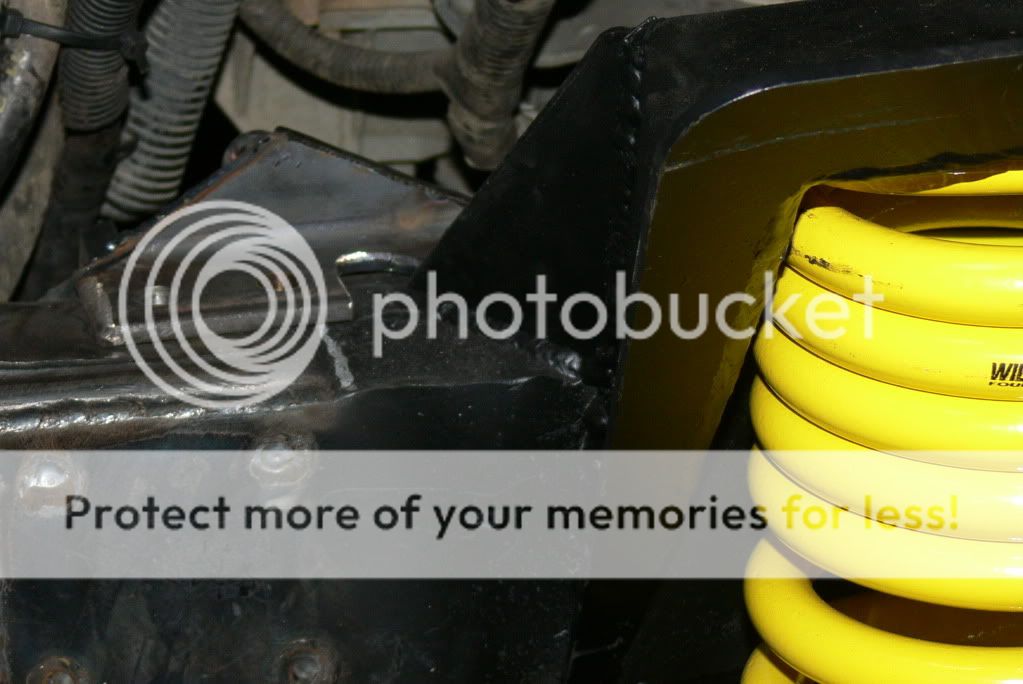
this thing looks awsome

![]() Welcome Visitor! Please take a few seconds and Register
for our forum. Even if you don't want to post, you can still 'Like' and react to posts.
Welcome Visitor! Please take a few seconds and Register
for our forum. Even if you don't want to post, you can still 'Like' and react to posts. ![]()
Become a Supporting Member:
![]()
Or a Supporting Vendor:
![]()