
Introduction
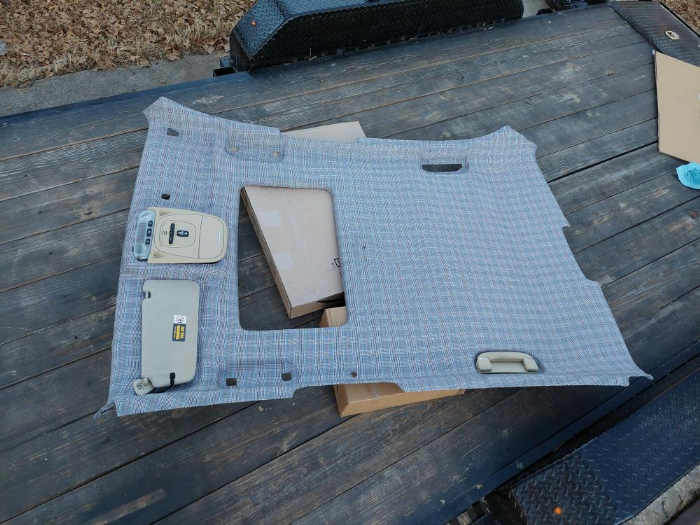
Alright, so I’ve been seeing talk of people redoing their headliners in suede but not too much actual information on how to do it or what products to use. So here is how to correctly recover your headliner in suede. The headliner comes out very easy, remove all the trim around it and the grab handles, light, visors etc as well as a little plastic push pin on each side.
Difficulty: 3 out of 10
Time to install: 2 hours (including headliner removal/reinstallation)
Disclaimer: The Ranger Station.com, The Ranger Station.com Staff, nor the original poster are responsible for you doing this modification to your vehicle. By doing this modification and following this how-to you, the installer, take full responsibility if anything is damaged or messed up. If you have questions, feel free to PM the original poster or ask in the appropriate section of The Ranger Station.com forums.
Tools Needed:
Phillips head screwdriver
Razor blade
Scissors
Trim removal tool
Parts Needed:
Foam backed suede headliner
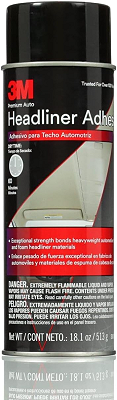
Spray adhesive

The first thing we need is materials. I can’t stress enough how important it is to you QUALITY material. There is a lot of spray adhesives out there that won’t hold the headliner in place, and it will sag. I recommend buying everything from Your Auto Trim Store . They carry special glue which is made for this and is much better quality than any others I have used before. The material is also made specific for headliner use. It is a foam backed suede, so it looks better and is much easier to use than non-foam backed. It feels great and the charcoal matches my interior perfect. I ordered 3 yards to have a little extra for some other parts as well.

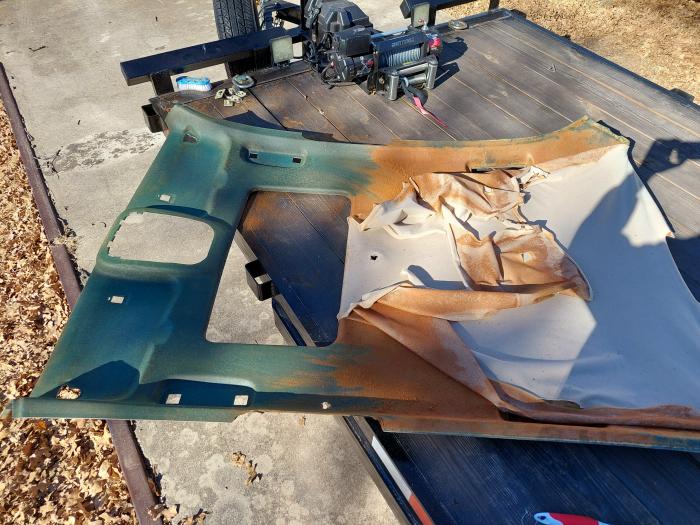
Now position the headliner somewhere that you will have room to work and where glue overspray won’t be an issue. You will notice that I didn’t remove my old headliner material. It was in good shape and not separating at all, if yours is separating or messed up you will need to fully remove all of it.

Next, we need to lay the suede over the headliner to figure out how much is needed. Be sure to press the suede down so it is touching the headliner and then give yourself a good 6-8″ around the edges.

Some people like to do the entire headliner at once, but this can be a lot harder. Personally, I like to do it in two halves. So, fold half of your headliner back.

Now begin spraying the glue. You need to spray both halves and then let them setup for 2 minutes before you apply them to each other. If you don’t let it setup it will separate. The glue cans have an adjustable spray amount as well; I found this very cool and used the widest setting.

Press it down and then repeat on the other side. You want to work from the center out. If you get any wrinkles peel the suede up, pull and stretch it tight, then restick it. I had a couple and doing that made them go away.

Now carefully flip the headliner over. Then you want to trim the excess down to about 2-3″ and glue it to the backside of the headliner. You will need to make some relief slits in the corners and other bended areas. Also, cutout any openings, I used an Exacto knife to do it.

Headliner is complete! Now reinstall and enjoy. If you choose to change your headliners color, I recommend using SEM brand interior trim paint to make the grab handles and other items match.
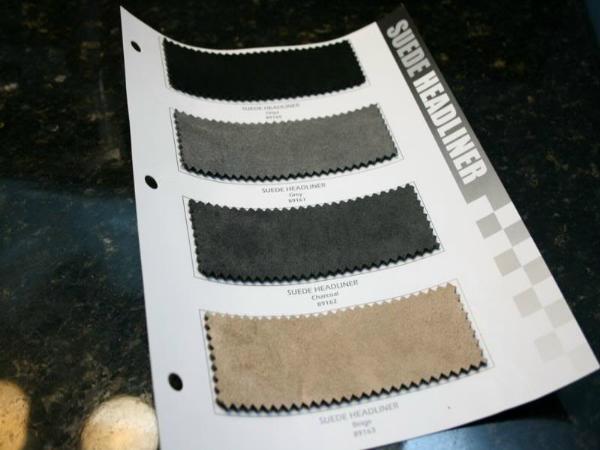
As you can see, they offer the headliner in four colors. I chose “charcoal” for mine since I wanted to match my stock charcoal interior.
Here is the link to the suede headliner material:
Suede Headliner (Foam Backed)
And the spray adhesive:
Performance Hi-Temp Trim Spray Adhesive
Preparation
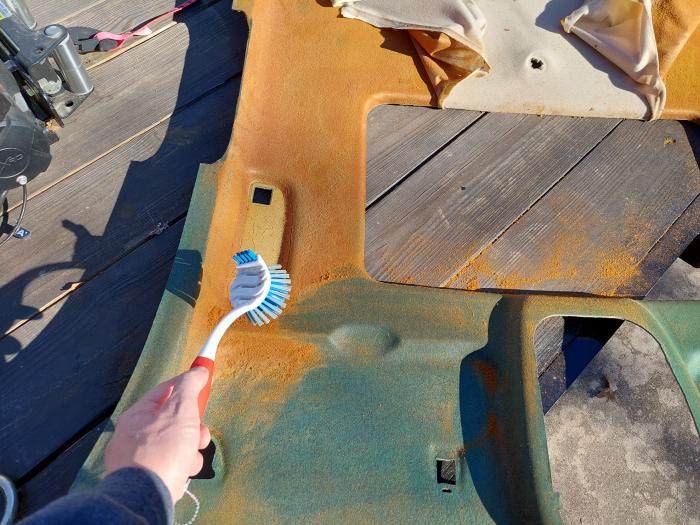
Sometimes when you remove an old headliner it leaves a foam type mess behind. Take a stiff brush and brush it off. Just be careful that you don’t use too much pressure and damage the backing. You may also have to repair the backing if it’s cracked. I’ve applied Gorilla tape on the back side (roof side) of a headliner backing to hold it in pace before covering it.
Adhesive & Headliner Material
When I recover a headliner, I usually use 3M Headliner Adhesive.
And for the headliner I go to a craft store such as Hobby Lobby. Hobby Lobby stocks headliner material in black, gray, and beige.
When I recovered the headliner in my Jaguar I couldn’t find the right color of beige to match, and I didn’t want it to be close and look like I failed to properly match it, so I went completely off the rails and used a ‘Houndstooth’ pattern like you would find in a men’s British suite. I had even considered a Jaguar animal print. The point is, use your imagination and done be afraid to be creative.
Contributor
This modification was performed by forum member Korey89 who submitted this information to the author to publish it at The Ranger Station for other Ford Ranger owners to use.
Last Updated:
About The Author
Jim Oaks is the founder of TheRangerStation.com, the longest-running Ford Ranger resource online since 1999. With over 25 years of hands-on experience building and modifying Ford Rangers — including magazine-featured builds like Project Transformer — Jim has become one of the most trusted authorities in the Ford Ranger off-road and enthusiast space.
Since launching TheRangerStation.com, Jim has documented thousands of real-world Ranger builds, technical repairs, drivetrain swaps, suspension modifications, and off-road adventures contributed by owners worldwide. TheRangerStation.com has been referenced in print, video and online by enthusiasts, mechanics, and off-road builders looking for practical, and experience-based information.