
Original Poster: BRUTUS_T_HOG
Difficulty: 2 out of 10
Time to install: 30 MINUTES
Disclaimer: The Ranger Station.com, The Ranger Station.com Staff, nor the original poster are responsible for you doing this modification to your vehicle. By doing this modification and following this how-to you, the installer, take full responsibility if anything is damaged or messed up. If you have questions, feel free to PM the original poster or ask in the appropriate section of The Ranger Station.com forums.
Brief Explanation: With this guide you will learn how to replace a leaking pinion shaft seal on a front or rear axle.
This was done on a 2002 Ford Explorer 8.8 rear axle, the procedures are applicable to any RBV axle, and most others.
Tools Needed:
- Basic tools
- 12mm (12point) wrench or socket
- Large 2 jaw puller or steering wheel puller w/ long bolts
- Paint marker or scribe
- Impact gun(recommended)
- Hammer and chisel
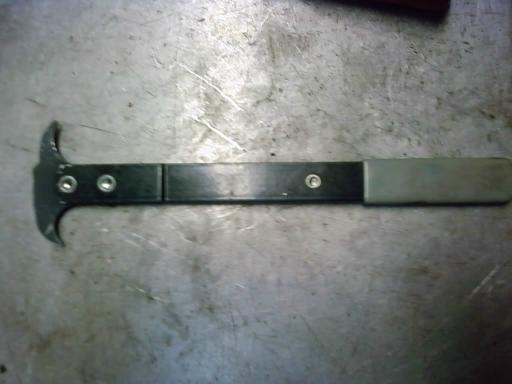
- Seal puller
- Seal drivers
- Shop towels, rags, ect.
- Drain pan
Parts Needed:
- (1) Pinion seal (get an extra one if you’ve never installed a lip seal before, you can always return the extra if you don’t need it)
- (1) Speedy sleeve (just in case, you can also return this)
- Gear oil, Trans/T-case fluid
- (1) can of Brake parts cleaner (recommended)
———————————————————
Step 1: Mark the driveshaft’s position in relation to the pinion flange, then remove the driveshaft using the 12mm wrench. You can use the parking brake or transmission to hold the shaft from turning. Its a good idea to have a pan underneath the transmission to catch any oil that spills out.
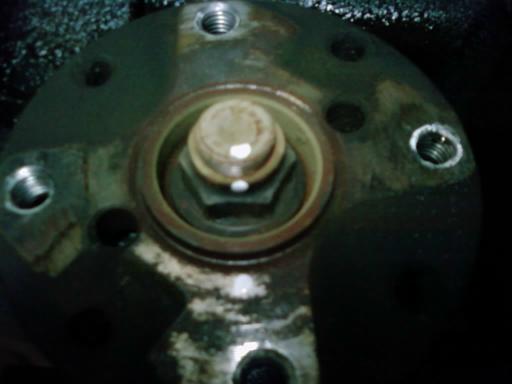
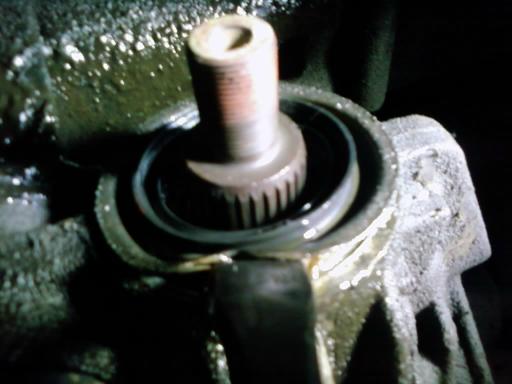
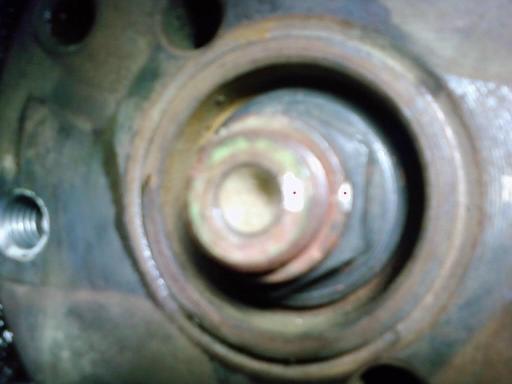
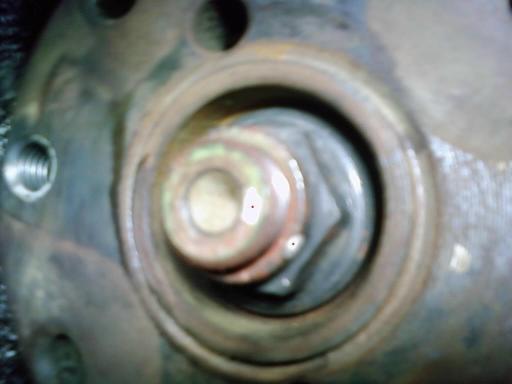
Step 2: Mark the pinion shaft, nut, and flange in relation to each other to reinstall in the same position. Then remove the pinion nut.
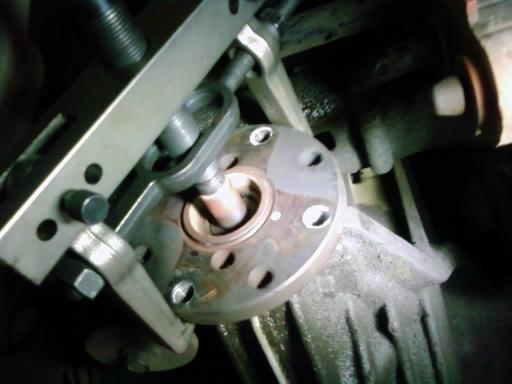
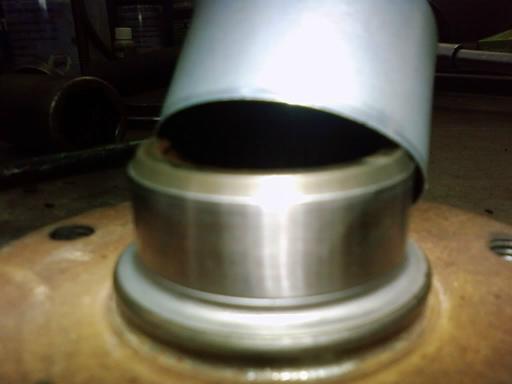
Step 3: Use the puller to remove the flange from the pinion shaft, its very important to have a tapered end when pushing on the pinion shaft or the threads will be mushroomed.
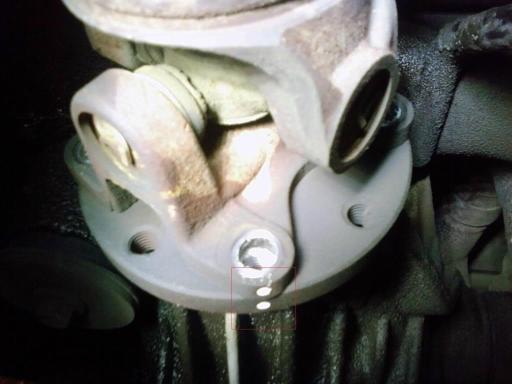
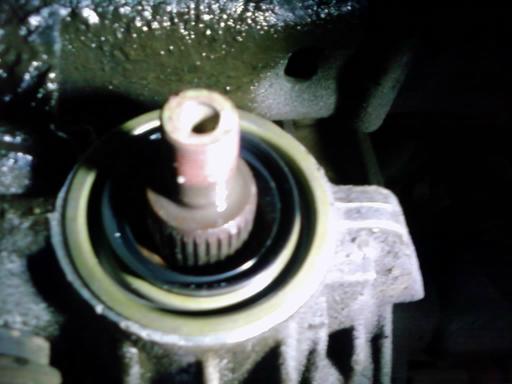
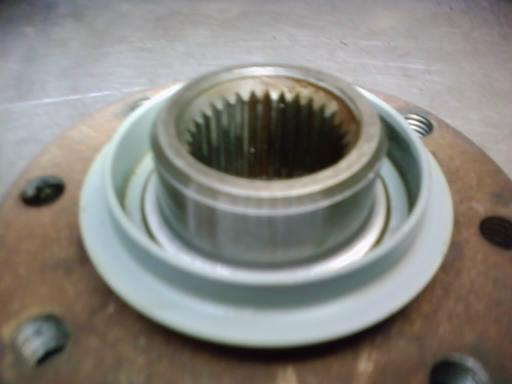
Step 4: Set the flange aside and gently use the seal puller to remove the pinion seal. Its a good idea to have a pan underneath to catch any oil that spills out.

Step 4.5: Seal puller not working? That’s ok, you can use a chisel and hammer to collapse the seal inward. Catch the outer edge of the seal with the chisel and work your way around the seal until the seal puller can remove the seal or it simply falls out. Try your best not to damage the housing doing this.
Wipe the hole clean of debris.
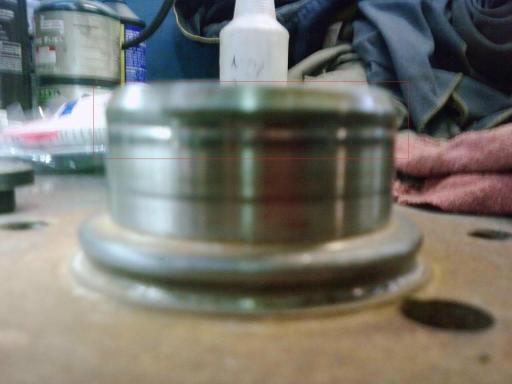
Step 5: To drive the new seal in you’ll need to use something that is roughly the same size as the outer lip of the seal, but doesn’t smash the rubber lip, I used a large axle nut socket because it was within close reach and did the job perfectly.
Hold the seal straight in the bore and gently tap it in making sure it goes in straight, if it starts going very crooked start over. DO NOT try to straighten it by pounding on it.
If you can’t find something to drive the seal with you’ll have to very very carefully drive it with a hammer in an alternating circular pattern, I don’t recommend doing this unless you have to. After you’ve finished installing the seal get the lip wet with oil or grease to lubricate it.
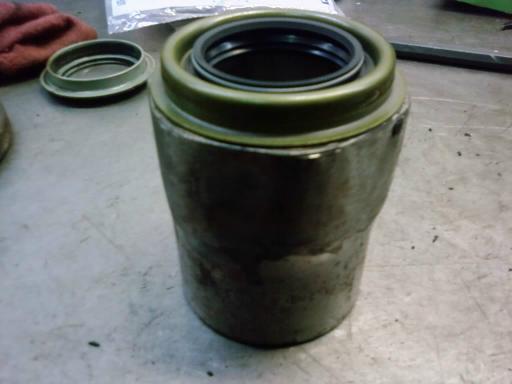
Step 6: You’re not done yet, you need to inspect the pinion flange. Wipe the flange clean and visually take a look at the sealing surface to check for a groove, if you see a deep grove gently pry off the dust seal and set it aside to be reused.
If the sealing surface is ok skip to Step 8
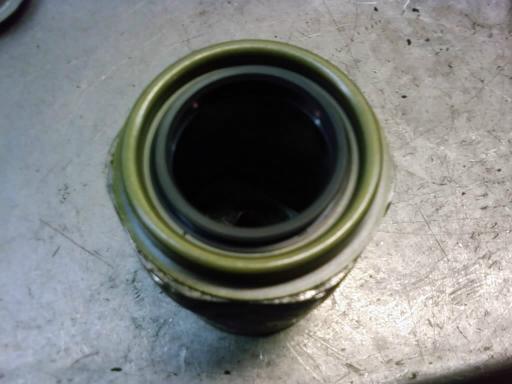
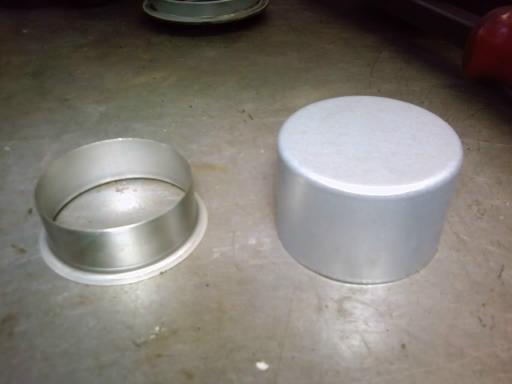
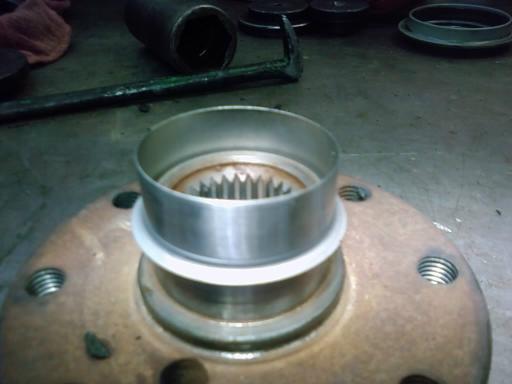
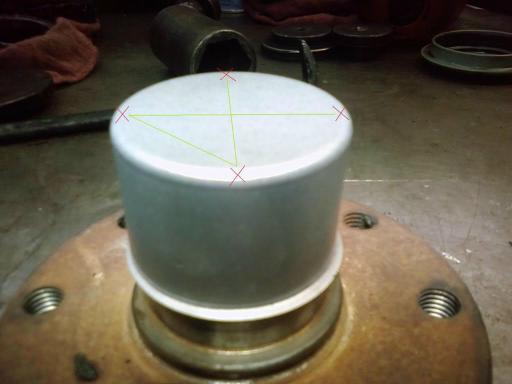
Step 7: I had a deep groove in the sealing surface so I used the speedy sleeve to fix it. Speedy sleeves come with their own driver and are installed in a similar manner to installing seals.
After you install the speedy sleeve re-install the dust seal, you can tap this back on.
Step 8: Time to reinstall the pinion flange, again do not forget to put the dust seal back on if you removed it. Line up the marks you made earlier and slip the flange onto the splines, install the nut and GENTLY tighten until the flange bottoms out (if using an impact gun, tighten only until the flange bottoms out and then stop)
After the flange bottoms out check the position of the nut, tighten the nut until the orignal marks line up. Now tighten the nut no more than 1/8th turn further.
Final: Reinstall the driveshaft, top off all fluids.
Clean up the mess and take pride in a job well done.. lol
Note: You can view the original submission/discussion HERE.
About The Author
Jim Oaks is the founder of TheRangerStation.com, the longest-running Ford Ranger resource online since 1999. With over 25 years of hands-on experience building and modifying Ford Rangers — including magazine-featured builds like Project Transformer — Jim has become one of the most trusted authorities in the Ford Ranger off-road and enthusiast space.
Since launching TheRangerStation.com, Jim has documented thousands of real-world Ranger builds, technical repairs, drivetrain swaps, suspension modifications, and off-road adventures contributed by owners worldwide. TheRangerStation.com has been referenced in print, video and online by enthusiasts, mechanics, and off-road builders looking for practical, and experience-based information.