
Introduction
The 2019-2023 Ford Ranger doesn’t have much space available to mount a GMRS radio. Here’s how I mounted mine in the dash.
Disclaimer: The Ranger Station.com, The Ranger Station.com Staff, nor the original poster are responsible for you doing this modification to your vehicle. By doing this modification and following this how-to you, the installer, take full responsibility if anything is damaged or messed up. If you have questions, feel free to PM the original poster or ask in the appropriate section of The Ranger Station.com forums.
Deciding On A Mounting Location
Owners of ’19 – ’23 Rangers may have noticed that there is very limited room to add accessories. I noticed this lack of real estate when I went to install a Midland MXT500 GMRS radio. Sure, I could screw it to the side of the console and take away leg room from the passenger, but that just isn’t my style. I prefer a clean looking install, something that looks more like it could have been a factory option. I’ve only owned this truck for 3 months, so I went out there with my Midland radio in hand and just sat there. I tried a ton of different locations to mount the radio and not one of them looked good to me. While staring at the dashboard I got a bad idea… let’s cut a hole in the dash!!
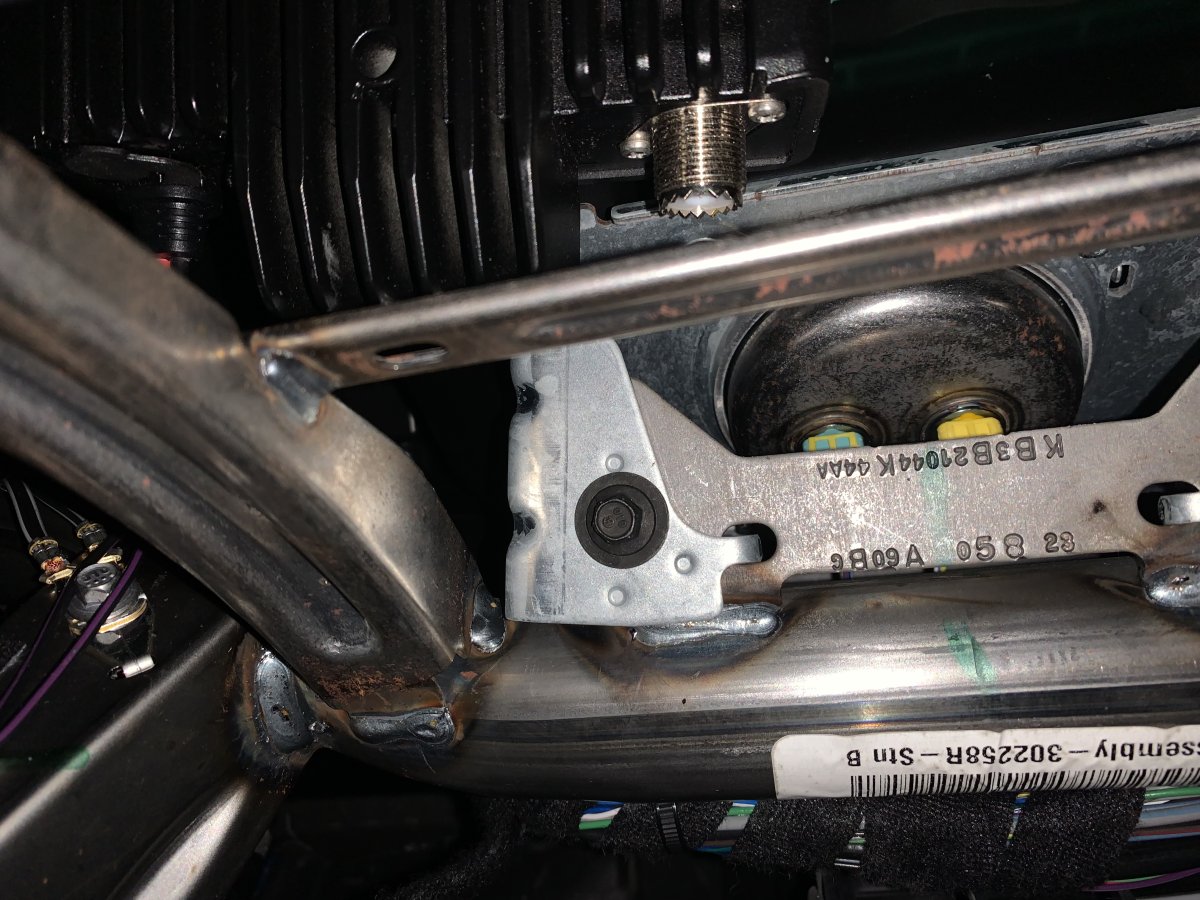
I popped open the glove compartment and flipped it all the way down past the stops, dumping all the junk I’ve accumulated in the past 3,000 miles on my TRS trips to Carlisle and Land Between the Lakes, Kentucky on the floor. I reached up above the glove box expecting to find the passenger airbag blocking my way. To my surprise, it wasn’t right there. It was WAY up there. I decided I needed to investigate this a little more… To YouTube we go. I watched the crash test video for this truck in slow motion, over and over again. The airbag blows open the top of the dash and comes down and around the front. Things are looking good so far.
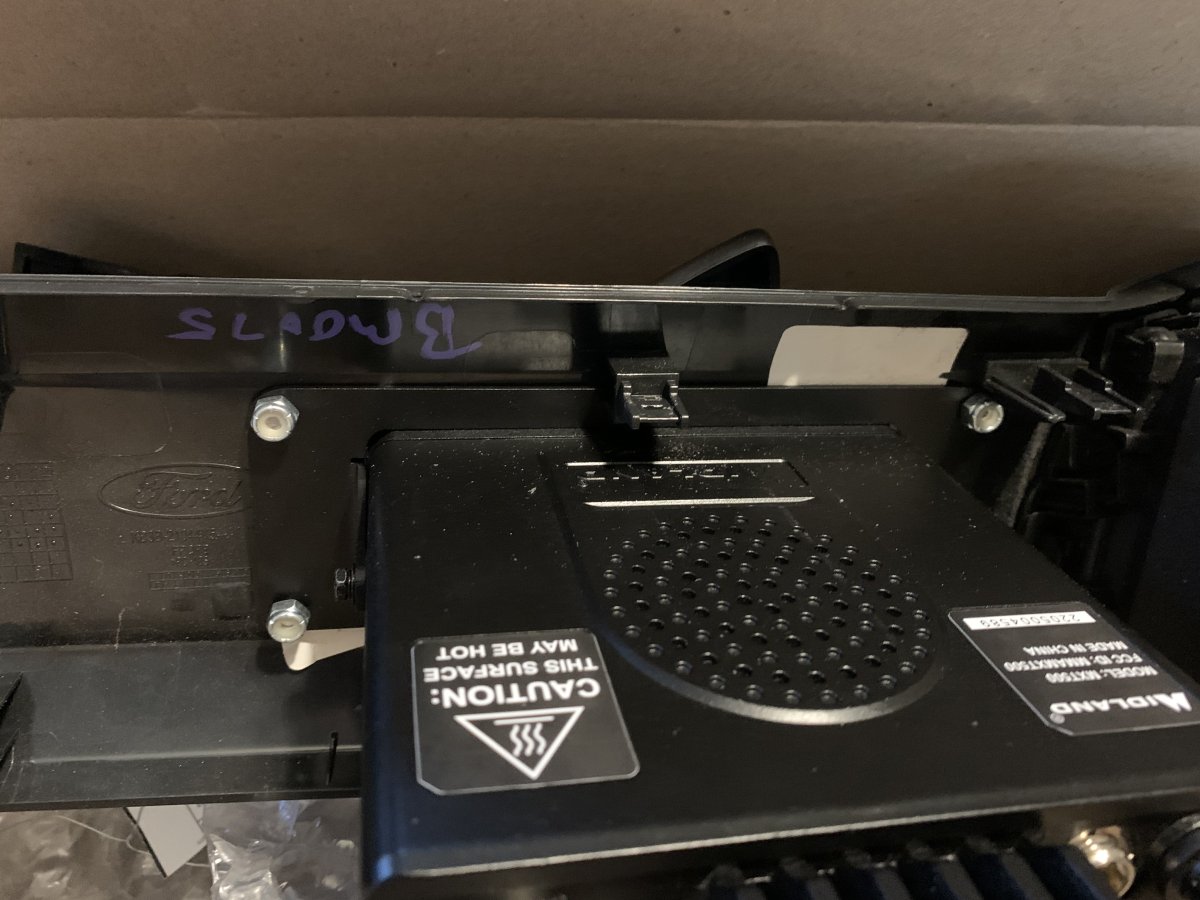
My next step was to go on Ebay and try to find the passenger side dash panel between the HVAC vents. Turns out there are at least three colors that I saw, Alley Black, Fortress Silver, and Vault Gray. I didn’t know if this would work, and I really didn’t want to cut a hole in my brand-new dashboard only to find out the bad news. I gladly paid the $75 for a used set of vent panels.
Now the only thing I needed was a way flush mount the radio. I knew that there are a few companies that make flush mount kits for all the common GMRS radios out there from my previous SxS builds. A quick search led me to PCI and a nice flush mount kit and trim ring W/ stainless steel hardware.
Mounting The GMRS Radio
Step 1 – Removing The Trim Panel
Using a panel removal tool of your choice, carefully pop all the clips out and pull the trim panel with both vents away from the dash.
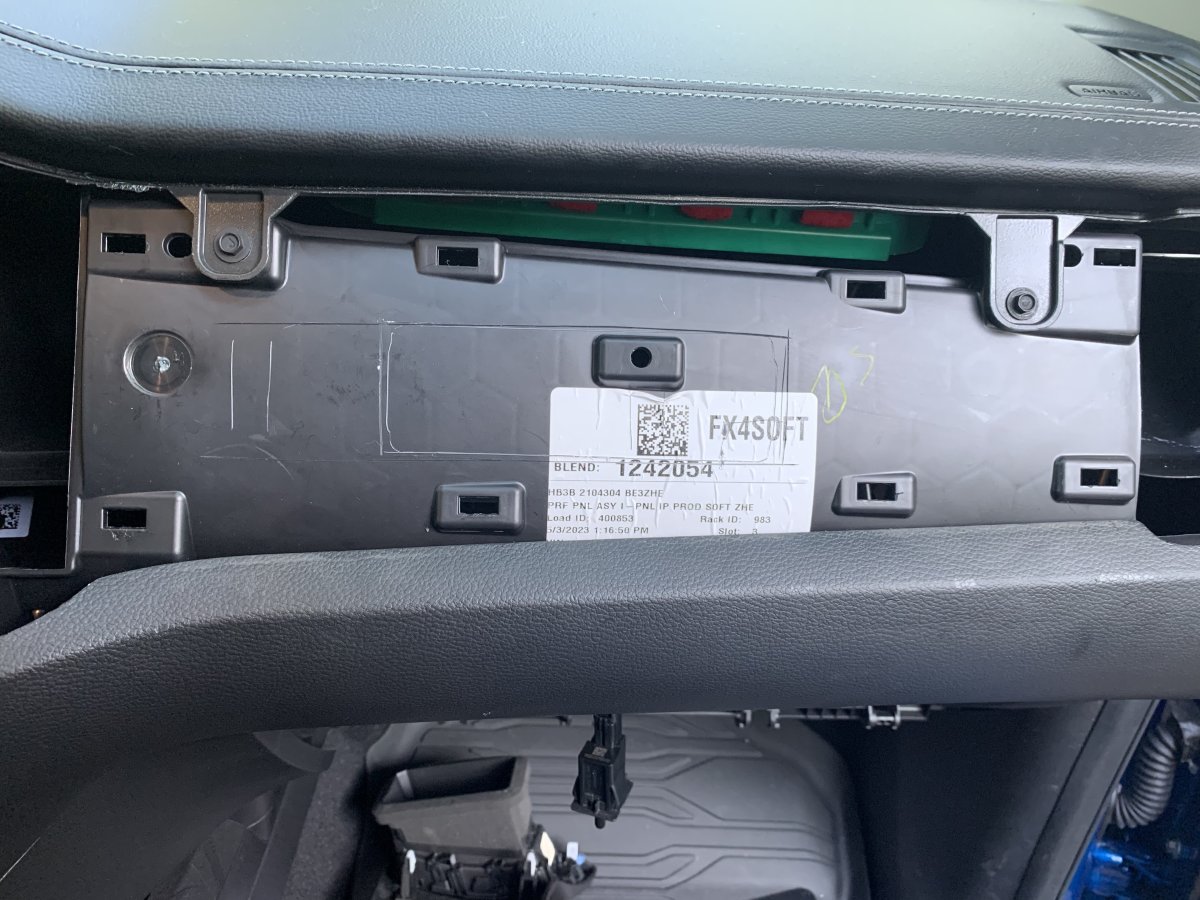
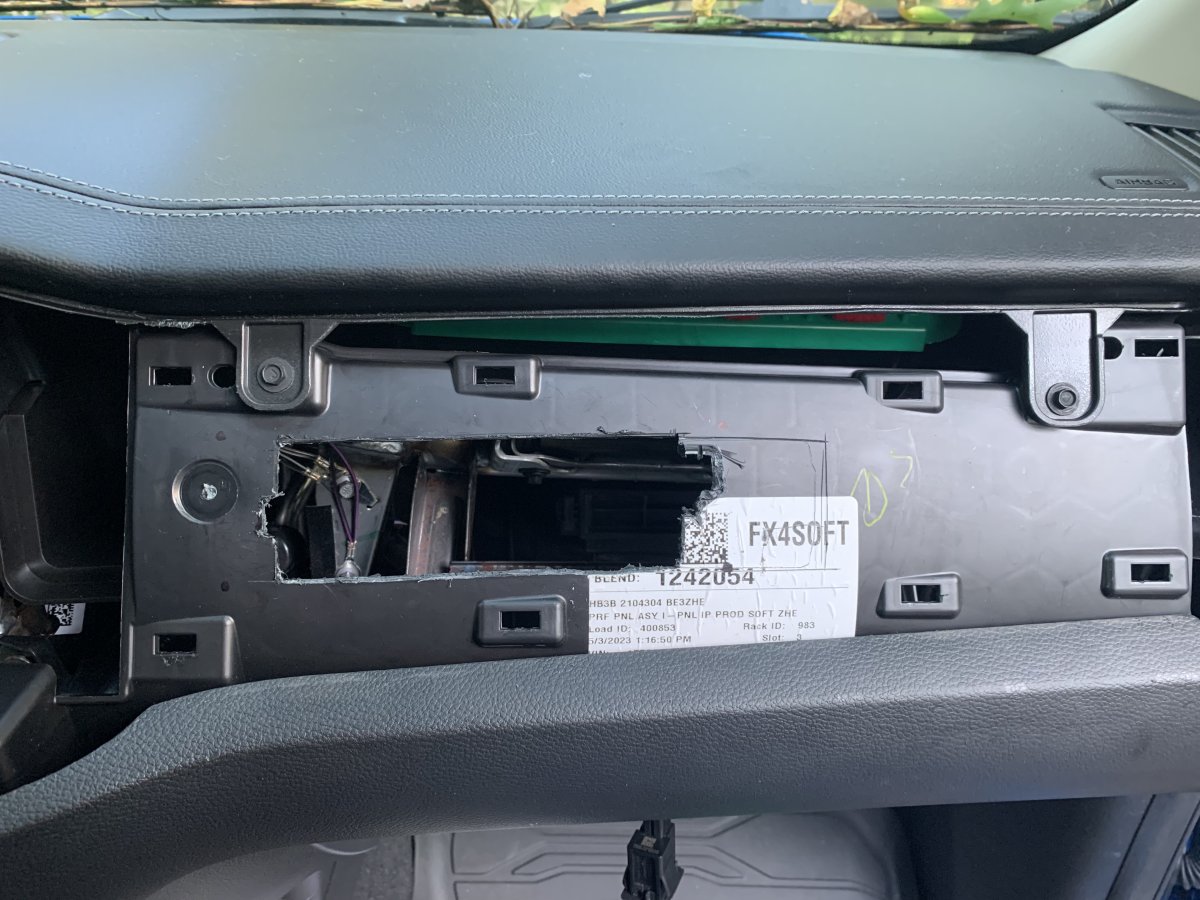
Step 2 – Planning And Marking The Cut
I cut the hole in the dash first so I could make sure the radio wouldn’t hit the metal framework. I also drilled some mounting holes to hold everything in place.
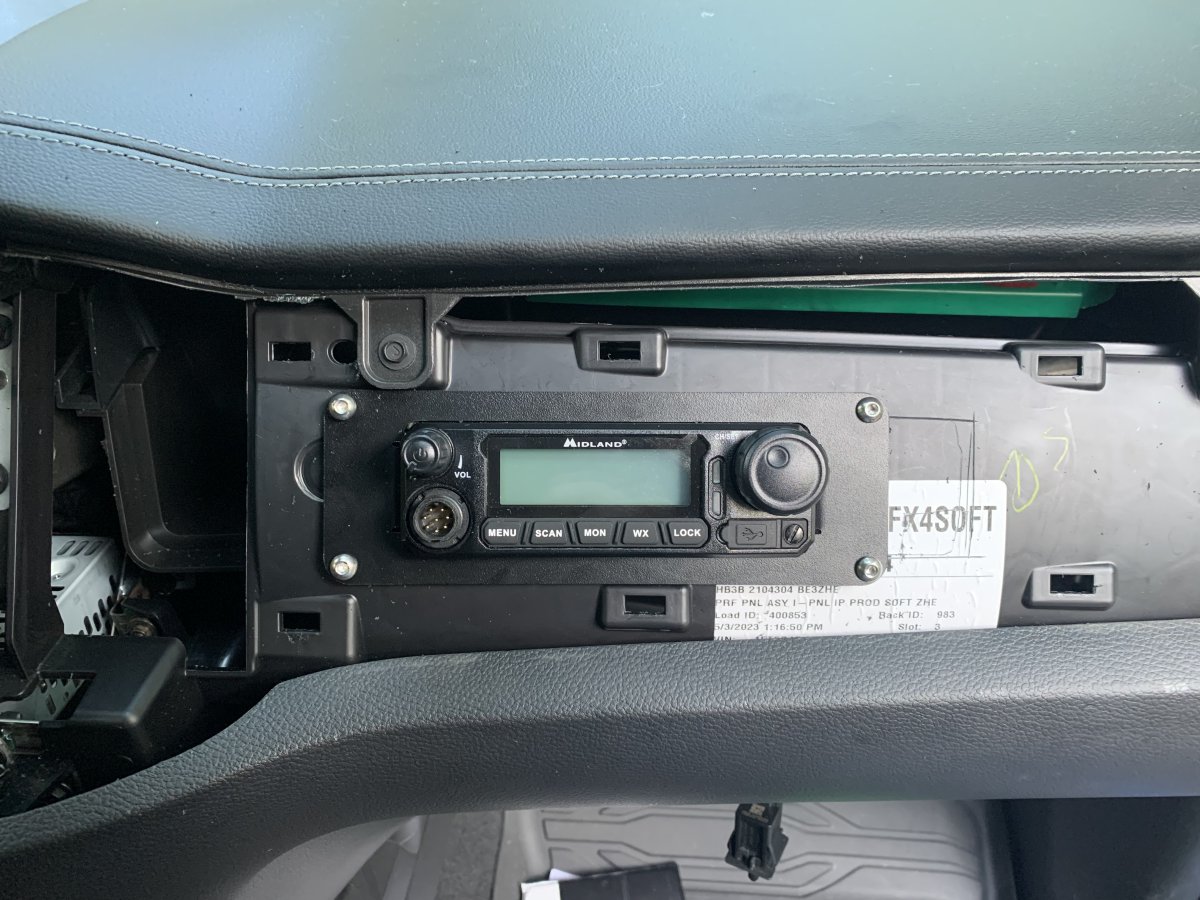
Step 3 – First Test Fit
I test fit the radio and found that it’s a perfect fit.
Step 4 – Mounting The Radio In The Trim Panel
Next, I removed the white plastic clips off the trim piece and reinstalled it. I reached up behind the dash and marked where to cut. I pulled the panel back off and used the trim ring to mark the hole. I used a Dremel to cut out the hole in the trim panel and loosely installed the radio.
Step 5 – Second Test Fit
With the white plastic clips still removed installed the trim panel and radio… success. I checked that fit and finish was to my liking before removing the assembly and tightening down the bolts.
Step 6 – Final Install
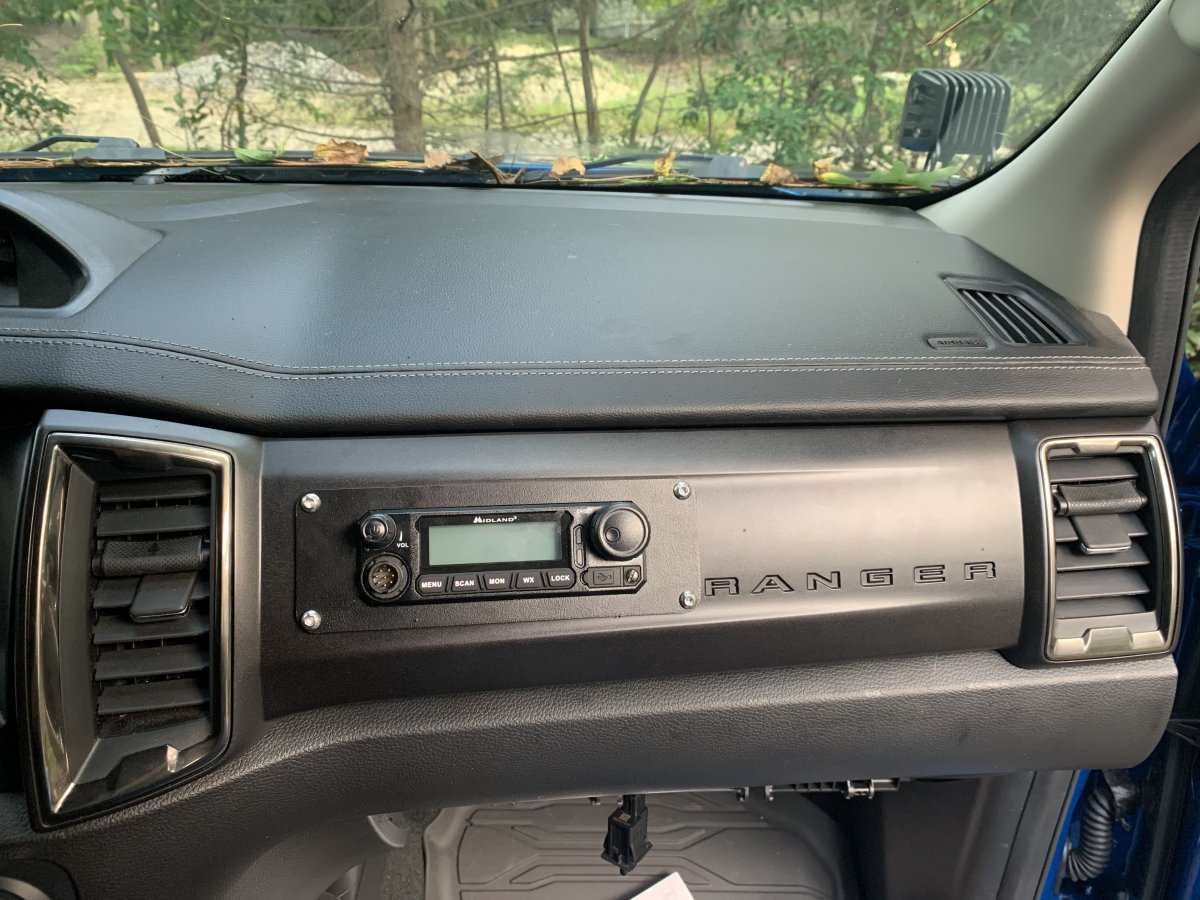
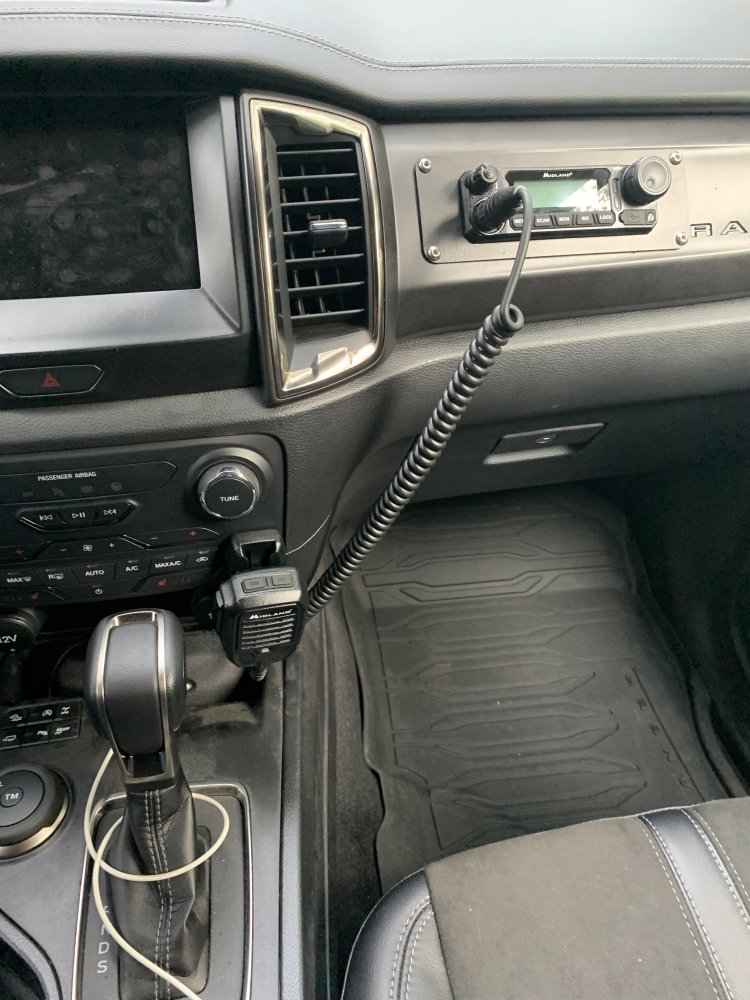
Once you’re happy with everything, it’s time to reassemble everything. Reinstall the white plastic clips. Carefully install the radio/trim panel assembly, making sure all the clips lock in properly.

Step 7 – Mounting The Mic Holder
It’s up to you where you want it… make sure the cord isn’t in the way of anything important.
Related Articles
SHTF Survival Radio Communications
About The Author
Kevin 'Snoranger' has been a member of The Ranger Station since 2007 and is an active Forum Moderator and Event Staff Member. Kevin's father, grandfather, and uncle all worked at the Edison assembly plant building Ford Rangers. He went on a tour of the plant and saw a bunch of shiny new STX's roll off the assembly line and knew right then that someday he would own a Ranger. Kevin has worked as a Ford dealer tech, a Ford fleet tech, and currently a Ford government fleet supervisor in charge of 1700 pieces of equipment. He has education in electronics, basic mechanical engineering, welding, suspension design, and has a WreckMaster Level 4 certification. He took second place in the state finals of the Ford/AAA Student Auto Skills Contest in 1995, won a full scholarship to the Ford ASSET training program, and as a Ford government fleet supervisor receives new Ford dealer level training every year.