• Welcome Visitor! Please take a few seconds and Register for our forum. Even if you don't want to post, you can still 'Like' and react to posts.

My Low Buck Ranger Build


LonesomeSTX

Well-Known Member
Joined
Oct 9, 2008
Messages
656
Age
48
City
Columbus, GA
Vehicle Year
1988
Transmission
Automatic
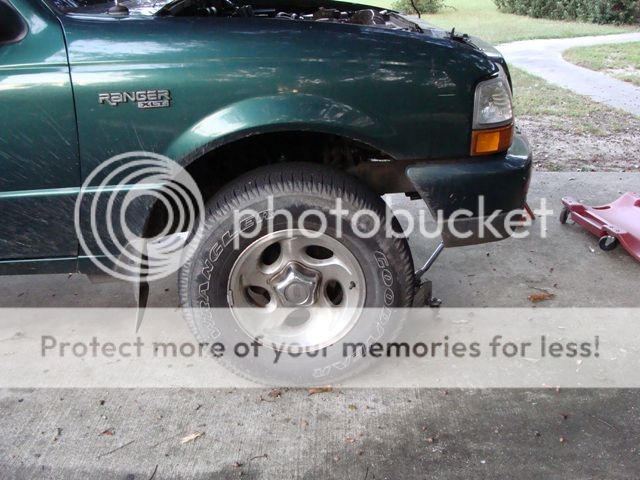
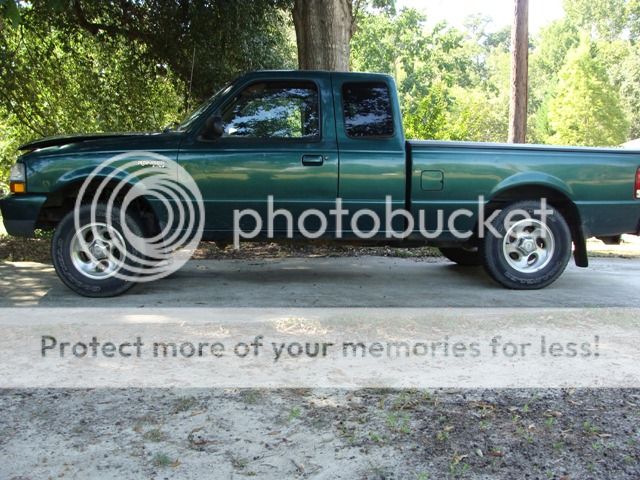
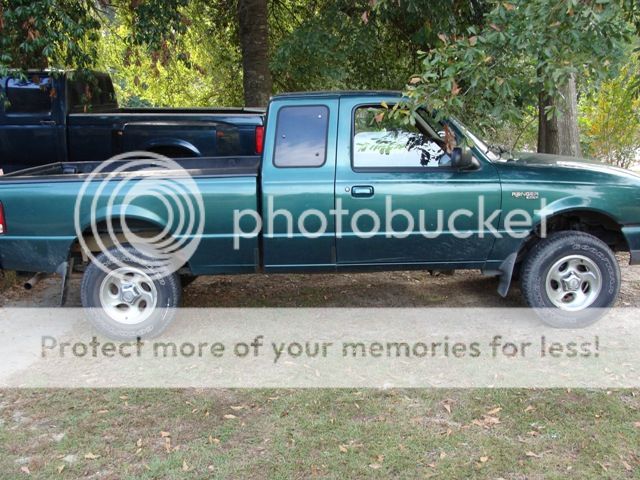
This is my first late model Ranger. I usually get into First Gens. But this one is proving to be worth the time. When I got this Ranger it was rather beat down. The interior was nasty and it ran horrible. It was clear the truck had not been maintained very well. Being since I cannot afford a 4x4 right now I have been using this one in the woods and on the trials. Even with an open diff and no T-case it has gone everywhere I have wanted it to. I have to drive around my friends in jack up 4x4’s when they have to get out and lock in the hubs. I have only gotten stuck once and that was my fault for not paying attention. If I had a traction aid I think I would have gotten out though. So, I am doing to some minor mods to make this truck fit my lifestyle a bit better. I am using a lot of parts and pieces I already have as well as parts from the salvage yards and seeking out good deals on the rest. Plans include an 8.8 swap with a traction aid and disc brakes, minor suspension lift, 31 inch tires and several other mods along the way.
Already done:
I got the truck running good with a tune up and cleaning the intake thoroughly. I installed a new clutch, radiator and several other parts and pieces I noticed needed attention.
Interior:
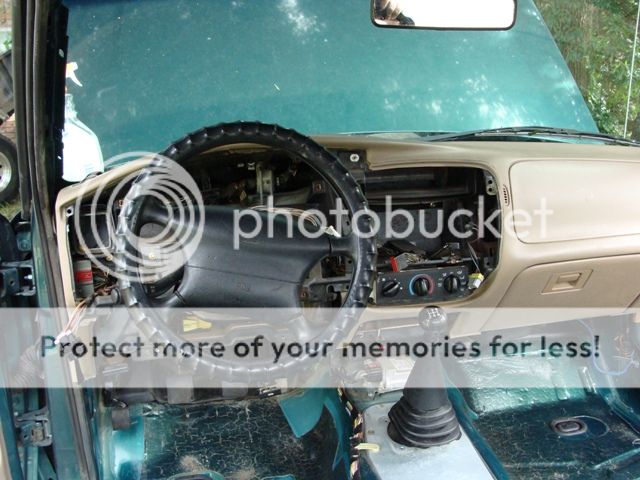
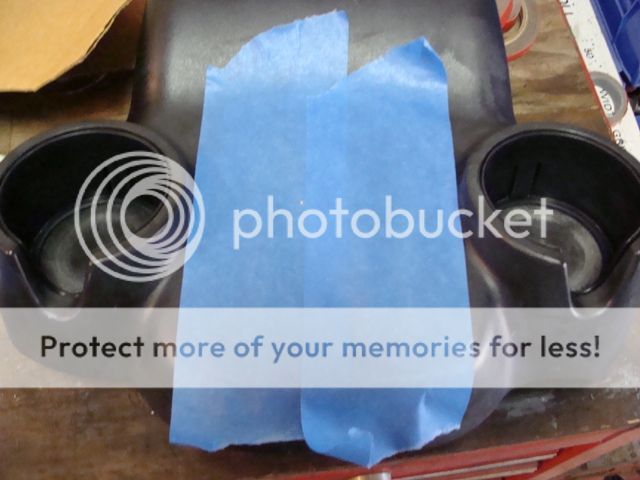
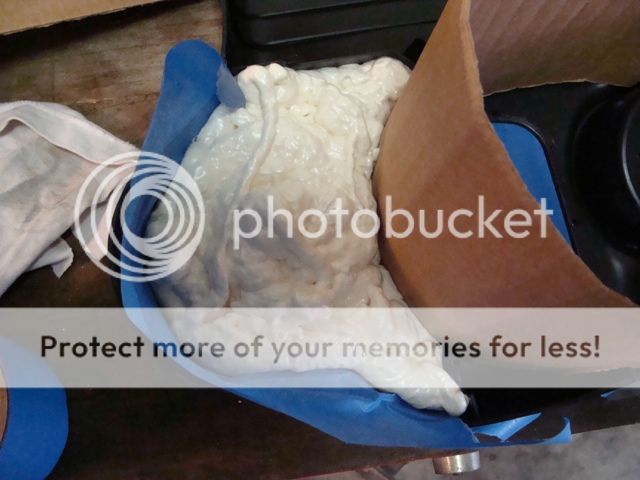
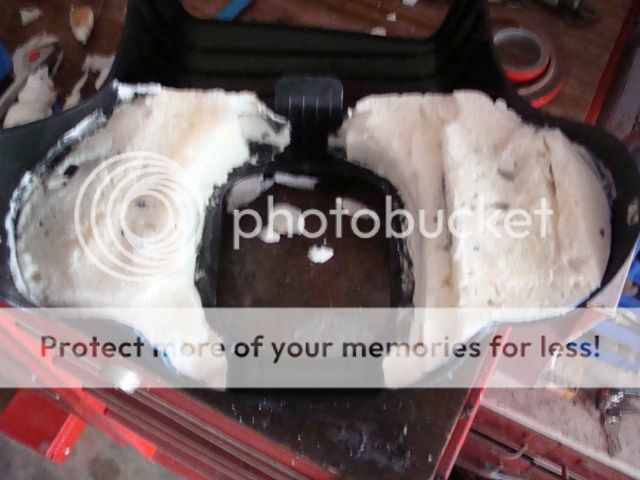
Being since I hate sitting in filth, I started with the interior. The seats were beyond salvage so I stripped the parts I needed off them and scraped the rest. I used a set of Eddie Bauer 95 F150 bucket seats I had laying around. I tore them down to the frames and used the tracks from the Ranger seats. They turned out great. Once I get new seat covers I will post photographs. I gutted the rest of the interior including the dash. I scrubbed, scraped, and disinfected everything. I hung the carpet up and saturated it with a powerful cleaner. After allowing it to soak for a while I sprayed it down and repeated the process until it was clean on both sides. It even smells good now. A couple of days before I started this project a friend of mine accidently busted out the rear window. He replaced it though. While it was out I pulled the headliner and cleaned it as well. While everything was out I insulated everything I could. I had a roll left over from another ranger I did a few years ago. I have no need for a cigarette lighter so I converted mine. I got a 12V cap from a Ranger at the salvage yard and modded the bezel to make it fit. I had to use an O-ring as a spacer but it turned out great. It looks like it came with two 12V outlets from the factory. I also sprayed foam under the cub holder bezel that the shifter goes through. I did this mostly to keep my drinks a little cooler for a little longer. I have noticed it is a little quieter in the truck now. But I think that is also because of the insulation I ran throughout the interior. I have not done the doors yet. That “should” be the final step in the interior portion.
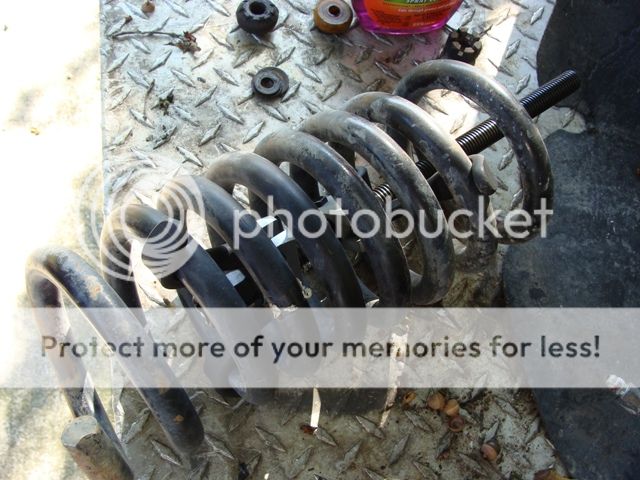
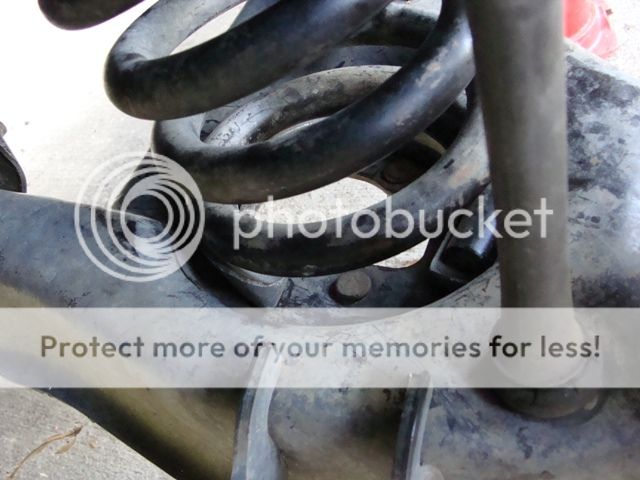
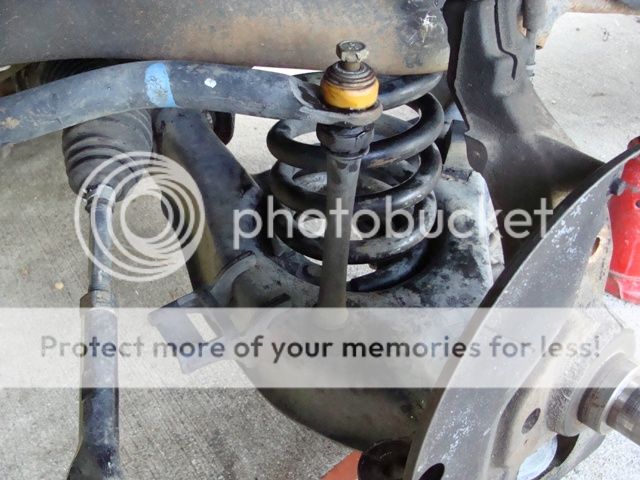
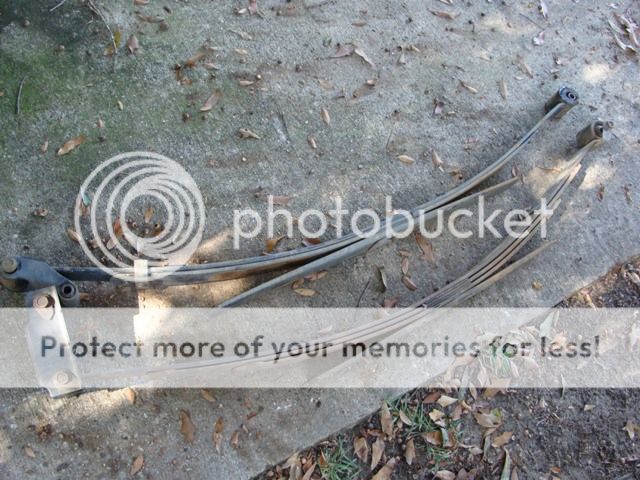
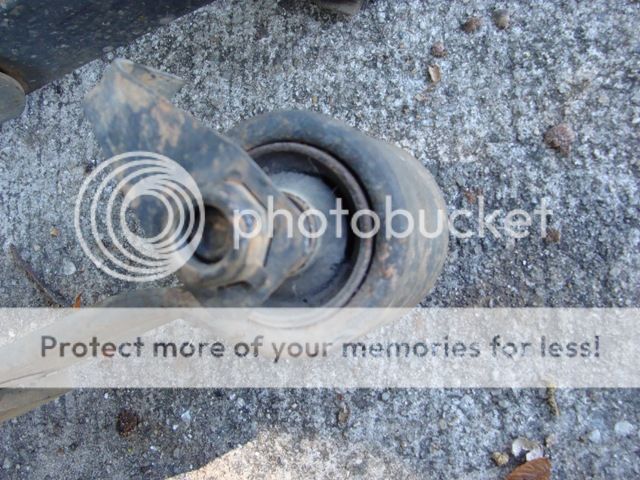
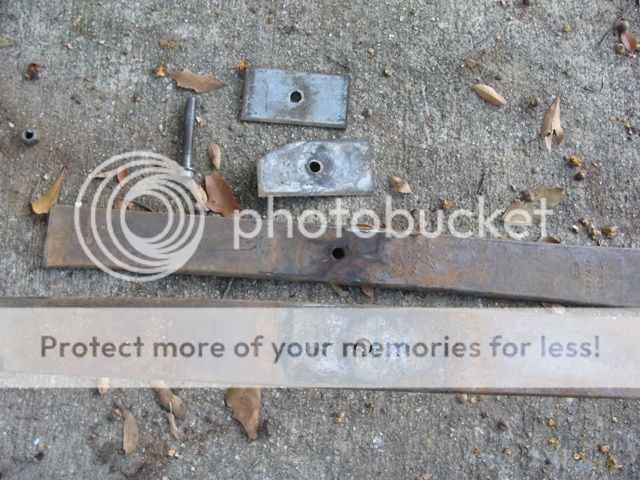
Next, the front suspension, Stay tuned.
I2_zpsdeb10638.jpg

I3_zps6a59b9ff.jpg

I6_zps1b3e7f8b.jpg

I5_zps2c1364df.jpg

I8_zps7265dce5.jpg

I4_zps16cd0f70.jpg

I1_zps1ef0203c.jpg

I10_zps90adb946.jpg

I7_zpsa4946501.jpg

I9_zpsb5888c21.jpg

I11_zps9b9ddeb2.jpg

I12_zps470a6b76.jpg

I13_zps28050d9e.jpg

I14_zps78d094b8.jpg

I15_zpsc18ee055.jpg
 
This started because I need tires for the truck but cannot afford a new set. A friend of mine gave me a nice set of 31 inch tires. However, they will not fit. This Ranger sits lower than others like it. It is also the first Ford truck I have owned that is not raked. So, some suspension mods are needed. I bought a cheap two inch kit on line. It sits under the springs and gives me just enough lift to not only clear the 31’s but also gives them room to move off road. The passenger side already has a new Moog upper control arm. The driver side got a new upper control arm few years ago when my buddy owned it. However, he booggered up the knuckle when the original control arm broke. Driving on it over the past fear years in turn, boogered up the ball joint on the upper control arm. I a good used knuckle and warrantied out the upper control arm. Other than the sway bar links, the rest of the front suspension looked good. While at the salvage yard I picked up a few sets of good used sway bar links. I placed the lift spacers in the lower control arm and used a spring compressor to install the spring. After greasing absolutely everything, I could I topped it off with brand new shocks. It gave me the lift I need but I cannot say I like the ride quality. Even though the seller claimed you do not need shock extensions, I think I need to make a set anyway. I am hoping that may clean up the ride a bit. I got it aligned and it drives straight and does will on smooth flat roads. But I dread speed bumps.
Next, first round of bed mods.
FS2_zps979115fe.jpg

FS4_zps80497daa.jpg

FS3_zps85638a10.jpg

FS7_zps592c411c.jpg

FS8_zpsc375331c.jpg
 
Next I worked on making the bed more functional. I had this bed extender off my old Ranger but it has been sitting around for years. I had no mounting brackets so I figured I would make a set. I used some aluminum angle I had laying around. Once I got them cut to the approximant size I clamped the two pieces together and drilled all the holes. I then took a hand file and cleaned up the edges. My intention was to bend them so they matched the brackets that set that came with it and would look and function like them. However… I learned I cannot bend aluminum to my will. All I did was break one of the pieces. So, instead, I used square nuts as spacers. I am not happy at all with the final product. But I was not going to start over either. They still work, but I prefer a cleaner look. I also gut down the edges of the bed liner. As you can see they had been rubbing the bed for a long time.
B1_zps05795de5.jpg

B3_zpscc6c97c6.jpg

B5_zps59316b71.jpg

B2_zps5cc716f7.jpg

B4_zps096549ad.jpg

B6_zpsb3ca643c.jpg

B7_zps584ae9f7.jpg

B8_zpsbbdf2701.jpg

B9_zps8581791f.jpg
 
Nice, I'll be waiting to see how it looks when you're all done.
 
This is more of a detail oriented build. I think the small things I do woll pay off more than a bunch of flashy mods.

I have done other things as well. I turned the frotn rotors, replaced the calipers and pads, and now it stops great. The bed liner did nto fit right. I found out the hold downs were not installed propperly. So now it fits great. Half of the bulbs in the gage cluster were nurned out. A bunch of stuff like that.
 
Very nice work so far, sir! Looks a whole lot like mine minus the 4x4.
 
One thing while U are doing this build my man... DO NOT REMOVE THAT AWESOME WINDOW STICKER:icon_thumby: After looking at it closer I think U need a new one.
 
I just finished up the rear leaf install. I will be posting that write up shortly.

My buddy still owes me a new sticker.
 
I tackled the rear leaf springs on my one day off. I spent half the day in a salvage yard looking for an Explore that already had the rear end pulled so it would be easier. Right when I was about to call it, I found the perfect candidate. I gave the counter man $40. But, I got a lot of other miscellaneous stuff as well. So I am not sure what I have in the springs. I can say I have less than $65 total in everything I needed to left the truck though. That does not include worn out suspension parts I had to replace anyway.
Okay, I stated with a set of good looking springs out of a later model Explorer. As you can see they are taller and have one more leaf than the Ranger spring packs. I need that extra leaf. If I throw more than three bags of feed in the back of the truck it sags. The stock packs were too soft, sat too low, and were too soft. Plus, the bushings were worn out and it squeaked on every single damn bump. No matter how small.
The first thing I had to do was reverse the center pin to a spring under configuration. I just happen to have the perfect bolts for the job. I use 2.9 head bolts whenever I need a new center pin. I usually use them on one ton springs so I was not sure if they would work on these. They did work great just like the other times. The round head fits in the alignment hole on the spring perch and the shank fits the holes in the leaves. I had to use a stone bit to clean up the burrs in the spring perch so the head would fit. And I used a drill bit to do the same in the leaves. I did not drill out the holes, just cleaned them up for a smooth fit. I leave the bolts long in case I want to add something later. I used a step bit to drill out the alignment plate that sits on top of the packs. I drilled just enough for the bolt to fit snuggly and keep everything with in speck.
I inspected the leaves and did not find any cracks or deformities. The bushing are a bit worn but not worn out. When I do the rear end swap I will a new set. I used the Ranger shackle because the Explorer used a different configuration.
The Explorer packs actually gave it more lift that I thought. I am not complaining, I think it turned out great. I should have no issue installing the 31 inch tires and hauling feed and supplies now.
Rs1_zps496024b3.jpg

RS2_zps0ceda182.jpg

RS3_zps78203dcc.jpg

RS6_zpsd7ec3b3c.jpg

RS8_zpsace2d139.jpg

RS4_zps752ef652.jpg

RS7_zps49970f1a.jpg

RS5_zpsa4d8c415.jpg

RS9_zpsf0a97b55.jpg
 
Ride report
The first thing I noticed is the springiness from the frontlift has been reduced a lot. I am guessing the rear is now applying leverage onthe front so it calmed down the bounce. The whole truck feels stiffer now. Buthat is to be expected. It feels better I think. The previous suspension wasjust too soft. All in all the truckrides great and handles fine. I have not haled anything yet, but I can alreadyfeel a big difference. So I suspect it will handle about 10bags of feed withoutmuch of an issue.

Next, I hope to address the rims.
 
Nice build so far! I like the head bolt tip, I'll be using that.

Richard
 
They are great to have around. i want to tear apart another 2.9 just so I can get more.
 
Well, I could not wait any long the get the tires done. The front tire was patched some time back and I knew it would not hold forever. Plus two of the rear tires had some uneven wear from a messed up alignment. I was hoping to paint the rims before I installed the new tires. That way I did not have to worry about masking. I will come up with something for the rims at a later date. I think the tires fit great. Even the matching spare tie fits under the truck perfectly.
T2_zps29d65392.jpg

T3_zpsdb901425.jpg

T4_zpse280396b.jpg

T7_zps171a7108.jpg

T6_zpsdf57f343.jpg

T5_zpsc0867c31.jpg

T8_zps12b1e981.jpg
 

Sponsored Ad


Sponsored Ad

TRS Events

Member & Vendor Upgrades

For a small yearly donation, you can support this forum and receive a 'Supporting Member' banner, or become a 'Supporting Vendor' and promote your products here. Click the banner to find out how.

Recently Featured

Want to see your truck here? Share your photos and details in the forum.

Ranger Adventure Video

TRS Merchandise

Follow TRS On Instagram

TRS Sponsors


Sponsored Ad


Sponsored Ad


Amazon Deals

Sponsored Ad

Back
Top