- Joined
- Mar 24, 2014
- Messages
- 47
- Points
- 1,601
- City
- NW Iowa
- Vehicle Year
- 2000
- Engine
- Transmission
- Manual
- Total Drop
- 2/3
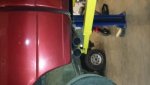
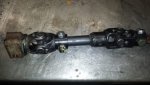
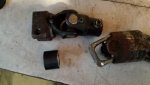
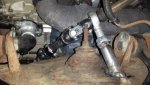
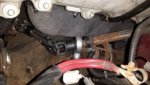
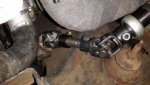
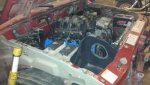
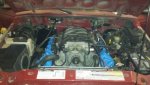
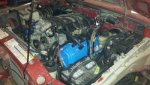
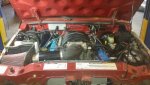
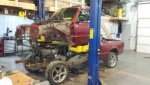
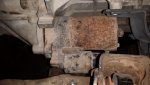
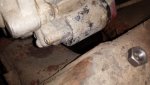
Here it is.
https://www.youtube.com/watch?v=n-tCegqYt8o
and my build thread for all the other stuff i have done.
http://www.therangerstation.com/forums/showthread.php?t=157591
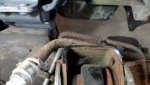
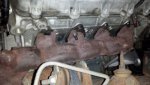
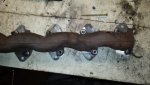
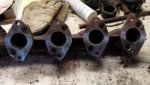
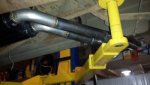
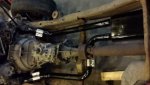
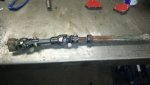
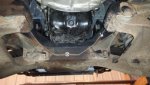
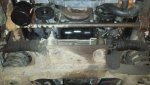
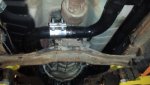
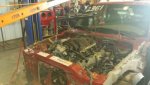
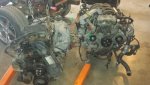
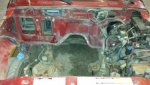
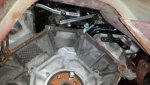
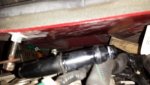
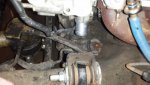
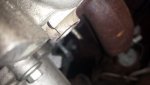
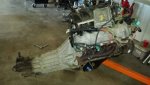
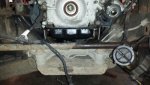
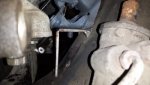
I will begin to post about the details soon. The truck is not on the road yet. And i still have allot of other things to do.
https://www.youtube.com/watch?v=n-tCegqYt8o
and my build thread for all the other stuff i have done.
http://www.therangerstation.com/forums/showthread.php?t=157591
I will begin to post about the details soon. The truck is not on the road yet. And i still have allot of other things to do.


")