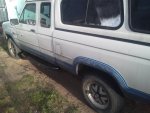
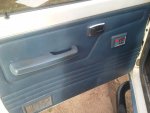
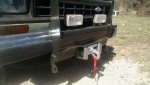
Found the windows at the wrecking yard, took them out of an 88 ranger along with the sliding back window they are factory originals and all of the mounting holes were already in my ranger. took only about three hours to put them in. and the way the back window bolts in I didn't even have to take the shell off to install it. got all three windows for 45.00 couldn't pass them up for that price, and he threw in the original caps for the rear wheels for free. got all of the power windows with wiring for 180.00 and even with gutting the doors and rebuilding them it only took a day to install the vent windows and power. To me it just never seemed like a real truck without the vent windows. will save a ton on gas not having to run the AC all the time.
Am going to prep the body and fix the hail damage myself and will then probably have Maaco respray back to original color then. But thats going to be my summer project.
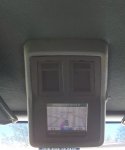
I'm working on installing my Garmin into the dome light bezel from the Eddie Baur B2. will post picks here when I'm done.
The wrecking yard here in Greeley gets a lot of the older B2's and rangers in lately and they are mostly rust free parts.