CV joint - preventative maintenance or not?


lostranger2026

Forum Member

Joined
Nov 1, 2025
Messages
24
Points
101
City
Cortez
State - Country
CO - USA
Vehicle Year
1999
Vehicle
Ford Ranger
Drive
4WD
Engine
3.0 V6
Transmission
Automatic
So I have a new to me '99 4x4 ranger which probably drove for quite a while with little to no suspension left, the torsion bars were all that was left so to say suspension wise.
My learning journey started with a shot lower ball joint and I'm ending up basically redoing the entire front. As far as I can see it's all original that I'm taking off and I gotta admit, it held up.

Ok, so I got everything off, which was quite the fight in some areas and I'm thinking... I got everything off right now, these CV joints are probably also original. What is wisdom?
27 year old CV joint,180k miles and I don't "see" or "hear" anything wrong. However, I'm also not sure what to look for. All those silly youtube video's are for cars with their wheels on driving around! I don't know what the lifespan is of these CV joints or the grease inside and if there's something I can do to ensure that I won't have to do this anytime soon.

Any ideas, thoughts, feedback here are really appreciated.
 
If the boots are good... no grease slinging around... splines and axle nut threads are good...

Since it's all been apart and you know how to go back in if you need to... run them until they're not good.
 
If the boots are good... no grease slinging around... splines and axle nut threads are good...

Since it's all been apart and you know how to go back in if you need to... run them until they're not good.
Yeah. Get another week out of them.

Just kidding. It's a gamble either way. Replace them now and chances are they would have lasted another 50,000. Leave them and save up some money and they might fail next week. But, it's like that with everything. We drive around every day never thinking the serpentine belt will fail. But, eventually it does. It's up to your comfort level with the risk. You can rack up some money in parts by going down the "Since I'm this far, I might as well..." road. But, you can also save time and aggravation by going one step farther.

There. Wasn't that helpful?
 
You can rack up some money in parts by going down the "Since I'm this far, I might as well..." road.
That's how I spent $1300 on a junkyard 4.0 without any machine work..
 
That's how I spent $1300 on a junkyard 4.0 without any machine work..
I have totally lost track of my swap budget. Pretty sure it's more than reflecting pool repairs by now.
 
Even though I spend lots at times, I'd still rather do this than make a truck payment. Trying to get my wife to understand that is the hard part.
 
Even though I spend lots at times, I'd still rather do this than make a truck payment. Trying to get my wife to understand that is the hard part.
What's the payment on an average-spec new truck these days, about $750? Doesn't take long to justify the parts budget. 😉
 
Even though I spend lots at times, I'd still rather do this than make a truck payment. Trying to get my wife to understand that is the hard part.
What sold my wife was when we bought a car that ended up needing repairs out of the warranty period. Car payments plus repair costs are enough to open a lot of people's eyes.
 
I would say if the boots look good (as in no weather cracking/drying), run 'em.
It's not real hard to pull the shafts out later if need be (which should be a good number of years in the future if they currently still look good).
Aftermarket shafts & boots tend to be inferior to the OEM ones anyway (not sure if OEM boots are still available or not... If they are, you should be able to reboot your existing axles for much cheaper than it is to buy any aftermarket axle).
 
Since it's all been apart and you know how to go back in if you need to... run them until they're not good.
I think you actually got a point there. I can't "see" or "feel" anything wrong and I do know that I can back in there if I need to. Plus, I think that with all the holes and threads cleaned disassembly should be a lot smoother next time.

Spend a bit of time today getting the new lower ball joints (TTX) in. That was fun and a good learning experience. In almost all videos the ball joint goes in 90% of the way and just needs a little bit of cranking to get it seated. Mine went in like 10% and I had to really work it with a large bar to force them in. Spray painted the arm with some matte black paint while I was at it.

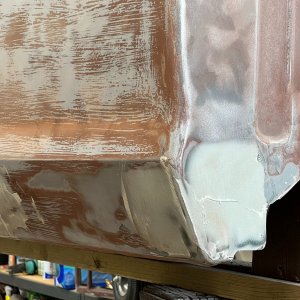
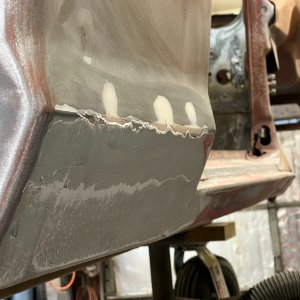
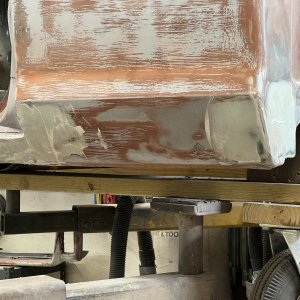
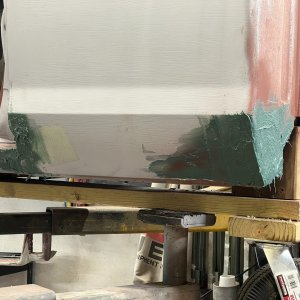
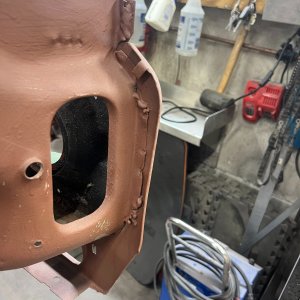
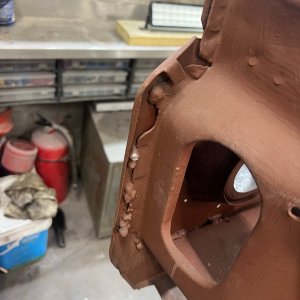
Did I mention that I'm learning how to take dents out as well? This Ranger is actually teaching me how to do car stuff on my own. Crazy.
 
All the rebuilt joints / axles are garbage. I would NEVER replace a working non noisy OEM CV Joint .if its slinging grease reboot it (properly not one of those quick boot abominations).
 
Put on the lower control arm this morning, got the torsion bar in again using the no clamp method and afterwards I jacked up the lower control arm so I could get the tie rod in. Here's where I made a mistake - I use a bottle jack under the control arm and it slipped. Control arm came down with a clunk and pulled the CV joint partially out. I was able to 'push it back' and I still got a gap. That was frustrating.

I figured I'd pull the new upper control arms in first so I could at least hook it up to something and see if it aligned / could be pushed back in all the way. Of course I ran into problems there as the ears on my upper control arms have been bend inwards to much for the new control arms to fit. So, that's next on the to do list. Gonna use two small thick flat pieces of steels with the ball joint press to see if I can't "squeeze" the ears flat again.

Getting late here. I'll post a few pictures tomorrow.
 

Sponsored Ad

America 250

Latest posts

Featured Rangers

Want to see your truck here? Share your photos and details in the forum.

TRS Latest Video

Official TRS Merchandise

Follow TRS On Instagram


Product Suggestions

Back
Top