
By: neggen32
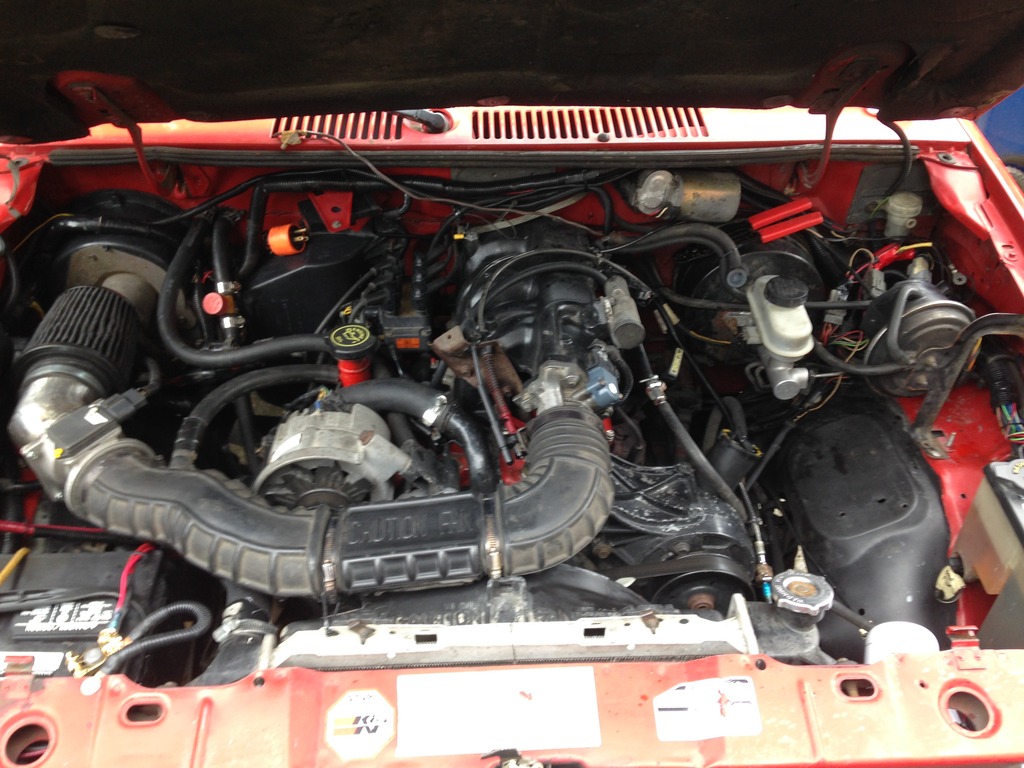
Alright boys, a few months ago I finished wiring up my 4.0 swap and I promised myself that I would write the article that I wished I had at the time. There’s a lot of great articles on the mechanical aspects of the swap, so this is just going to be all about the final step- wiring. The first-generation dash is one of my favorite things about my Ranger, so I did not want to do a dash swap! I noticed a lot of people have felt the same, but getting the 4.0 to work with the older dash is where a lot of people get stuck. Hopefully this will help other poor souls like me get their Ranger on the road and enjoy their new 4.0 as soon as possible! I’m by no means a wiring expert so if anyone can suggest improvements or changes to my method that would be great. I also want to thank Adsm08 for taking the time to help me with the final troubleshooting that would have otherwise taken me a long ass time.
Details:
My truck: 1988 Ford Ranger XLT 4×4 Manual
4.0, Engine Harness, Computer: 1992 Ford Ranger
Rest of Harness: 1992 Ford Explorer
Notes:
As of now I have my original FM146 transmission with the 10” 4.0 clutch, so my wiring diagram is based on that. I plan on swapping in a M5OD eventually but if you’re doing that from the get-go then then you’ll be able to plug the M5OD right where it belongs on the 4.0 Harness instead of doing the transmission wiring that I did. I’m using a harness from an Explorer because I couldn’t source one from a Ranger. A few things might be routed differently but otherwise it is the same. I’ve also noticed that a lot of first gen Rangers have different colored wires going to the plugs. Use the colors I list as a guide but if yours are different, just make sure they are in the same position in the plug and you should be fine. I am also not going to cover hooking up the starter/starter solenoid as that should all be the same.
You Will Need:
Wiring supplies (Cutter, stripper, soldering equipment, shrink tubing)
Engine harness for 4.0 (the one that sits on the engine and goes to injectors, sensors, etc)
Computer harness for 4.0 (Connects to computer, distribution box, MAF, goes across engine bay to dash plugs
Distribution box (disconnect from battery, cut big bundle of wires leaving 6” or so
If you did not have the 4.0 intake with the MAF on it, you will need that.
NOTE: Make sure that when you harvest your computer harness, you don’t just unplug it. You want to leave it plugged in and cut the harness on the other side of the plugs, leaving about 6” or wires. You will need the other plugs to make adapters! It also helps to label things as you remove them and make note of whatever grounds you removed.
Step 1: Lay out Harness
If you haven’t already, remove your old harness that is connected to the computer and unplug it at every connection. Don’t mess with the headlight harness or wiring, it is used in this swap. Then feed your new harness through the firewall and connect it to the new computer. Route the harness through the engine bay roughly as it was in the donor vehicle. A portion of it goes to the passenger side wheel well, and the rest curves around and ends up near the fluid reservoir. You can now plug it into the 2 large plugs coming from the engine harness, MAF, and whatever else it will fit into.
Step 2: Power Distribution Box
Mount the distribution box to the side of your engine bay. Connect the large black cable on the distribution box to the positive side of your starter solenoid. Connect the 4-pin connector on the distribution box to the 4-pin connector on the new harness. This plug gives power to your fuel pump and ECC relays. There should be a spot for the relays to click in under the box, neat!


Remove all the fuses from the power distribution box, except a 30A fuse in slot 1, a 30A fuse in 8, and a 60A fuse in slot 10. Congrats, you now have power from your battery to your relays! You can also use the other wires and fuse slots as an easy way to wire in aftermarket accessories. Hell yeah.
NOTE: If for some reason you don’t want to use the power distribution box, you can still provide fused power to the relays by using the old fusible link setup from the old harness.

Step 3: Alternator Wires and Power to Ignition
Now you should be able to hook up the 4.0 alternator as it was in the donor vehicle. Remove the thick orange/black wire from the positive side of the starter solenoid and splice it into the thicker light green wire in the cluster of wires coming from the power distribution box. This will provide power to your ignition.
The previous owner of my truck fiddled with the wires alternator wires and instead spliced the 4.0 alternator into the 2.9 alternator harness. I don’t recommend this route but here’s how I wired it up if it pertains to anyone. If not, skip to step 4. Follow the black/orange from the alternator through the original harness to the drivers side wheel well. At this point, the orange/black wire and a wire with a fusible link are spliced together (not sure if by factory or previous owner) and meet at a small connector where a orange/black wire comes out of:


Trace the orange/black wire around the front of the engine bay to the power distribution box and splice it to the large green wire in the cluster of wires coming from the power distribution box: This will give fused power to your ignition.

Now go back to the same area and find a large yellow/white wire and another fusible link. Splice them together if they aren’t already and run a heavy gauge wire from them to the positive side of the starter solenoid. Somewhere along this wire you should put an inline fuse or fusible link. Ideally you could use a wire coming from the distribution box for this too and just put a another fuse in the box, but I wasn’t comfortable with how small the rest of those wires are.


Step 4: Fuel Inertia Switch
The fuel inertia switch is located under the passenger wheel well and is used to shut off the fuel flow in the event of an accident. The plug that goes to this switch is on the end of the harness near where it connects to the computer. There are 3 options to get it working with this swap:
Simply remove the old inertia switch and replace it with one from the donor vehicle, and plug it right in. Make sure to press the button on top to reset the switch in case it got tripped in the process.
Use the old inertia switch by directly splicing the wires from your new harness to it. Pink/Black goes to Pink/Black, and Dark Green/Yellow goes to Orange/Light blue.
Remove the inertia switch connector off the end of the 4.0 harness and splice the 2 wires together. WARNING: in the event of a crash, your fuel pump will not turn off.

Step 5: Making Adapter Harnesses to Connect to Original Dash (The fun part!)
We will now make 2 adapter harnesses that will connect the 4.0 harness to the dash, ignition, gauges, fuel pump, and other components. You will use the plugs you cut off the donor vehicle, as well as plugs cut off the old harness to bridge the two. Here is the wiring diagram I made that pretty much shows how everything goes, but I will also explain them in more detail:

The first, smaller adapter harness will connect one plug from the 4.0 harness to two plugs from the original truck. It gives power to the fuel pump and gets your speedometer working.


The second adapter harness is bigger, and bridges 3 plugs coming from the original vehicle (one from transmission, 2 from dash) to the big 8 pin plug from the 4.0 harness. Not all wires are used, so make sure to trim and tape the ends of all unused wires. All of the ground wires I spliced together to make one big ground wire.


In the end, you will have something that looks like this. The plug on the top goes to the 4.0 harness, the 3 plugs on the bottom go to the plugs from the original truck. The three wires on the top right are going to the transmission. The black wire on the top left is my ground, and the two wires on the bottom left are going to the oil sensor and the coolant temp sensor. I just spliced them into the single wires coming from those sensors. The coolant temp sensor wire on my 4.0 was Gray/Blue.


Step 6: Final Touches
Install both your adapter Harnesses, making sure to ground the ground wire coming from the large adapter and hook up the coolant/oil sensor wires. Coolant/temp wires are not needed to start engine but are nice to have.
Other grounds: ground anything else that needs it. If I remember correctly there should be a wire near the computer that needs to be grounded, a 2 pin plug with black wires near the power distribution box that needs to be grounded, and another one somewhere in between
Install battery
Install intake and hook up MAF.
Step 7: Fire her up!
At this point you should be able to start the truck!!! Congrats. If it doesn’t crank over, then double check your starter and starter solenoid wiring. If it cranks but doesn’t fire up, make sure the fuel pump is getting power and check for air in the fuel line by bleeding it using the valve on the fuel rail. Other than that, double and triple check all grounds and make sure no wrong splices were made. Let me know if you have any questions or suggestions and enjoy your new 4.0 Ranger!
See the original submission HERE.
About The Author
Jim Oaks is the founder of TheRangerStation.com, the longest-running Ford Ranger resource online since 1999. With over 25 years of hands-on experience building and modifying Ford Rangers — including magazine-featured builds like Project Transformer — Jim has become one of the most trusted authorities in the Ford Ranger off-road and enthusiast space.
Since launching TheRangerStation.com, Jim has documented thousands of real-world Ranger builds, technical repairs, drivetrain swaps, suspension modifications, and off-road adventures contributed by owners worldwide. TheRangerStation.com has been referenced in print, video and online by enthusiasts, mechanics, and off-road builders looking for practical, and experience-based information.