
Introduction
This article shows you how to replace the Double Cardan CV Ball in a Double Cardan Joint (Driveshaft).
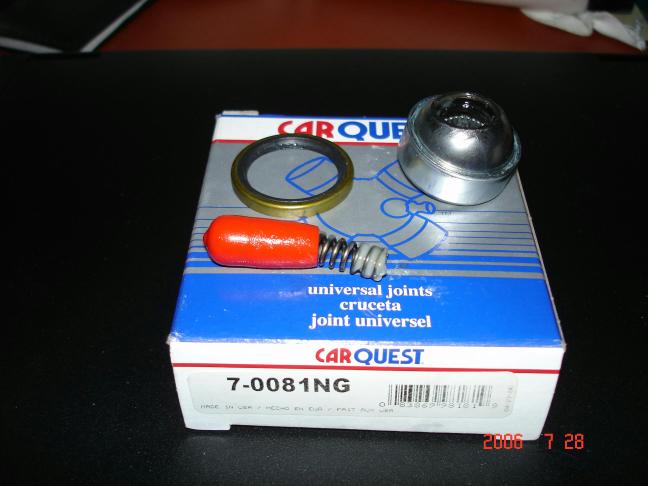
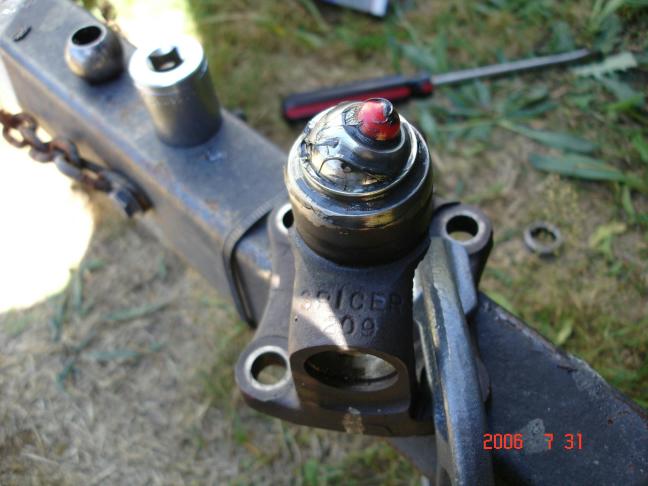
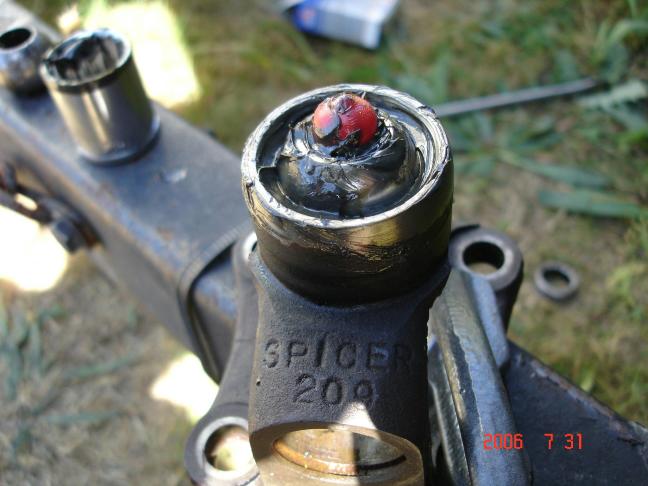
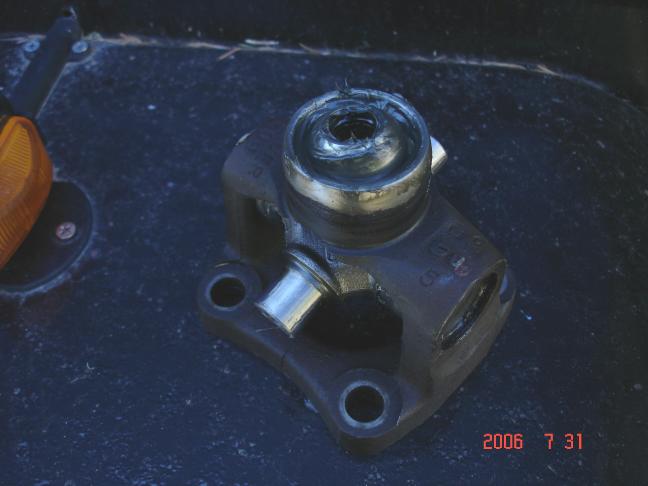
What You’ll Be Replacing
Here’s what we’ll be replacing. About $30 at the local parts store scored me a ball in a socket, a spring, and a seal; hardly seems worth it but you have to do what you have to do! It’s also recommended that you replace both the u-joints at the CV end of the shaft during this project since they both have to come out anyway.
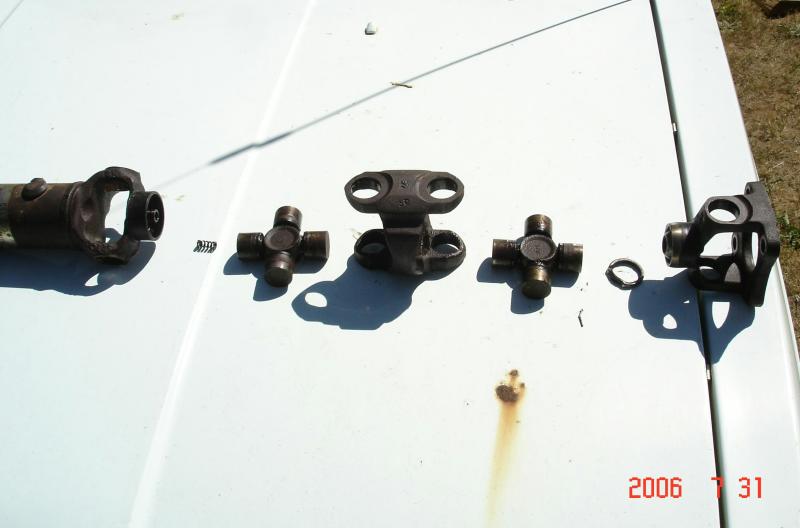
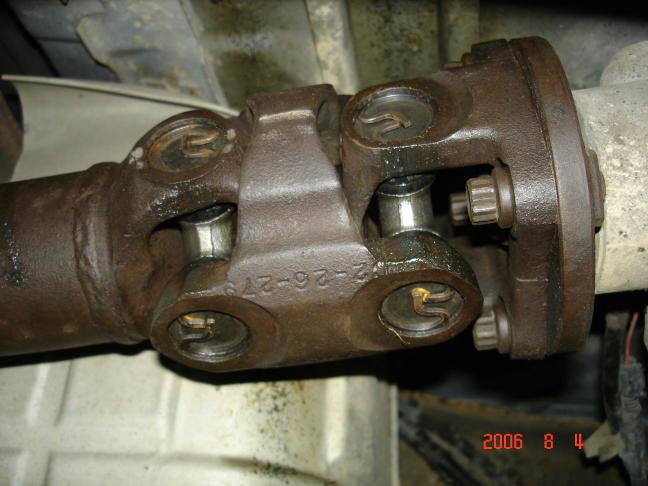
Start by removing the drive shaft (block tires, set parking brake, disconnect negative battery cable…you know the drill). MARK THE POSITIONS of the flange, center yoke, and drive line so they can be installed in the same position. This is crucial to maintain the balance of the drive line.

Remove the c-clips and end caps of the u-joints. The seal for the ball in my joint fell out after I got the u-joints out, but if yours is still whole, you’ll have to pry it out.
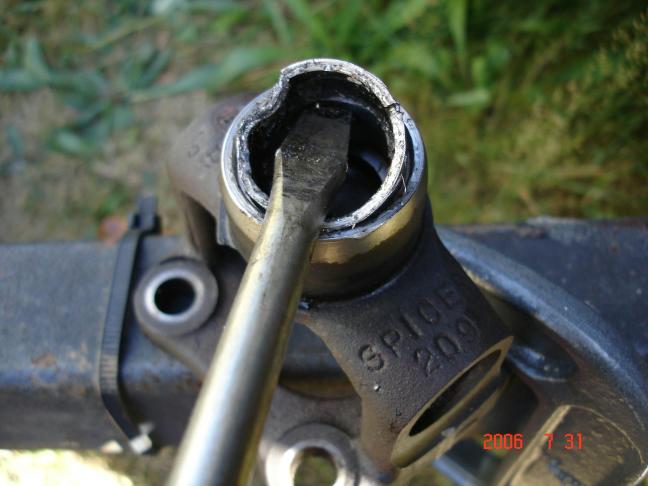
Turn the ball sideways in its socket and stick a big screwdriver or pry bar in the hole and pry it out. It’s in there tight, so it’ll take some “persuasion”. After the ball is out, use a chisel to dent the race inward, then pry it out.
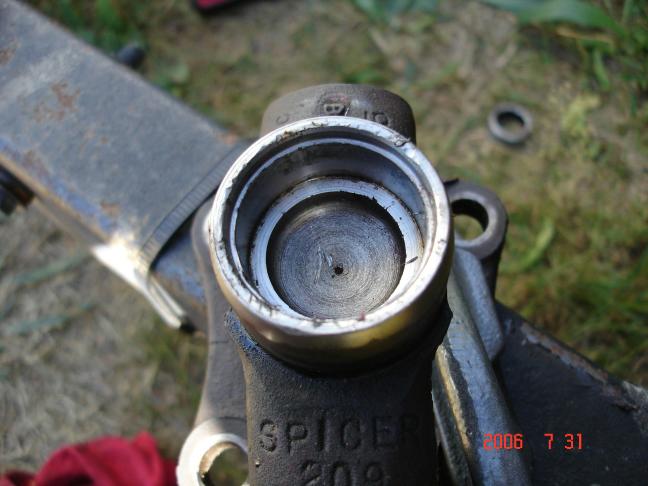
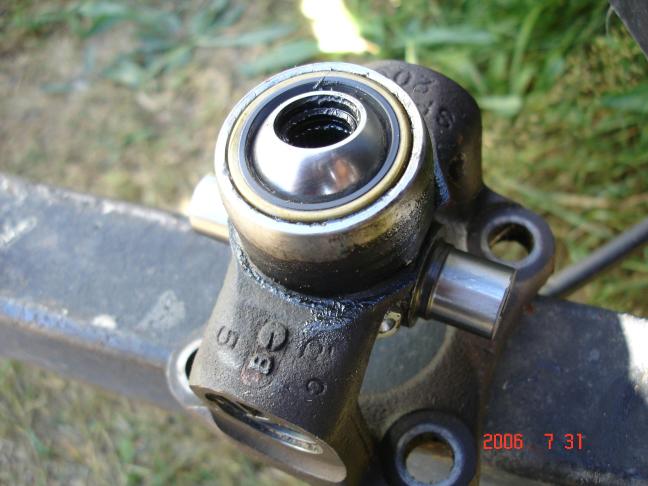
Sand any burrs or rust off of the flange socket. Coat the socket with grease to aid in installation and to give the new ball a little extra lube after its installed.
Place the new ball and race assembly in the flange socket. Make sure you leave the “condom” in during the installation process to keep the needle bearings from falling out.
Use a 15/16 socket and a hammer to drive the new ball/socket into place. Grease squirted out of a tiny hole in the bottom of my flange after driving the ball in. I guess I used enough grease!
Press in the new seal, I used a 27MM socket and hammer. Some may notice the u-joint is already installed on the flange in this pic. That’s because I almost forgot to install the seal before re-assembling the joint, whoops.
Install this u-joint first and clean up and grease the alignment stud and the big cup-shaped seal on the end of the drive line. CHECK YOUR ALIGNMENT MARKS before installing the joint!
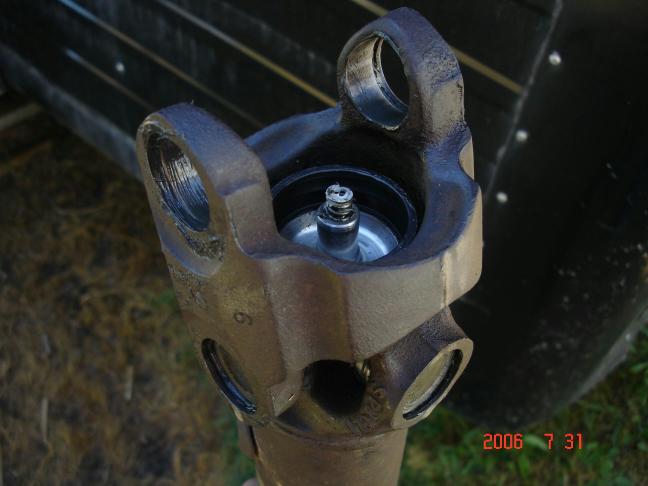
Install the second u-joint in the flange. Remove the rubber “condom” from the ball. Install the spring that comes with the ball kit into the end of the alignment stud. CAREFULLY (as to not knock over the needle bearings inside the ball) install the second half of the joint, making sure to line your marks up.
Install all your c-clips, then reinstall the drive line and that’s it! You now have a Double Cardan type CV joint good for another 100,000 miles!
Contributor
This procedure was performed and documented by TRS forum member Dale Pearcy AKA ‘Wicked_Sludge’ who submitted it to the author to be published at The Ranger Station to help other Ford Ranger owners.
About The Author
Jim Oaks is the founder of TheRangerStation.com, the longest-running Ford Ranger resource online since 1999. With over 25 years of hands-on experience building and modifying Ford Rangers — including magazine-featured builds like Project Transformer — Jim has become one of the most trusted authorities in the Ford Ranger off-road and enthusiast space.
Since launching TheRangerStation.com, Jim has documented thousands of real-world Ranger builds, technical repairs, drivetrain swaps, suspension modifications, and off-road adventures contributed by owners worldwide. TheRangerStation.com has been referenced in print, video and online by enthusiasts, mechanics, and off-road builders looking for practical, and experience-based information.