- Joined
- Oct 12, 2018
- Messages
- 15
- Points
- 601
- City
- Milwaukee, WI
- Vehicle Year
- 1997
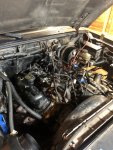
- Engine
- 4.0 V6
- Transmission
- Manual
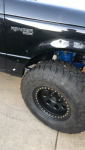
- Total Lift
- 6
- Tire Size
- 35
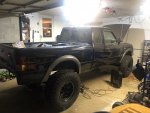
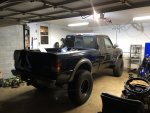
Longtime listener, first time caller. Forum has been helpful to be since I was 16 and had my first reg cab flareside Ranger.
Always wanted to build out another Ranger after I finished school and became an "adult".... so here goes.
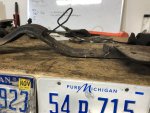
Originally I found a 96 2.3L 4x4. Looked ok, had some idle issues. As I dug in deeper to it, this Ohio farm truck was pretty bad. I ended up pulling the good parts: manual T case, shifter, extension housing. Then scrapped everything else.

In Spring 2019, when I knew the 2.3L was going to go away, I knew I needed something better to start with.
Before I scrapped the truck, I actually was building axles for it. Bought a D35 front chunk with beams and bought a 31spline 8.8 from a Sport Trac.
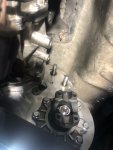
Specs were 5.13 gears, found a TrueTrac listed for a D35 rear application and flipped the worm gears for a "front" usage. Installed a Grizzly locker in the rear.
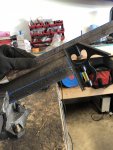
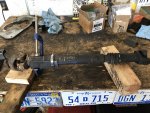
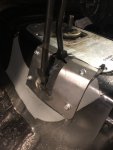
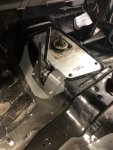
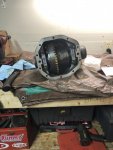
D35:


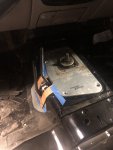
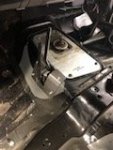
The TrueTrac carrier:

Pulled off the side cap that holds the gears in:

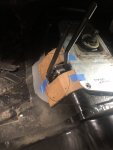
Pull the gears out and move them from one side to the other. Saw this on a Land Rover or Toyota forum where they claim it changes the bias ratio since "reverse" is now "forward":

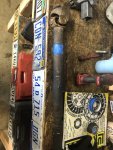
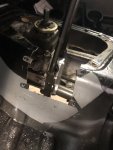
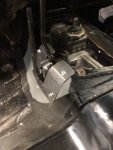
Gears mocked up for getting shims right:

Checking backlash and pattern:

Have 10 different pattern pictures, so not sure if this was the final one. I think it was:

EDIT: while I used a crush sleeve on the rear axle, the front was difficult. Didn't have enough snuff on the air gun and couldn't lock the housing down enough to torque it manually. Used a solid pinion spacer instead. Worked great! Bought it from Ratech.
I think to save space I'll drop the 8.8 pics in the next post.
Always wanted to build out another Ranger after I finished school and became an "adult".... so here goes.
Originally I found a 96 2.3L 4x4. Looked ok, had some idle issues. As I dug in deeper to it, this Ohio farm truck was pretty bad. I ended up pulling the good parts: manual T case, shifter, extension housing. Then scrapped everything else.
In Spring 2019, when I knew the 2.3L was going to go away, I knew I needed something better to start with.
Before I scrapped the truck, I actually was building axles for it. Bought a D35 front chunk with beams and bought a 31spline 8.8 from a Sport Trac.
Specs were 5.13 gears, found a TrueTrac listed for a D35 rear application and flipped the worm gears for a "front" usage. Installed a Grizzly locker in the rear.
D35:
The TrueTrac carrier:
Pulled off the side cap that holds the gears in:
Pull the gears out and move them from one side to the other. Saw this on a Land Rover or Toyota forum where they claim it changes the bias ratio since "reverse" is now "forward":
Gears mocked up for getting shims right:
Checking backlash and pattern:
Have 10 different pattern pictures, so not sure if this was the final one. I think it was:
EDIT: while I used a crush sleeve on the rear axle, the front was difficult. Didn't have enough snuff on the air gun and couldn't lock the housing down enough to torque it manually. Used a solid pinion spacer instead. Worked great! Bought it from Ratech.
I think to save space I'll drop the 8.8 pics in the next post.
Attachments
Last edited: