
Disclaimer:
The Ranger Station.com, The Ranger Station.com Staff, nor the original poster are responsible for you doing this modification to your vehicle. By doing this modification and following this how-to you, the installer, take full responsibility if anything is damaged or messed up. If you have questions, feel free to PM the original poster or ask in the appropriate section of The Ranger Station.com forums.
Author: legoms013 (AKA Evan)
Ever wanted a newer Ranger cab, with the swing out rear doors on a twin I-beam equipped frame? After all it is much easier to swap in a solid axle on the earlier frames since they were already set up for coils than the torsion bar Rangers. Best of both worlds!
Disclaimer: The Ranger Station.com, The Ranger Station.com Staff, nor the original poster are responsible for you doing this modification to your vehicle. By doing this modification and following this how-to you, the installer, take full responsibility if anything is damaged or messed up. If you have questions, feel free to PM the original poster or ask in the appropriate section of The Ranger Station.com forums
This is a detailed how-to on swapping cabs. It is no easy task. However, no one part of the swap is overly difficult, it does take a considerable amount of work (especially the way I did it, which was the hard way and I’ll get to why that is in a bit). I had somewhere in the realm of 55-70 hours into this swap. Working mostly in the evenings after work and school. I took 3 days off for the final swap and button up. I worked about 10 hours each of those days. I am not the fastest worker, but I cataloged and took many pictures and labeled most nuts/bolts & parts. So it could be done faster.
I chose to swap on a newer cab for a few reasons: swing out rear doors, bragging rights, and the ability to change the front clip to the 2004 or newer style headlights and grille.
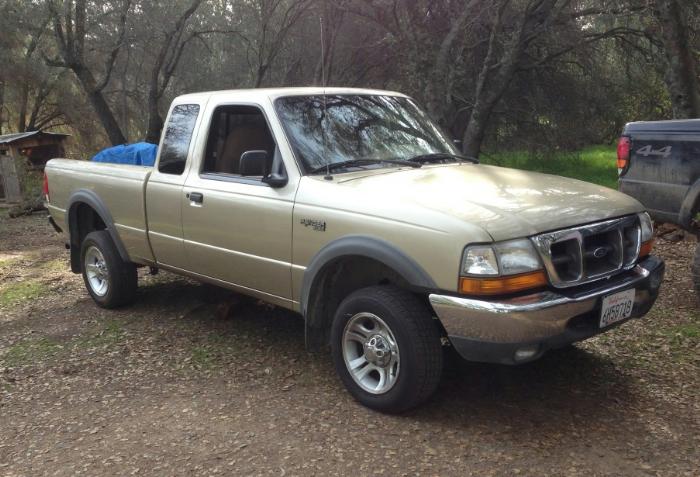
I chose a donor Ranger that was very similarly equipped to my then current 1996 Mazda B-4000. I bought a beater 2000 Ranger with straight sheet metal and decent interior. It had the 4.0L V6, automatic tranny, and electric shift t-case. It wasn’t identical though so that is why this particular swap was difficult. I had to retain the interior electrical harnesses and dash harness (but didn’t want to swap dashes since then my interior would be two tone beige and grey). I recommend getting a donor truck with the same color interior. That would have save a lot of time and headache.
Donor Truck:
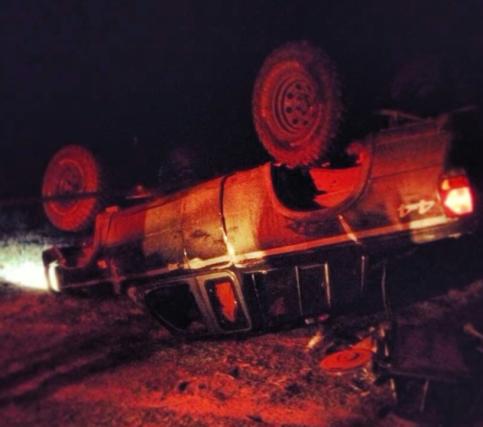
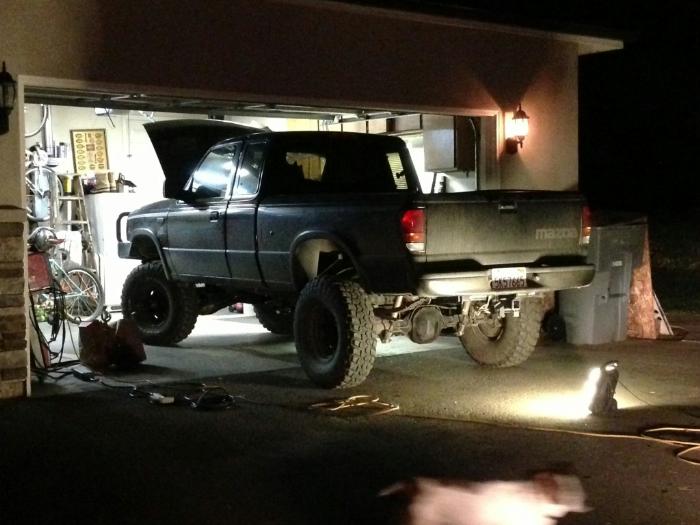
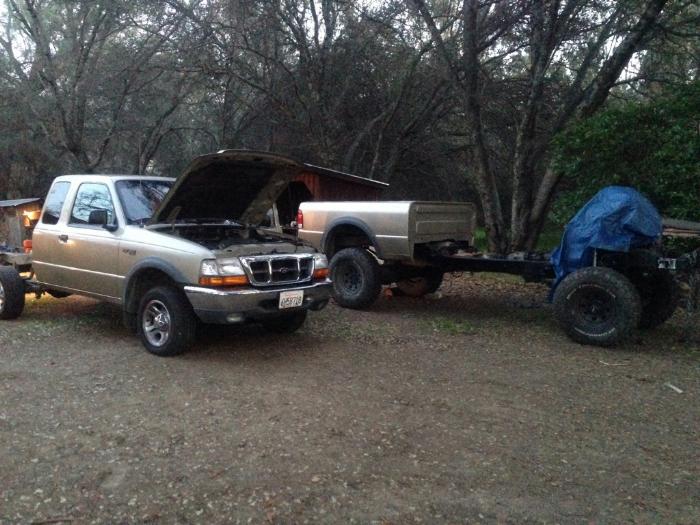
Truck I was swapping to (because I rolled it):

First step, strip the Mazda interior, then the front clip:
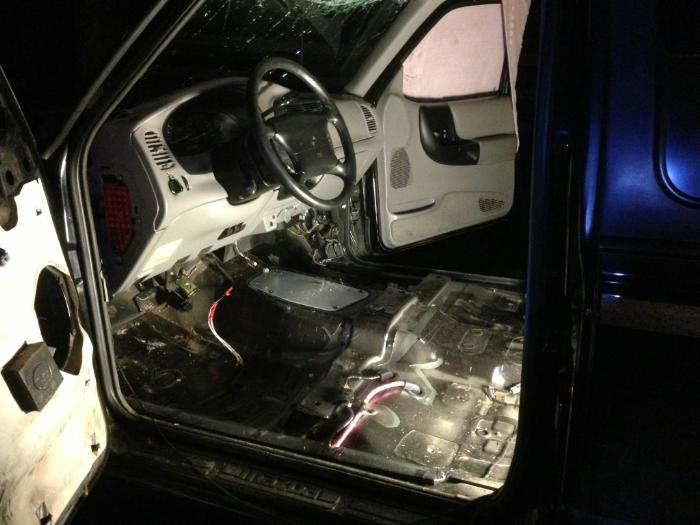

Basically, I had to remove everything from the interior of the Mazda. This would not be required if swapping cabs that where of similar generation. But since I was retaining the 1996 drivetrain, I had to swap the interior electrical harnesses also (three total). I also took the doors off to reduce weight.
Once that is done, move to the motor bay and un-hook, un-bolt, and remove anything attached to the cab, firewall or interior so that the cab can be lifted off. This can all be done without losing any brake fluid, just un-bolt the master cylinder from the firewall and zip tie it up on top of the motor.
The A/C however is a different story. While I suppose it is possible, I chose to un-hook and have the freon vacuumed out. This was done to get the blower motor assembly and accumulator removed from the engine bay. Would be extremely hard to get the cab off without doing this.
Remove the radiator, condenser, ect. Strip the front fenders and front clip off. Makes everything go a lot smoother this way. Label all nuts and bolts, clips and electrical connections.
Un-bolt cab mounts (6 total, probably rusted and probably seized. Use heat and an impact gun).
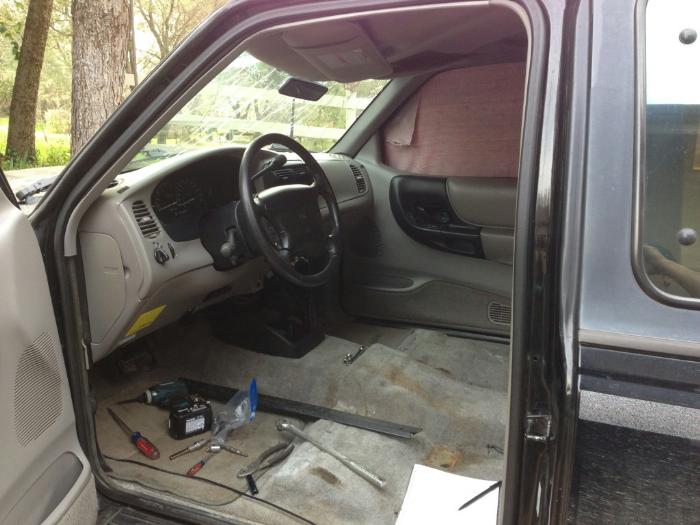
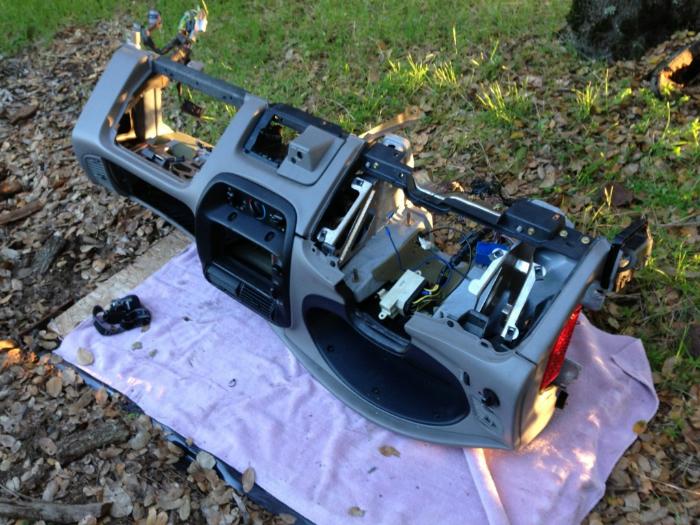
Remove dash. Google search on how to do this, there are some good articles out there. It is quite involved but not very hard, just tedious. I won’t cover that here.
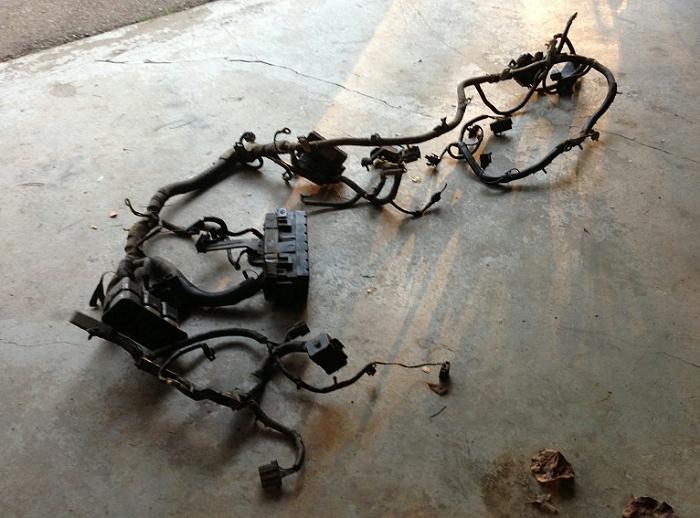
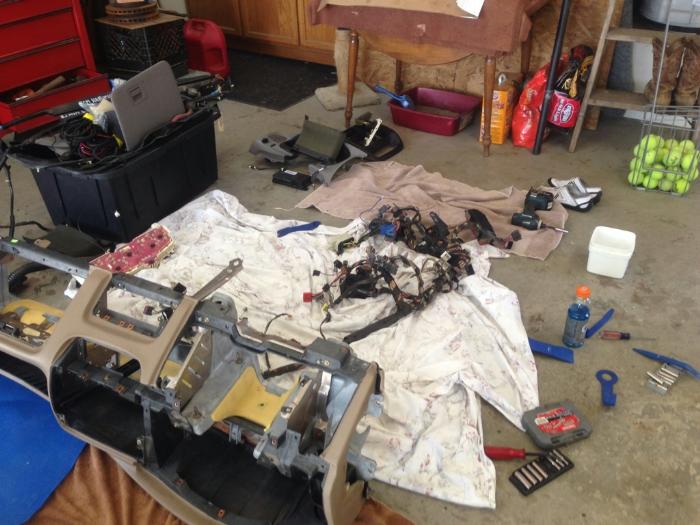
Remove motor bay main electrical harness…the big one that the power distribution (fuse block) feeds and wraps around the entire motor bay.
This Monstrosity (Harness):
Once the cab is stripped. Double check all cab to frame connections (and 3-4 ground straps).
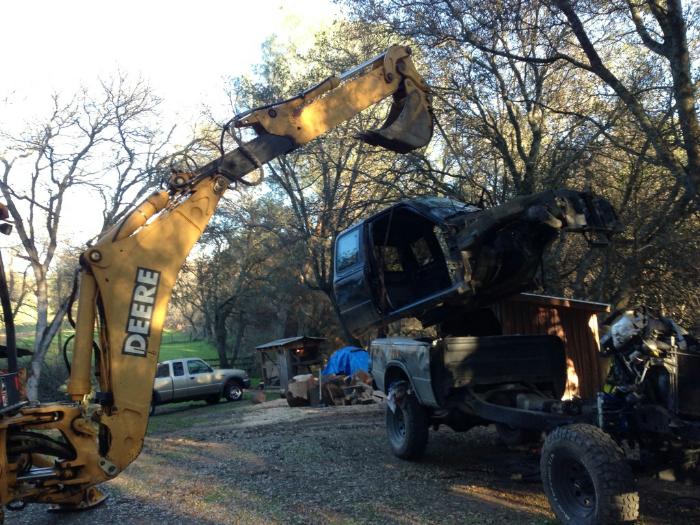
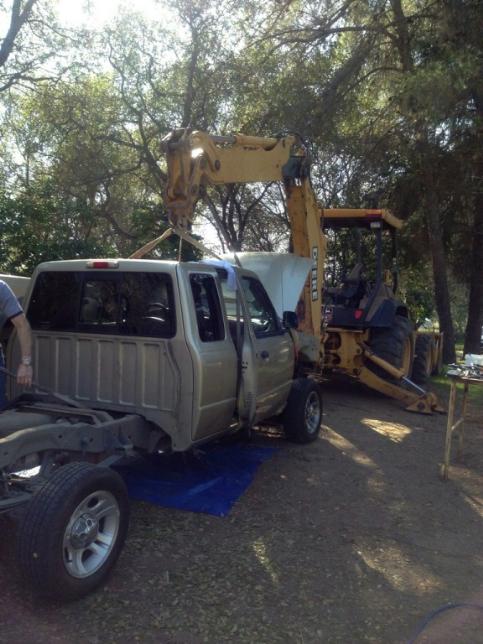
Remove Cab (heavy equipment makes quick work of this):

Once the cab is off you can remove the bed at any time (or before, up to you). Now is a really good time to do spark plugs/wires, oil change, steam cleaning, painting, body mounts, freeze plugs and / or tranny / t-case fluid changes. I highly recommend doing all that you can while you have the access. You won’t ever have that amount of access again most likely!!!
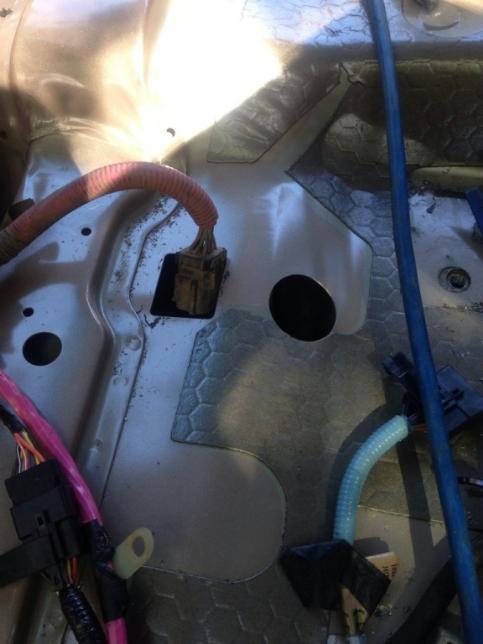
Freeze Plug Replacement Access:

Now, the donor truck has to be dismantled the same way. Start with the interior, remove all of that down to bare bones (I left the doors on this time however). This time I left the backseat wall panels and roof trim, & ceiling panels. This step could be simplified if both truck had the same color interior.
Strip the front clip, fenders, inner fenders bumper and all of that off. Un-hook, un-bolt and remove anything attaching the cab to the frame (again). Zip tie the Master cylinder up out of harms way. Remove air intake and filter, throttle cables, cruise control cables, electrical and transmission selector cable.
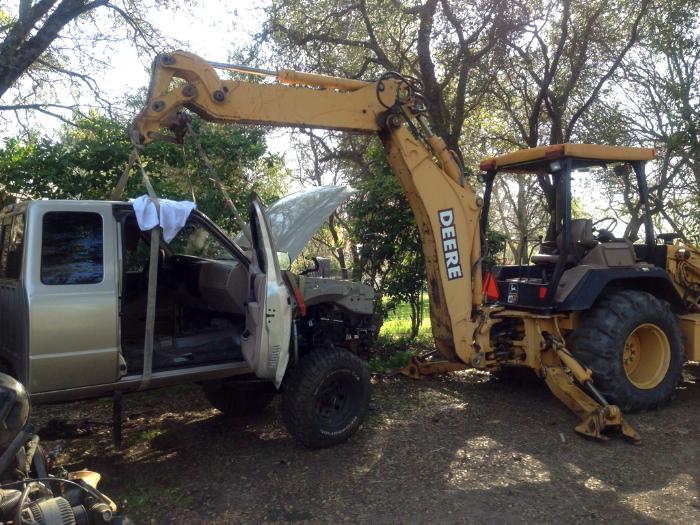
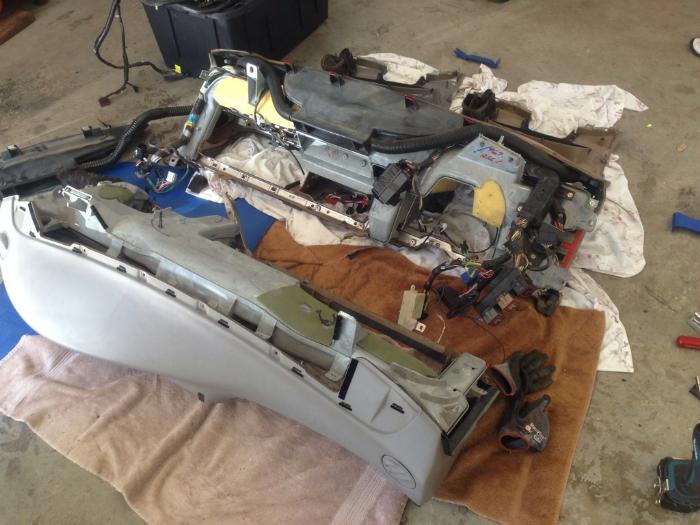
Place Cab On Frame:
Now come the idiosyncrasies. The parts that don’t “just work” or “bolt on”. You will have to do some custom stuff to get it to work. Die grinder, electrical tools, welder, torch, grinders, and 2″ hole saw are some really handle tools that come to mind.
Here is a list of items that have to be dealt with:
Floor pan:
The 1996 has two bundles of cables going through the floor on the driver’s side, in round grommets.
The 2000 only has one and its square…
…Have to cut holes in the new floorboard if you retain the older wiring setup. Easy fix with a 2″ hole saw. Plug the grommets in and you are good to go. I siliconed the grommets in.
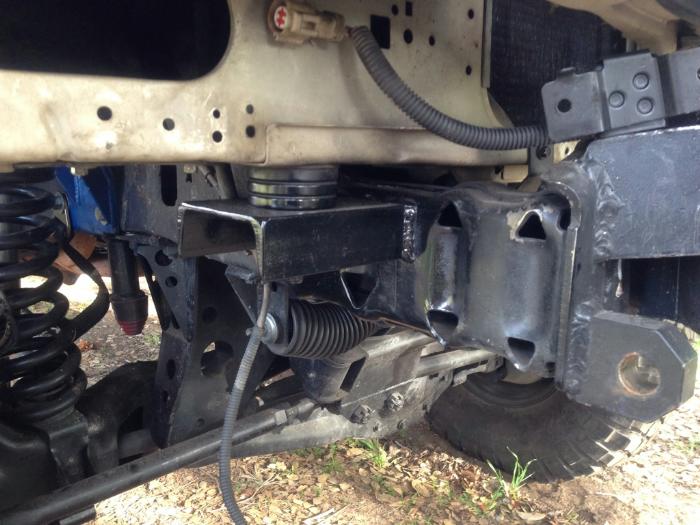
Body Mounts:
The front two have to be spaced out ~1-1/16″ per side wider than existing mounts. I cut off original mounts and welded on 6″ c-channel. Use whatever is convenient. Set cab on new bushings right on new supports, mark, lift up cab and cut holes in the supports. Make sure that cab is square with frame.

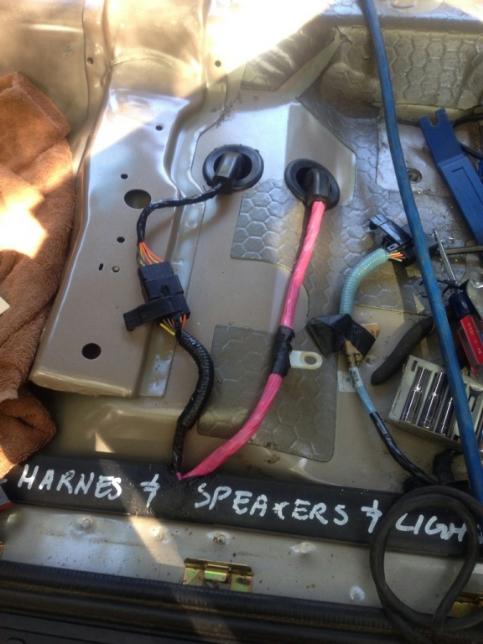
Interior Electrical Bundles:
Lay in the electrical harnesses from the old cab. Fasten to floor. Cut driver’s side bundle behind the seat somewhere, and splice into the harness of the new cab that is in the back seat (it serves the rear door speakers, upper cab tail light and dome light). All the colors are the same and all wires get used! Heat shrink, cable wrap and secure to floor.
Radiator Support:
Passenger side mount on new cab-body has to be modified and moved over or extended about ~3.5″. Drivers side ~2.5″. I used flat bar welded to the top of the brackets after grinding out the lip. Sorry no pictures. Retain rubber mounts.
2000 Radiator & Condenser too wide to use on TTB Frame. Had to retain the 1996 radiator and condenser, due to the frame rail width being to narrow to use the 2000 stuff.
Condenser upper bolt holes work.
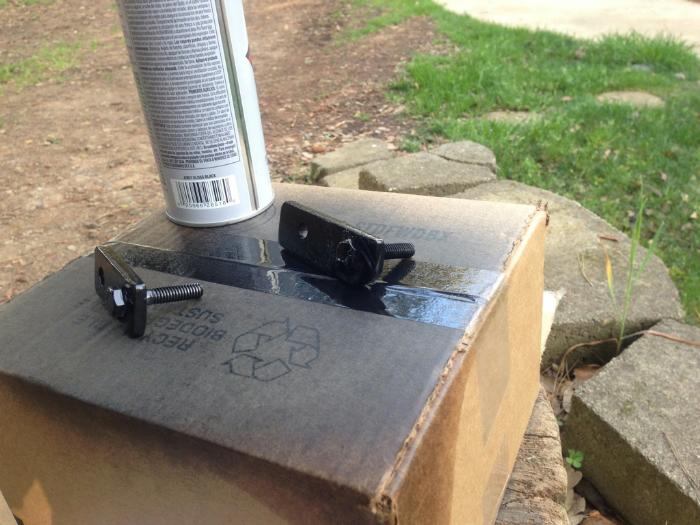
Radiator bolt holes do not. Make two brackets. Drill two holes in each. Weld a stud in one. Paint.
Condenser Support:
Use the TTB support off the body. Passenger bolt lines up, the other has to be drilled or welded. This allows usage of original condenser from the 1996 cab. Weld it on (make sure its level).
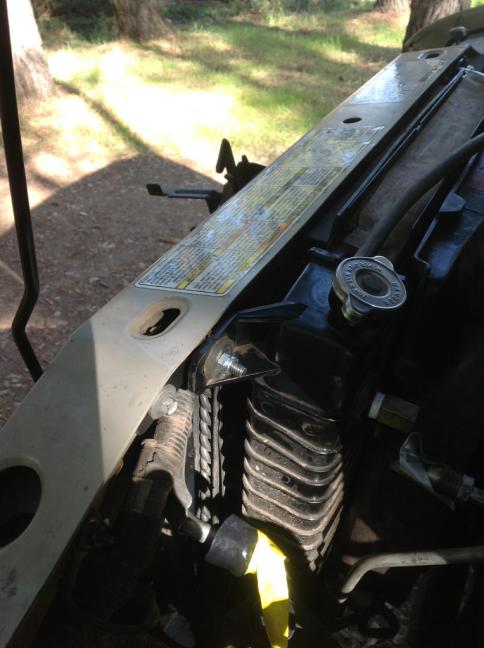
Fan / Clutch:
Use the 1996 shroud, but use the newer fan, the blades are deeper. Otherwise, the stock fan doesn’t reach far enough into the 1996 shroud.
Wiper Motor:
If retaining the motor harness from the TTB frame, wiper motors will have to be swapped, or the wiring will have to be modified.
Air Box:
Use the one off the newer cab, and take apart cone style intake tube, un-plug MAF harness connector, reconnect to newer square style filter and the newer intake tube.
Interior Modules:
The radio amp module and keyless entry module have to be relocated “somewhere”.
Charcoal Canister:
Charcoal canister in motor bay has to be mounted with a bolt/sheet-metal screw on battery tray. Weld a short pc. of angle iron and use a sheetmetal screw. Easy fix.
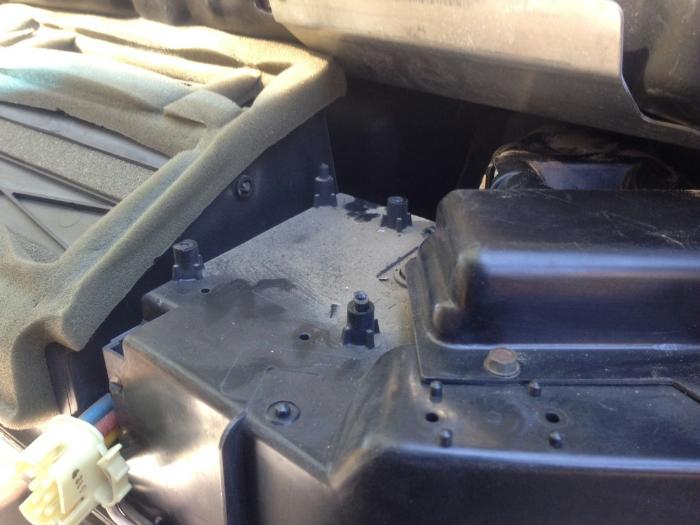
Motor bay ABS module:
Motor bay ABS module has to be mounted in front of battery to header panel…sheet-metal screw or small bolts your choice. Easy fix.
Emergency Brake Pedal:
Use the newer pedal, but the older lines and reconnect. Also have to move frame mounted emergency brake line support bracket forward by a few inches. Just use existing bracket but drill a new hole and mount.
Tail Lights:
1998 tails utilize 2 bulbs. 1993-1997 utilize 3 bulbs. Easy fix. Cut out (die-grinder) a hole in either taillight on the newer ones for the third bulb (the blinker) if retaining the original bed harness.
Front Bumper:
Will need to fabricate a custom mount for a stock 1998+ bumper, or fabricate a custom bumper all together, since body lines won’t match up and frame is different between the two generations.
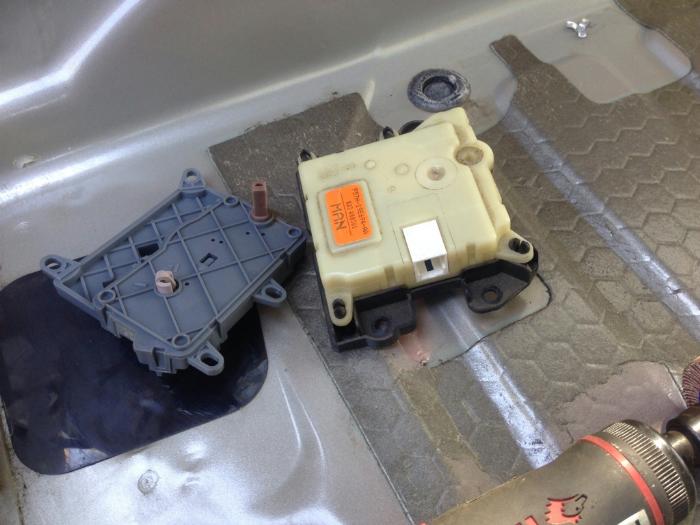
Heater / Cooler Blend Knob:
1993-1997 used an electric motor for the blend door. 2000 used a cable type setup. If you retain the HVAC blend box heater core assembly out of the NEWER cab like I did and want to retain the electric blend door motor out of the 1996 cab. Do the following. Remove the cable actuator, grind the tabs off of the HVAC box, and mount the electric motor to the HVAC box using the original hardware.
Cable actuated on the left, electric blend motor on the right:
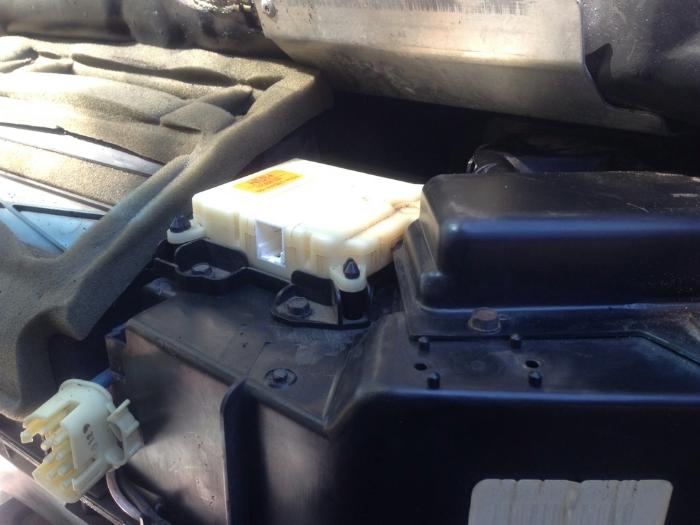
Mounted:
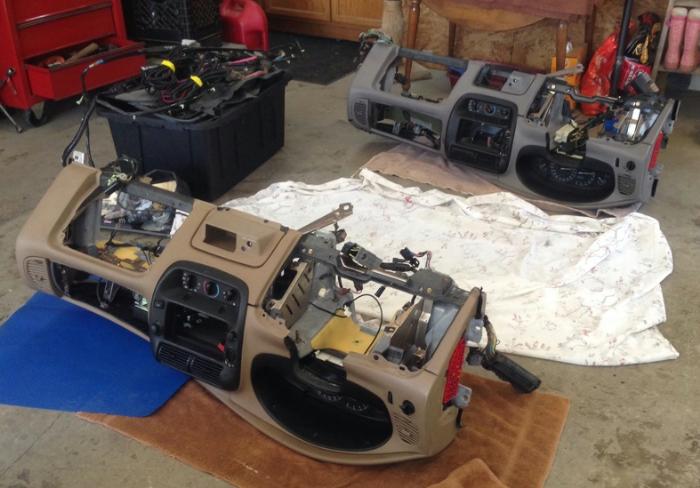
Dash Harness:
Now set dashboards side by side and swap the dash harness…not hard just tedious and take your time. Take a few pictures to aid your memory of where all the bundles and clips go.
Reinstall Dash:
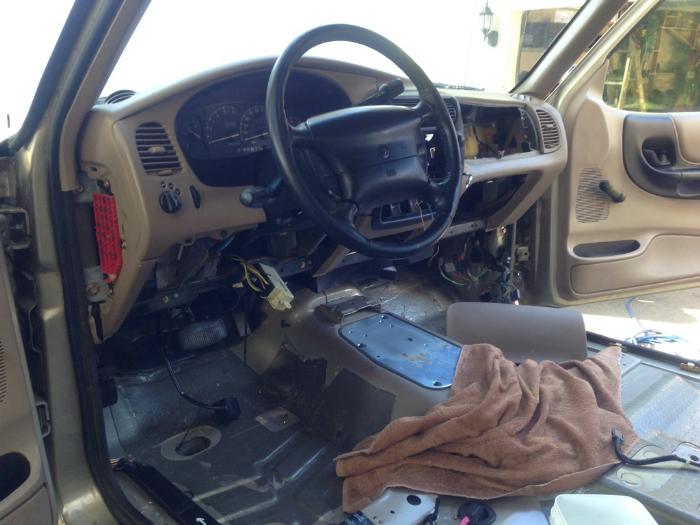
Reinstall Interior:
Transplant old motor harness into motor bay and hook up (all clips and hold-downs are pretty much the same).
Hook up 4 ground straps (IIRC).
Put radiator back in. Fill up with coolant.
Put fenders and front clip on.
Put hood on.
Double and triple check brake lines, electrical, tranny selector cable, ground straps, emergency brake lines and anything else that was messed with.
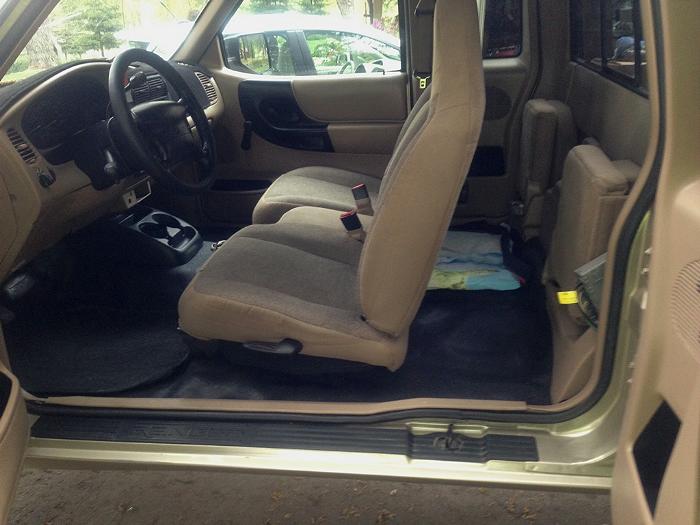
Fire it up and go for a test drive! Get A/c charged.
Congratulations and go enjoy a beer (or many!), that was a lot of work! Enjoy your new Franken Ranger and get a solid axle under it (will be much easier than the hell you just endured!!!)!!!
TRS Notes:
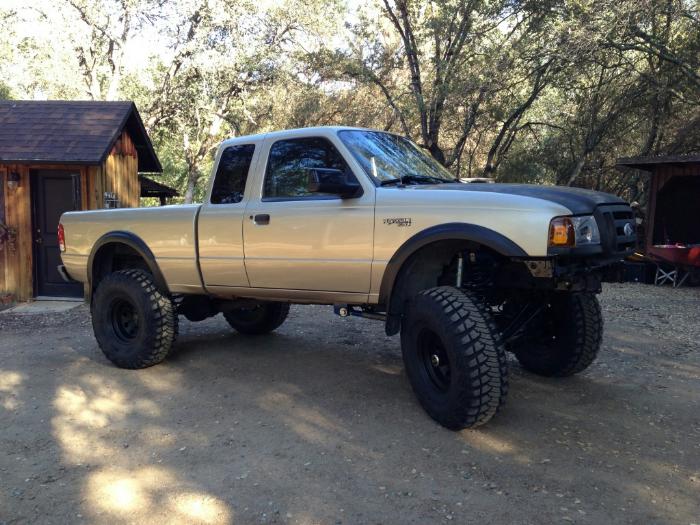
Ok, the 1993-2011 Rangers have the same basic cab style, and we’ve seen the 1993-1998 Rangers with a 1998 and newer front clip. However, this truck has the 3rd door that opens on the drivers side:
It’s a great feature because it gives easy access to the area behind the seats.
Lifting a 1998-2011 Ford Ranger can be expensive. Lifting a 1993-1997 Ford Ranger is far more economical. Imagine the cool builds you can come up with this combination.
About The Author
Jim Oaks is the founder of TheRangerStation.com, the longest-running Ford Ranger resource online since 1999. With over 25 years of hands-on experience building and modifying Ford Rangers — including magazine-featured builds like Project Transformer — Jim has become one of the most trusted authorities in the Ford Ranger off-road and enthusiast space.
Since launching TheRangerStation.com, Jim has documented thousands of real-world Ranger builds, technical repairs, drivetrain swaps, suspension modifications, and off-road adventures contributed by owners worldwide. TheRangerStation.com has been referenced in print, video and online by enthusiasts, mechanics, and off-road builders looking for practical, and experience-based information.