
Introduction
When the Ford Ranger left the assembly line it had spring clips on its wheel lugs to keep the locking hubs from falling off when the wheels are removed. They’re usually not replaced when the hubs are removed. Here’s how you can secure your locking hubs, so they don’t fall off when you remove the wheel.
Let’s Get To It…
Sick & tired of your hubs coming off with the wheels when changing a tire? Read on for a quick fix for this problem.
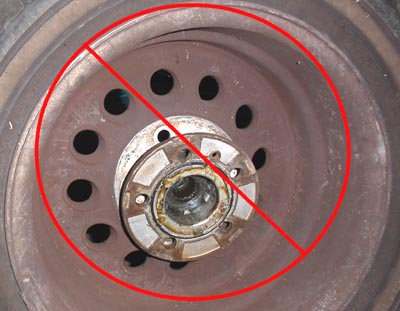
From the factory, Ford originally used these dumb little spring clips to secure the hubs.
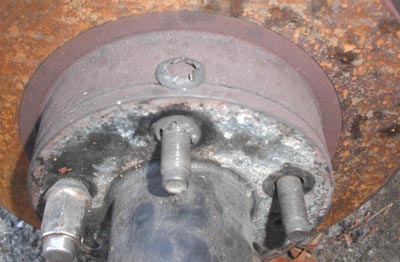
They are generally considered to be “one-time-use” (disposable) parts and are rarely replaced after a wheel bearing or brake servicing. They also interfere with installation of most aftermarket wheels. With the clips missing, the hub can fall off with the wheel when removing the tire, exposing the wheel bearing.
Following is a simple step-by-step on how to securely attach the hubs to the rotors. Although a manual hub is shown here, this procedure will work with the automatic hubs also.
Step By Step
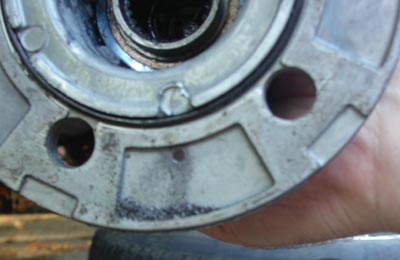
Step 1. After removing the wheel, thread (2) or (3) lug nuts back onto the rotor to firmly secure the 4WD hub. Make sure the hub is centered around the studs (there’s about a millimeter of slack around the holes)
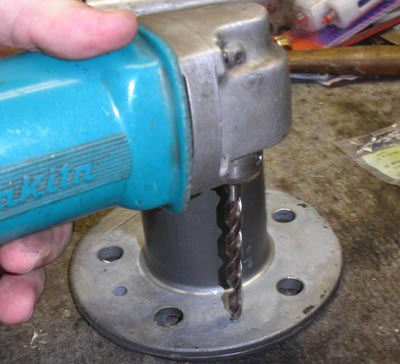
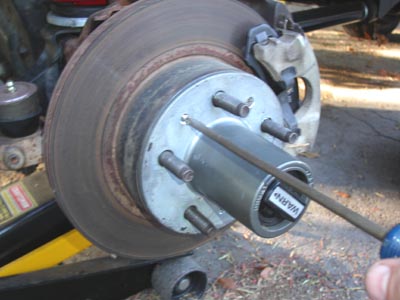
Step 2. Using a 5/32″ drill bit, drill through the hub and the rotor between two of the wheel studs. Be sure to position where you are drilling BELOW the wheel bearing so the drillings don’t fall into the bearings. After you drill all the way through, remove the hub and clean the metal shavings out.
Don’t let this stuff fall into your bearings!
Reinstall the hub and repeat in two more locations around the hub.
Note that the hub will already have one pre-existing hole between two of the stud holes. This hole can be utilized as one of the (3) screw locations around the hub.
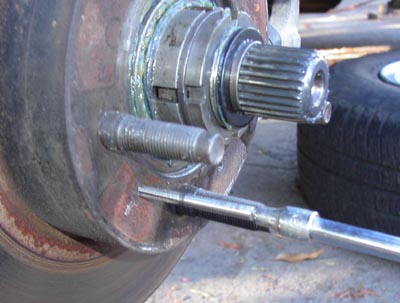
Step 3. Using a 10-32 thread tap, tap the three holes in the rotor. (Due to the proximity of the wheel studs, I modified the tap slightly to fit into a small socket & extension and used a 1/4″ drive ratchet to tap the threads.)
Step 4. Enlarge the two holes you drilled into the hub flange using a 1/4″ drill bit.
Now, using a 7/16″ bit, chamfer the edge of all three holes slightly so that the head of a 10-32 flat (taper) head stainless steel screw is flush with the hub surface as shown here.
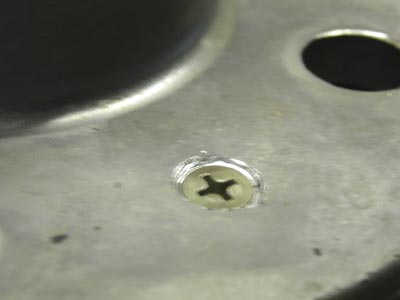
Be careful (go slow) around the one hole that was pre-existing, the drill bit may tend to grab & gouge around the hole while doing this.
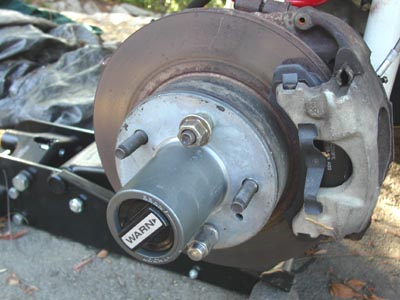
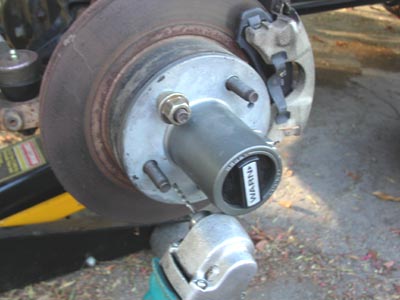
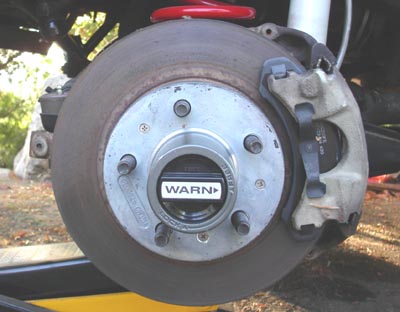
Step 5. Install the hub onto the rotor, aligning the three holes in the hub with those on the rotor, and screw it down using the 10-32 screws.
Step 6. Finished!! No more fussing with the hubs during a tire change!
Below is one of the packages of 10-32 x 1″ screws I bought at an OSH hardware store for this project.

If you are in a rust-prone area, you may want to put some anti-seize or something in the screw holes before installing the hubs, as the rotor itself obviously isn’t stainless. ~TRS
Last Updated:
About The Author

Shawn “4x4junkie” has been part of The Ranger Station since 2001 and brings decades of hands-on mechanical experience to the community. A lifelong tinkerer from the San Fernando Valley, he’s largely self-taught, learning by working on his own vehicles, reading service manuals for fun, and tackling everything from suspensions and axles to transmissions. He currently owns and maintains a 1994 Ford Ranger XLT 4x4 and a 1990 Ford Bronco II XLT 4x4.
Shawn has contributed multiple technical articles and countless forum insights, most notably in the Suspensions and Axles sections. He’s known for practical, experience-based problem solving—often cutting through online folklore with real-world fixes. Whether helping diagnose issues or sharing fabrication knowledge, he’s committed to keeping TRS the best Ford Ranger resource available.