Introduction
Ford Ranger Tech (1983-2011) Tech Library is a comprehensive technical reference for 1983–2011 Ford Ranger and Bronco II owners. This section serves as a central index linking to detailed how-to articles, specifications, diagrams, upgrades, and modification guides organized by system and category.
Whether you are maintaining a stock truck, troubleshooting a mechanical issue, or building an off-road, overland, or street-driven Ranger, this library provides proven technical information covering engines, transmissions, suspension, axles, brakes, steering, electrical systems, bodywork, and more.
Each category below links to in-depth technical articles written by experienced Ranger enthusiasts and builders, documenting factory specifications, common upgrades, swaps, and real-world solutions specific to first-, second-, and third-generation Ford Rangers.
Disclaimer: Information provided for reference only. Vehicle modifications may be hazardous. Read full legal notice.
2019-Present Ford Ranger Tech
If you’re looking for tech specific to the 2019-present Ford Ranger, check out our Ford Ranger Tech (2019-2025) tech library.
Other Information
- Stock Specifications
- 1983-2011 Ford Ranger Builders Guide
- How To Build A Ford Ranger For Overlanding
- Ford Ranger Off-Road Product Guide
- Ford Ranger Owners Manuals
Categories
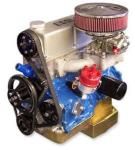
Engine & Fuel Tech:Engine specs, engine swaps, fuel, and induction systems |
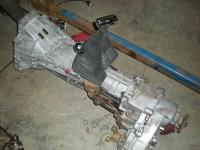
Driveshafts, Transmission & Transfer Case:Transmission & transfer case specs, swaps and upgrades |
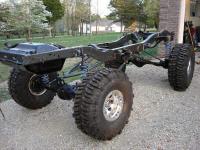
Suspension & Body Lifts:Body lifts, suspension lifts, shocks, and other suspension information |
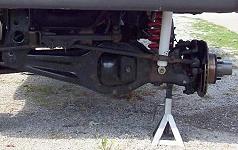
Axles, Gears, Hubs & Lockers:Axle specs, axle swaps, brakes, lockers and hubs |
Wheels, Tires, Brakes & Steering:Wheel specs, wheel swaps, what fits, brake systems & upgrades |
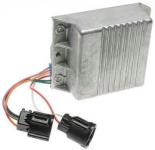
Starter, Charging & Ignition Systems:Ignition & charging system specs and upgrades |

Cooling & Heating:Radiators, oil & transmission coolers, air conditioning, and heater cores |
Lighting, Wiring, Horns & On-Board Air:Lighting, Wiring, Horns & Onboard Air |
Interior Electronics & Upholstery:Gauges, stereos, custom consoles, seats, and more
|
Body, Fiberglass & Paint:Metal and fiberglass panels, repair and paint. Snorkels are listed under ‘Engine & Fuel Tech’ |
Overlanding, Off-Roading, & Towing:Overlanding, Off-Roading, Vehicle Recovery, and Towing |
Mini Truckin – Lowering Suspensions:Information for lowering your Ranger |

Calculators:MPG, gears, crawl ratio, spring rates and more
|

Wiring Diagrams:Radios, lighting, etc. |
About The Author
Jim Oaks is the founder of TheRangerStation.com, the longest-running Ford Ranger resource online since 1999. With over 25 years of hands-on experience building and modifying Ford Rangers — including magazine-featured builds like Project Transformer — Jim has become one of the most trusted authorities in the Ford Ranger off-road and enthusiast space.
Since launching TheRangerStation.com, Jim has documented thousands of real-world Ranger builds, technical repairs, drivetrain swaps, suspension modifications, and off-road adventures contributed by owners worldwide. TheRangerStation.com has been referenced in print, video and online by enthusiasts, mechanics, and off-road builders looking for practical, and experience-based information.

