|
|
|
|
How to Install a 130 amp Alternator in Your Ranger |
|
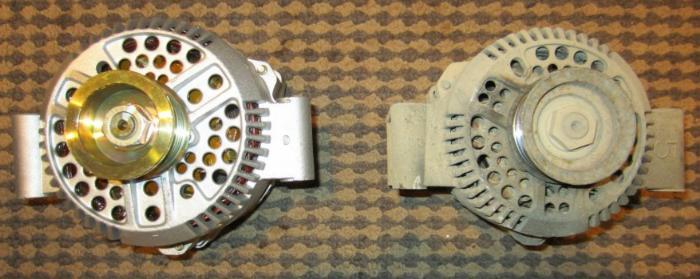
Original Poster: Colin Difficulty: 2 out of 10 Time to install: Under an hour Vehicle: 1998 Mazda B4000 Disclaimer: The Ranger Station.com, The Ranger Station.com Staff, nor the original poster are responsible for you doing this modification to your vehicle. By doing this modification and following this how-to you, the installer, take full responsibility if anything is damaged or messed up. If you have questions, feel free to PM the original poster or ask in the appropriate section of The Ranger Station.com forums. Brief Explanation: Although about 30% larger physically, the 130 amp alternator is a direct bolt-on upgrade with no modifications needed. My 95 amp alternator was starting to fail in my truck. When I went in to the parts store to get a new one, the guy at the counter told me the 130 amp was the the same price. Needless to say I got the 130 amp one.
Tools Needed:
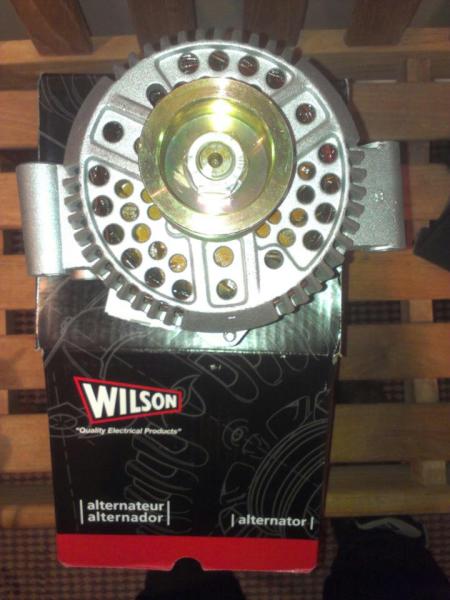
Parts Needed:
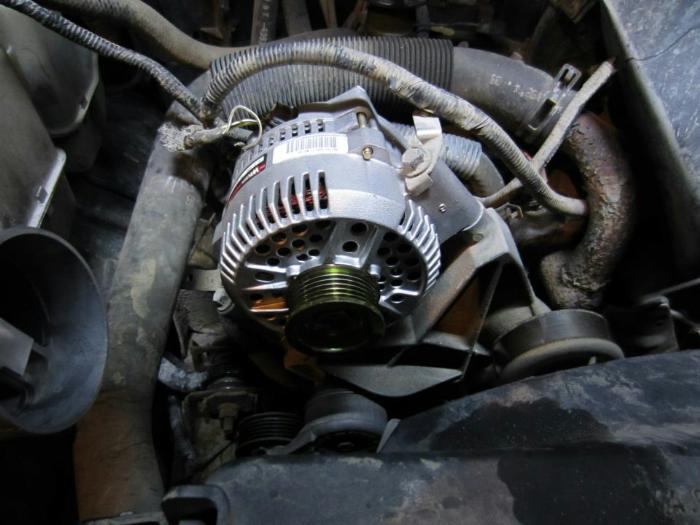
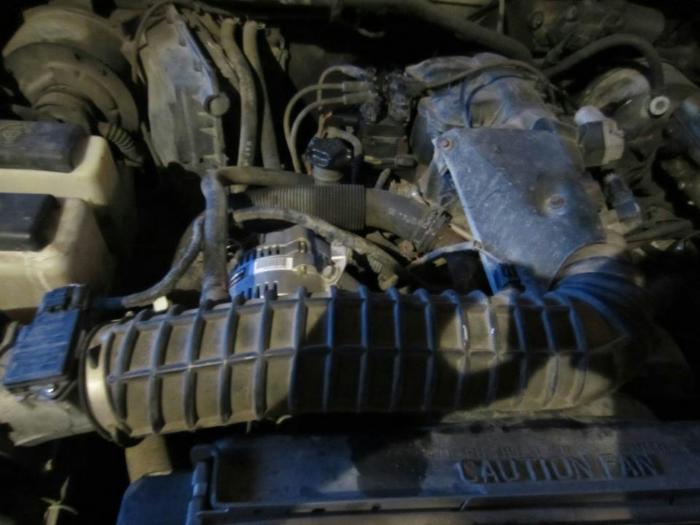
Removal: Step 1: Disconnect the battery. (If you feel the need to do so) Step 2: Using the 8mm socket and 1/4" ratchet, loosen the hose clamps on the air intake hose. Undo the electrical connectors so you can move the hose out of the way. Step 3: Using the 3/8" ratchet move the belt tensioner counter-clockwise to relieve belt tension and remove the belt. (You may want to make a drawing of your belt routing if your sticker on the rad support is missing/unreadable) Step 4: With the 3/8" ratchet, 1/2" socket and extension remove the 3 bolts holding the alternator. (Penetrating fluid may be helpful) There's a Christmas tree pin holding a coolant hose on the side of the alternator, pop it off. Step 5: Using the 10mm socket and 1/4" ratchet remove the main power cable. (If you didn't disconnect the battery, wrap the end in a rag to prevent shocks) With the small flathead undo the two connectors. Installation: Step 6: Reconnect the two connectors and the power cable. Step 7: Line up the alternator on the motor, start the bolts by hand to prevent cross-threading and ensure proper alignment. Pop the Christmas tree pin back in the hole on the alternator. Step 8: Tighten the bolts. They don't need to be reefed on, just good and tight.
Step 9: Re-install the belt, make sure its routed properly. I used a new belt. My old belt was still in decent shape so I'm keeping it as an emergency back-up. Step 10: Re-install the intake hose. Make sure you tighten the hose clamps and re-connect all connectors.
Resource: How to Install a 130 amp Alternator in Your Ranger
|
|
|