
Ford Ranger Front Coil Spring Retainers
The front coil springs on 1983–2023 Ford Rangers can sometimes pop out of the upper mount during extreme suspension flex or when using extended radius arms. This page shows simple ways to secure your coils, from DIY retainers to using a strong hose clamp.
The front coil springs on your Ford Ranger sit up inside of the coil bucket over a couple of ears, tabs, or whatever you want to call them. They keep the coil from popping out sideways. Ford didn’t design these trucks to do hard wheeling, so if the front axle drops far enough flexing the suspension, there is a chance the coil could get pulled out from the upper mount without a coil spring retainer. The chances of this happening increase quite a bit if you’re using extended radius arms.
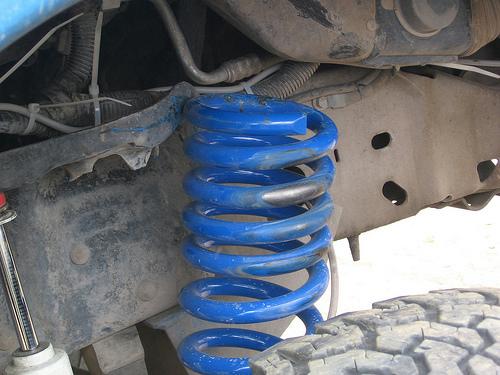
OOPS!
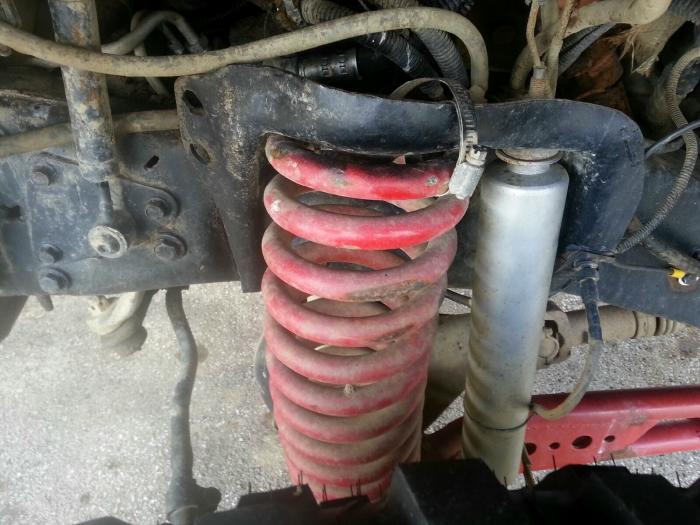
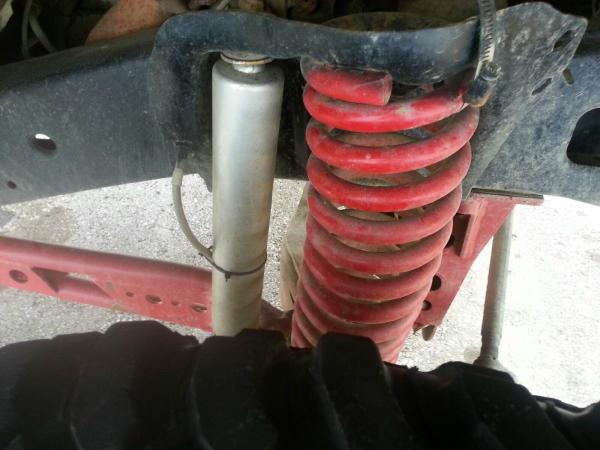
Some people make a coil spring retainer;

But honestly, a hose clamp is the cheapest, simplest solution. They’re actually stronger than you may think. Just make sure they’re tight or you’ll hear a rattle in the front suspension.
Related Articles
1983-1997 Ford Ranger Coil Spring Guide
Mounting Early Bronco Springs To Your Dana 35
Maximum Flex For The TTB With Jeep Coils
F-150 Coils For Your V8 Ranger
Last Updated:
About The Author
Jim Oaks is the founder of TheRangerStation.com, the longest-running Ford Ranger resource online since 1999. With over 25 years of hands-on experience building and modifying Ford Rangers — including magazine-featured builds like Project Transformer — Jim has become one of the most trusted authorities in the Ford Ranger off-road and enthusiast space.
Since launching TheRangerStation.com, Jim has documented thousands of real-world Ranger builds, technical repairs, drivetrain swaps, suspension modifications, and off-road adventures contributed by owners worldwide. TheRangerStation.com has been referenced in print, video and online by enthusiasts, mechanics, and off-road builders looking for practical, and experience-based information.