
What You’ll Need:
1. Strong Fish Hook and some sturdy pliers: To pry out first ring. (Illustration 1)
2. 4-prong hub socket: To get conversion kit in.
3. 1/2″ drive ratchet.
4. 1/8″ flat head screwdriver and needle nose pliers: To pull lock rings out. (Illustration 4)
5. Internal snap ring pliers: To get snap ring on that comes with new hubs.
6. Skinny fingers to get spacers out. (Illustration 3)
You may need/want to refer to the exploded VIEW
For Information on diagnosing hub parts, click HERE
Procedure:
1. Support truck securely on jack stands
2. Remove front tires and set aside.
3. Remove the cap screws and remove hub cap. (See Illustration 1)
4. Remove everything up to the outer wheel bearing, exposing the side of the bearing. (See Illustrations 2 through 4)
5. Now, you can throw away all of that except the spacers and snap ring.
6. Place the spindle nut conversion kit in and tighten/adjust as needed.
Note: Automatic hubs held on by 3 cap screws will need the conversion kit (F-150’s). Rangers need them regardless, unless you already have manual hubs.
Note: The conversion kit differs in appearance and hardware depending on which brand you get, so I left conversion kit installation kind of open.
7. Now place the hub assembly/body on the splines and place the spacers as needed and install the snap ring.
8. Put the hub cap onto the hub body and insert screws and tighten to torque listed in instructions that came with the new hubs. Note: the cap screw torque is in In-lbs, not ft-lbs.
<center”>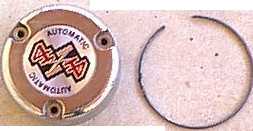
Illustration 1
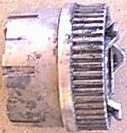
Illustration 2
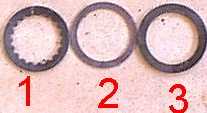
Illustration 3
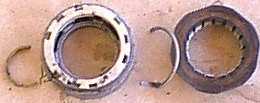
Illustration 4
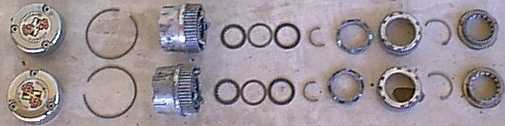
This is what you won’t need from the original automatic hubs