- Joined
- Feb 25, 2010
- Messages
- 130
- City
- GA via NC Mtns.
- Vehicle Year
- 1990
- Engine
- 4.0 V6
- Transmission
- Manual
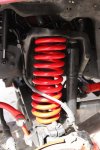
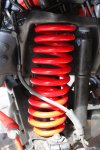
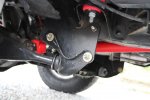
- Total Lift
- 4"
- Tire Size
- 31X10.50
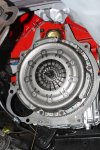
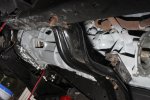
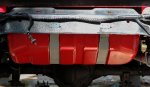
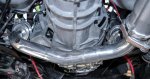
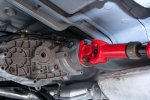
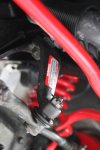
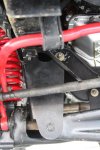
Tomorrow, I am going to try and crank the 4.0. I pre-lubed the engine a few minutes(turned the oil pump drive rod) high pressure melling oil pump. I am a old school carb guy even though I built a 2.9 before and got in running- I have no knowledge/sense of these computer- sensor- fuel injected engines. Because of this I am a little apprehensive. The exhaust is hooked up only through the y-pipe so that I would have the O2 sensor connected -Will this cause problems? I don't know. No headers on yet-wanted to do a short break-in first.