"Project Dashboard Clock" w/Sweep Second Hand - Fun Project !
Got tired of the phony vent in the center after 13 yrs & made the space useful by adding a clock. Came out pretty good.
The vents pop out pretty easy with a plastic spudging tool & a small screwdriver.
I bought a $3 travel alarm clock & took it apart to remove the snooze/light button & bulb. Also the alarm hand. Removed the white dial from the movement &
took it to a FedEx printing center to print the dial inverted (45¢ a copy). First I had to blacken the green dots on the dial with a fine point Sharpie & trace the edge
& center hole on an index card so they would come out white. I also had to paint the hands.
I didn't use the front trim of the clock. Instead, using a piece of scrap plastic I cut a plate using the fake vent as a template. Then I cut a hole in the plate for the clock window.
The movement mounted well with 3M mounting tape & some scrap plastic & epoxy to raise the movement so the dial would be centered up & down.
The front of the dial & movement butts up with the back of the clock window which I pressed through from the back of the plate. I went to my local hardware store &
picked up an O ring to use for trim around the clock window.
Right now its running on a AA battery & thats ok but I have a DC buck step down converter on the way & I'll give that a try so the truck can power the clock.
I also have some 12v 3mm blue LEDs on the way & I'll put 1 in & tie in to the dash light circuit. If it's too bright I'll figure something out, maybe a different resistor.
I'm not sure if the LEDs I'm getting are dimmable with the light circuit but I really never dim the gauge lights anyway.
I can't adjust the time from the front of course, but it's a quartz movement & as I mentioned the vent panel comes out fairly easy.
As for replacing the battery, let's hope the converter works out ok.
I have some improvements in mind but this will do for now. I wish I took more pics but I was too busy having fun with this !
Cheers !!

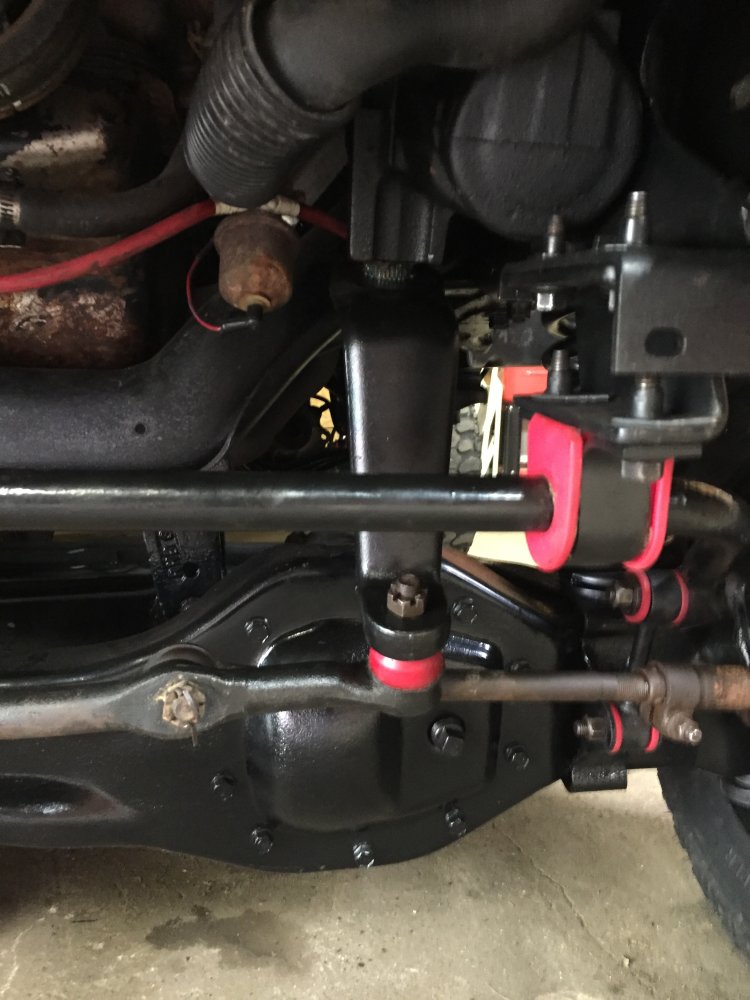
 Got the new skyjacker FA600 drop pitman arm on the lifted 85.