
dmize
New Member
- Joined
- Jul 25, 2010
- Messages
- 12
- Reaction score
- 0
- Points
- 0
- Location
- Michigan
- Vehicle Year
- 1999
- Make / Model
- Ford
- Engine Size
- 302
- Transmission
- Automatic
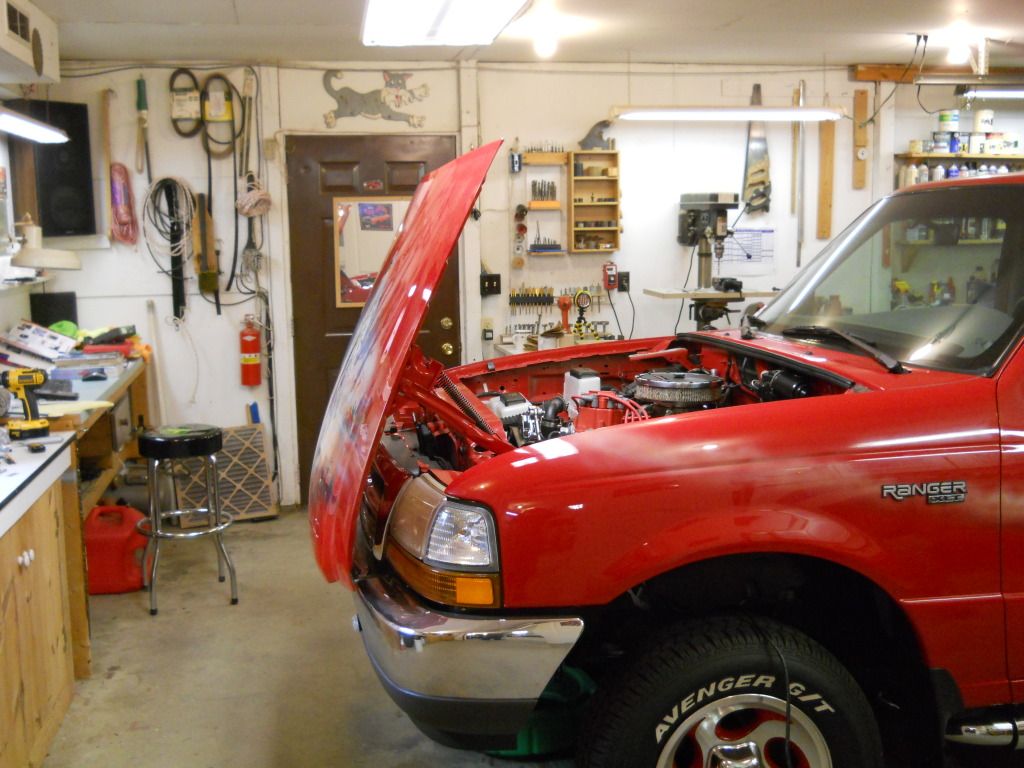
To do this modification I used a 1987 Buick LeSabre hood hinge. They are a little hard to find, but scrap yards have them, they just don't advertise that they do. I got mine for $66.00 including shipping. The reason for using this hinge is the final fit and function, look factory and works great. I am installing it on a 99 ranger with an aluminum hood.
Items Needed
1-1987 Buick Lesabre or Park Avenue hood hinge
2-8x3/4x1/4 steel
2-4x3/4x3/16 steel
1-6" piece 1/2 steel rod
4-2x2 Aluminum wedges cut ¼” to 0 at a 7degree angle (optional)
1-can Klean-Strip Aircraft paint remover
Special Tools
Nibblers
Bent 1/2 open end wrench (Bend with torch)
Magnet on a stick
Brake spring pliers
First thing DO NOT remove your hood yet.
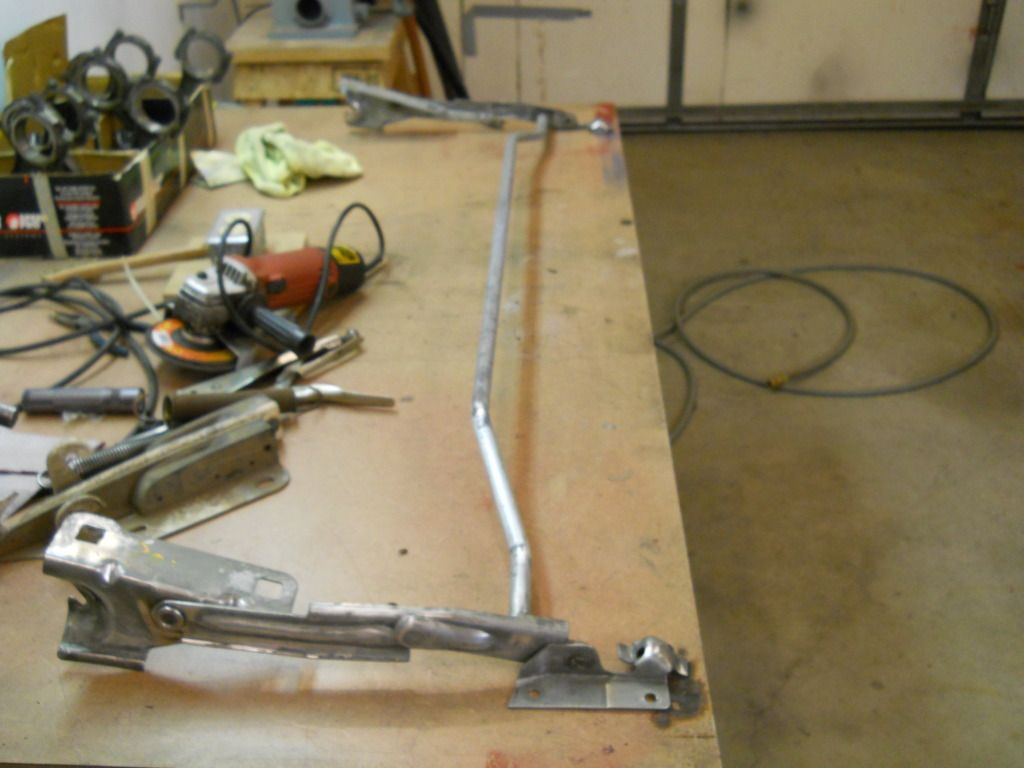
When you get your hinge cut it in half at the center of the cross tube that goes over the radiator core support. This will allow you to clean it easier, and it needs to be shortened. Check your fit but mine was 52 3/8 from out the bottom mount to the other outside mounting bracket. The springs can be removed and reinstalled with brake spring pliers. Do not reinstall the spring until ready to mount the hood.
The Klean strip will remove all paint in about 30 minutes, and its water cleanup.
Verify your new length and cut off the tubing on both sides of the original cut so that your weld ends up in the center.
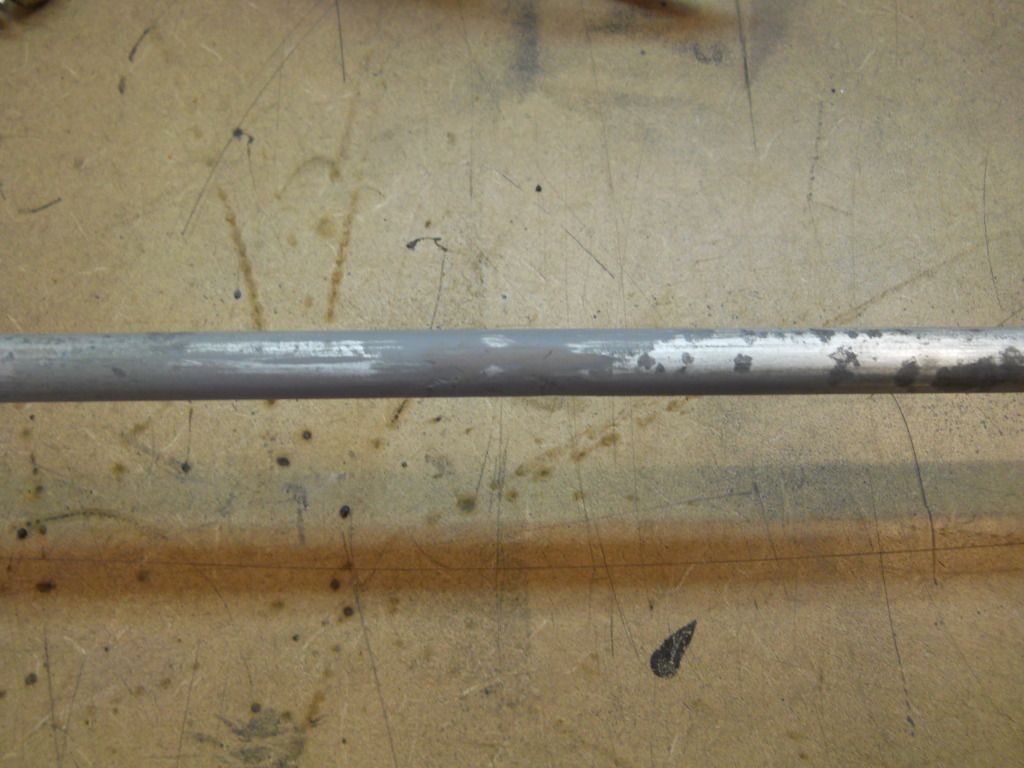
Make sure the bottom mounts are clamped to a flat surface to keep them aligned Insert the ½” rod inside of the tube and weld. Grind off excess and prime.
You should now be able to set the new hinge onto the core support and check for alignment and where to cut off the bottom mounts to fit the core support properly.
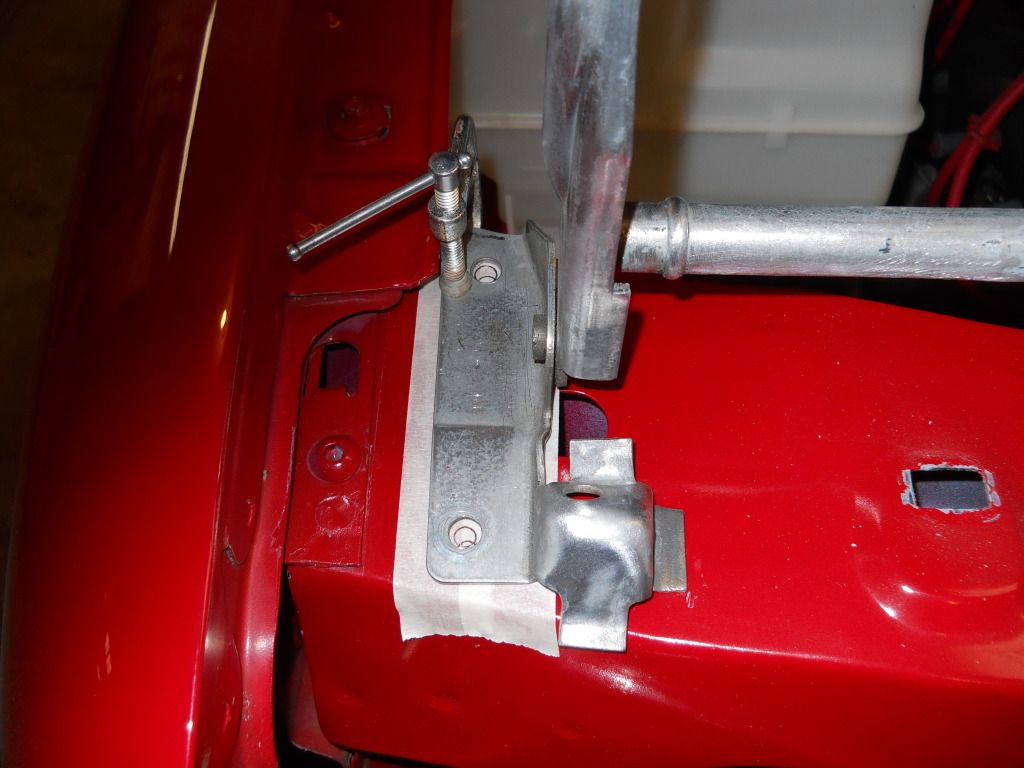
While you have the hinge on the core support mark the location of the holes. You will have to drill 1 new hole because you will be cutting off 1 factory hole.
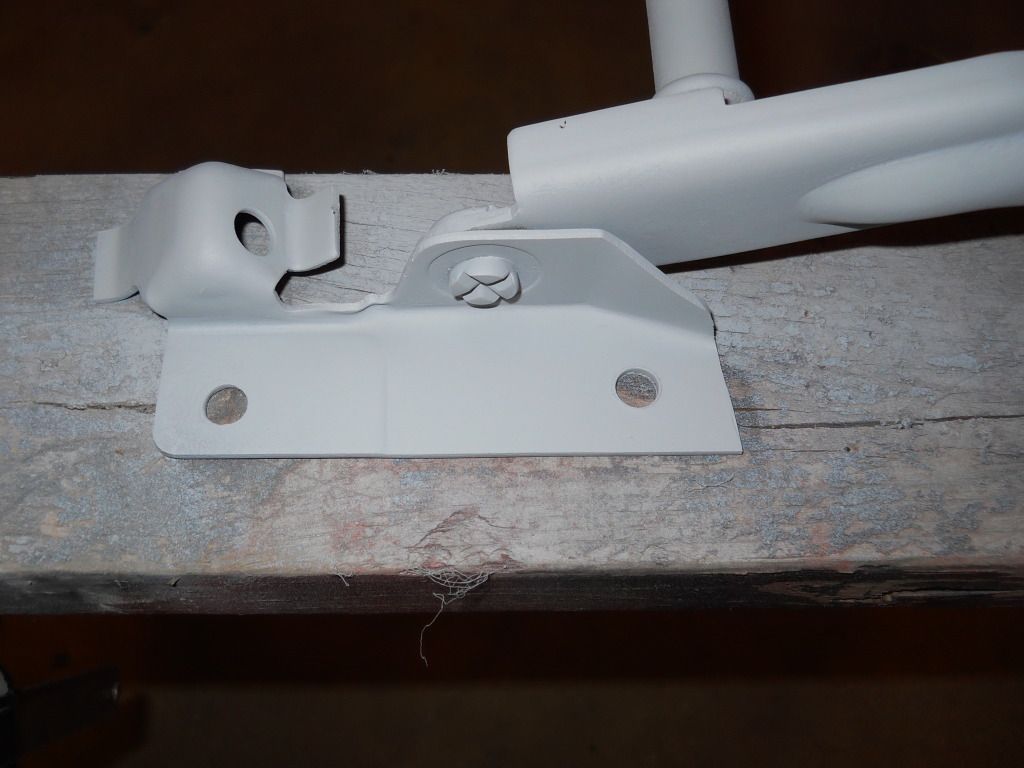
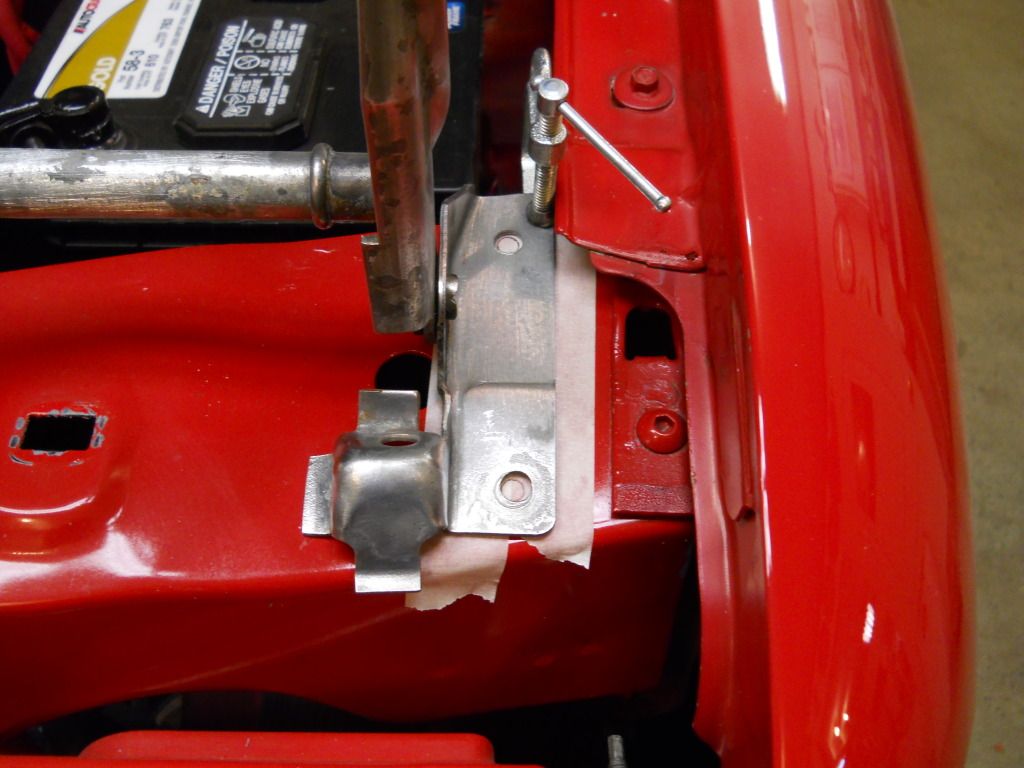
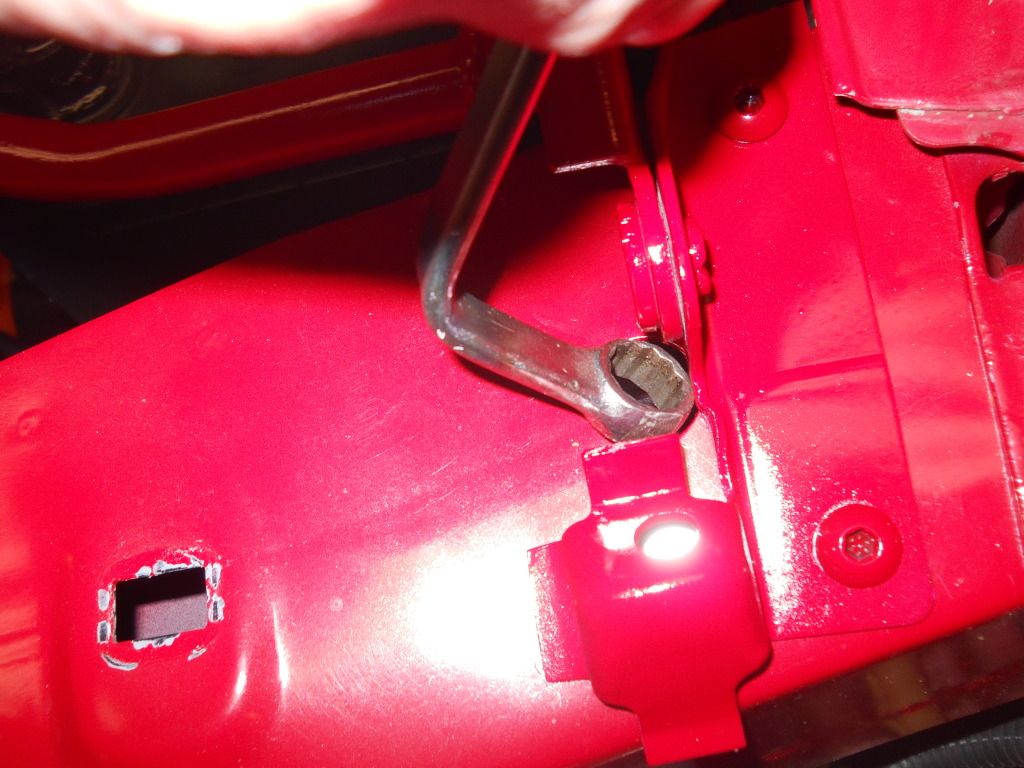
At this time if everything aligns you can cut the bottom mount and drill the new hole and recheck fit and paint the hinge. If you aligned it up like mine you will be able to bolt one hole thur the core support front edge and the other hole will be beside a factory hole in the core support. You will have to glue a nut to your finger and start it on the front bolt and bend a 1/2 box end wrench to hold it.
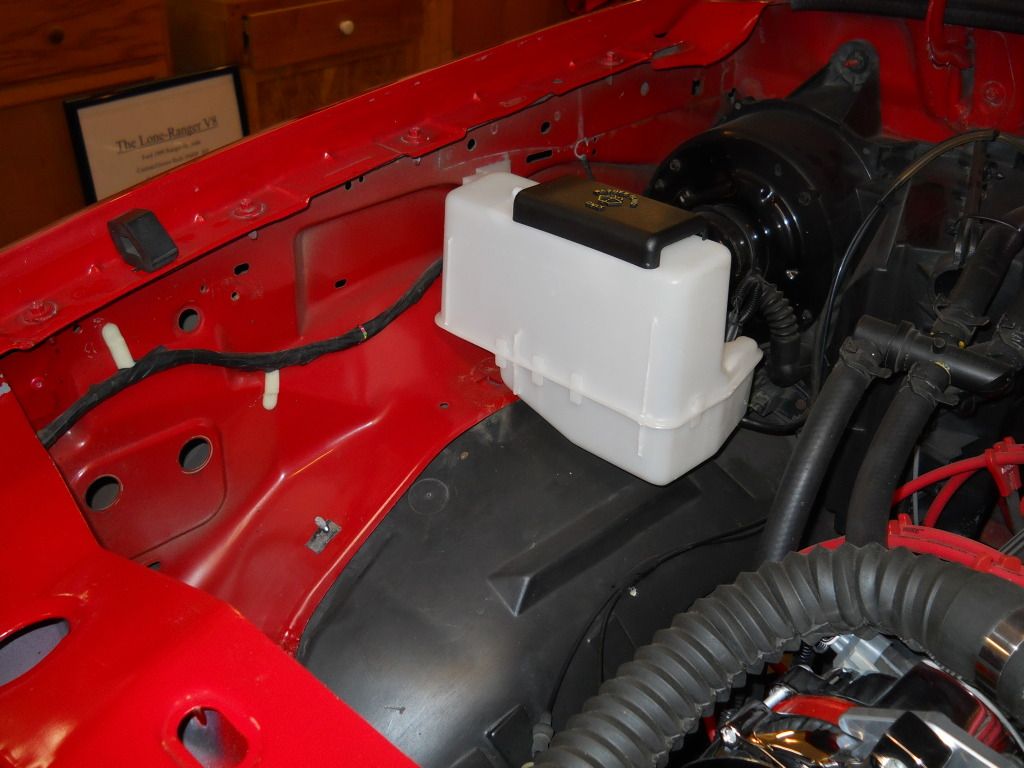
Now that you have the hinge mounted you will see that it will hit the overflow tank. This tank can be separated from the washer tank and remounted forward.
Now with the hinge mounted move it to the closed position just like it will be when the hood is closed. using a straight edge put a piece of tape that aligns up with the center of the hood hinge rear hole on the fender. Measure the distance from the edge of the hood to the center of the hole and subtract the original gap from the hood to the fender and this is the number to use for measuring the placement on the hood. Do this for the other side. Now close the hood and place a piece of tape on the hood that perfectly aligns with the one on the fender.

Now you can remove the hood and place it on a table and remove the hood pad.
Using the figures from earlier and the tape, mark the placement of the 2 holes in the hood.
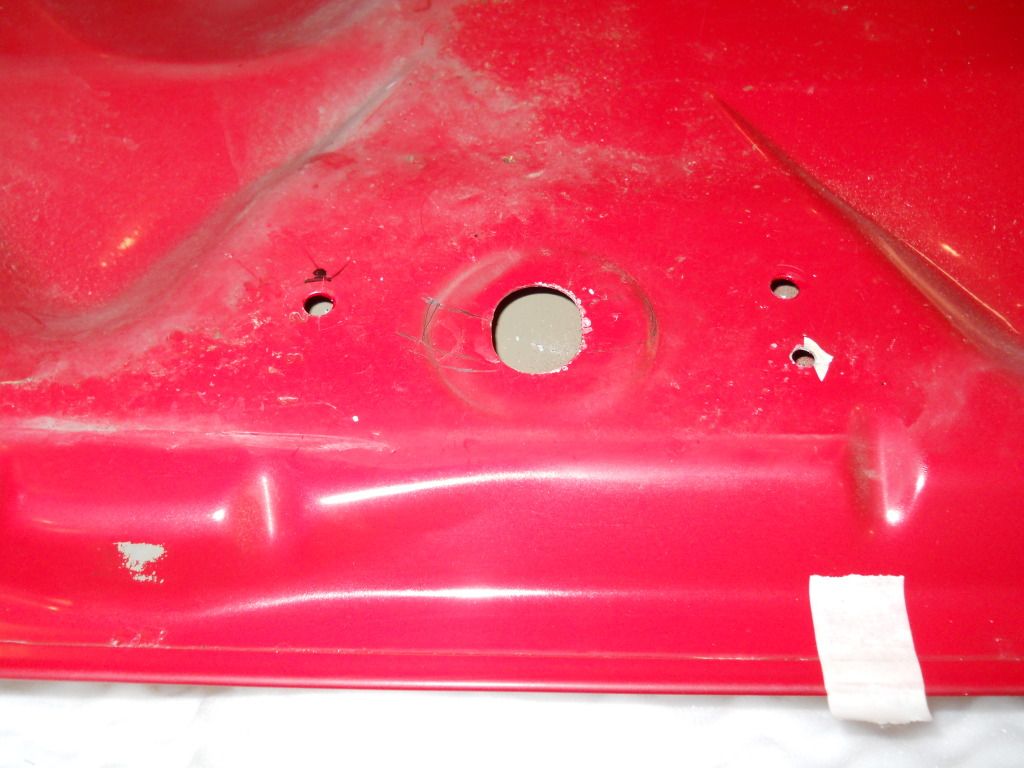
The front hole center should be around 19 3/16 to the rear corner of the hood.
It should line up with a large factory hole.
Figure the distance between your holes and using the 2 8" pieces of steel drill holes and tap.
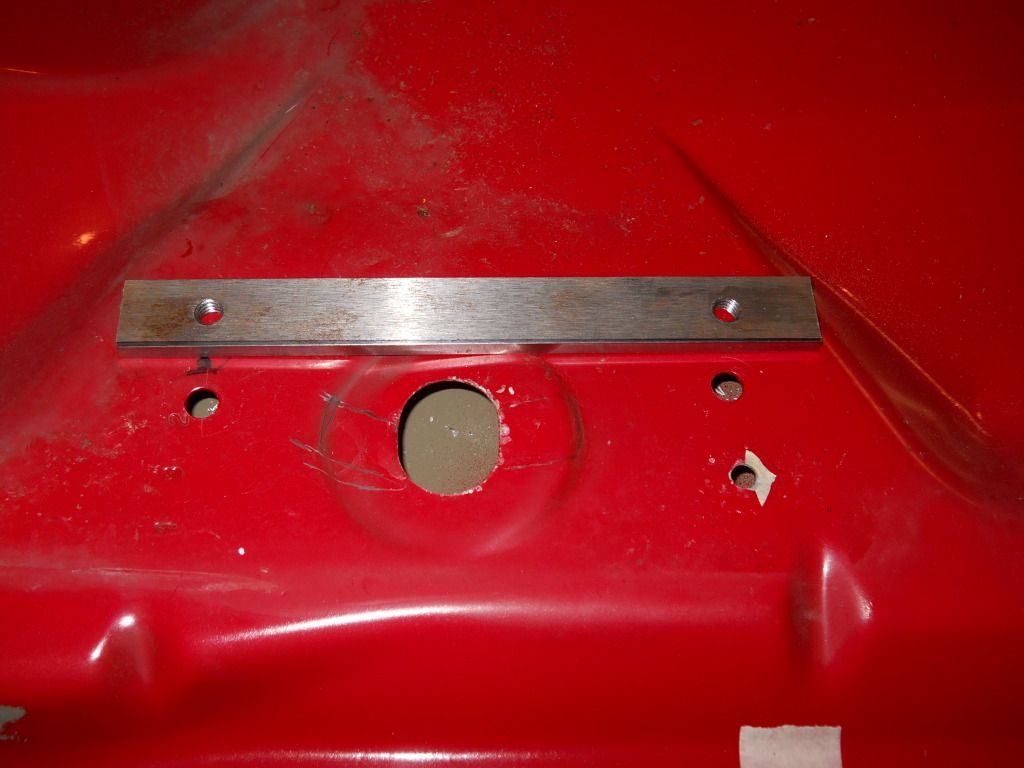
Using the nibblers you can enlarge the hole enough to slide the steel into the hole and using the magnet and bolts. Bolt this piece in place and drill a smaller hole somewhere in the middle for a small bolt to hold it in place.
.
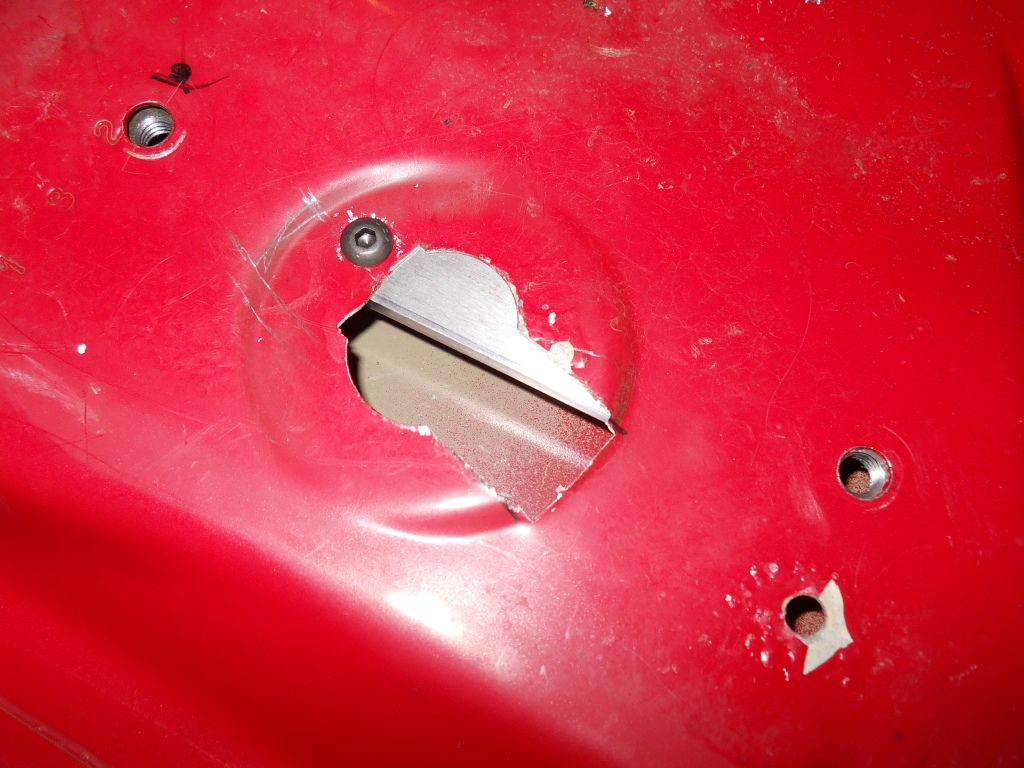
This will hold the piece in place while you bolt the hood in place.
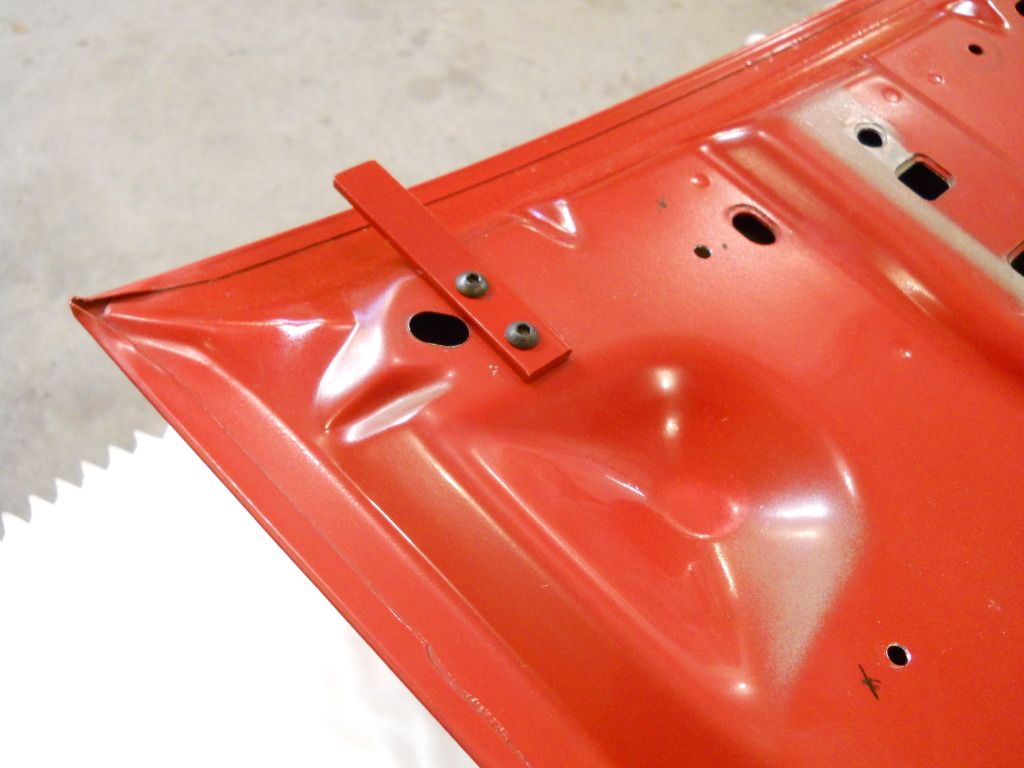
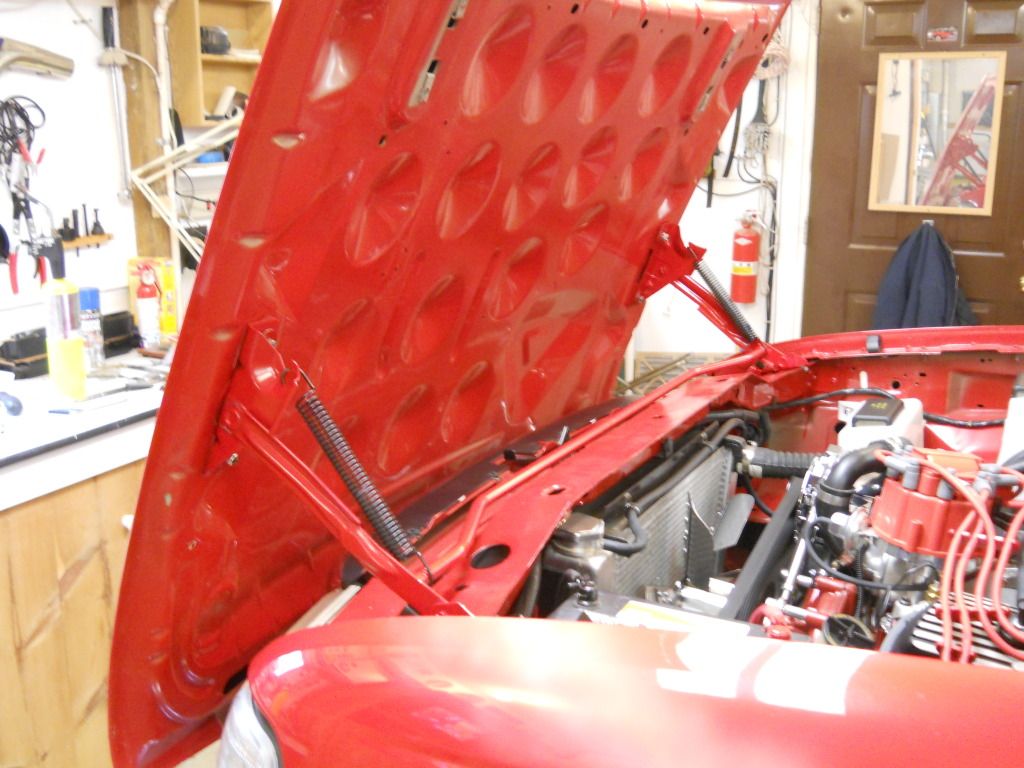
As you will see the hood is at an angle and the hinge mount is flat. I used 2 pieces of aluminum 2x2 cut on an angle of 7 degrees form 1/4" to 0. This made up for the angle of the hood.

Your local machine shop can make these for you or you can cut the gussets on the hood hinge and bend the flat piece to match the 7 degree angle.
I used 2 pieces 4" 3/4x3/16 thick to slip in under the back of the opening under the hood seal to hold down the rear of the hood. This worked perfectly and keeps the rear in place. You might have to secure the rubber seal if its loose to keep from pulling off when opening the hood. A small bolt can be inserted thru the rubber to secure.
You will be able to use the factory hood release and alignment. You will have to remove the front hood bumpers the ones that screw in, but leave the ones on the sides.
Replace your hood pad and reinstall the hood and align.
.
Good luck and if i can help just ask
Dave
Here is a link to all of the pictures.
http://s1224.photobucket.com/albums/ee366/dave4161/Flip%20Hood/
Items Needed
1-1987 Buick Lesabre or Park Avenue hood hinge
2-8x3/4x1/4 steel
2-4x3/4x3/16 steel
1-6" piece 1/2 steel rod
4-2x2 Aluminum wedges cut ¼” to 0 at a 7degree angle (optional)
1-can Klean-Strip Aircraft paint remover
Special Tools
Nibblers
Bent 1/2 open end wrench (Bend with torch)
Magnet on a stick
Brake spring pliers
First thing DO NOT remove your hood yet.
When you get your hinge cut it in half at the center of the cross tube that goes over the radiator core support. This will allow you to clean it easier, and it needs to be shortened. Check your fit but mine was 52 3/8 from out the bottom mount to the other outside mounting bracket. The springs can be removed and reinstalled with brake spring pliers. Do not reinstall the spring until ready to mount the hood.
The Klean strip will remove all paint in about 30 minutes, and its water cleanup.
Verify your new length and cut off the tubing on both sides of the original cut so that your weld ends up in the center.
Make sure the bottom mounts are clamped to a flat surface to keep them aligned Insert the ½” rod inside of the tube and weld. Grind off excess and prime.
You should now be able to set the new hinge onto the core support and check for alignment and where to cut off the bottom mounts to fit the core support properly.
While you have the hinge on the core support mark the location of the holes. You will have to drill 1 new hole because you will be cutting off 1 factory hole.
At this time if everything aligns you can cut the bottom mount and drill the new hole and recheck fit and paint the hinge. If you aligned it up like mine you will be able to bolt one hole thur the core support front edge and the other hole will be beside a factory hole in the core support. You will have to glue a nut to your finger and start it on the front bolt and bend a 1/2 box end wrench to hold it.
Now that you have the hinge mounted you will see that it will hit the overflow tank. This tank can be separated from the washer tank and remounted forward.
Now with the hinge mounted move it to the closed position just like it will be when the hood is closed. using a straight edge put a piece of tape that aligns up with the center of the hood hinge rear hole on the fender. Measure the distance from the edge of the hood to the center of the hole and subtract the original gap from the hood to the fender and this is the number to use for measuring the placement on the hood. Do this for the other side. Now close the hood and place a piece of tape on the hood that perfectly aligns with the one on the fender.
Now you can remove the hood and place it on a table and remove the hood pad.
Using the figures from earlier and the tape, mark the placement of the 2 holes in the hood.
The front hole center should be around 19 3/16 to the rear corner of the hood.
It should line up with a large factory hole.
Figure the distance between your holes and using the 2 8" pieces of steel drill holes and tap.
Using the nibblers you can enlarge the hole enough to slide the steel into the hole and using the magnet and bolts. Bolt this piece in place and drill a smaller hole somewhere in the middle for a small bolt to hold it in place.
.
This will hold the piece in place while you bolt the hood in place.
As you will see the hood is at an angle and the hinge mount is flat. I used 2 pieces of aluminum 2x2 cut on an angle of 7 degrees form 1/4" to 0. This made up for the angle of the hood.
Your local machine shop can make these for you or you can cut the gussets on the hood hinge and bend the flat piece to match the 7 degree angle.
I used 2 pieces 4" 3/4x3/16 thick to slip in under the back of the opening under the hood seal to hold down the rear of the hood. This worked perfectly and keeps the rear in place. You might have to secure the rubber seal if its loose to keep from pulling off when opening the hood. A small bolt can be inserted thru the rubber to secure.
You will be able to use the factory hood release and alignment. You will have to remove the front hood bumpers the ones that screw in, but leave the ones on the sides.
Replace your hood pad and reinstall the hood and align.
.
Good luck and if i can help just ask
Dave
Here is a link to all of the pictures.
http://s1224.photobucket.com/albums/ee366/dave4161/Flip%20Hood/


