By Steve Lewis
FRONT FENDERS
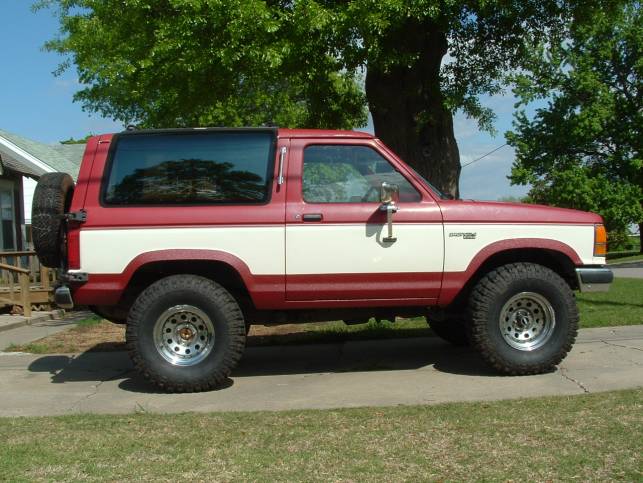
Start by figuring out how much of your fender you want to remove. I was looking to install 33’s on a 89 Bronco II with stock suspension and a 1-inch body lift and 1/2-inch coil spacers. Once you figure out how much you want to cut you have completed the hardest portion because the easiest part is cutting the fenders.
NOTE: Measure twice cut once!
Once you start cutting there is no turning back!
Have a plan and cut accordingly.
I started this project by removing the front fenders to allow access to modify the plastic inner fender because when you cut it you remove the lip that supports it.
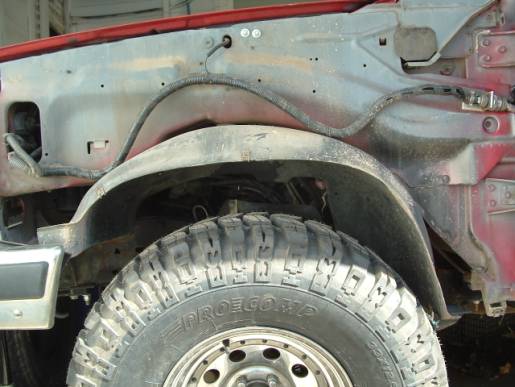
I used tin snips to cut slits in the inner fender. I started in the middle and worked out from there. I would make a cut and then attach the piece I cut before moving on to the next one. I used self-tapping sheet metal screws to secure the plastic inner fender to the cowl support. Pay attention to what is going to be behind the screw when you drive it thru the cowl support and check the tip of the screw after you are finished to make sure they are not contacting any wiring harness.

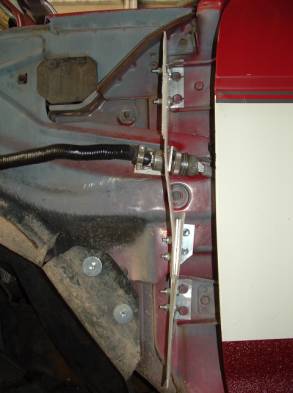
If you want to keep your hinges clean (along with yourself if you have removable doors) then you are going to have to come up with a way of closing the gap you have now created by modifying your plastic inner fender. (The piece you just cut use to attach to the fender and it kept dirt and mud out from between the inner fender support and the inside of the fender.)
I purchased Plexiglas, aluminum angle iron and hardware (bolts and nuts) at Lowe’s. I cut and installed the aluminum pieces then I installed the Plexiglas. I used the doors as a template to get a ruff shape. Once you get it close you can install the fender and do any remaining trimming. Try to get it as tight as possible against the inside of the fender.


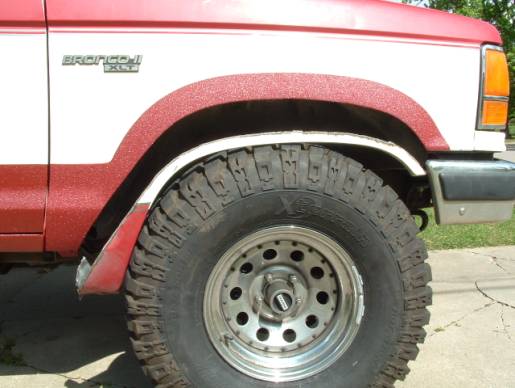
I decided to make my cut about a 1-inch up along the crease of the factory flare (89 BII). I taped off the fender and used a Sharpie to lay out where I was going to make my cut. I used a Plasma Cutter to make my cut but you should be able to use a Cutoff Wheel or Jig Saw.
After the cut was made I put the fender back on and test drove the truck checking for clearance.
REAR FENDERS
NOTE: These instructions are for a Bronco II. I’m sure a Ranger would be similar.
The rear is where it gets real tricky because you will actually be cutting into the wheel well and it will leave a gap depending on how much metal you remove. (The more you remove the larger gap you will have.)
CAUTION: You might want to remove your interior panels prior to cutting if you are using a Plasma Cutter or a Sawzall to keep from damaging your panels.
I decided to cut the rear to match the front. I used a Plasma Cutter and cut though the outside fender. Once I had my first cut I used pliers to bend the fender down where it was cut to gain access to the inside of the wheel well. Once opened up I again used the Plasma Cutter to cut the wheel well using the outer cut as a guide.
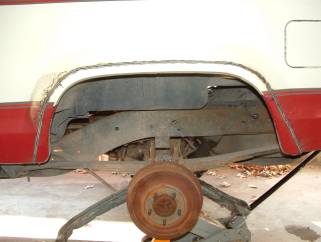

Here is a picture from the inside showing the gap that I created.
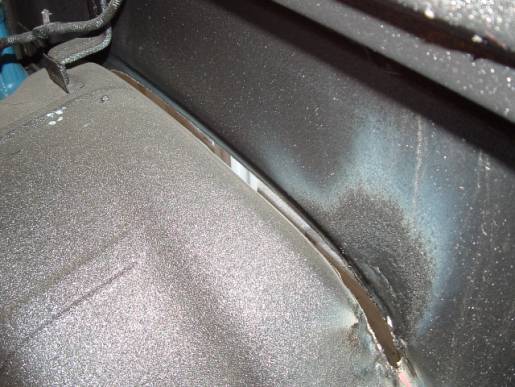
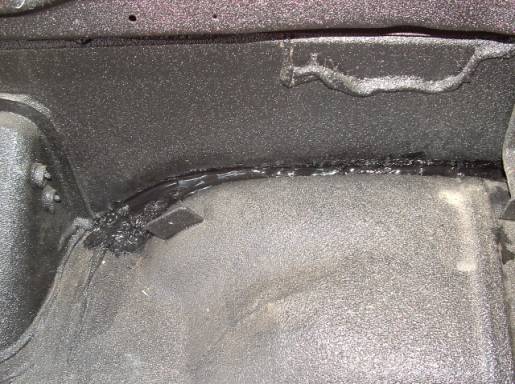
I closed the gap by pushing heater hose down into the gap until it was flush with the bottom and covering it all with sealant. (Sorry I don’t have pictures of it) I also applied the sealant to the bottom side to ensure all gaps were covered.
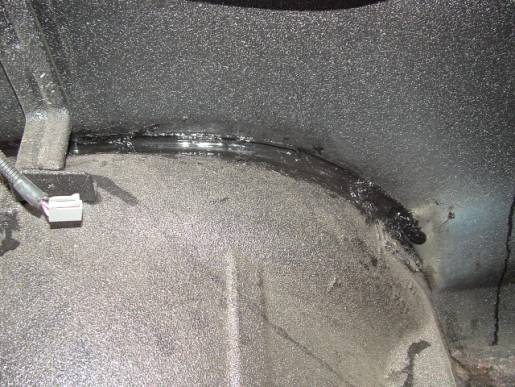
Here is the final product.
33’s with only a 1-inch Body Lift and 1/2-inch coil spacers!