I would like to know what the quote is when you get it back. I use sketchup for all of my design that I use to cut out on my cnc plasma table. Here is my rear bumper I drew up. It is for a tube bed but a few things hold true.
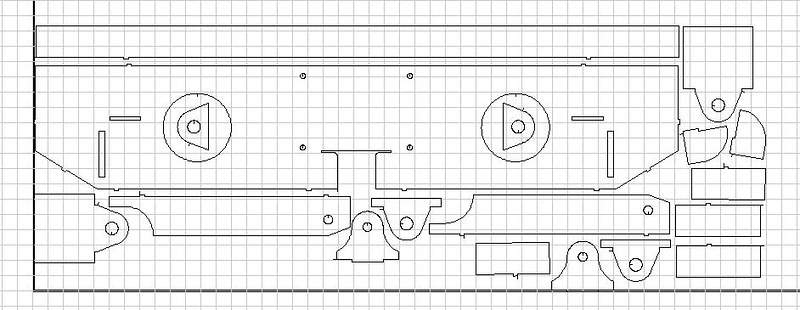 bumper drawing
 by
Matthew Dresselhaus, on Flickr
My side plates that bolt to the frame passed thru the bumper and were part of the clevis mounts. I layered my clevis mounts out of four pieces. One is the frame mount. Two slide in the back of the face so they would have to pull thru the bumper and then a fourth to butt weld to the face of the bumper. This builds it up thick enough to not bend from a side load. Make the two inside pieces 1/8" less radius on the clevis mount to leave a nice bevel to weld into. I didn't and wish I would have.
The second is on the plates leave small tabs sticking out to help align the pieces during assembly. I make them interlock from one on the piece next to it. Leave a 1/32" gap between the two tabs. I usually use half the thickness of the material I am using for how far they stick out. Then just weld over them. It helps things align and wont need as many clamps/hands to hold everything.
For material I would use 3/16 for the whole thing. You are attaching it to 1/8" thick frame. My front bumper is 3/16 center for the winch with gussets under it and the areas outside the frame are 11 gage fully boxed. They have taken hits and are still strait.
I like the design. A few things to consider. The spare on the passenger side creates a larger blind spot then if on driverside. With that said I like it on the passenger side cause you can add a second carrier on the driverside to hold water/fuel. When it swings open it potentially would be close enough you could use a siphon hose from the can right to the truck without having to remove the can. I would consider boxing in the end with the swng out. Help stiffen it up some from the leverage being placed on it with the carrier.


