AgPete139
09/2014 OTOTM Winner
Supporting Member
OTOTM Winner
Solid Axle Swap
TRS Banner 2010-2011
TRS Banner 2012-2015
TRS 20th Anniversary
TRS Event Participant
- Joined
- Aug 12, 2007
- Messages
- 2,863
- Reaction score
- 61
- Points
- 48
- Location
- Houston, TX
- Vehicle Year
- 1997
- Make / Model
- Ford
- Engine Type
- 4.0 V6
- Engine Size
- 4.0L OHV
- Transmission
- Manual
- 2WD / 4WD
- Solid Axle Swap 4x4
- Total Lift
- ~9"
- Tire Size
- 35"x12.50"x17"
Hey guys,
I'm just going to throw a bunch of pics in here (since we all know we love them), and hopefully you can figure out what's going on.
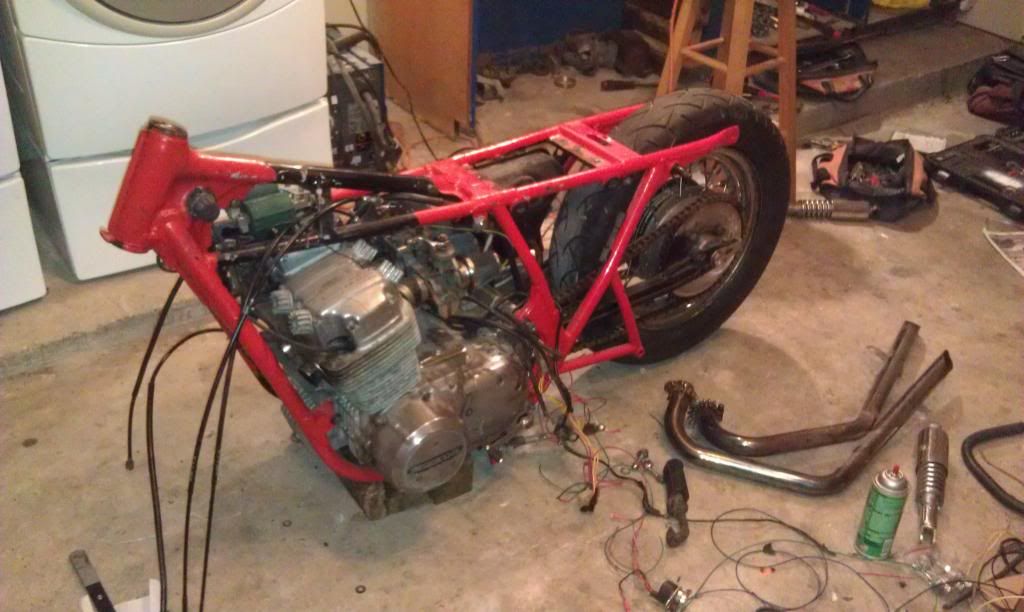
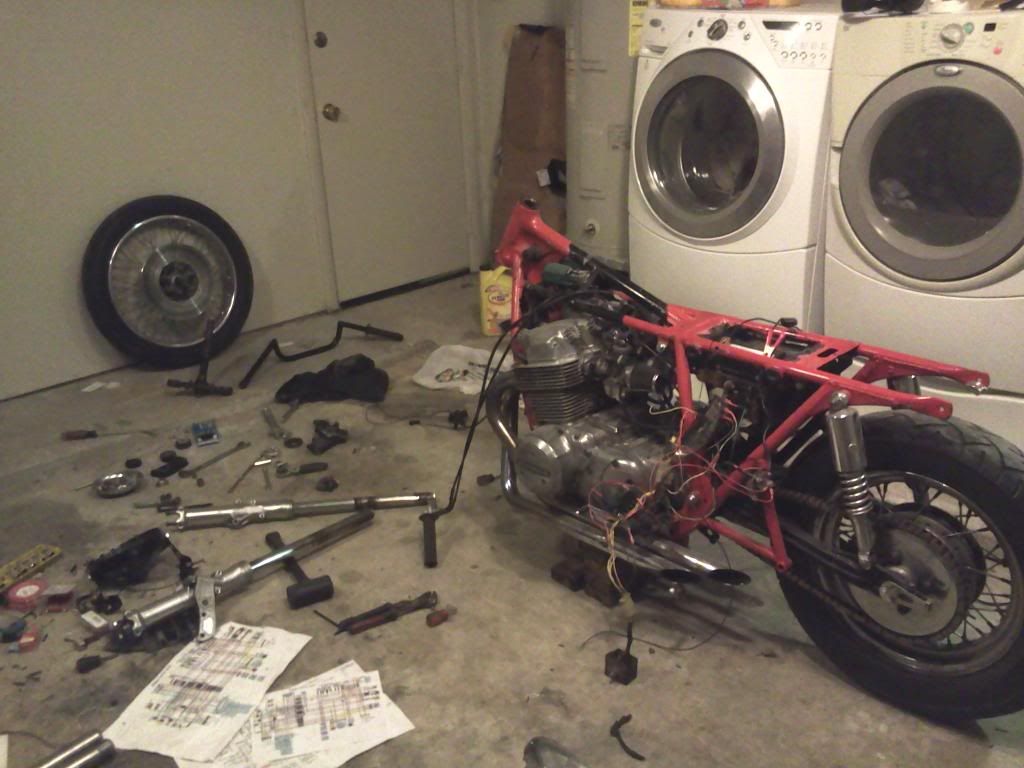
As she stands now, 4/20/2013 - 4/20/2013:
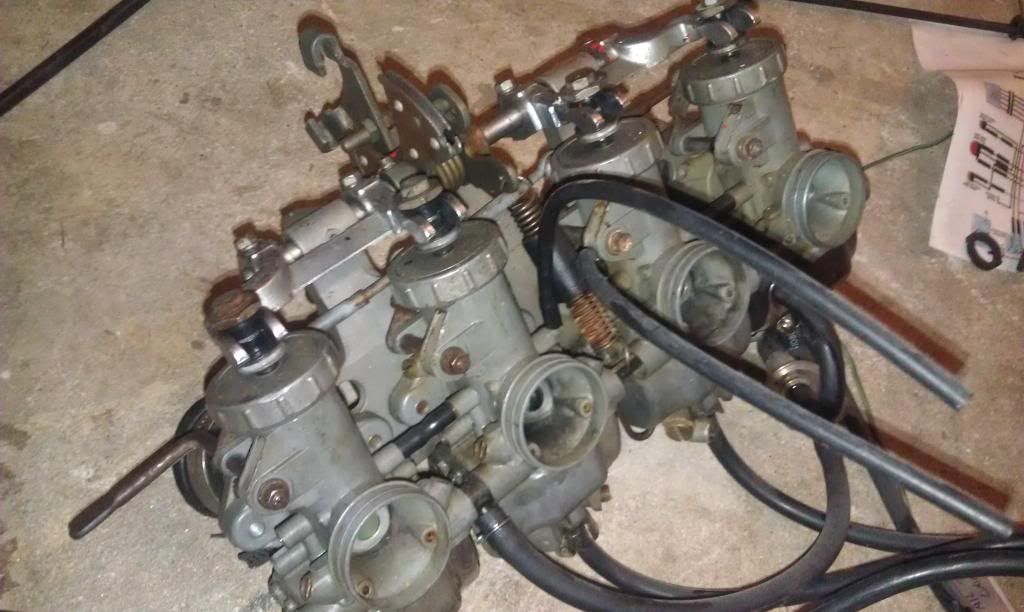
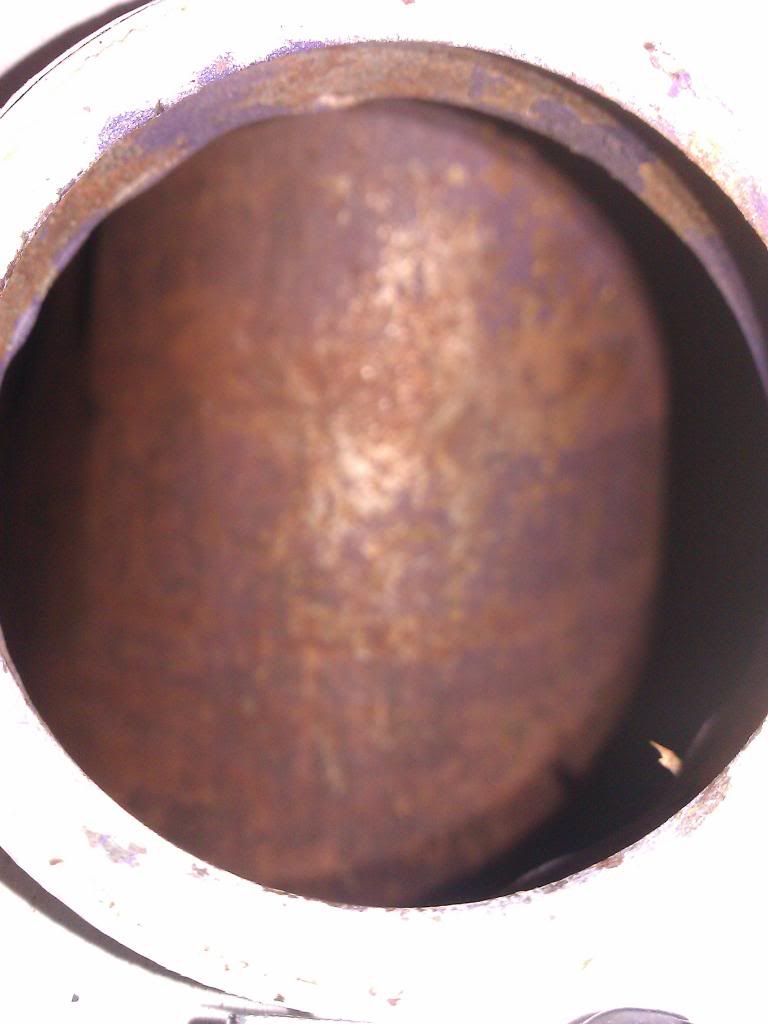
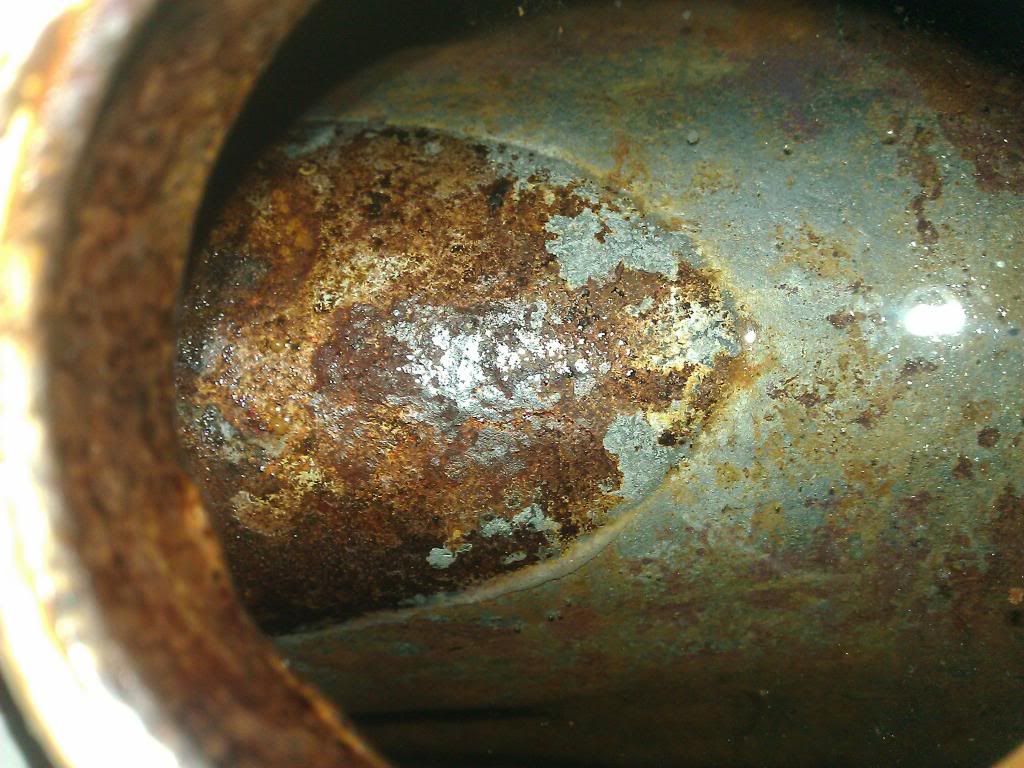
Kleen-ed the inside of the tank. Carbs kept fouling/gunking, and I threw screws, nuts, bolts, & washers in with 4 gallons of vinegar for a 3 days. Shook, dumped, rinsed, then coated. It's unbelievable how much rust came out. Seriously, I continued to be amazed with each additional shake how many clumps kept falling out.

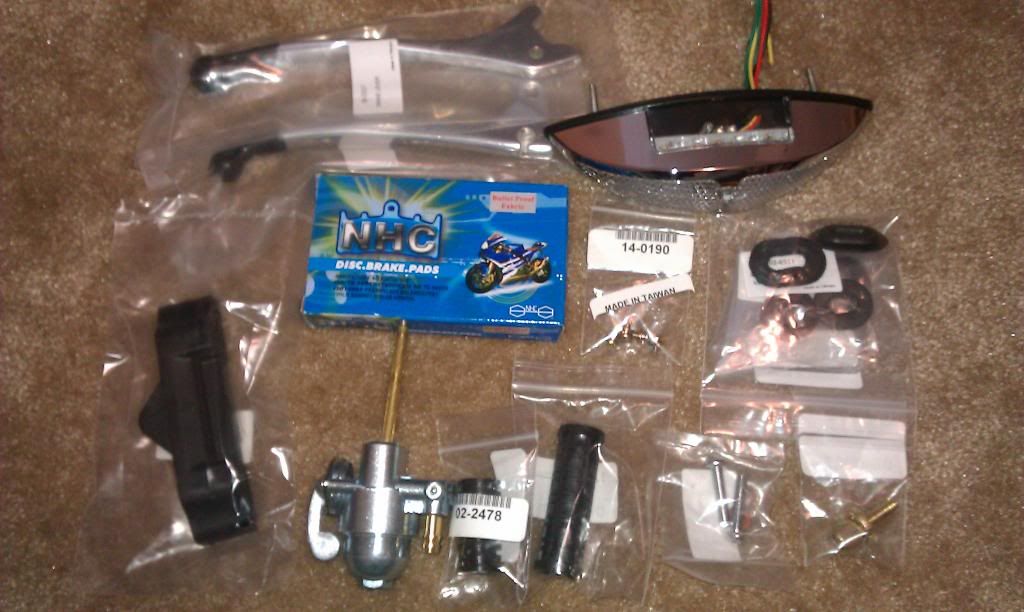
New parts!
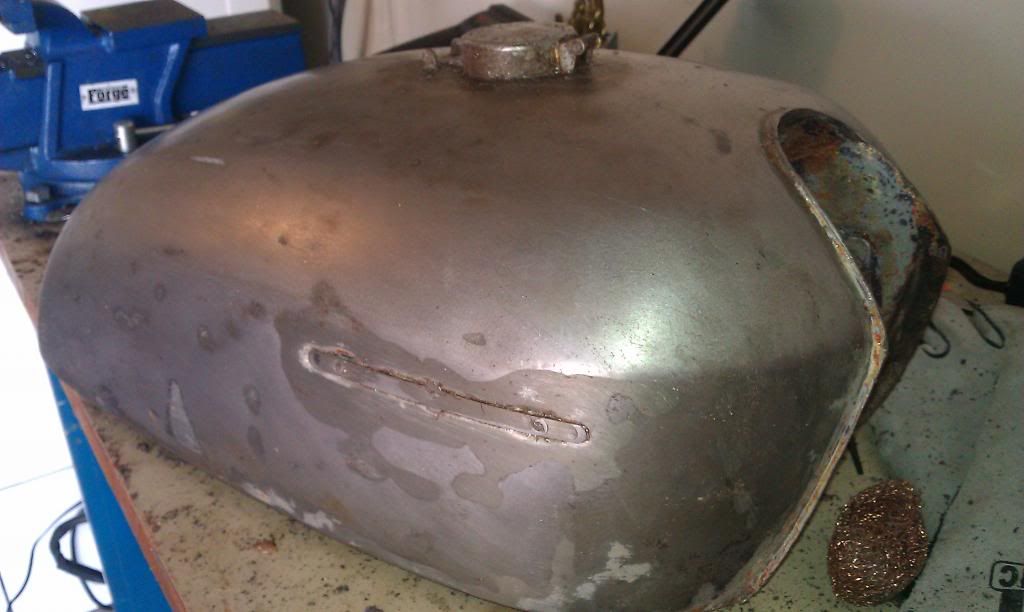
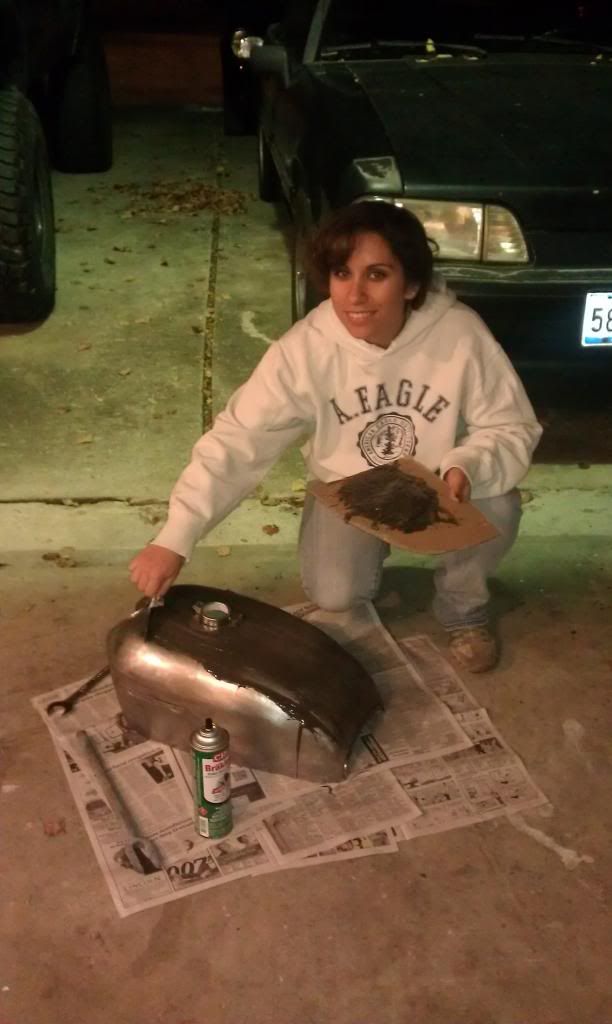
After seeing the rust, I wanted to make sure it hadn't rusted a hole in the tank. Stripped, cleaned, glassed & Bondo'd, primered, & rattle-canned painted tank here at home. It's currently being wetsanded, and given a proper coat of true white by my bodyman. It had 7...SEVEN layers of different colors of paint (one could have been primer though). Maybe that's why he kept repainting it...he didn't know to use primer?
Friend, who rides a Ninja 250, is assisting:
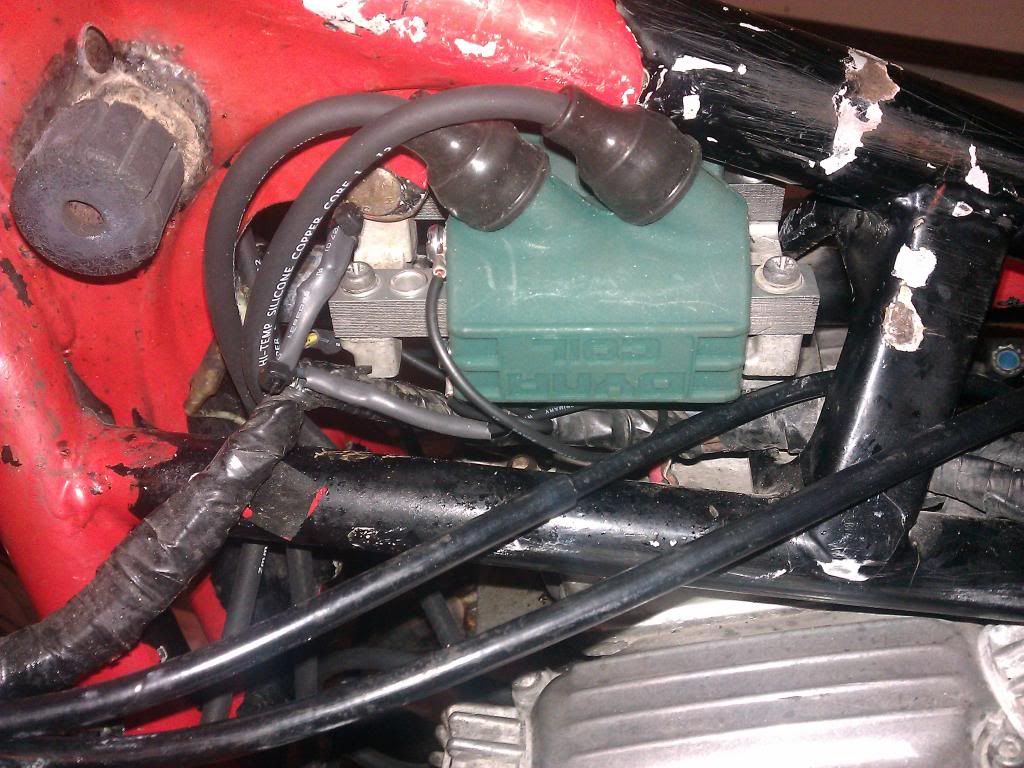
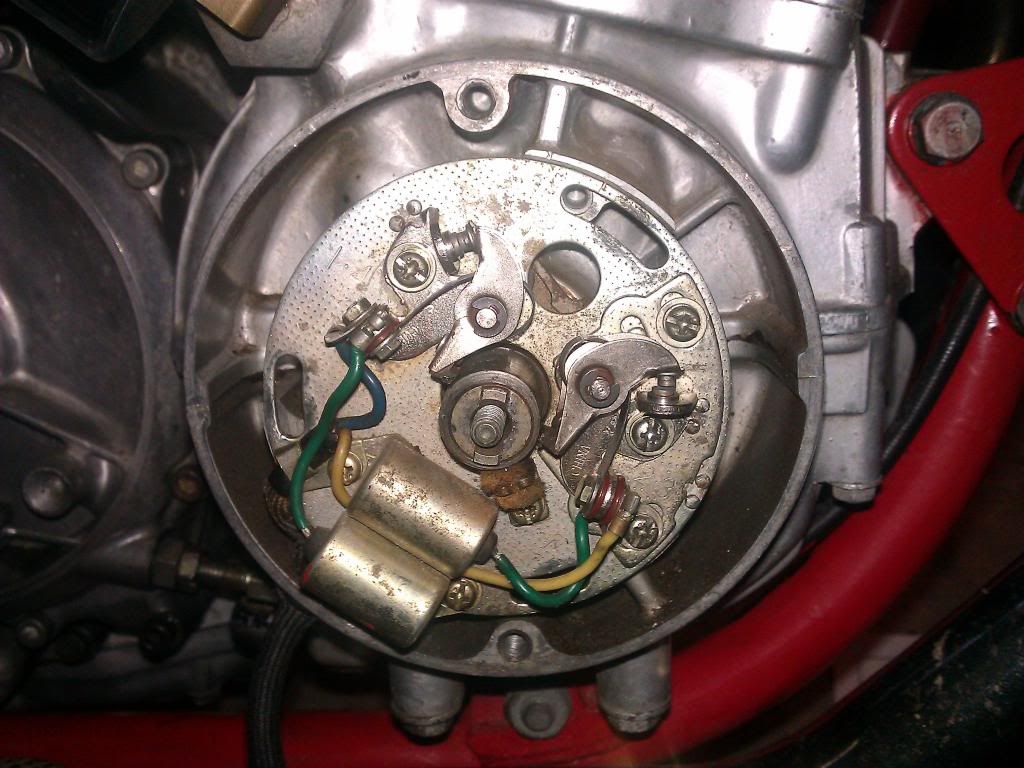
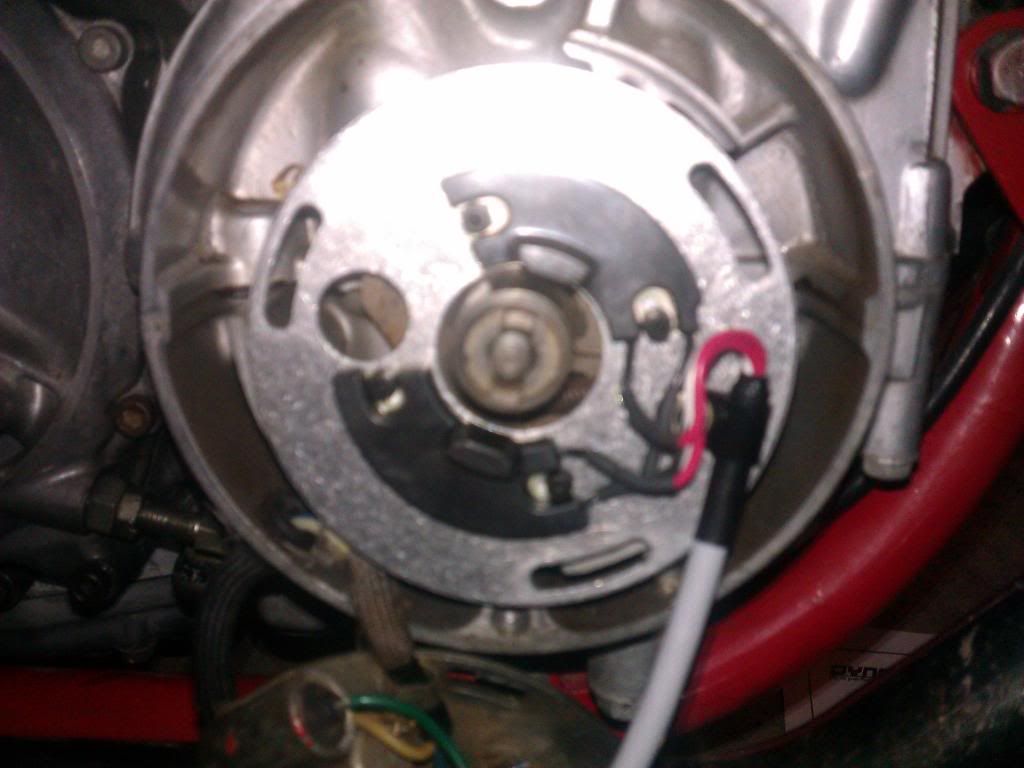
Upgraded to Dyna Coils 3 Ohm and the Dyna S igntion (cheaper setup, not the $350 ignition). How do I advance/retard the timing with a magnetic pickup, as opposed to the contact points? Rotate the assembly, right? I am unsure how to get it correctly in sync. I checked my Chilton. I guess I'm stupid?
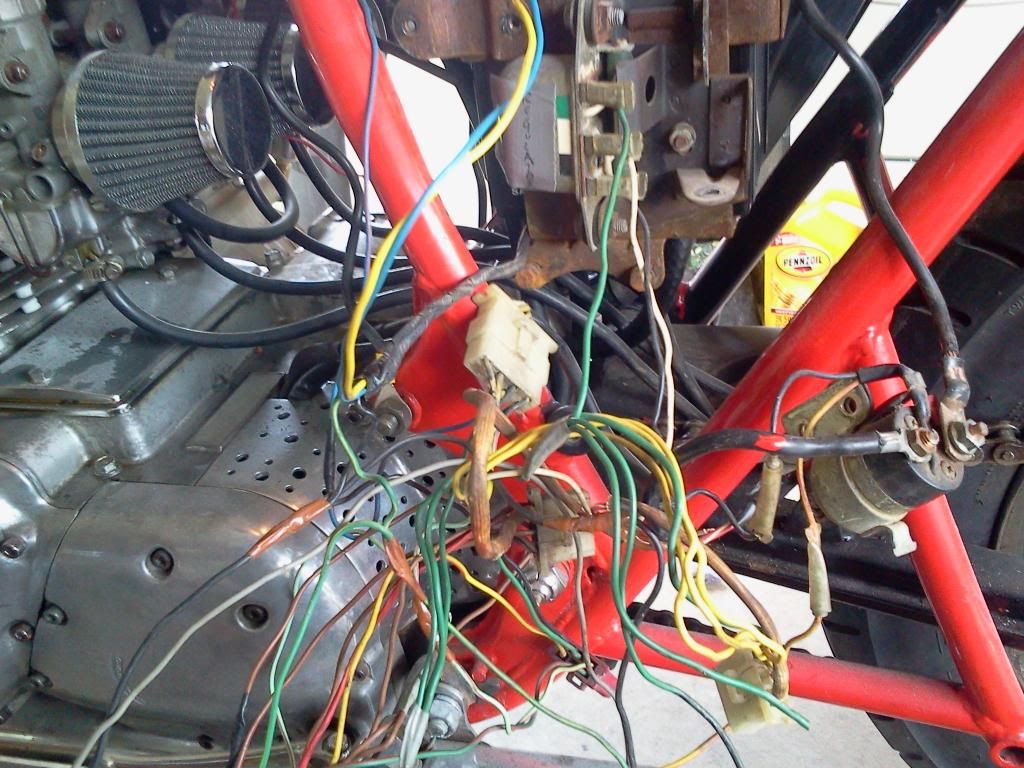
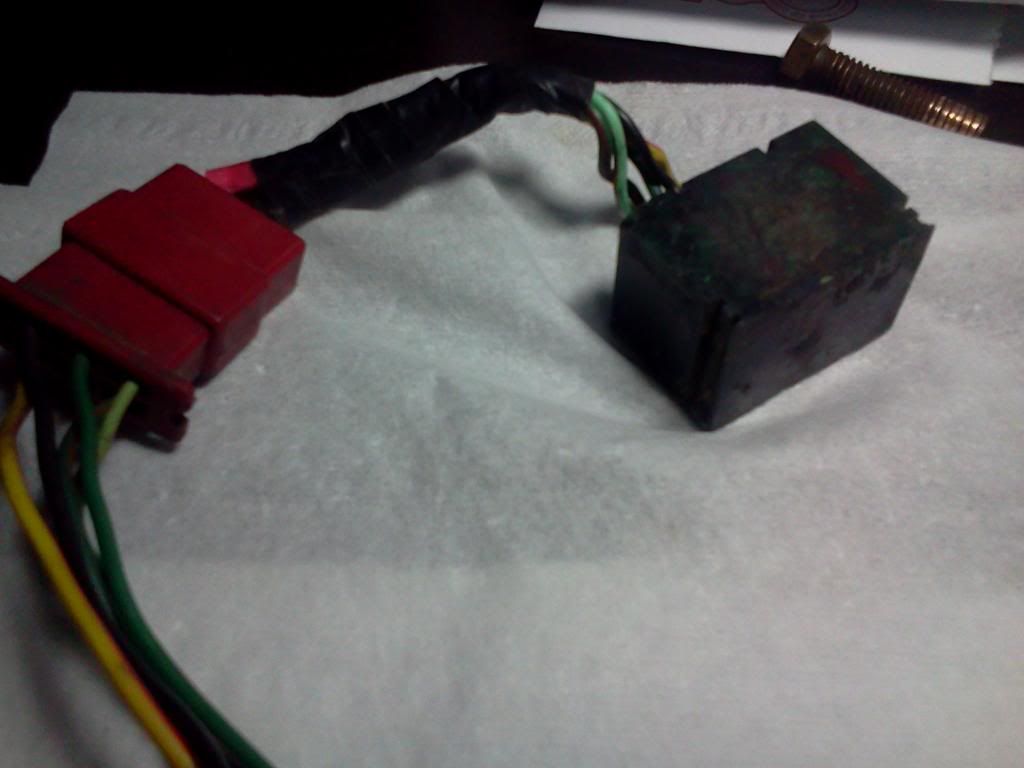
Made a practically new harness from scratch in most areas with 18 GA from O'Reilly's. It had frayed & burned small wire (over 20 GA) from previous owner. Color coding / wire diagram is consistent. (except for brown, don't have that spool color). A black wire was twist-tied to a red wire, capped to a yellow wire, electrical taped to a white wire! This was everywhere!
Ripped this shit out:
Reconditioned/cleaned up tach & speedo. Added LED SAE #57 / A9S bulbs from SuperBrightLEDs.com. $2 each. Each stock incandescent bulb draws 3 amps current, IIRC. Each LED draws 0.25 amps.
After 10 bulbs...2.5 amps is SUBSTANTIALLY less than 30 amps on this old charging system. I've read on here that this is a problem, so I decided to go this route. It actually lights up now, too! It's a nice white background with a green tinge (from the face) on the gauges.
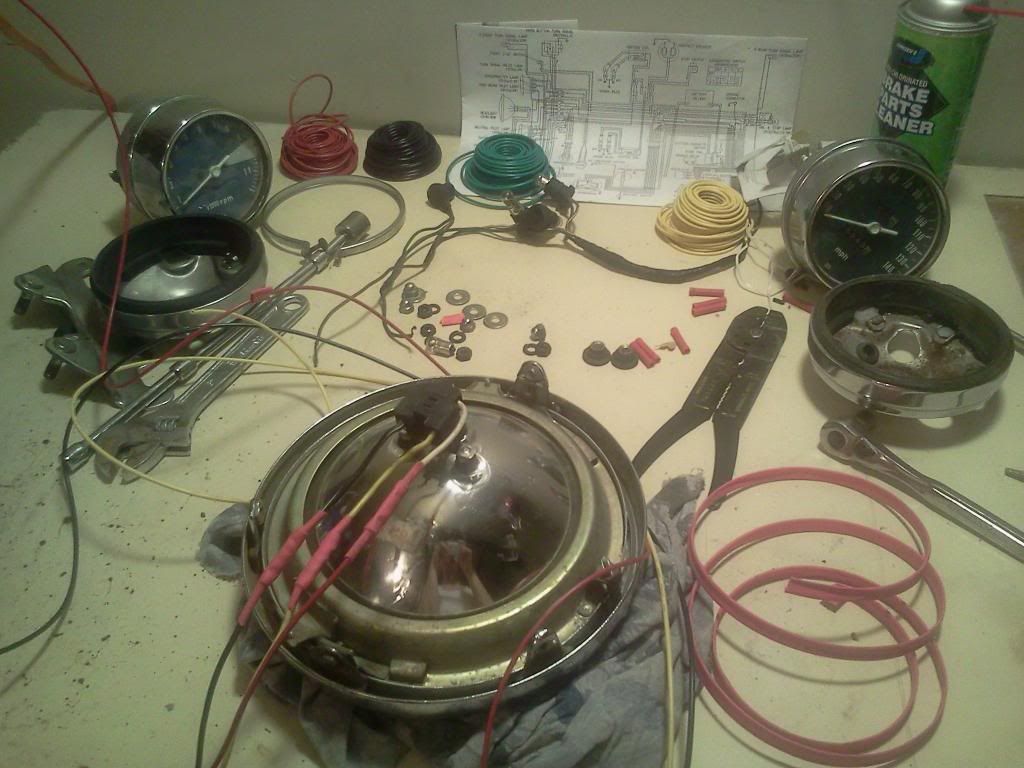
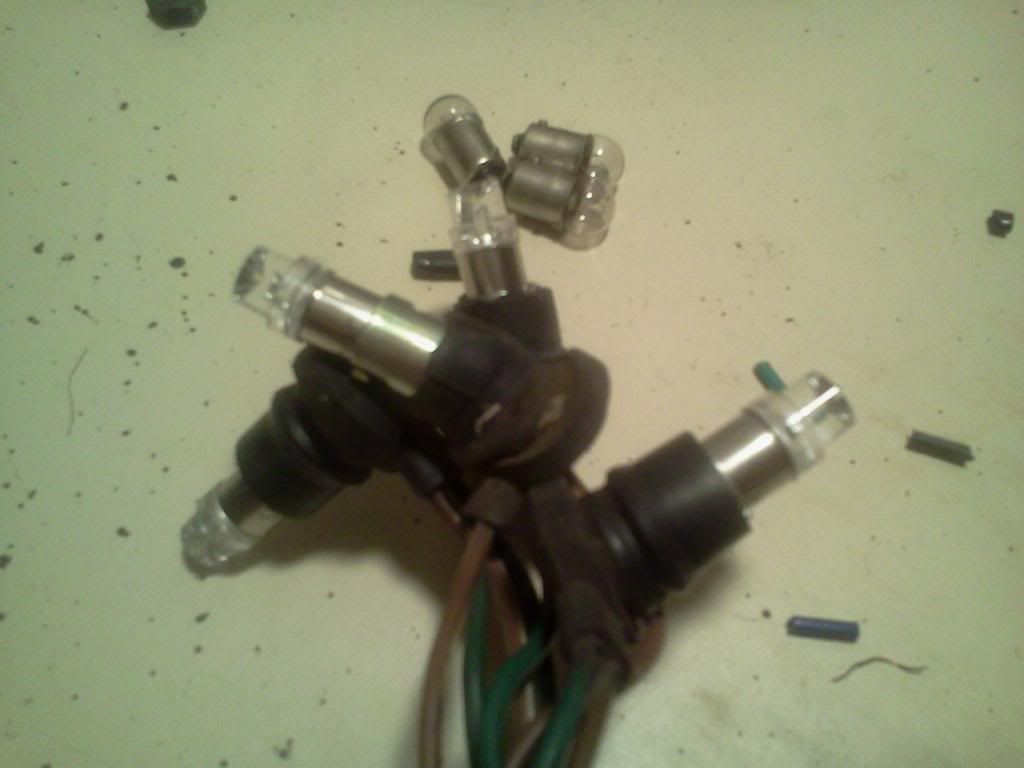
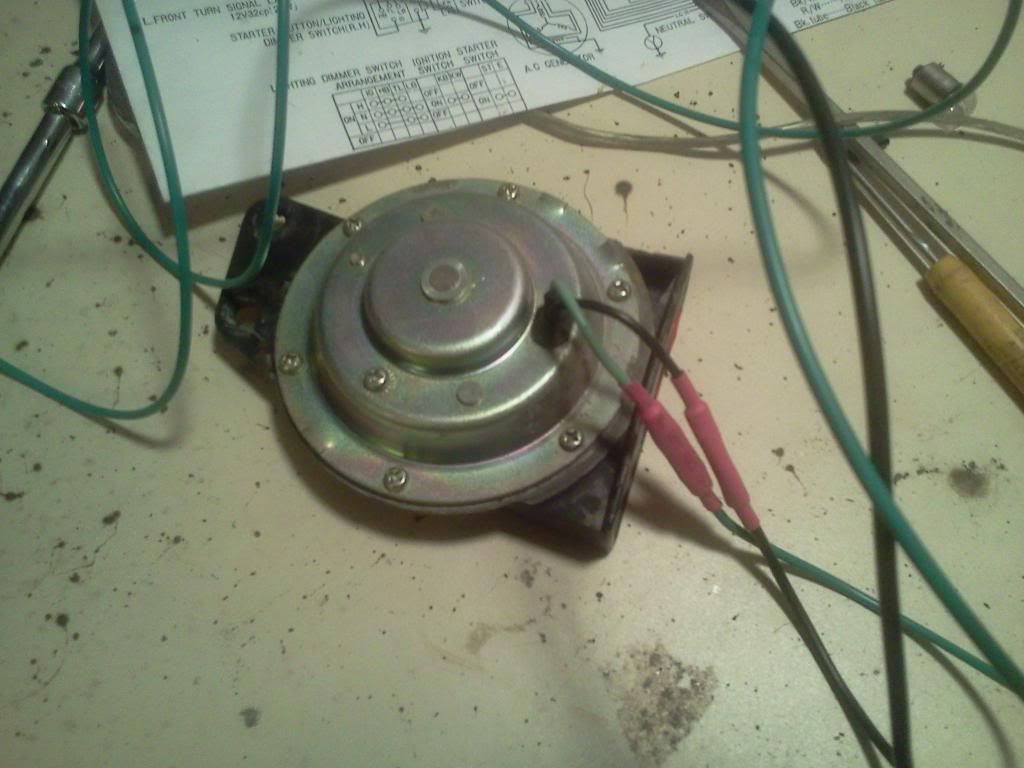
It didn't have a working high beam. Fixed that. Also, fixed horn & diaphragm. Needs to be louder if I want to be heard at 70 mph. Re-soldered connections. I have a horn now! Woohoo!
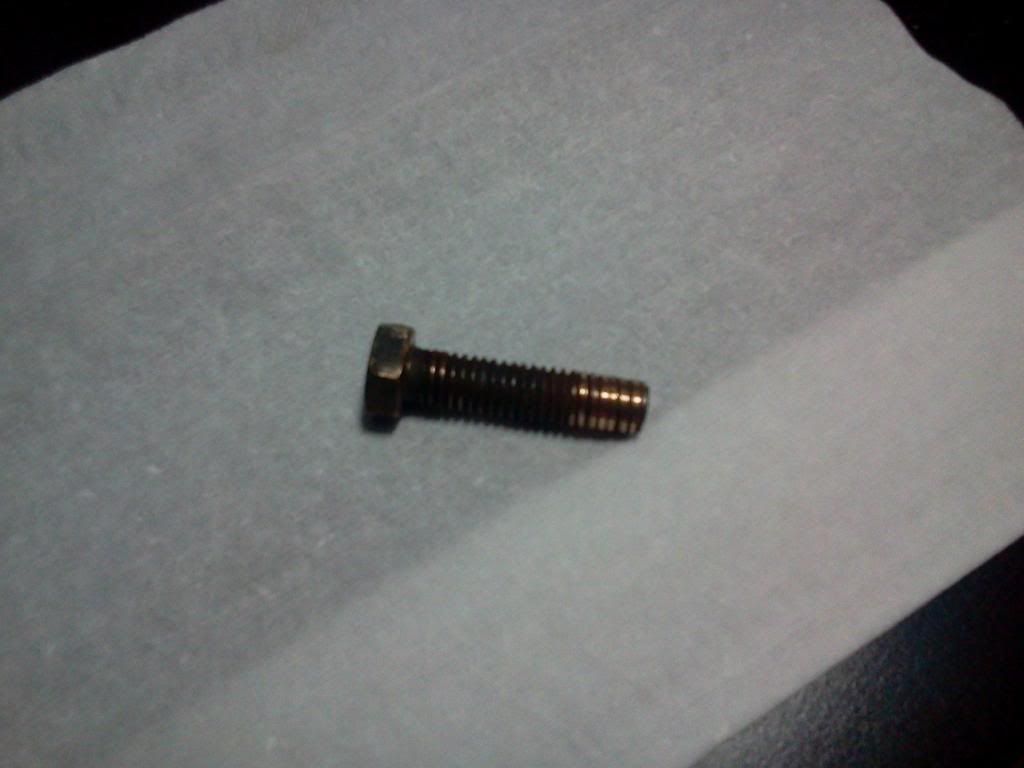
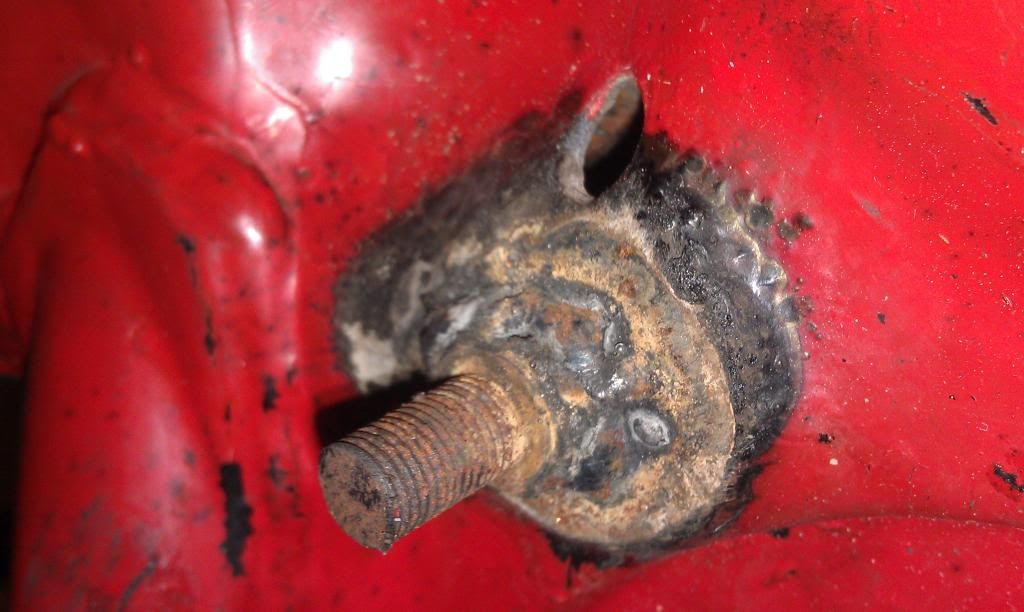
My lower tree clamp was secured with the below attached, solo, copper bolt that was stripping out. It was missing other bolts! This only one left could have dislodged while riding.
I have also discovered that random SAE/STD bolts are being used, and that suspension components are being used with varying nuts sizes (10mm, 12mm, 1/2" all on the same part). 10mm nuts should probably not be used on suspension components, just saying.
I'm going to polish the spokes, rims, engine pieces, and brake caliper. Crappy black paint is flaking off.
I'm finding out I paid too much for her from Craigslist. :-(
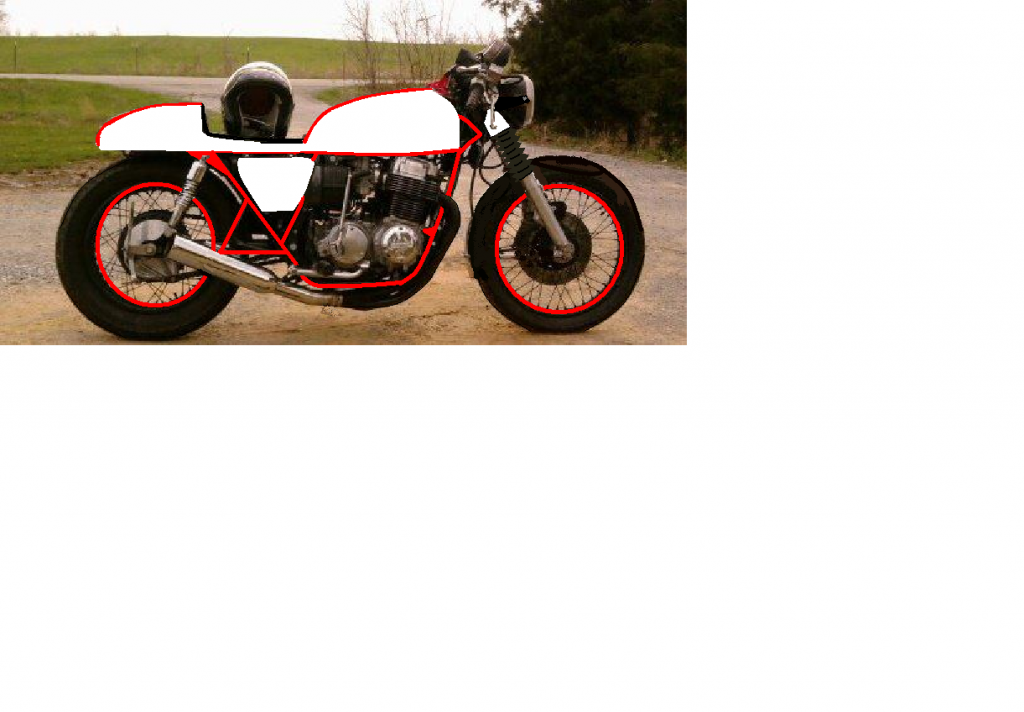
This is my eventual concept / goal:
I also bought the Rocket 4 Seat from Nostalgia Speed & Cycle. That dude is wicked cool. They have picked up both times I called & ordered parts, and I chatted with him. He is the nicest guy around, and VERY helpful when we were discussing seating options & bolting. This guy has my business first.
I thought Dime City couldn't be bothered, and was rude to me on the phone. I left 1 message, and called 5 separate times before I actually got the receptionist. After all of that, they did not have 4 of the seats I was looking for in stock, and apparently for one of their seats (that they sell, but don't make) is back-ordered for 2 months. Contacted the supplier, no dice.
Oh, sidenote: I shaved down the contacts on the rear brake switch, and pulled the spring out for more tension. I reassembled it and glued it together. I wish I had taken it apart FIRST before being hasty and ordering a brand new rear brake switch from Carpy.
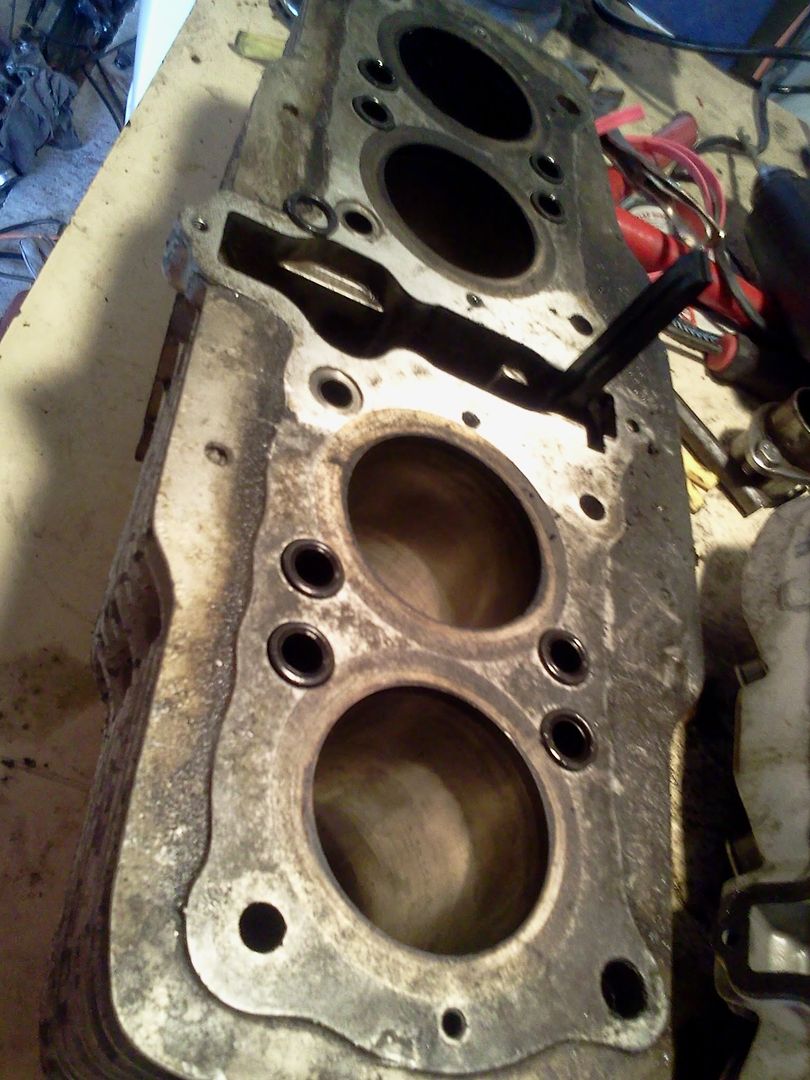
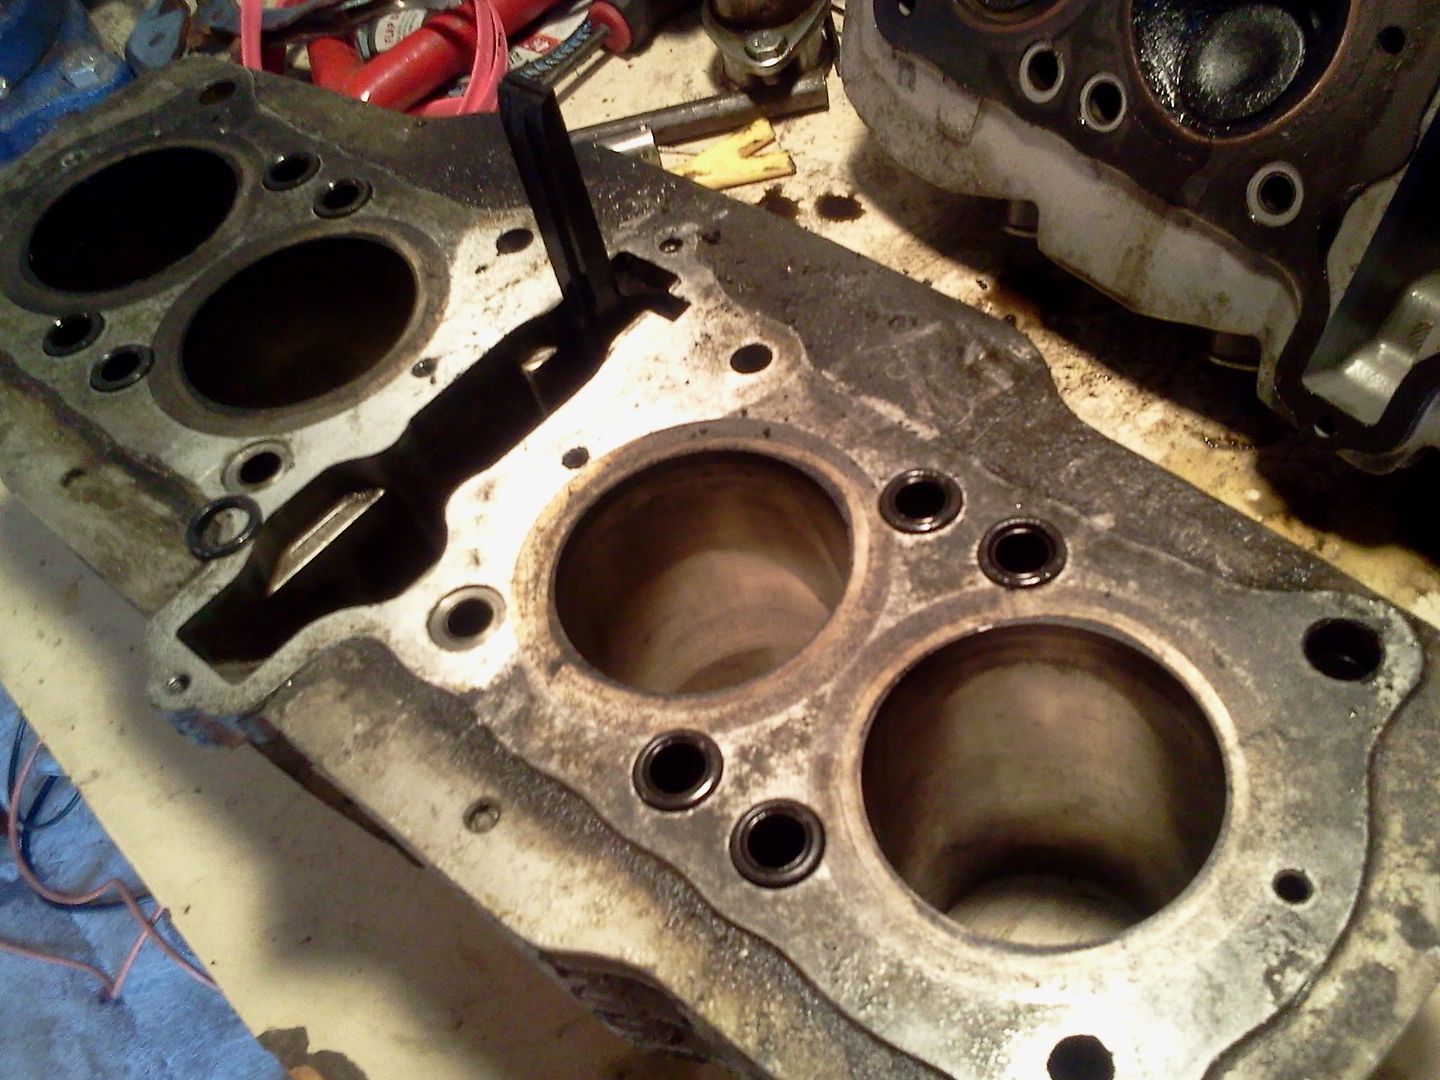
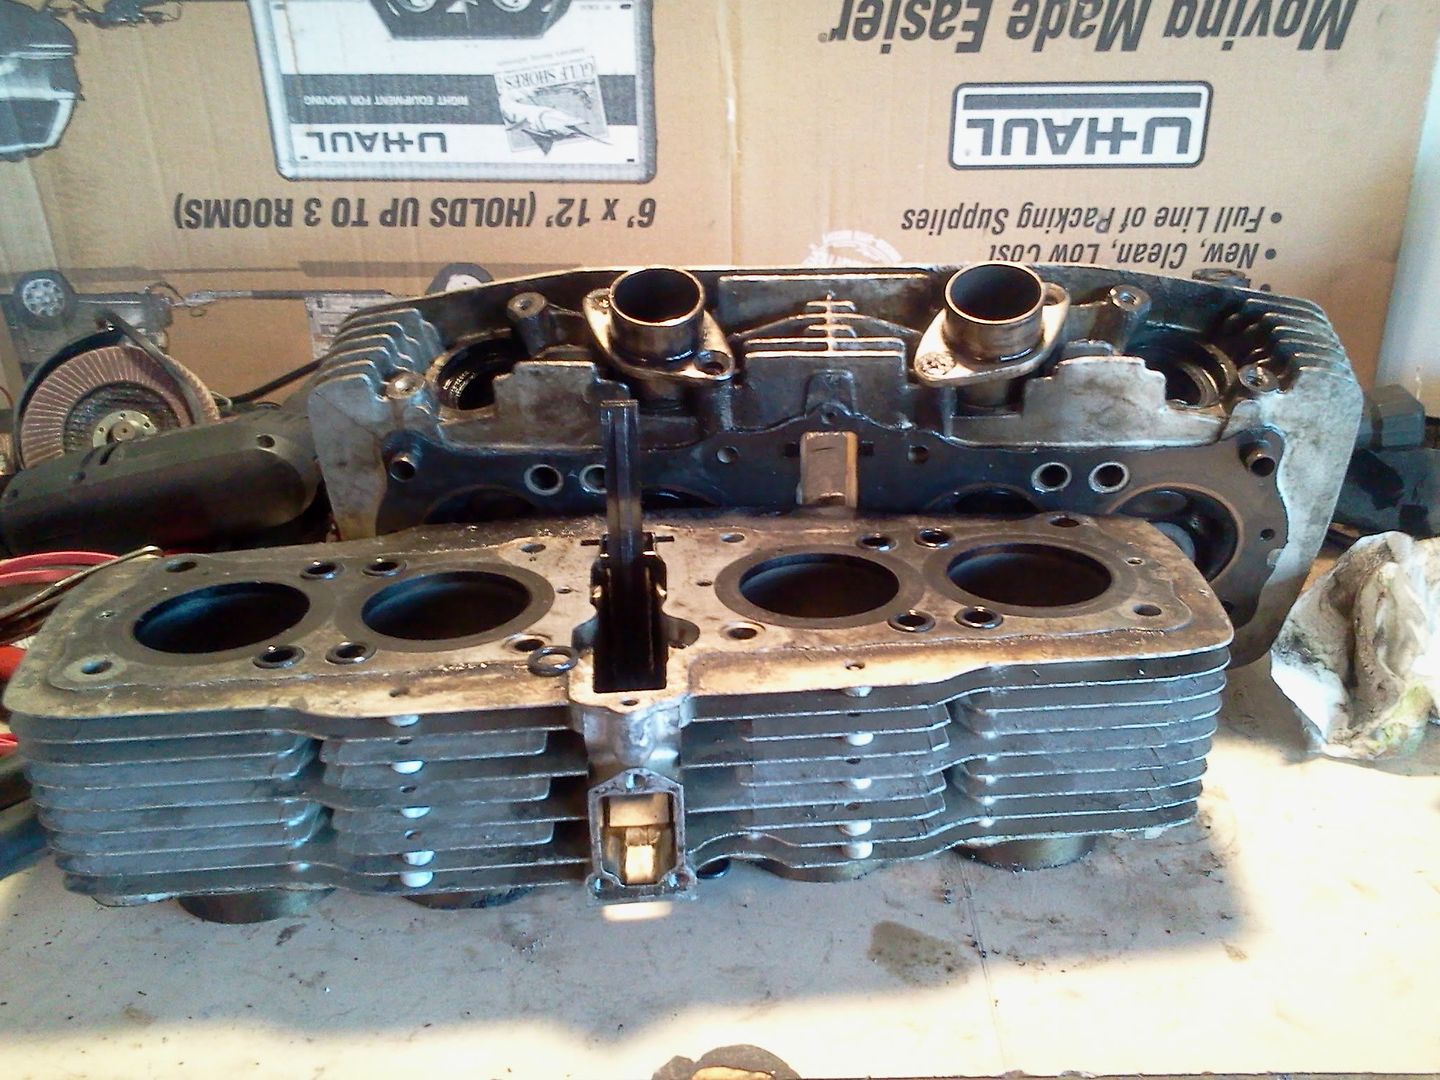
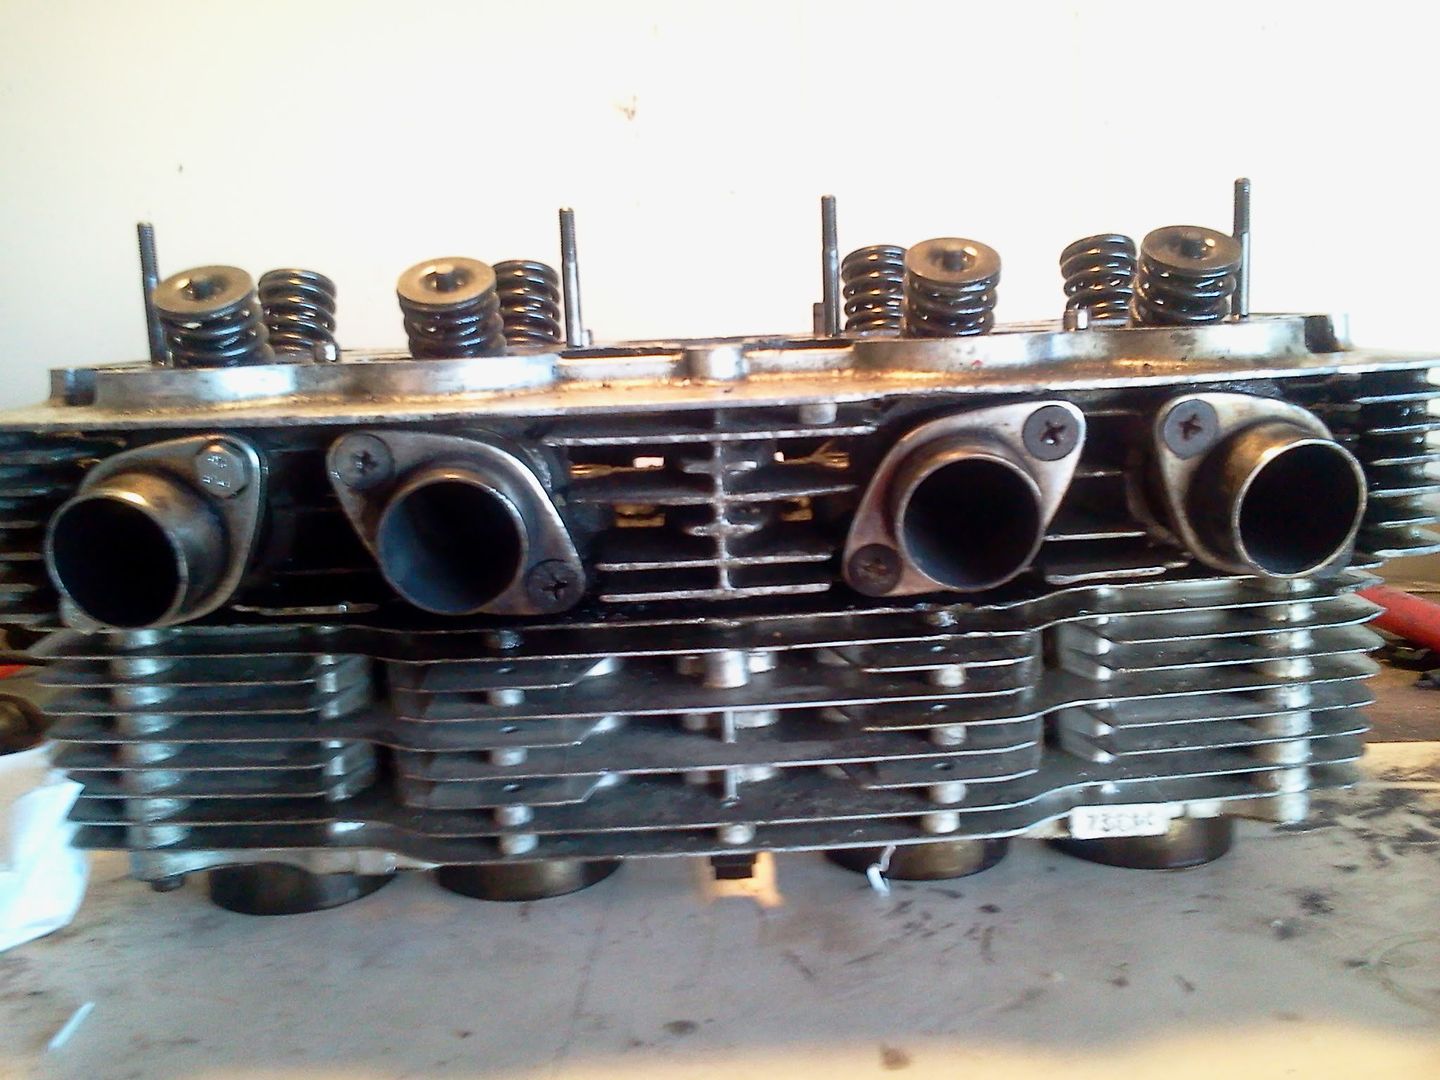
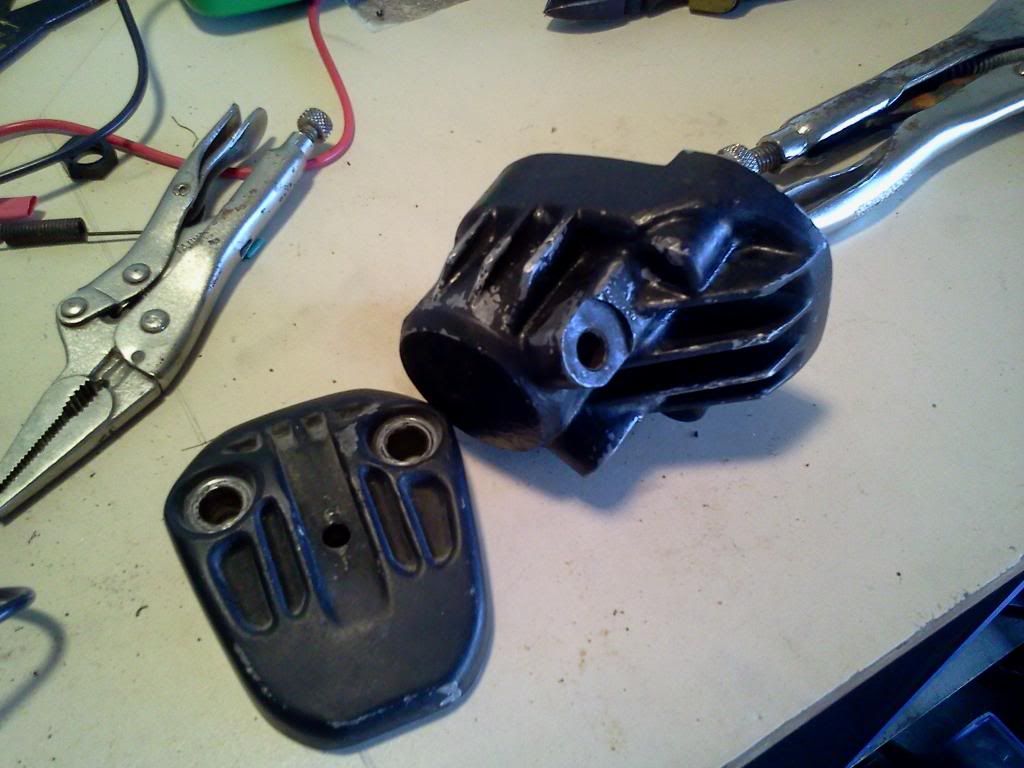
BTW, what is this part? I've been trying to figure it out...
The wiring diagrams I have pulled online, for the most part, don't exactly coincide with the standard Honda color scheme, hence the overhaul. I tried looking again today, and found nothing new. Does anyone else have any ideas?
G = Solid dark green
G/R = Dark green with red stripe
Bl = Black
Y/R = Yellow with red stripe
LG/R = Light green with red stripe
To my understanding:
LG/R goes to the neutral safety light, , neutral switch, and starter safety unit.
Y/R goes to starter magnetic switch/15amp fuse. (This is the starter solenoid, right?)
Bl is obviously a power wire, stemming from where is not known.
G & G/R are unknown.
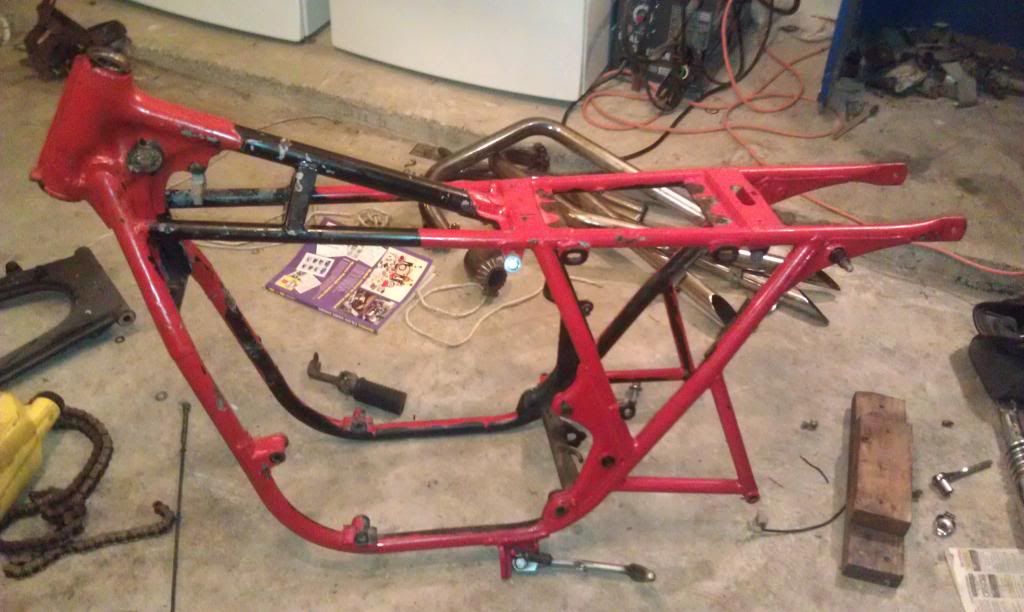
Well, on another note, as I looked at the bike tonight (since yesterday), I got a little disgusted at the frame. A latex paint was used on it, and while I'm sure it looked good at the time, it looks terrible now against the test of time. She is flaking and chipping more every day. Not only that, but the previous previous owner only painted the outside frame, what he could see and reach. On the inside, underneath, and in crevices, you still see the original black frame. Also, the red latex is really runny and drippy in many areas.
I've decided tonight that this will be a full overhaul. The frame will be powdercoated. Putting so much time into something with a shitty foundation is a waste, I suppose.
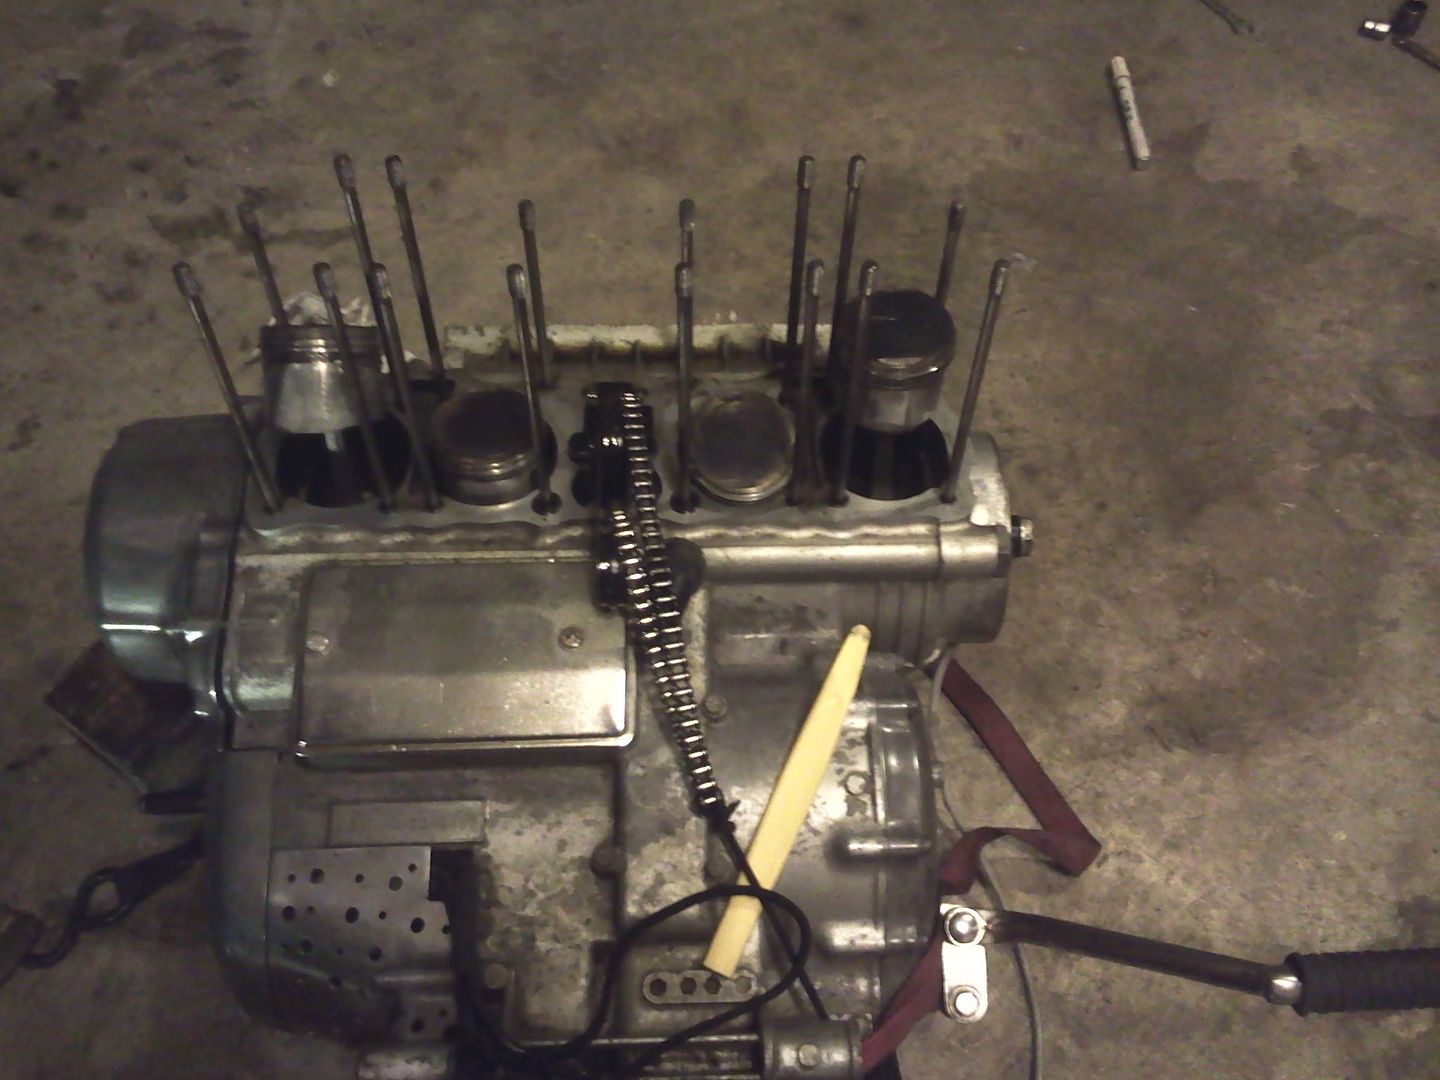
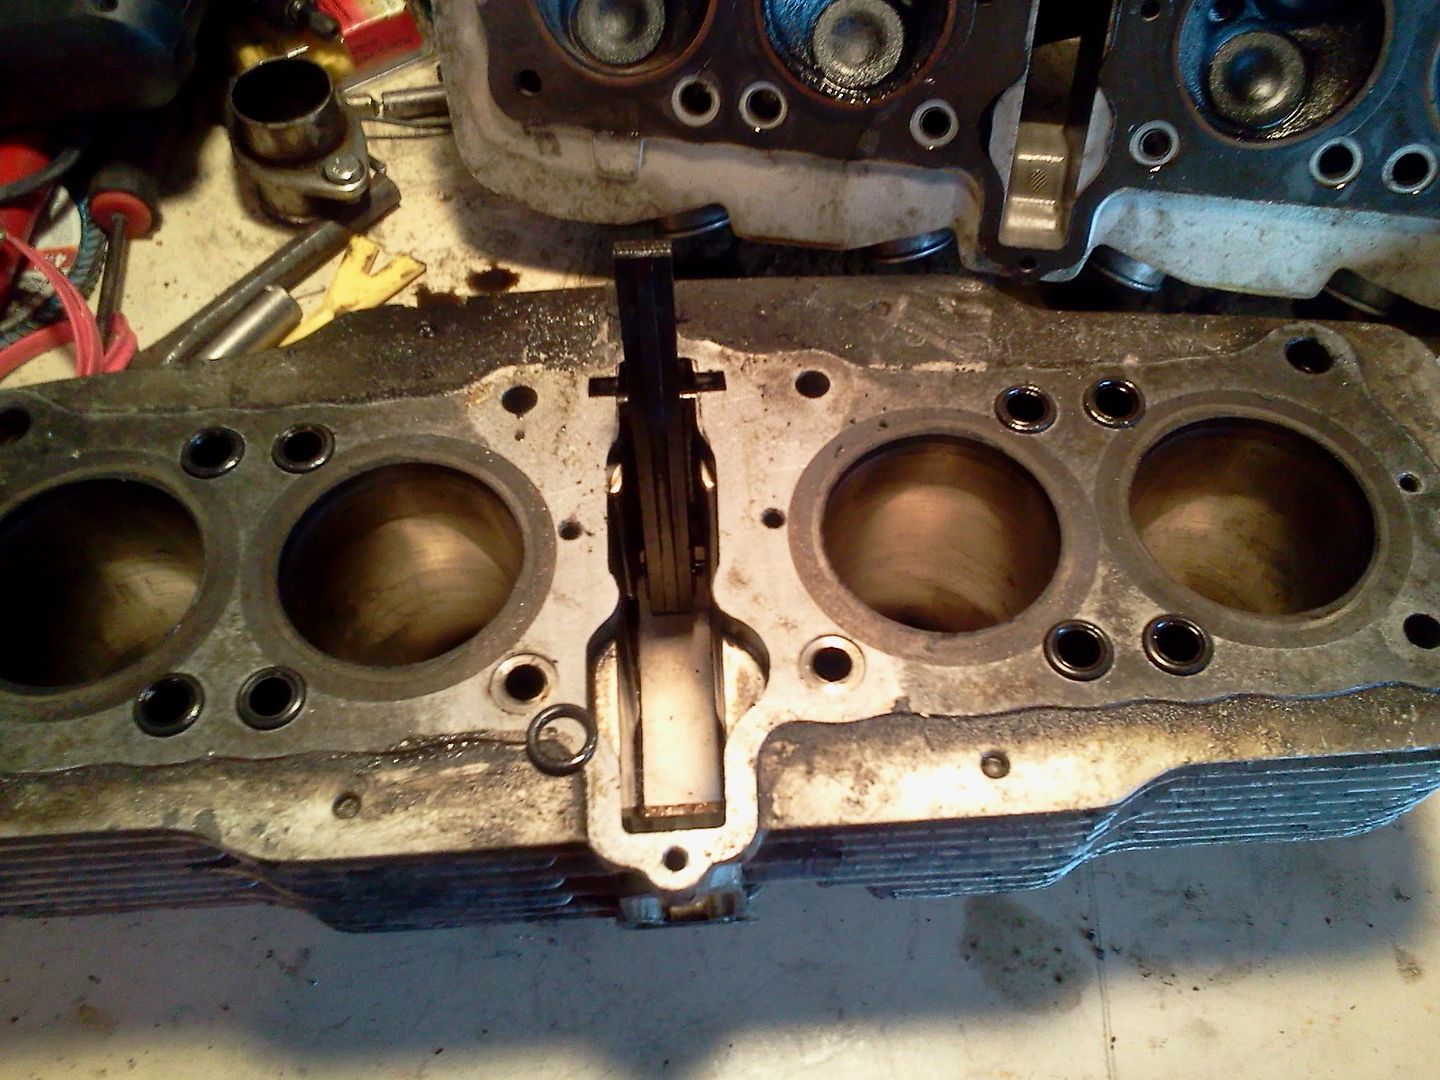
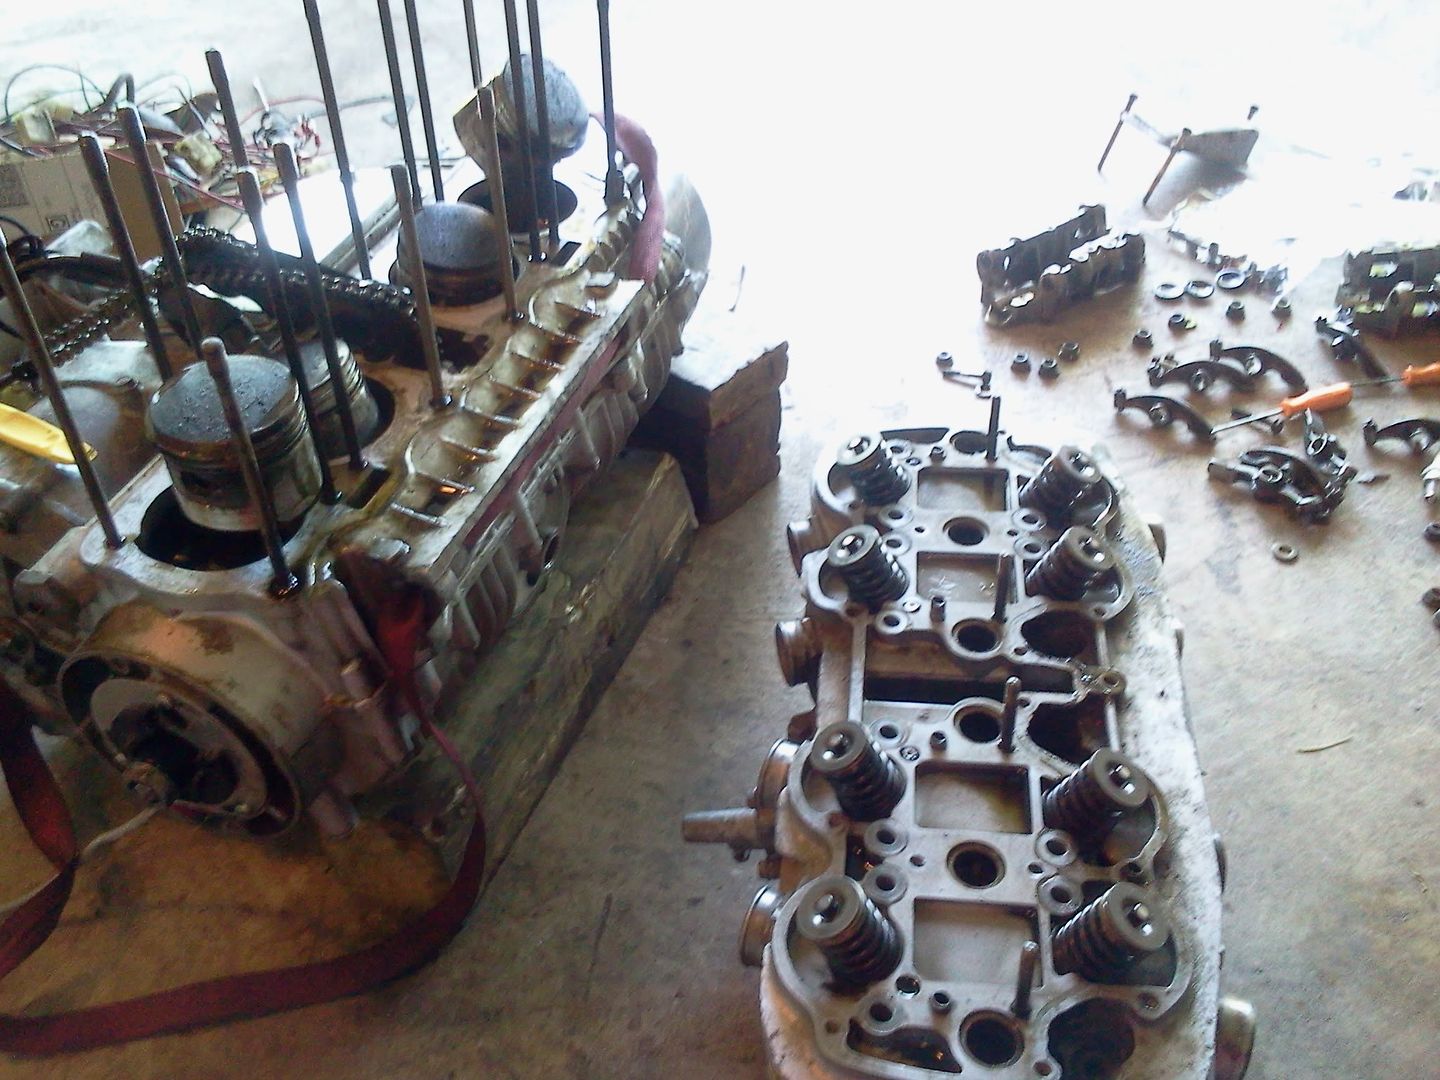
More of the bike was disassembled tonight (rear shocks, exhaust, footpegs, support bracing, battery box + regulator, & oil catch can.
Comments are welcomed, and usually appreciated.


Pete
I'm just going to throw a bunch of pics in here (since we all know we love them), and hopefully you can figure out what's going on.
As she stands now, 4/20/2013 - 4/20/2013:
Kleen-ed the inside of the tank. Carbs kept fouling/gunking, and I threw screws, nuts, bolts, & washers in with 4 gallons of vinegar for a 3 days. Shook, dumped, rinsed, then coated. It's unbelievable how much rust came out. Seriously, I continued to be amazed with each additional shake how many clumps kept falling out.
New parts!
After seeing the rust, I wanted to make sure it hadn't rusted a hole in the tank. Stripped, cleaned, glassed & Bondo'd, primered, & rattle-canned painted tank here at home. It's currently being wetsanded, and given a proper coat of true white by my bodyman. It had 7...SEVEN layers of different colors of paint (one could have been primer though). Maybe that's why he kept repainting it...he didn't know to use primer?
Friend, who rides a Ninja 250, is assisting:
Upgraded to Dyna Coils 3 Ohm and the Dyna S igntion (cheaper setup, not the $350 ignition). How do I advance/retard the timing with a magnetic pickup, as opposed to the contact points? Rotate the assembly, right? I am unsure how to get it correctly in sync. I checked my Chilton. I guess I'm stupid?
Made a practically new harness from scratch in most areas with 18 GA from O'Reilly's. It had frayed & burned small wire (over 20 GA) from previous owner. Color coding / wire diagram is consistent. (except for brown, don't have that spool color). A black wire was twist-tied to a red wire, capped to a yellow wire, electrical taped to a white wire! This was everywhere!
Ripped this shit out:
Reconditioned/cleaned up tach & speedo. Added LED SAE #57 / A9S bulbs from SuperBrightLEDs.com. $2 each. Each stock incandescent bulb draws 3 amps current, IIRC. Each LED draws 0.25 amps.
After 10 bulbs...2.5 amps is SUBSTANTIALLY less than 30 amps on this old charging system. I've read on here that this is a problem, so I decided to go this route. It actually lights up now, too! It's a nice white background with a green tinge (from the face) on the gauges.
It didn't have a working high beam. Fixed that. Also, fixed horn & diaphragm. Needs to be louder if I want to be heard at 70 mph. Re-soldered connections. I have a horn now! Woohoo!
My lower tree clamp was secured with the below attached, solo, copper bolt that was stripping out. It was missing other bolts! This only one left could have dislodged while riding.
I have also discovered that random SAE/STD bolts are being used, and that suspension components are being used with varying nuts sizes (10mm, 12mm, 1/2" all on the same part). 10mm nuts should probably not be used on suspension components, just saying.
I'm going to polish the spokes, rims, engine pieces, and brake caliper. Crappy black paint is flaking off.
I'm finding out I paid too much for her from Craigslist. :-(
This is my eventual concept / goal:
I also bought the Rocket 4 Seat from Nostalgia Speed & Cycle. That dude is wicked cool. They have picked up both times I called & ordered parts, and I chatted with him. He is the nicest guy around, and VERY helpful when we were discussing seating options & bolting. This guy has my business first.
I thought Dime City couldn't be bothered, and was rude to me on the phone. I left 1 message, and called 5 separate times before I actually got the receptionist. After all of that, they did not have 4 of the seats I was looking for in stock, and apparently for one of their seats (that they sell, but don't make) is back-ordered for 2 months. Contacted the supplier, no dice.
Oh, sidenote: I shaved down the contacts on the rear brake switch, and pulled the spring out for more tension. I reassembled it and glued it together. I wish I had taken it apart FIRST before being hasty and ordering a brand new rear brake switch from Carpy.
BTW, what is this part? I've been trying to figure it out...
The wiring diagrams I have pulled online, for the most part, don't exactly coincide with the standard Honda color scheme, hence the overhaul. I tried looking again today, and found nothing new. Does anyone else have any ideas?
G = Solid dark green
G/R = Dark green with red stripe
Bl = Black
Y/R = Yellow with red stripe
LG/R = Light green with red stripe
To my understanding:
LG/R goes to the neutral safety light, , neutral switch, and starter safety unit.
Y/R goes to starter magnetic switch/15amp fuse. (This is the starter solenoid, right?)
Bl is obviously a power wire, stemming from where is not known.
G & G/R are unknown.
Well, on another note, as I looked at the bike tonight (since yesterday), I got a little disgusted at the frame. A latex paint was used on it, and while I'm sure it looked good at the time, it looks terrible now against the test of time. She is flaking and chipping more every day. Not only that, but the previous previous owner only painted the outside frame, what he could see and reach. On the inside, underneath, and in crevices, you still see the original black frame. Also, the red latex is really runny and drippy in many areas.
I've decided tonight that this will be a full overhaul. The frame will be powdercoated. Putting so much time into something with a shitty foundation is a waste, I suppose.
More of the bike was disassembled tonight (rear shocks, exhaust, footpegs, support bracing, battery box + regulator, & oil catch can.
Comments are welcomed, and usually appreciated.
Pete
Last edited:


")